
Mother Nature is really letting us have it this winter; we have been hit with yet another snow storm. The government has shut down and so has my office: today is an official snow day. Being home on a day such as this, my thoughts turned to warm and comforting things such as soup. Specifically, to an earthy soup featuring two types of mushrooms and lots of green onions–hence the name. I might have called it quadruple mushroom soup because it features mushrooms four ways: dried (and soaked) mushrooms, sautéed sliced mushrooms, fresh chopped mushrooms–and sliced raw mushrooms as a garnish. This is definitely a soup for mushroom lovers, of which I am one. But it is also a good soup for anyone needing some flexibility (that would be me, too). Not enough dried mushrooms on hand? Add more of the fresh ones. Don’t like (or have) button mushrooms? Substitute portabella or another type. Use one, two, or all three of the broths suggested below. Make it vegan, or not (see below). This is a forgiving soup perfectly suited to an unforgiving day.

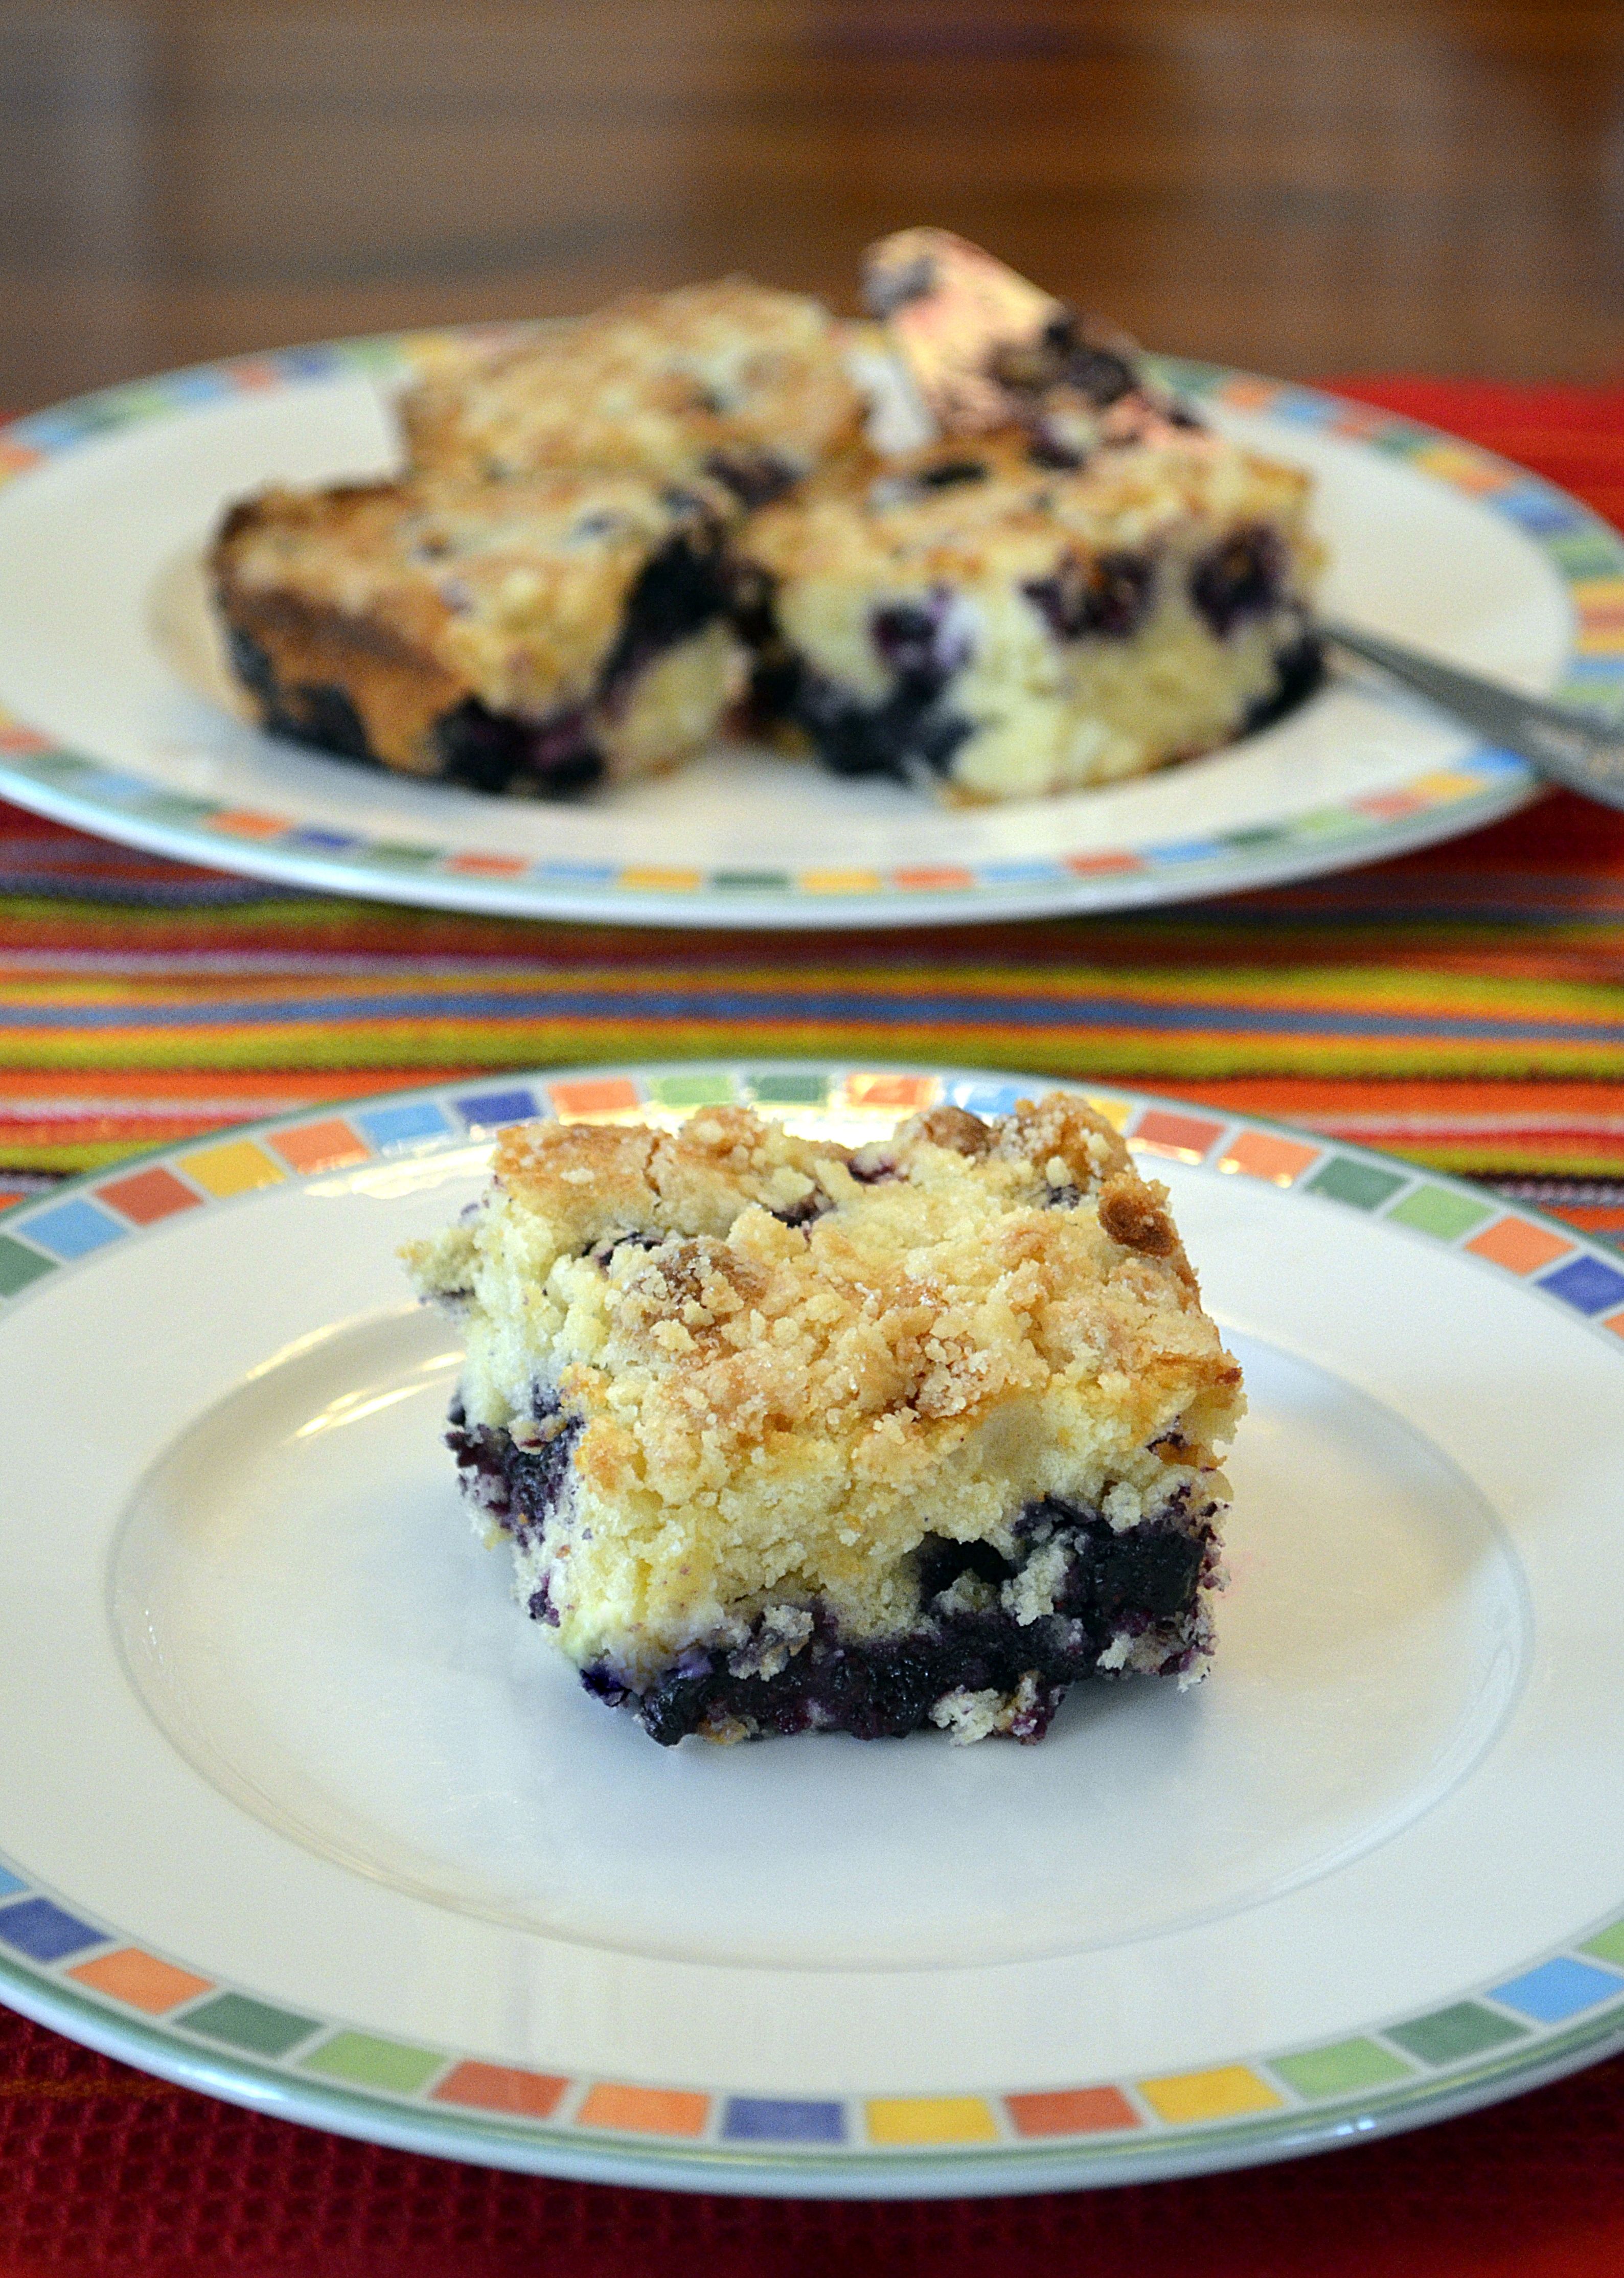
Creamy Double Mushroom Soup with Green Onions
Serves 4-6
2 oz. dried mushrooms (porcini, shitake, etc.)
2-3 tbsp. olive oil
20 oz. white button mushrooms–slice half the mushrooms, finely chop the other half (save two mushrooms to slice later for garnish)
2 bunches green onions/scallions, trimmed at both ends, rinsed clean, and thinly sliced (save one green onion to slice later for garnish)
3 cloves garlic, minced
freshly ground pepper, to taste
dash of dry sherry or splash of white wine (optional)
5 c. beef broth (or veggie broth or miso broth, or combination of broths)
1 tbsp. soy sauce (optional)
pinch of sugar (about 1/2 tsp.), to taste
1 c. heavy cream (or unsweetened coconut milk or soy creamer)
Preparation
1. Place the dried mushrooms in a bowl and pour enough boiling water over them to cover; soak for 30 minutes.
2. Meanwhile, heat half the olive oil in a soup pot over medium-high heat, add the sliced white mushrooms, and sauté until they start to turn golden; remove the mushrooms from the pot and reserve.
3. Add the remaining olive oil to the soup pot and sauté the green onions until soft. Add the minced garlic and pepper; cook for another two minutes. Add the sherry/wine (if using) and reserved sautéed mushrooms. Turn heat to low.
4. Strain the soaked mushrooms through a fine sieve, saving the dark mushroom liquid. Rinse the mushrooms twice in a small amount of water, adding the first rinse to the dark mushroom liquid and discarding the second rinse. 5. Add the rinsed mushrooms to the soup pot. Strain the saved mushroom liquid and add it to the soup pot, along with the broth, soy sauce (if using), and sugar. Turn the heat back to medium high.
6. Using an immersion blender, blend the contents of the soup pot (or blend in batches in a blender and return to pot).
7. Add the chopped mushrooms to the soup and simmer for 20 minutes. Turn off the heat and add the heavy cream (or coconut milk/soy creamer). Check seasonings, adding more pepper, soy sauce, or sugar as desired.
8. Serve soup in individual bowls and top with a few thin mushroom slices and a sprinkle of sliced green onions.


 on the sides; front-facing wall of opus mixtum (bands of brick and tufa), with lateral 'toothing' and a structural arch; plus rough-hewn travertine column--Portico of Claudius, Portus (c. 50 AD)")
")
 with lateral 'toothing' and putlog holes at the top--Trajan's warehouse, Portus (c. 100 AD)")
")
, Trajan's warehouse, Portus (c. 100 AD)")

