

Taralli (or tarallini) are a delicious, crispy, unleavened, ring-shaped snack from the Puglia region of Italy, though they have spread well beyond their place of origin. In Rome, you may be served savory taralli along with your aperitivo (Aperol Spritz, anyone?)–but they are also available in local grocery shops in a variety of flavors, including plain (classico), pepper (al pepe), fennel seed (al finocchio), and chili-flavored (al peperoncino). We used to keep a stash at home when we lived in Italy.
Our kids (who, sadly, have not lived with us for while now as they are all grown) loved to have taralli when they would come visit us in Rome, and every time we returned to the U.S. to see them, we would make sure to stash several bags in our suitcases (along with vacuum-packed wedges of Pecorino Romano from Antica Caciara in Trastevere). Mmmm….
It became much more difficult to find taralli when we moved back to the U.S., at least where we currently live. So I decided to see how hard it was to make them. If you have ever made bagels at home, then you will have no problem making taralli. The technique is similar: make the dough, shape it, boil it, let it dry, then bake it. Being much smaller than bagels, taralli get nice and crispy–a perfect snack. I would sometimes also crumble them over a bowl of pureed vegetable soup.
This recipe is for a small batch (about 24-28) of the classic style; feel free to add any of the optional ingredients. When I made them, I added black pepper.
Ingredients:
1 3/4 c. (1/2 lb., 250 gr.) 00 flour
3/4 tsp. sea salt (about 4.5 gr.)
1/4 c. (75 ml. ) olive oil
3.5 oz. (3/8 c., 100 ml.) white wine
Optional (freshy ground black pepper, fennel seeds, chili flakes)
Preparation:
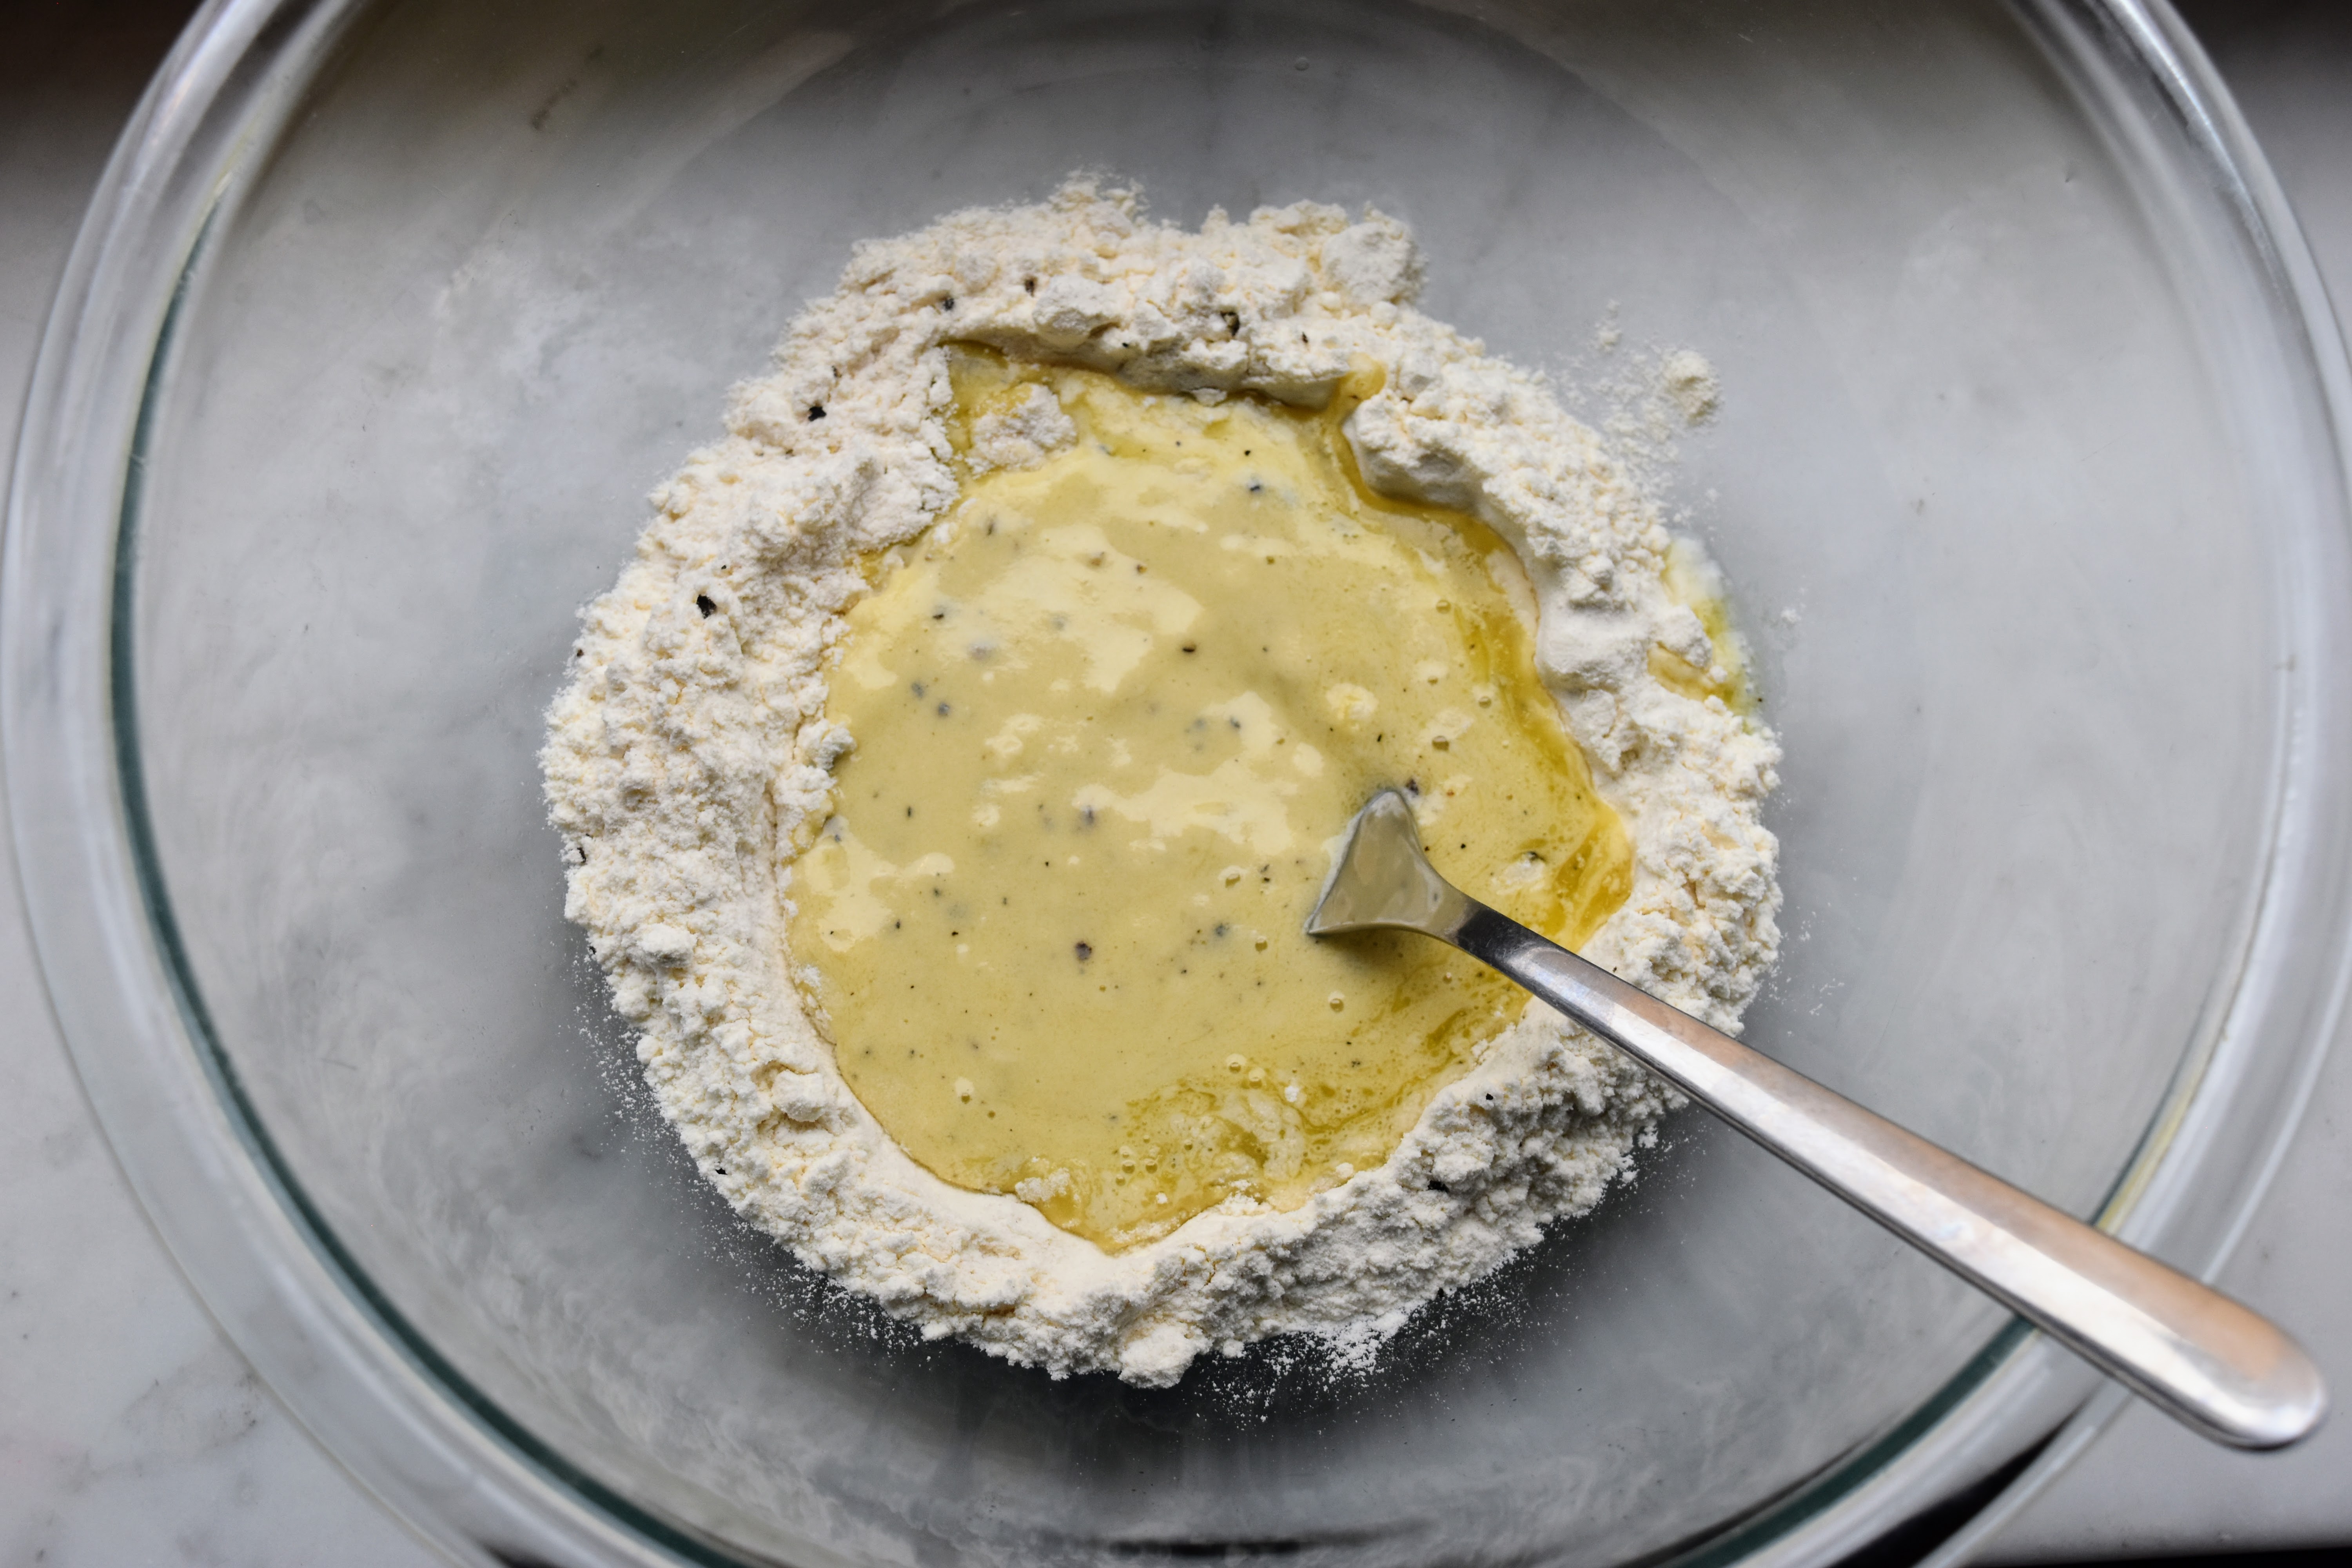
1. In a medium bowl, combine the flour and salt (and any other optional ingredients). Make a well, and add the olive oil and wine. Using a fork, slowly stir to incorporate.


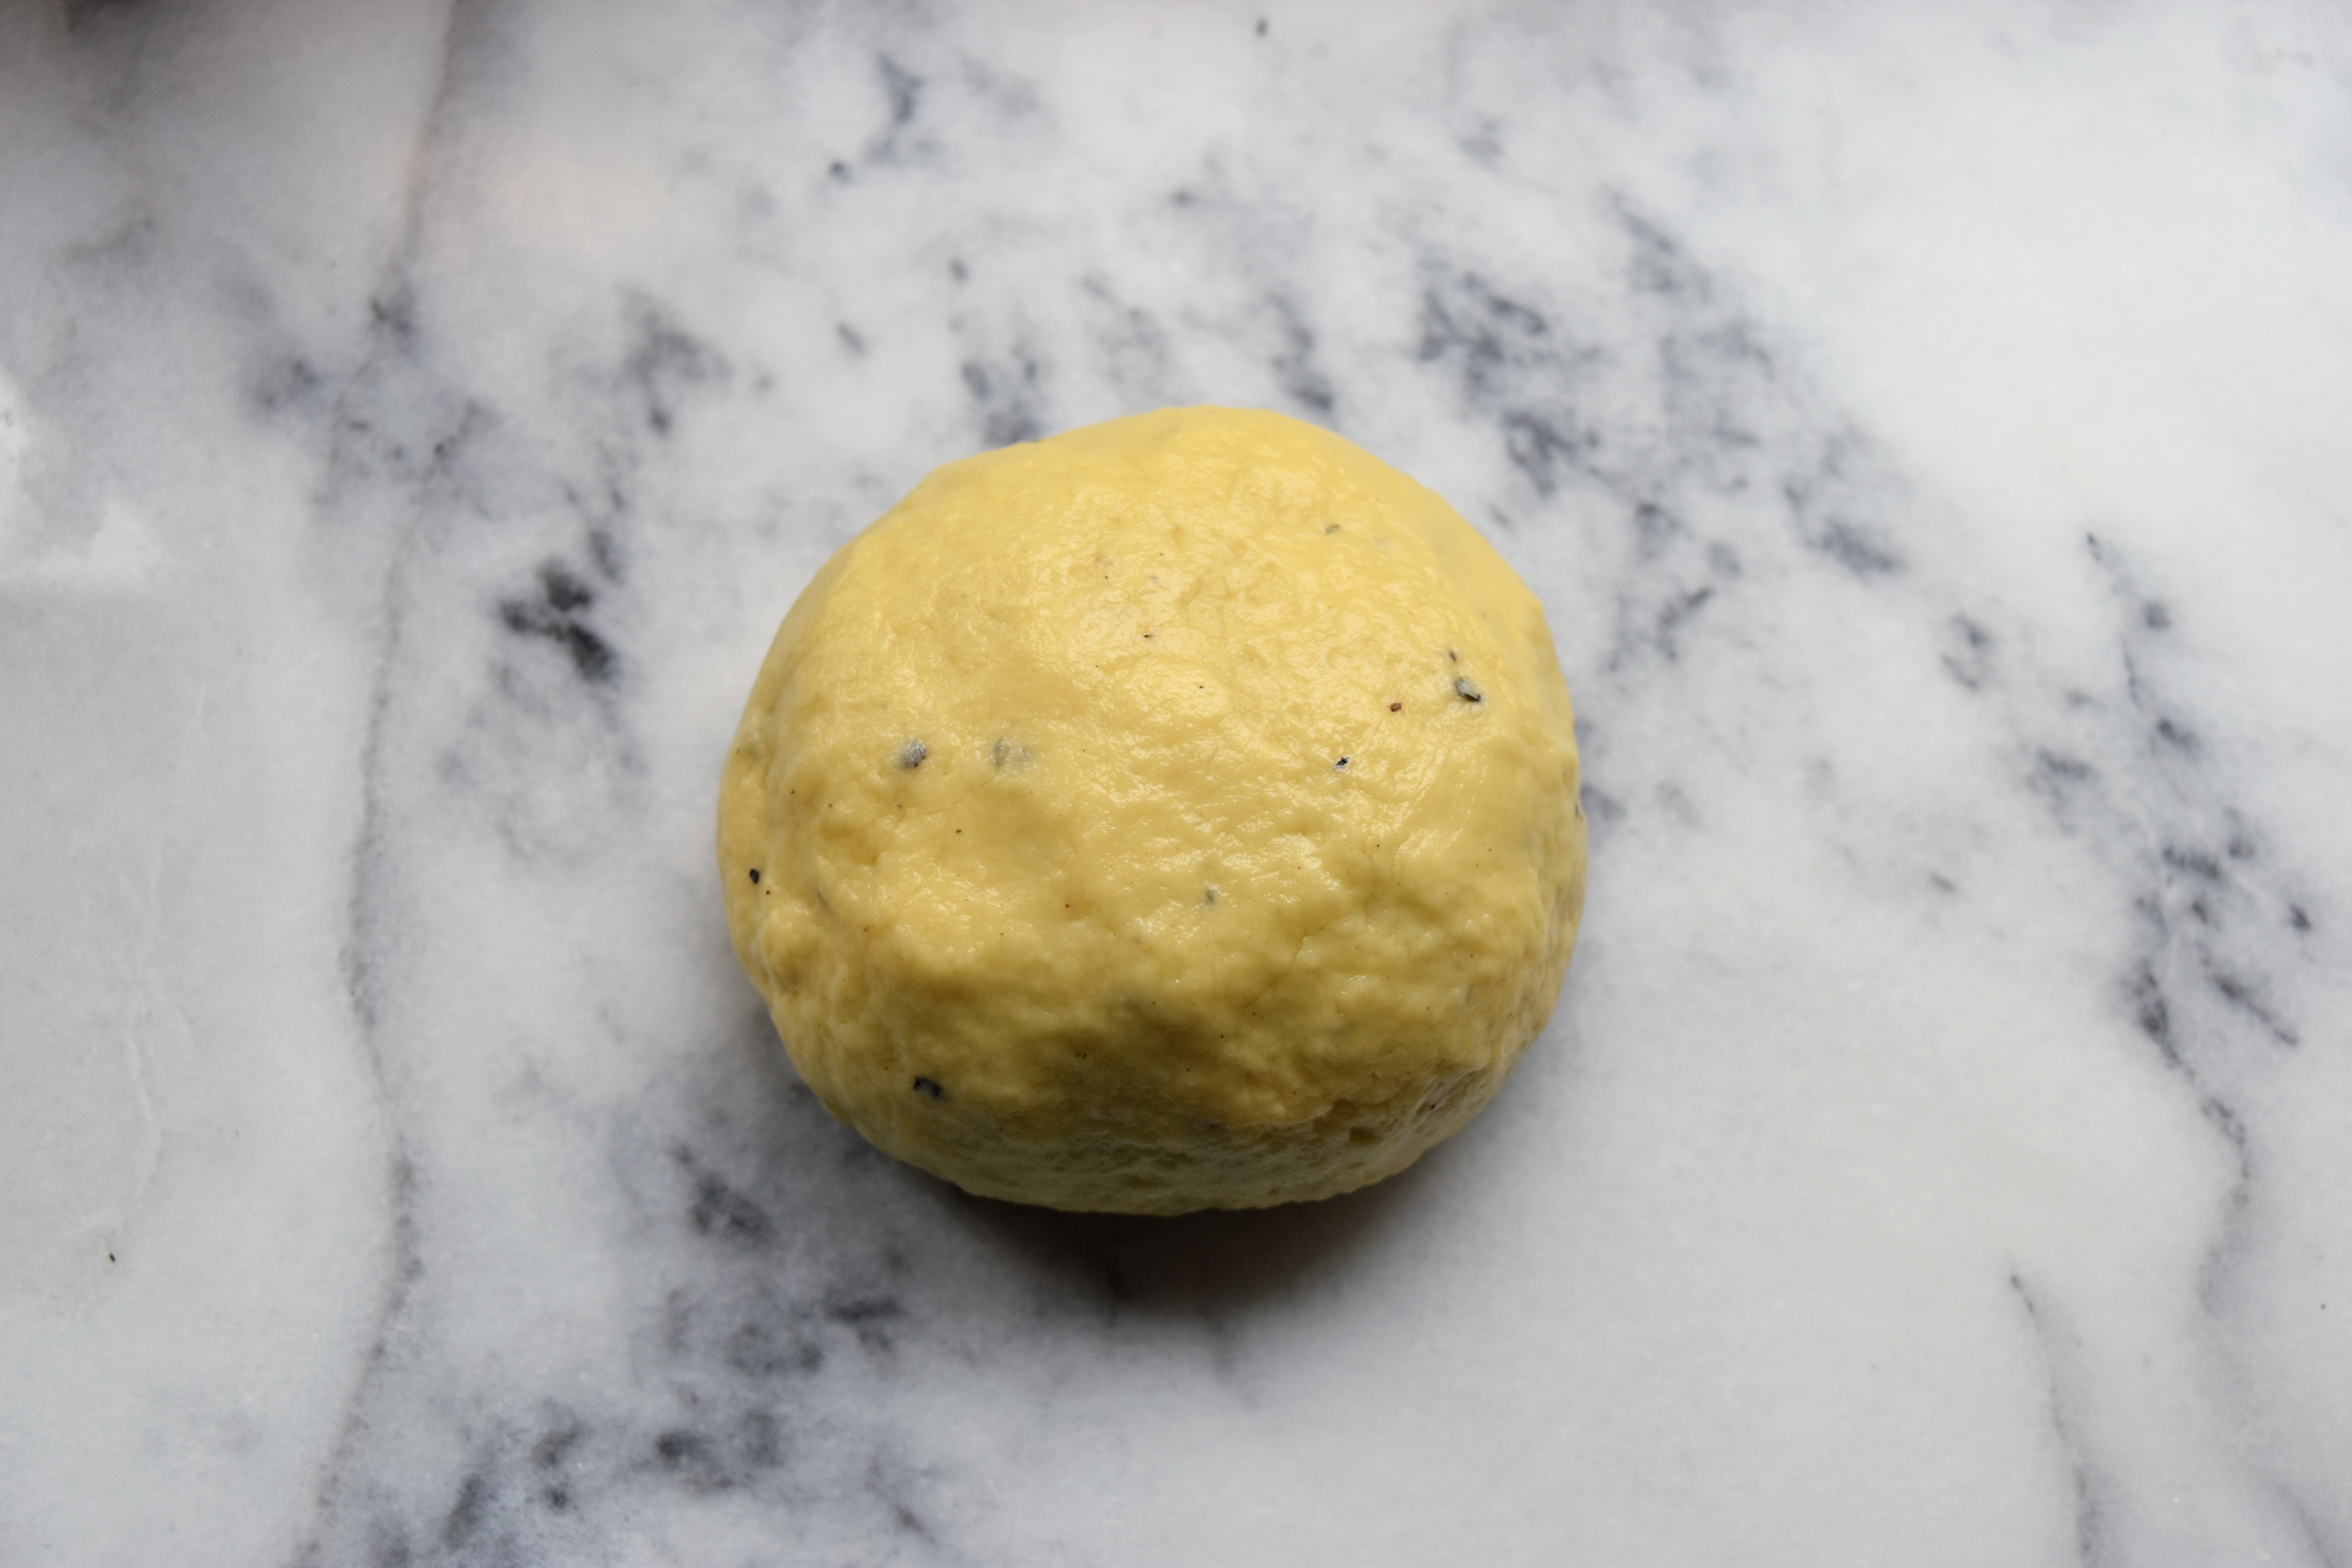
2. Knead the dough for about 10 minutes, until smooth. Shape into a ball, then cover with plastic wrap or place in a plastic bag, and let rest for half an hour.

3. Start a medium pot of water boiling. Add a pinch of salt to the pot. Place a clean dish towel on a baking sheet (or platter) near your stove.
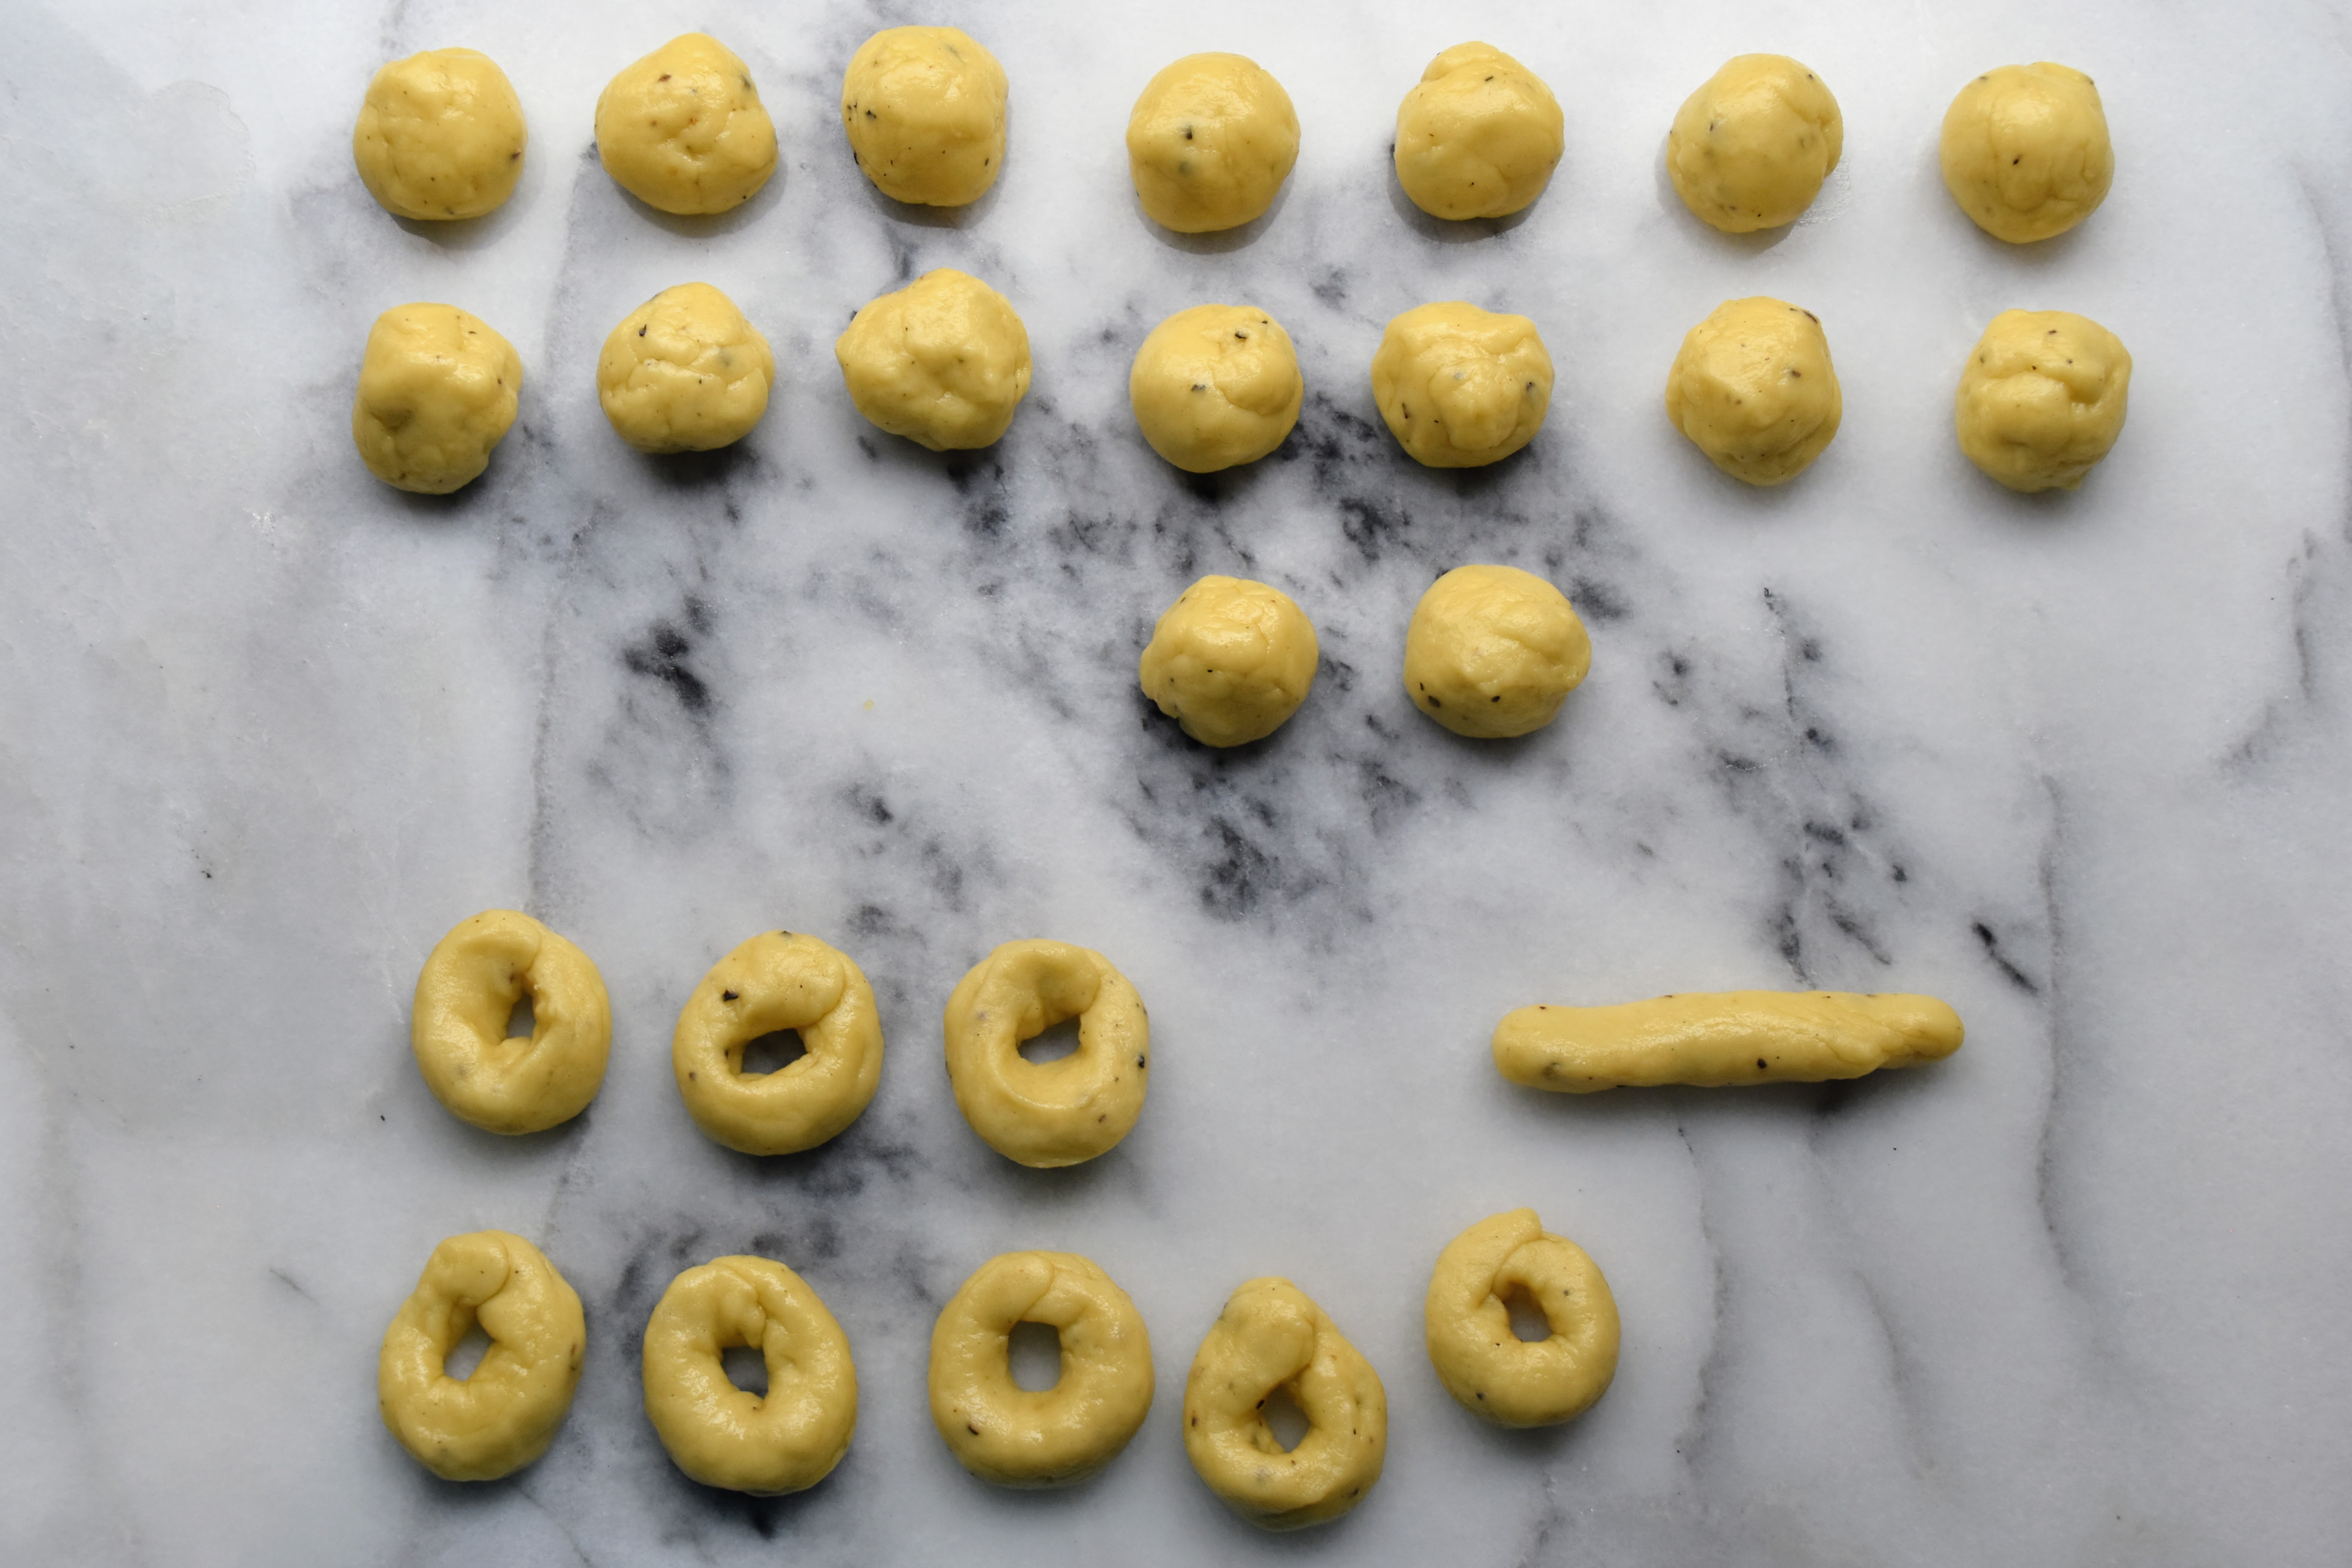
4. Divide the taralli dough into four equal pieces and roll into four equally sized logs. Cut each log into 6 or 7 pieces and shape each piece into a little ball.
5. Roll each little ball into a small, thin log shape. (Though, now that I think of it, I’m wondering why I made the little balls in the first place! I could have rolled each of the cut pieces into a small, thin log and skipped the ball part. I probably wanted to make sure everything was the same size… and, those little dough balls look cute. But, feel free to ignore the ball step.) Form each little log into a ring shape, pulling and pinching the ends together.
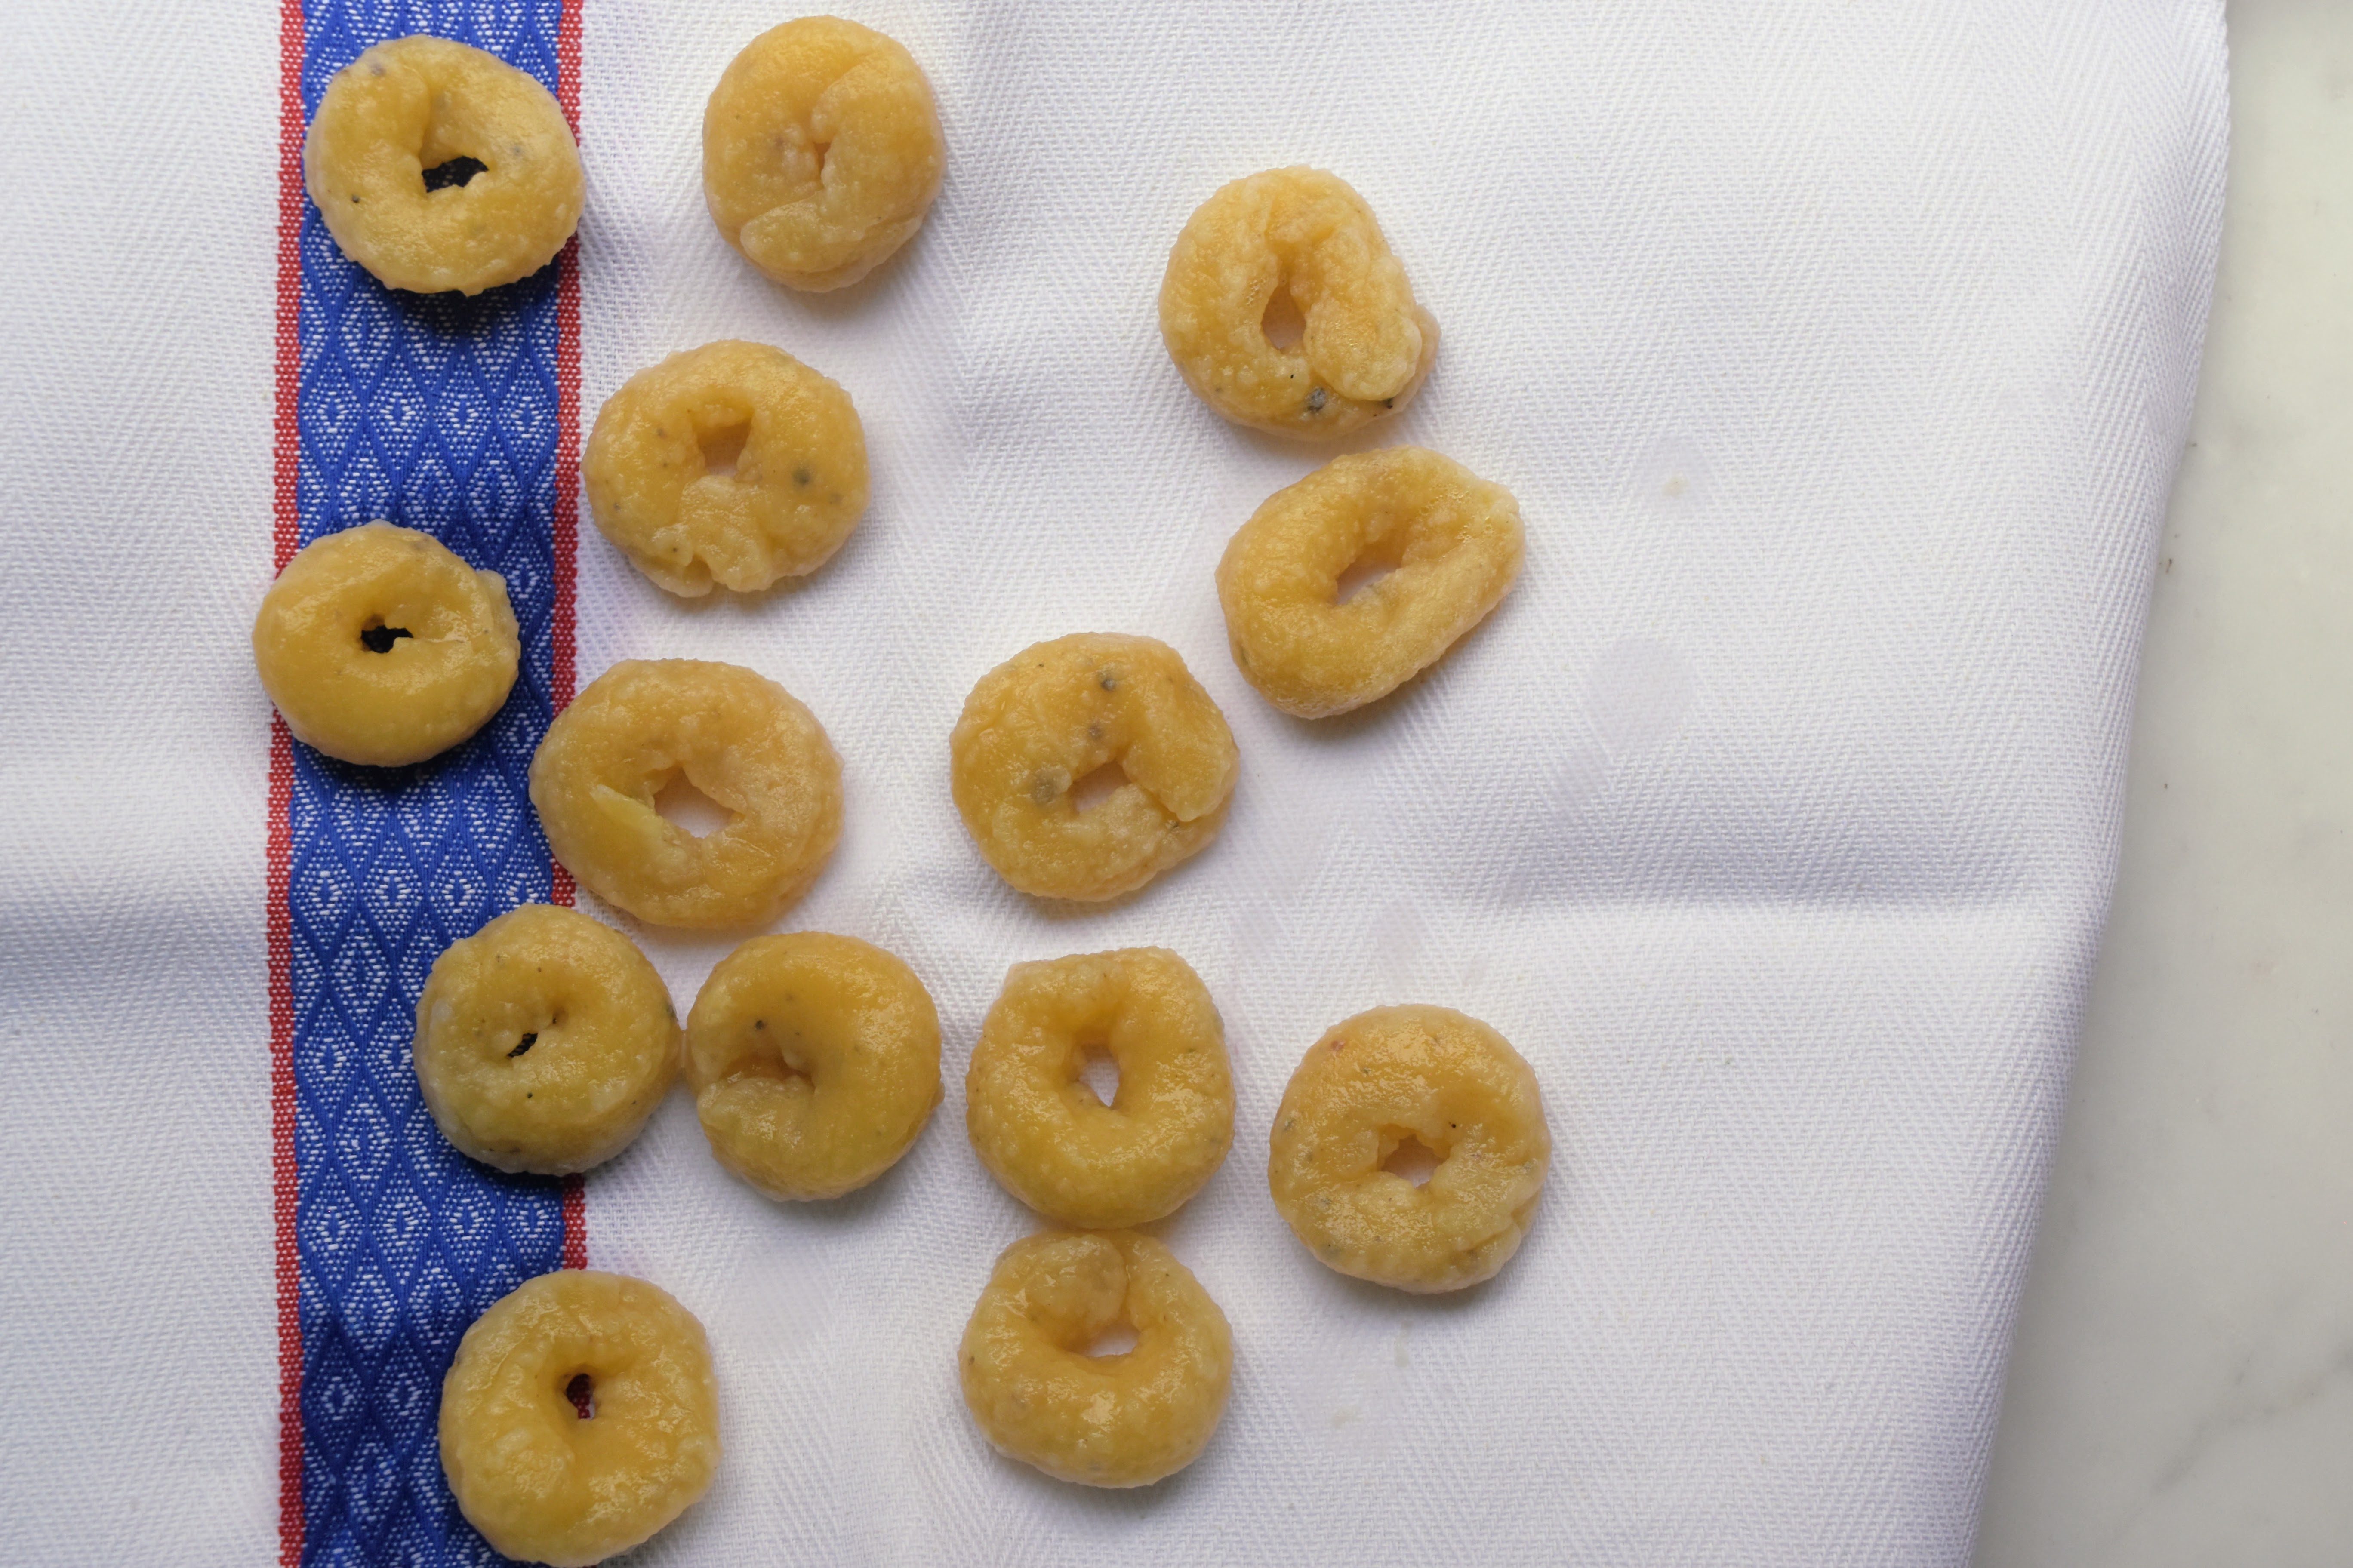
6. Boil the taralli, maybe 5-8 at a time depending on the size of your pot, until they float. Remove with a slotted spoon or skimmer, and place them on the clean dish towel to dry. Repeat until all the taralli are done; let them dry thoroughly. (You could, at this stage, leave them out for a few hours and bake them later; the extra drying time will not hurt at all.)
7. Preheat the oven to 400F/200C. Place the taralli on a baking sheet lined with parchment paper and bake on the center rack for about 30 minutes, or until the taralli are deeply golden brown; the longer they bake, the crispier they become. Enjoy!


 on the sides; front-facing wall of opus mixtum (bands of brick and tufa), with lateral 'toothing' and a structural arch; plus rough-hewn travertine column--Portico of Claudius, Portus (c. 50 AD)")
")
 with lateral 'toothing' and putlog holes at the top--Trajan's warehouse, Portus (c. 100 AD)")
")
, Trajan's warehouse, Portus (c. 100 AD)")

