
I realized a bit late that today is Pi Day, 3/14 (March 14). Our daughter is a huge fan of Pi Day baking, so I wanted to see if I could come up with a savory pie without having to go to the grocery store. Luckily, beets can keep in the fridge for a long, long time, and I recalled that two of them had been living in our crisper drawer for at least a month. Were they still good? Yes, they were. That meant the main ingredient for my pie was set. What goes beautifully with beets? Feta and walnuts. Both were miraculously on hand. As was a red onion that needed to be used, too, lending itself nicely to the red theme. So far, so good. Then I checked the freezer. Excellent: the puff pastry I thought I had in there was there, so I took it out to thaw. Pie ingredients all available!
Like most things involving pre-made puff pastry, this is a pretty easy recipe. The most complicated step (which is not hard, just messy) is peeling and dicing the raw beets. Prepare them on a plastic cutting board or a surface that will not stain. And beware of your hands. I washed my hands with soap and water after peeling each beet, then after dicing each beet, and then a final time for good measure–and my hands escaped unblemished. You could also use gloves. Or you could not worry about it, and then have time (on your hands) to admire a potent natural dye….

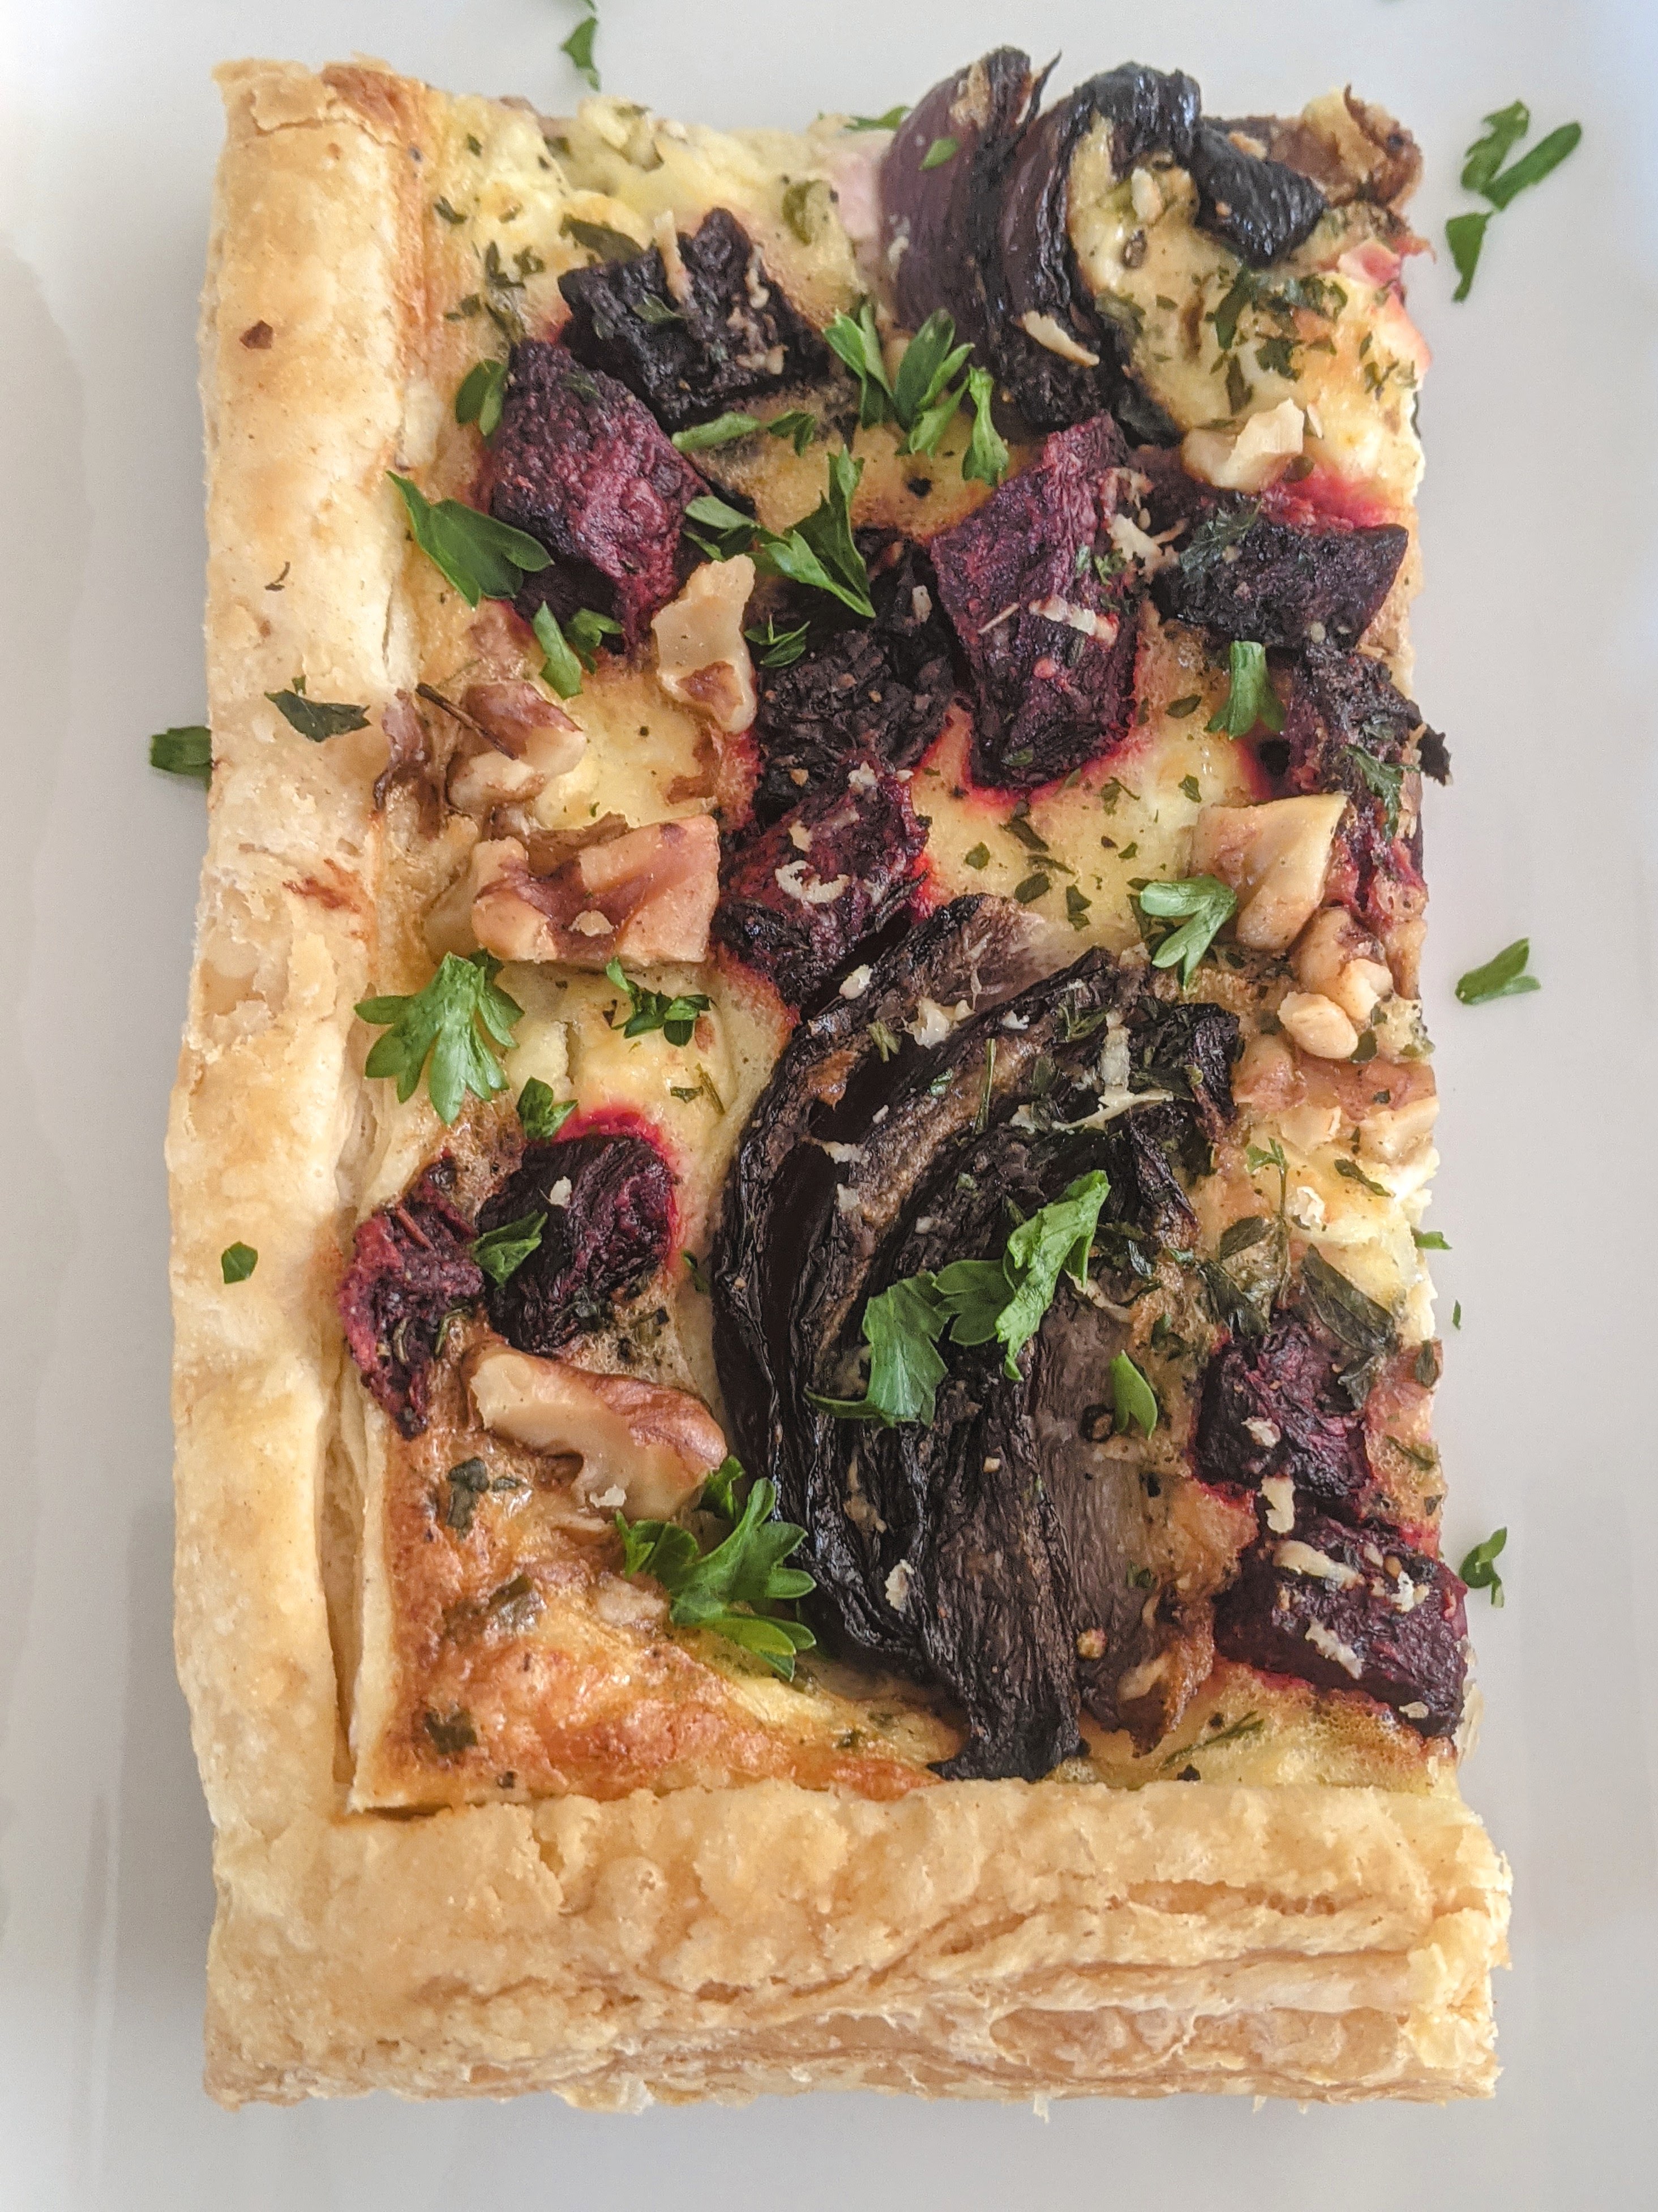
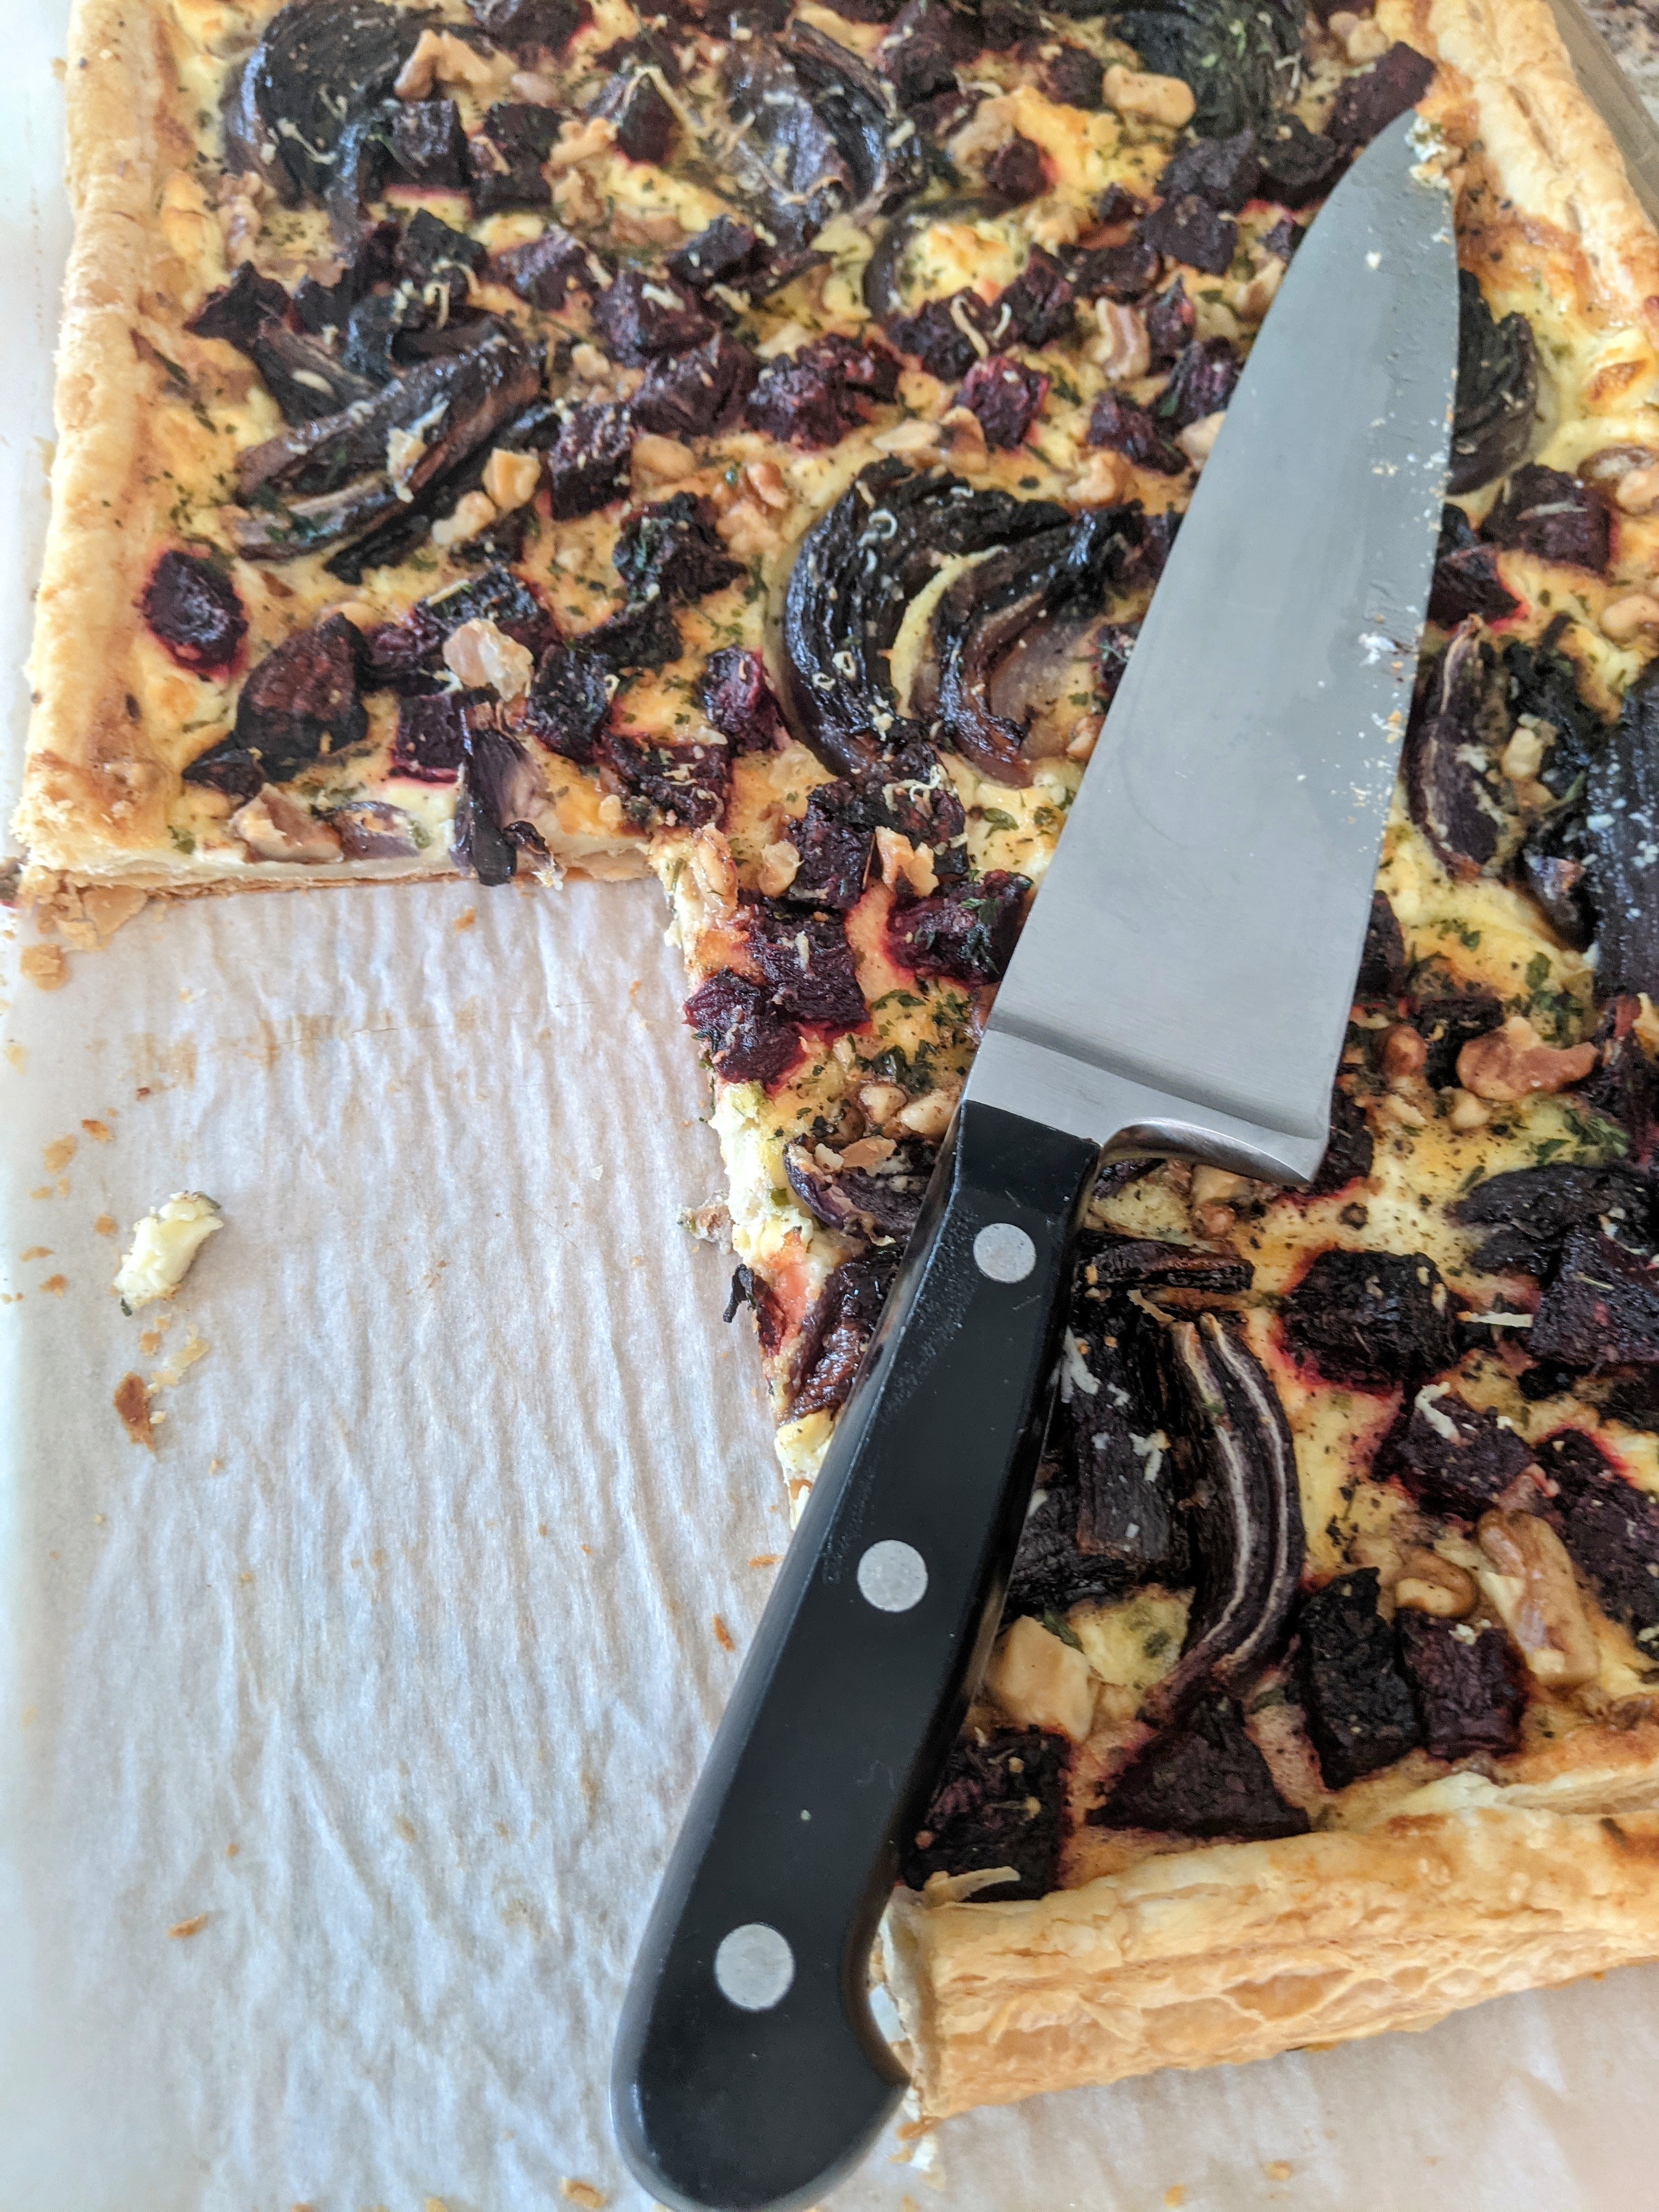
Roasted Beet and Red Onion Tart with Feta and Walnuts
6-8 servings
Ingredients
- 1 pkg. (17.3 oz./490 gr., usually comes with two sheets) puff pastry (pasta sfoglia, pâte feuilletée)–thawed
- Two large raw beets (about 1.1 lb./ 500 gr. total), peeled and diced into medium-sized pieces
- 1 large red onion, cut in half, then each half cut into about 5-6 wedges
- olive oil, dried thyme
- 1 cup (135 gr.) feta cheese, crumbled
- 1/2 cup (about 118 ml.) heavy cream
- 1 egg, lightly beaten
- 1 garlic clove, crushed
- 1 tbsp. dried chives, or 2 tbsp. fresh chives, finely chopped
- freshly grated black pepper
- 1/4 cup grated Pecorino Romano or Parmesan cheese
- small handful walnut pieces
- 1 tbsp. dried parsley
- fresh parsley if available, as garnish
Preparation
1. Preheat oven to 400 degrees F / 200 degrees C.
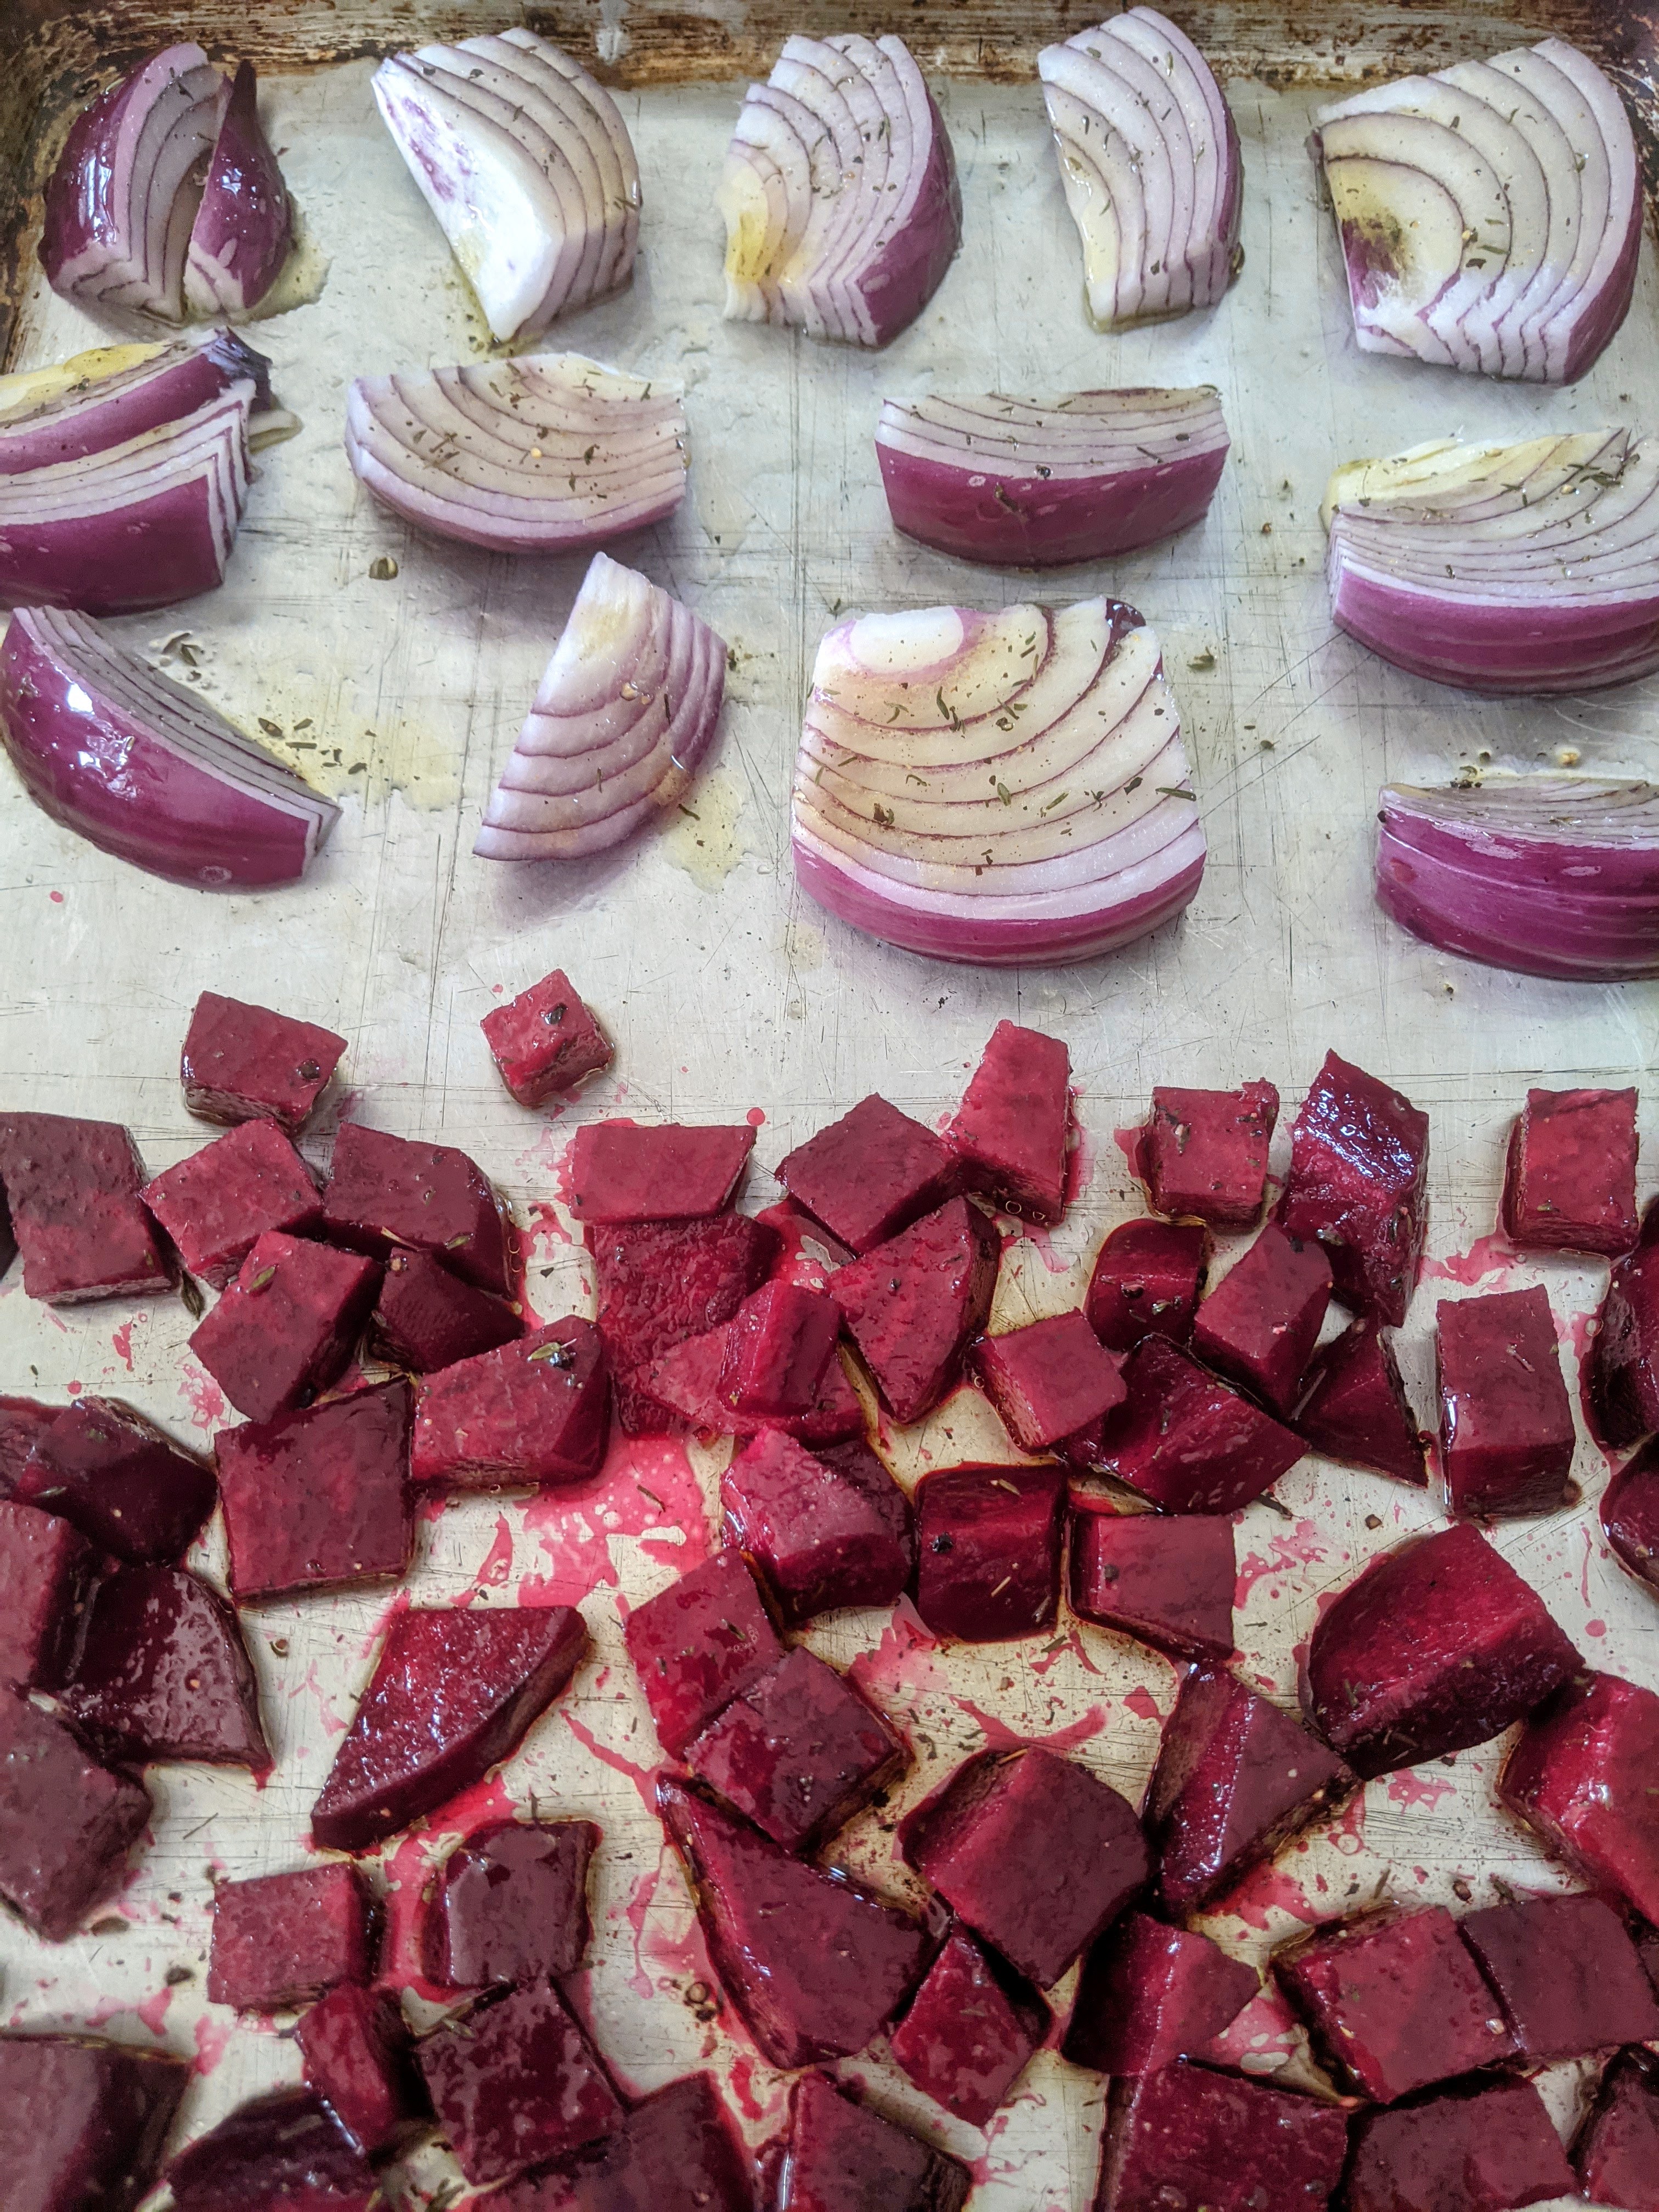
2. In a medium bowl, toss the diced beets with 1 tbsp. olive oil, a pinch of salt and pepper, and 1/4 tsp. thyme.
3. Lightly oil a large baking sheet (I used a half sheet) and spread the beets onto 2/3 of the sheet.
4. Place the red onion wedges on the other 1/3 of the baking sheet. Brush the onion wedges with olive oil, then sprinkle with salt, pepper, and more thyme.
5. Bake the vegetables for about 25-30 minutes or until the onions are soft and look slightly grilled. Carefully remove the onions and place them on a plate to cool. Roast the beets for 10 more minutes until they are soft and golden looking (ie, about 40 minutes total), then place them on a plate to cool slightly, too.
6. Lower the oven temperature to 375 degrees F / 190 C.
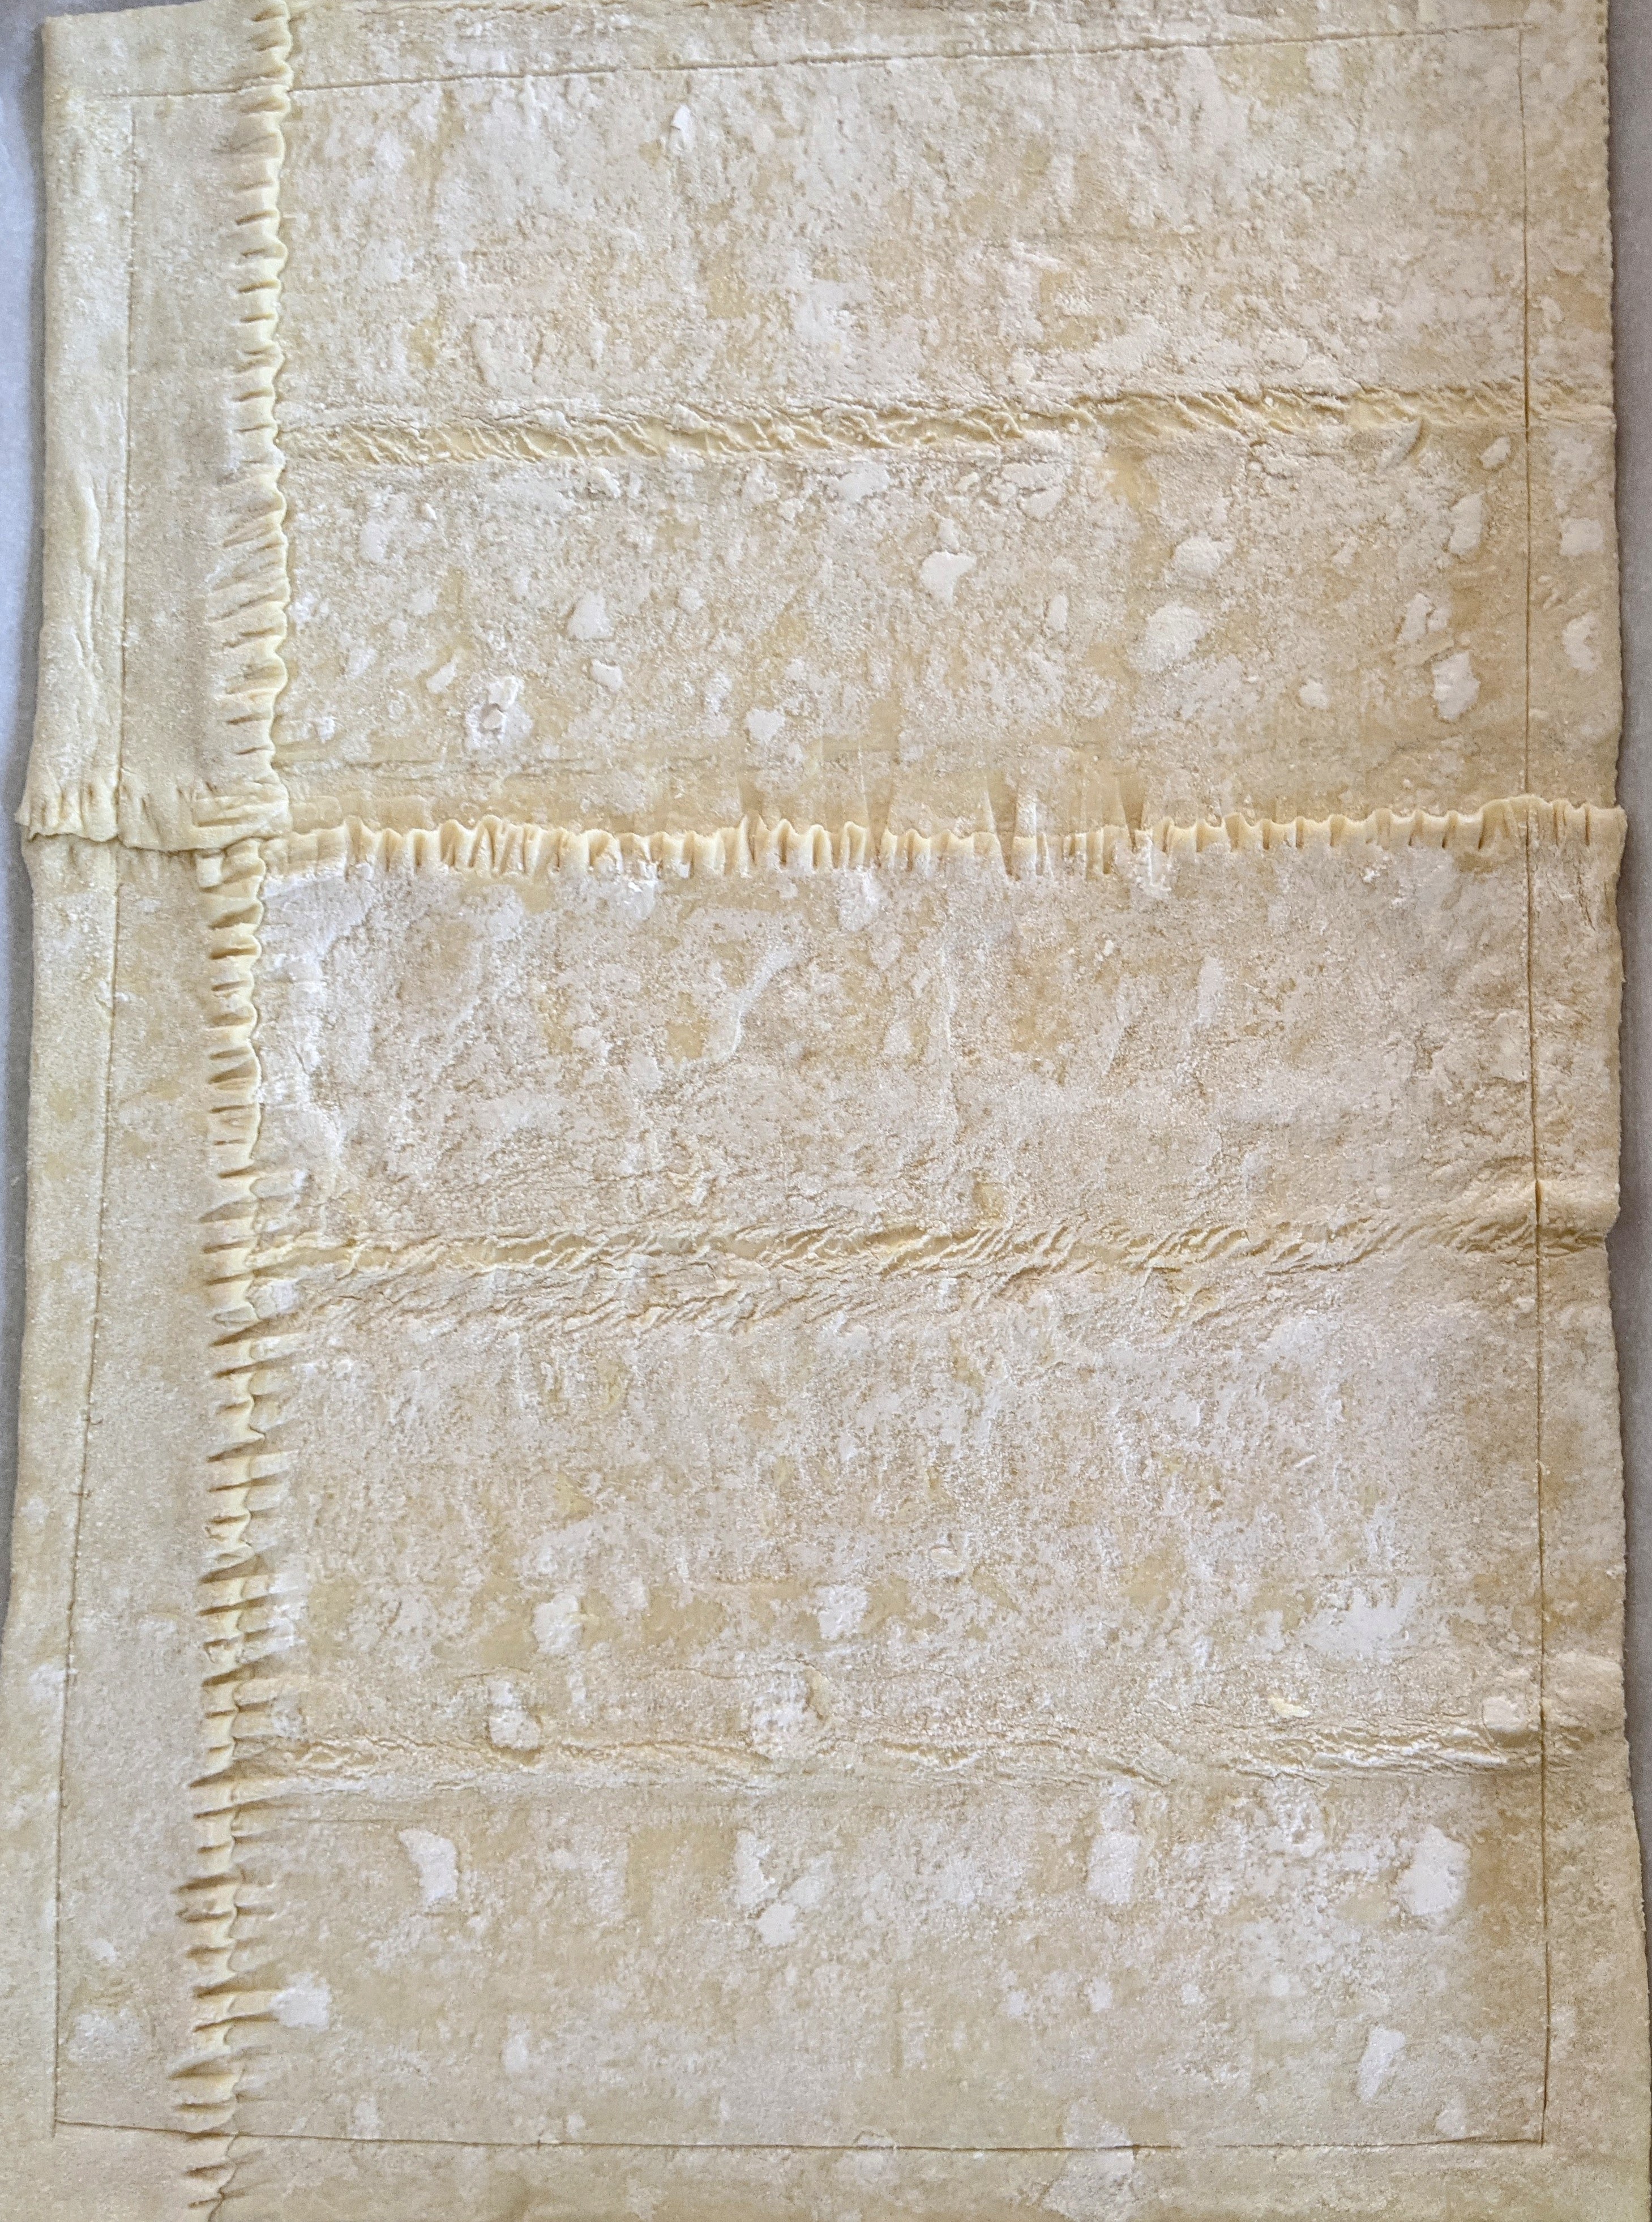
7. Line another baking sheet with parchment paper (I used another half sheet pan, but if you do not have one, you can use two smaller baking pans) . Unfold the thawed puff pastry sheets and arrange them on the parchment paper to fill up the pan as best as possible. Note: Depending on the size of your baking pan, this will require some cutting and pressing to fill the pan properly. With a sharp knife, score the edge of the pastry all the way around, creating a 1/2-inch border, but don’t cut the pastry all the way through. Here’s what my pastry looked like when I was done (if you aren’t in the mood for jigsaw puzzles, you could also place a puff pastry sheet on each of two smaller pans):
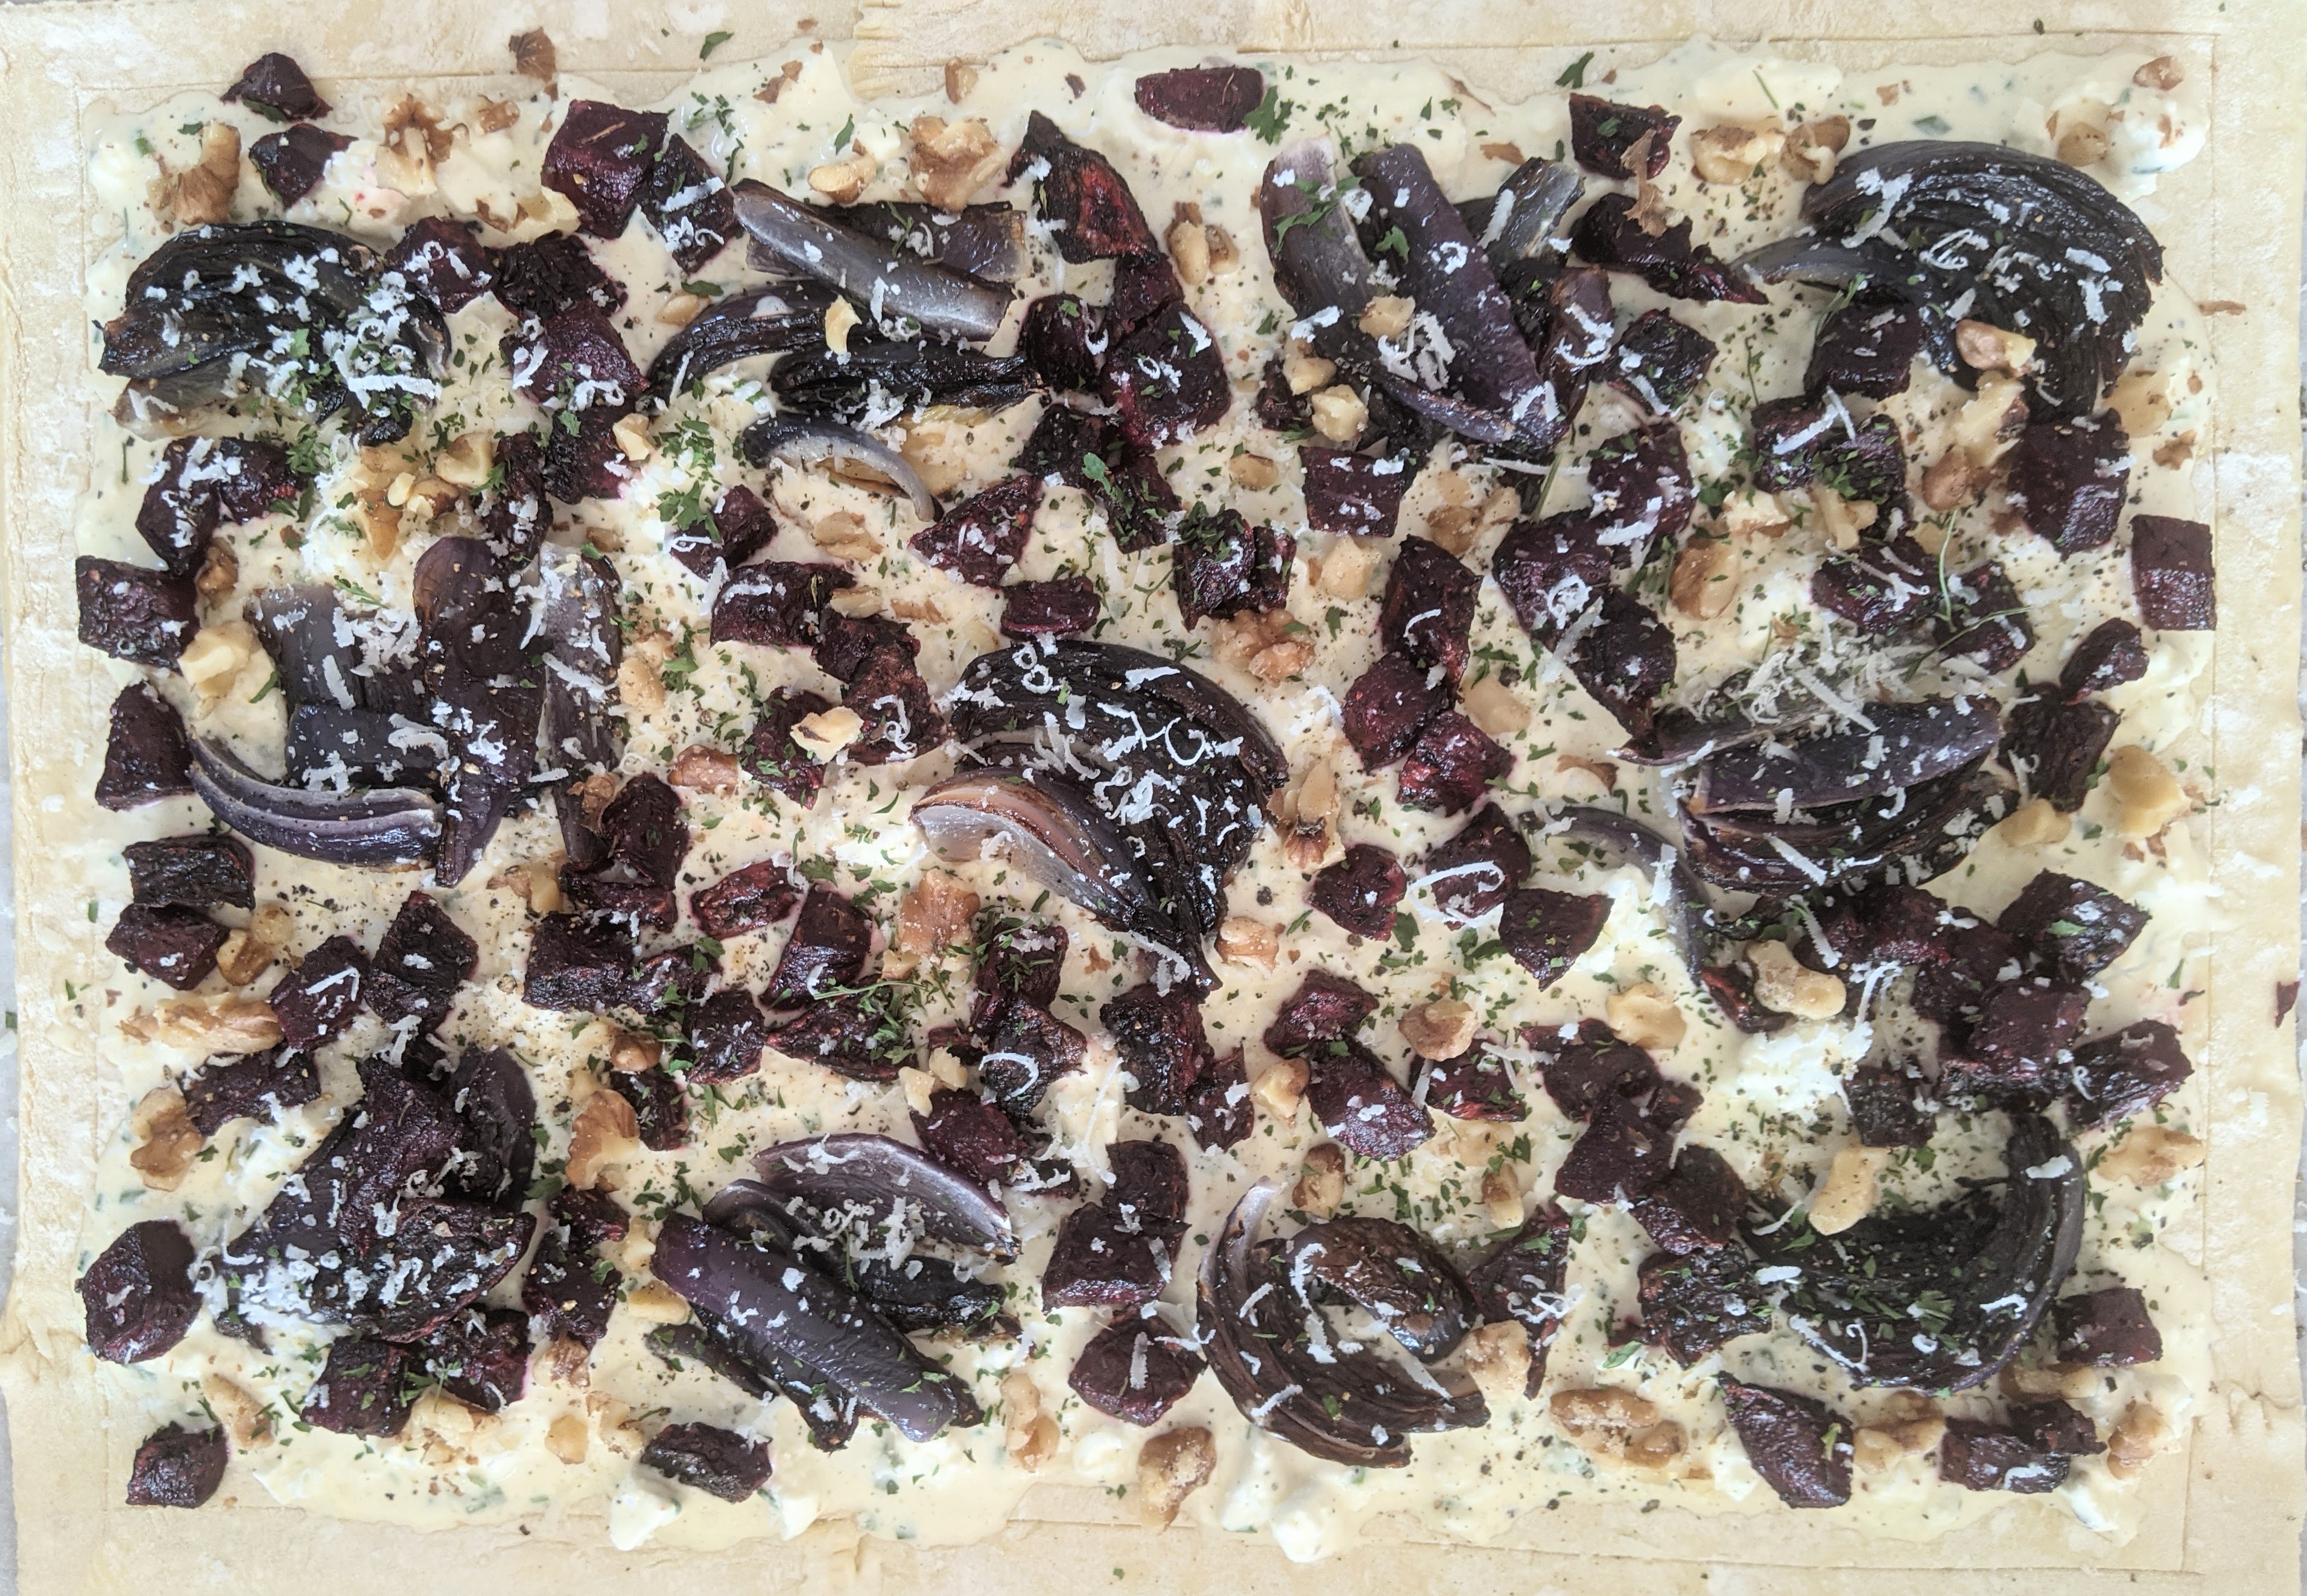
8. Make the feta base. Combine the feta, cream, egg, garlic, chives, and black pepper, and mash together. Prick the pastry, then spread the feta mixture over it, being carefully not to go past the border.

9. Arrange the beets and onion wedges on top of the feta mixture, sprinkle with Pecorino Romano cheese (or Parmesan), then scatter the walnuts around. Sprinkle dried parsley and more ground pepper over the top. If you really love cheese, you could spoon some extra crumbled feta over the top, too.
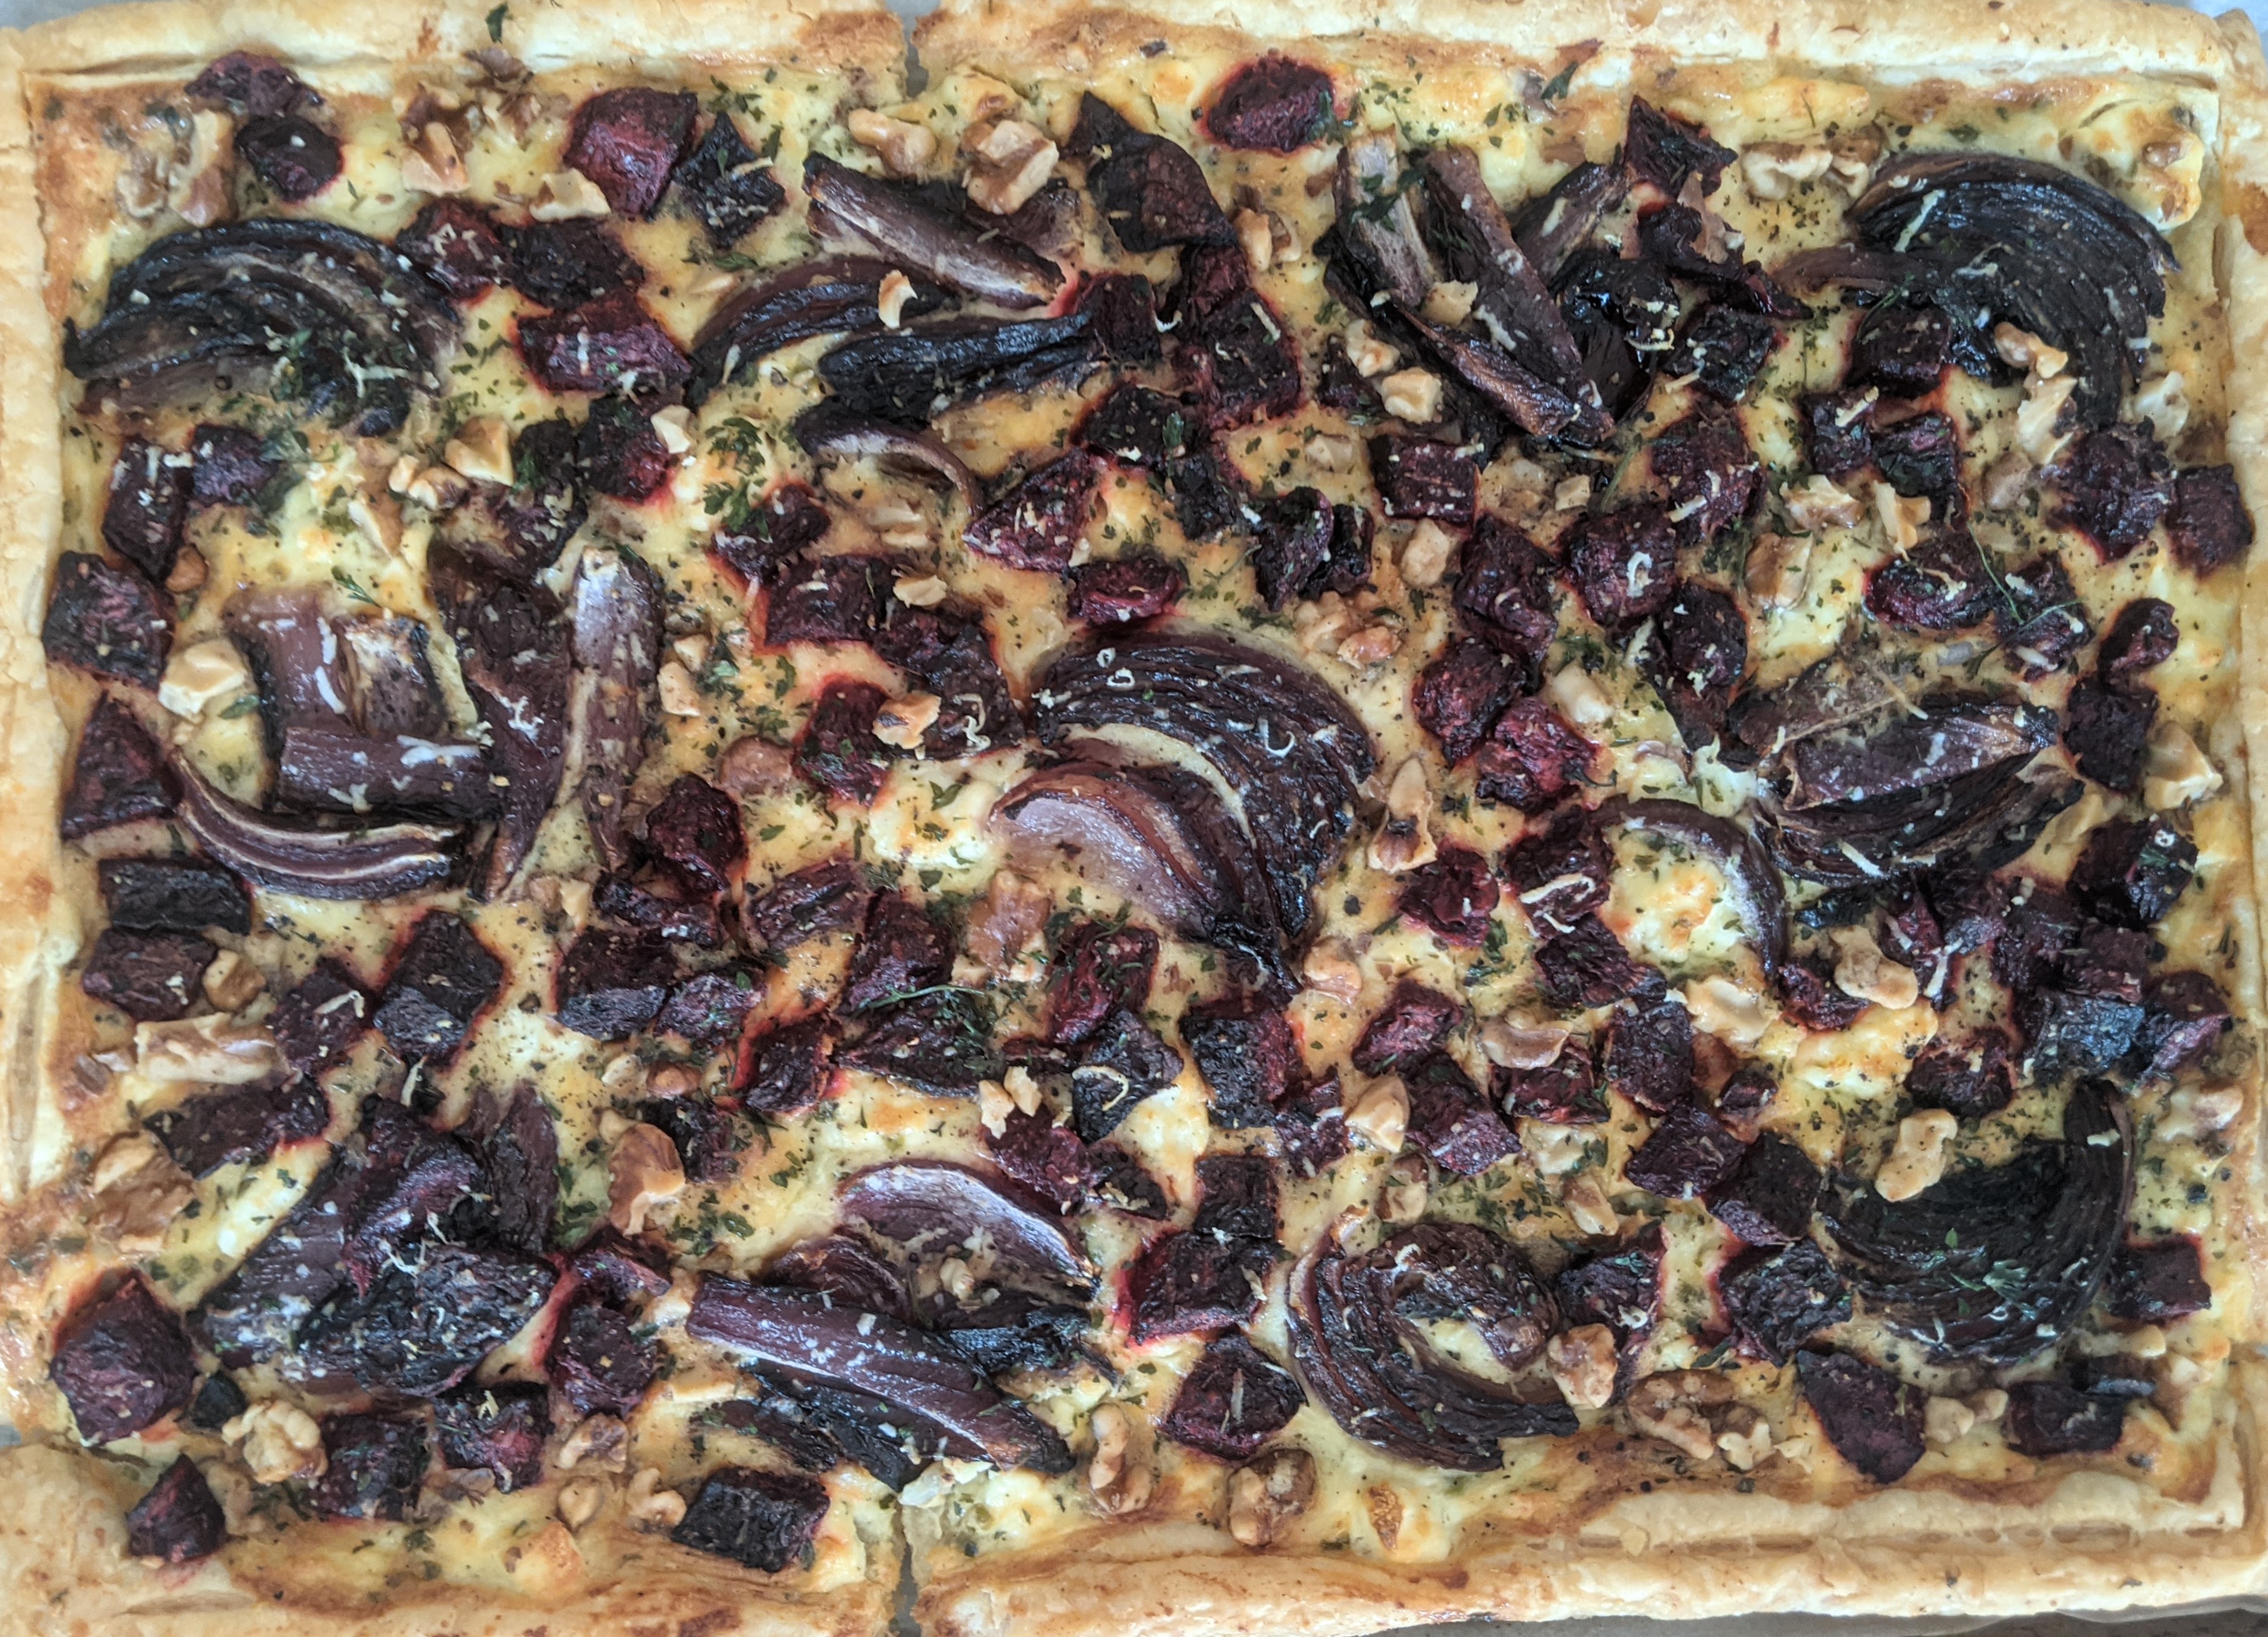
10. Bake the tart for 30 minutes or until the edges and bottom are golden. Let cool for a few minutes, then sprinkle with fresh chopped parsley and serve with peppery greens (like arugula, though a spring mix would do, too) drizzled with a balsamic vinaigrette.


 on the sides; front-facing wall of opus mixtum (bands of brick and tufa), with lateral 'toothing' and a structural arch; plus rough-hewn travertine column--Portico of Claudius, Portus (c. 50 AD)")
")
 with lateral 'toothing' and putlog holes at the top--Trajan's warehouse, Portus (c. 100 AD)")
")
, Trajan's warehouse, Portus (c. 100 AD)")

