

The very last of my basil has flowered, so today I headed out and harvested all the remaining good leaves. It took a while, but the sun was warm on my back, the bees were buzzing gently by, and the smell of the basil as I plucked each leaf one by one, was intoxicating. There are worse ways to spend part of an October morning.
My aim? To make a few batches of pesto to freeze. But the end result looked (and smelled) so good, I couldn’t wait; I decided to use one batch tonight. It will get drizzled over a Sausage, Kale and Bean soup, the thought of which is already making me hungry!
This recipe calls for blanching the basil, which I find is a key way to get the greenest color. Today, I used another trick, too: I added a handful of baby spinach leaves that needed using up as spinach also amplifies the emerald factor. The addition of a few drops of lemon juice makes the pesto a bit brighter, too; I almost feel like it makes the pesto taste greener (is that possible?).
Note: When I am making pesto to freeze, I do not add the cheese or lemon juice. Instead, I add both those things later on to the thawed pesto. So the photos below are pre-cheese, and thus, represent a vegan version that would be delicious on its own, too.
Bright Green Pesto
(makes 2 cups total = 3 batches)
6 c. (slightly compressed but not packed) fresh basil leaves (about 120 gr.); can substitute up to 1 c. baby spinach leaves
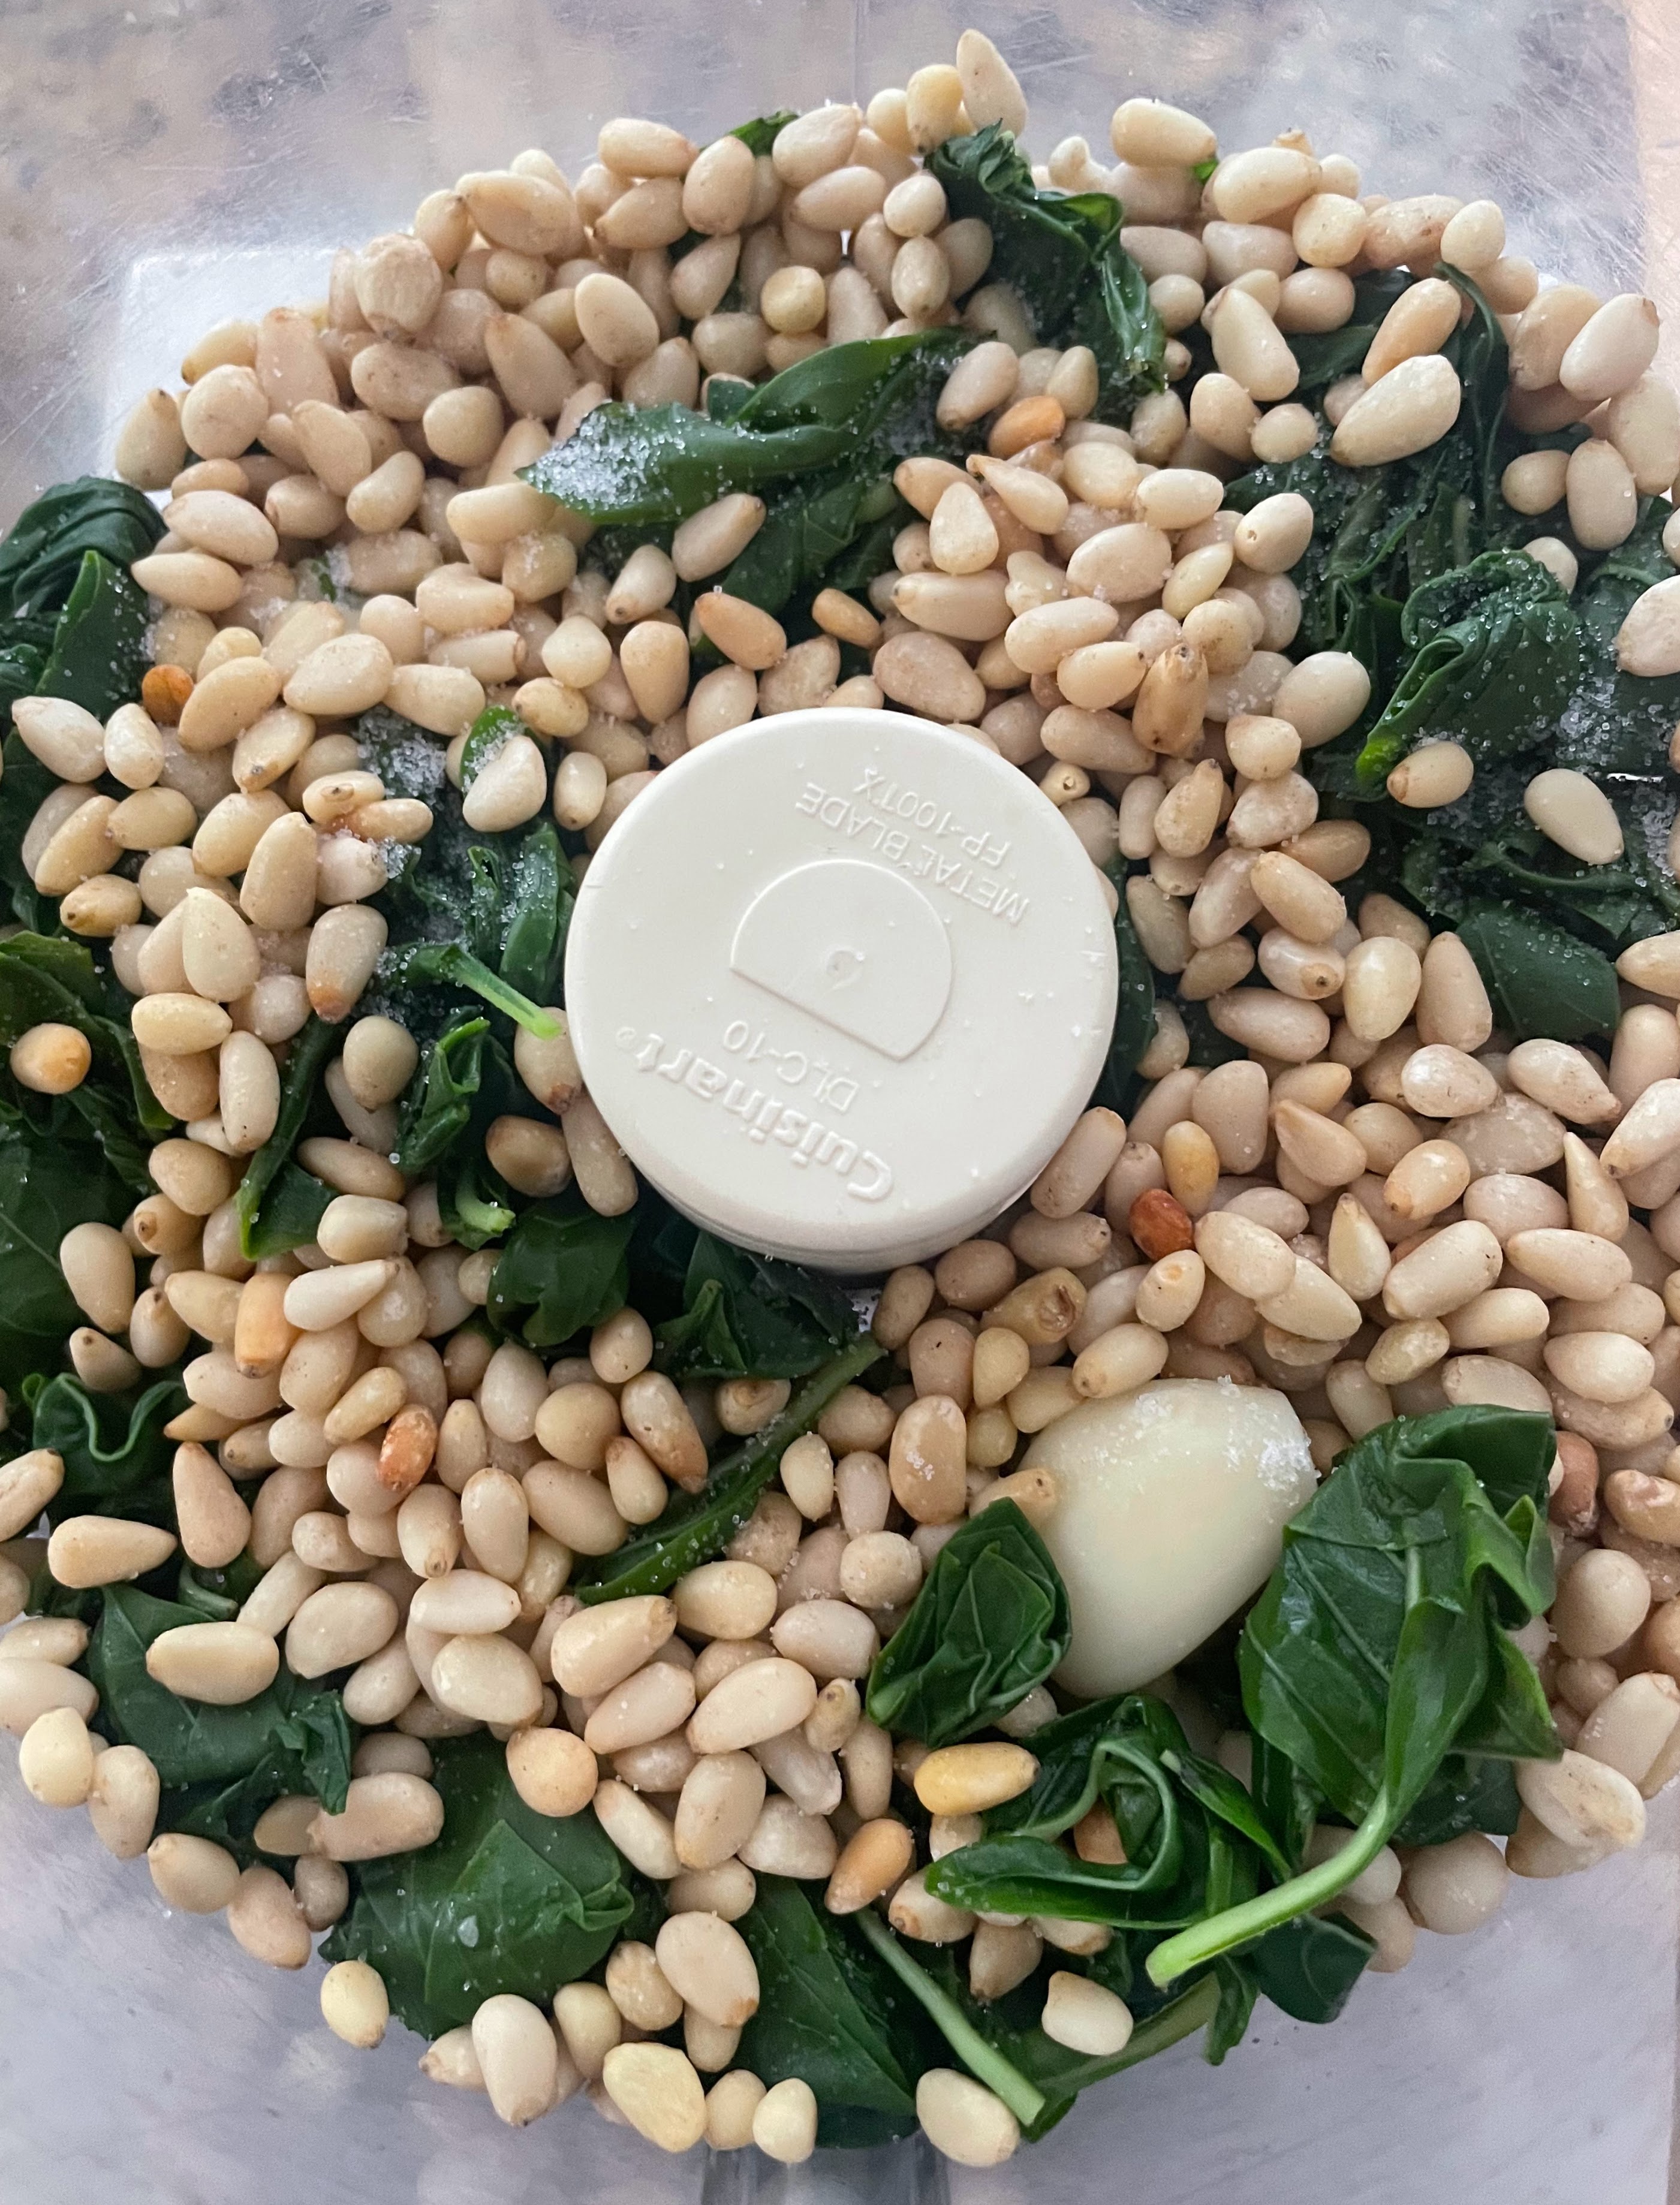
3/4 c. toasted pine nuts
6 large garlic cloves
1/2 tsp. salt
1 c. extra-virgin olive oil
*1.5 c. freshly grated Pecorino Romano cheese (preferred) or Parmesan
*lemon juice, to taste
Preparation
1. Set a large pot of water to boil.
2. Pick over the basil leaves to make sure there are no blemishes (or stems). Fill a large bowl with ice water and set aside. When the water in the pot is boiling, add the basil and garlic, and push down on the basil leaves with a slotted spoon (to submerge them), just until they turn bright green. This blanching process should take less than a minute.


3. Immediately drain the basil and garlic in a colander, and then set the colander in the bowl of ice water to stop the cooking.
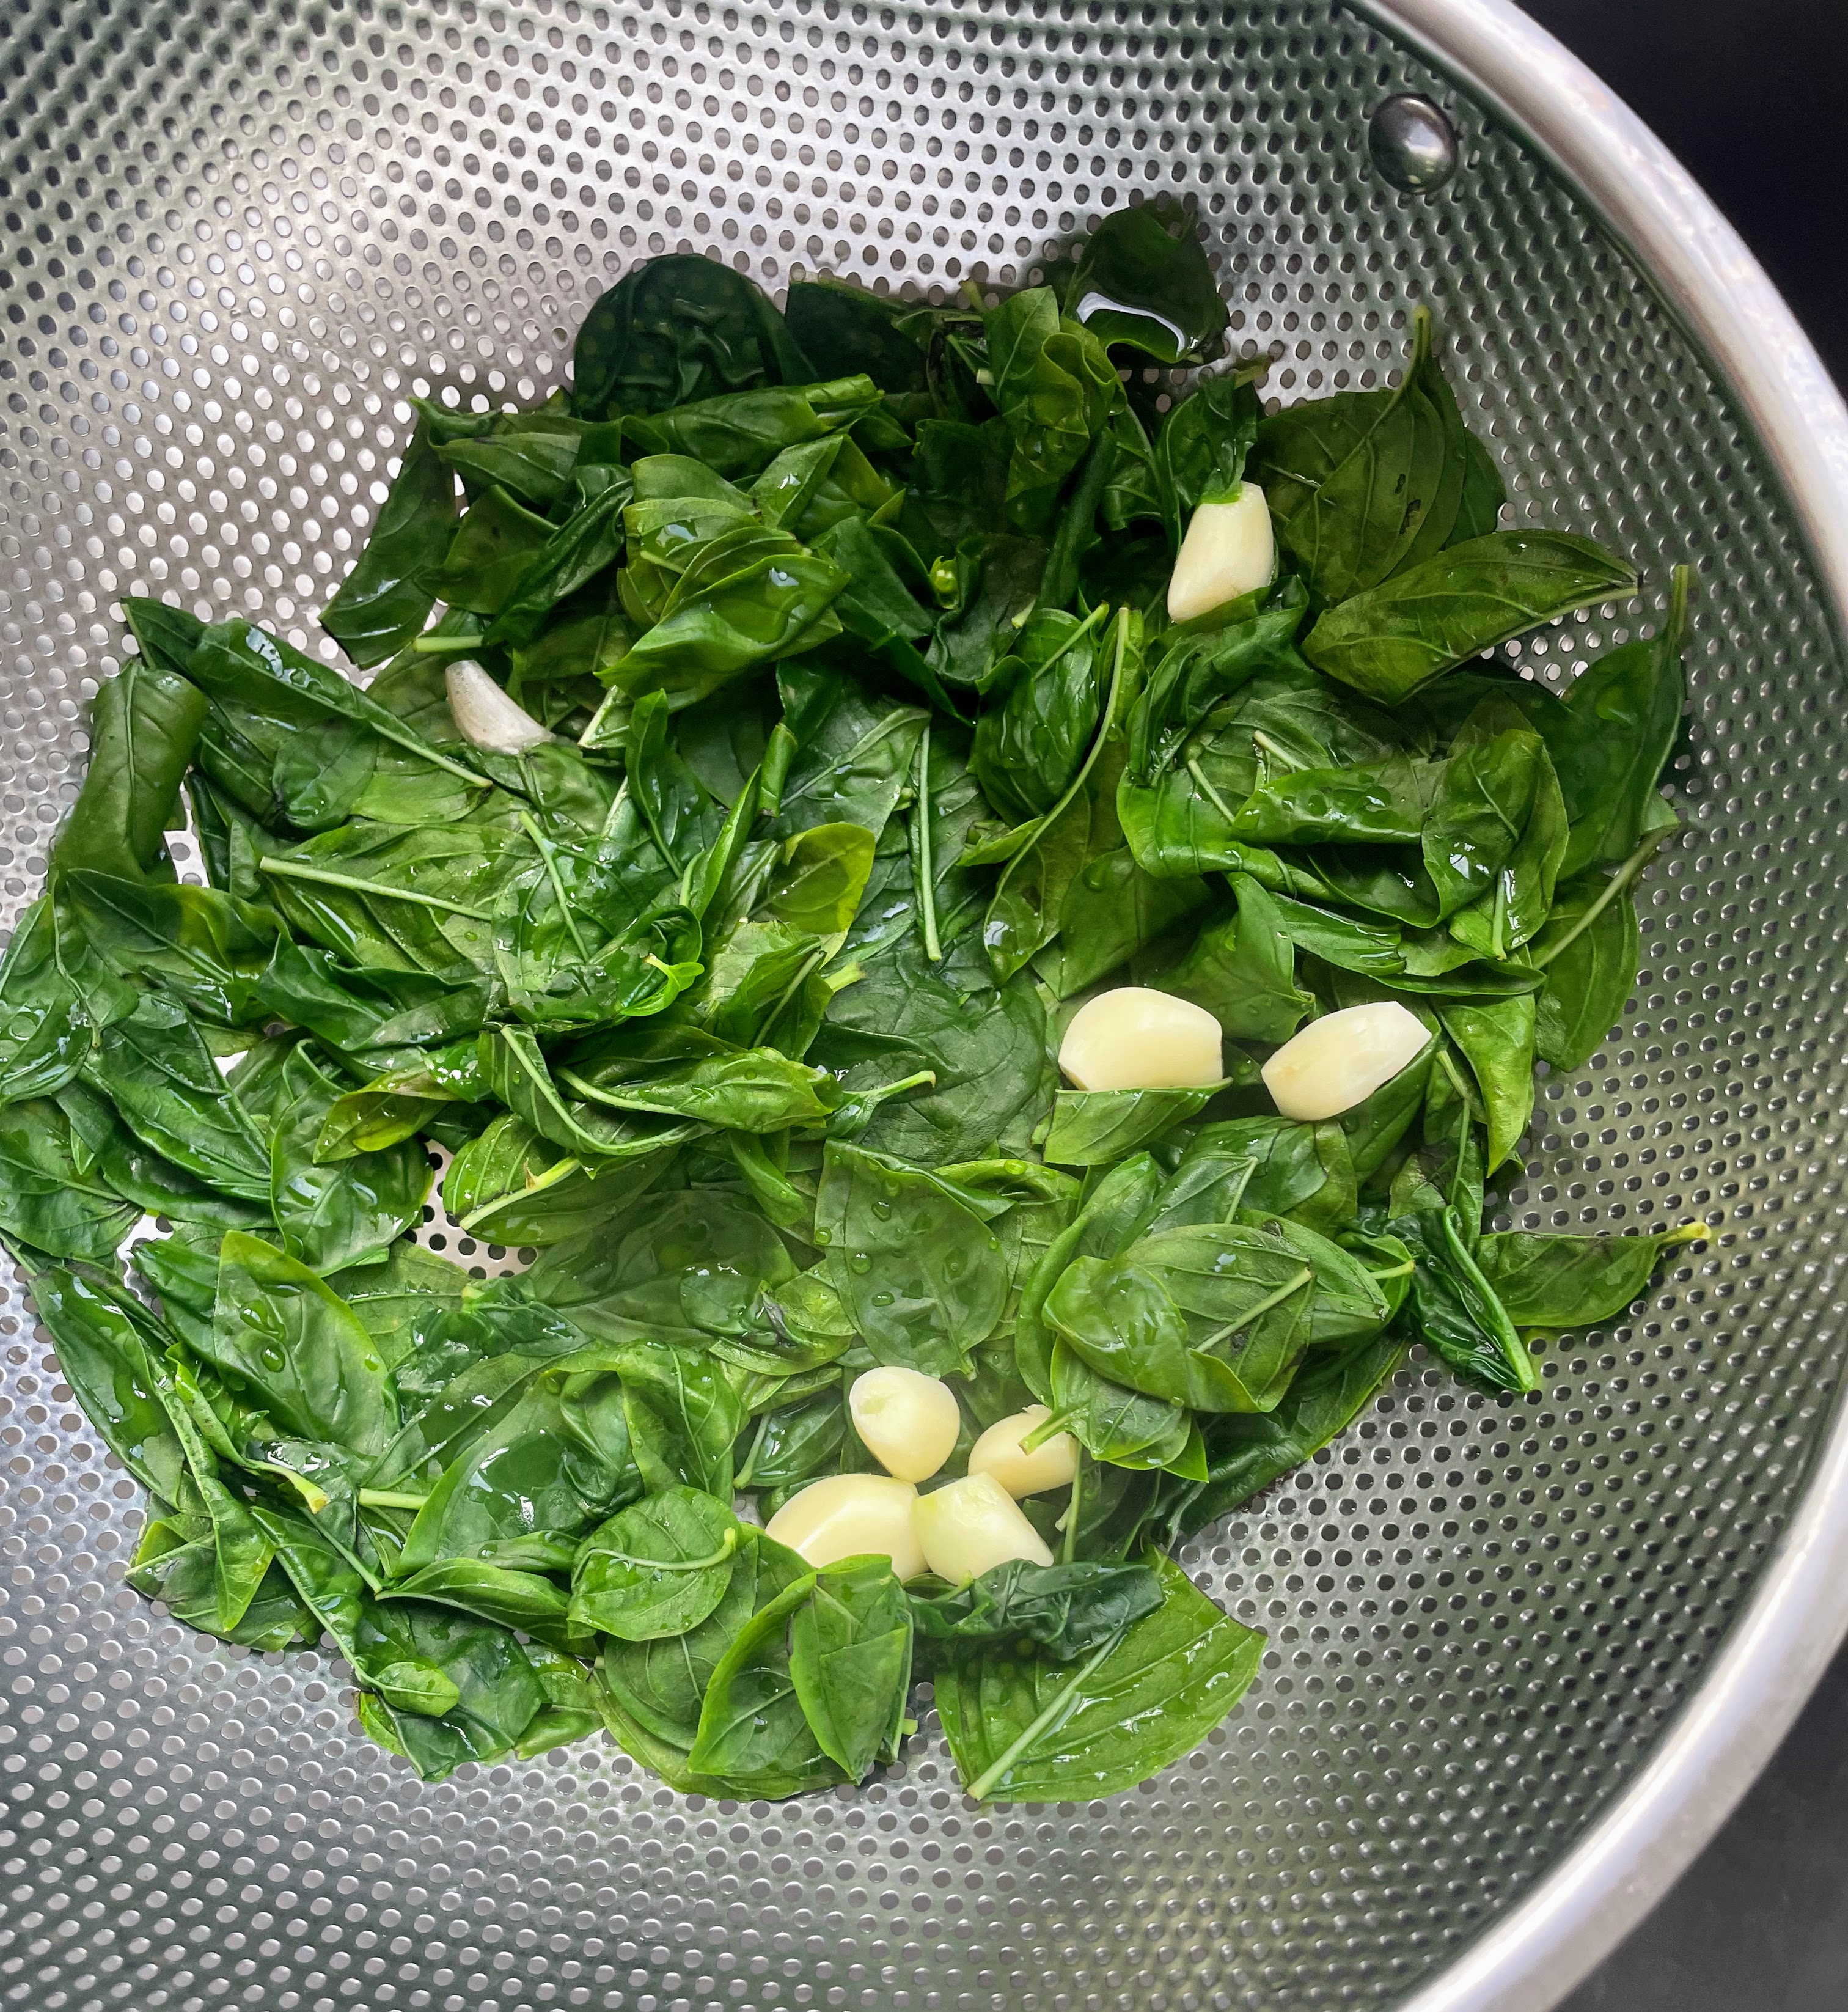

4. Once the spinach is cold, remove the colander from the bowl, set in the sink, and let the basil and garlic drain for a few minutes. Then place the basil and garlic on a clean dish towel and pat as dry as possible.
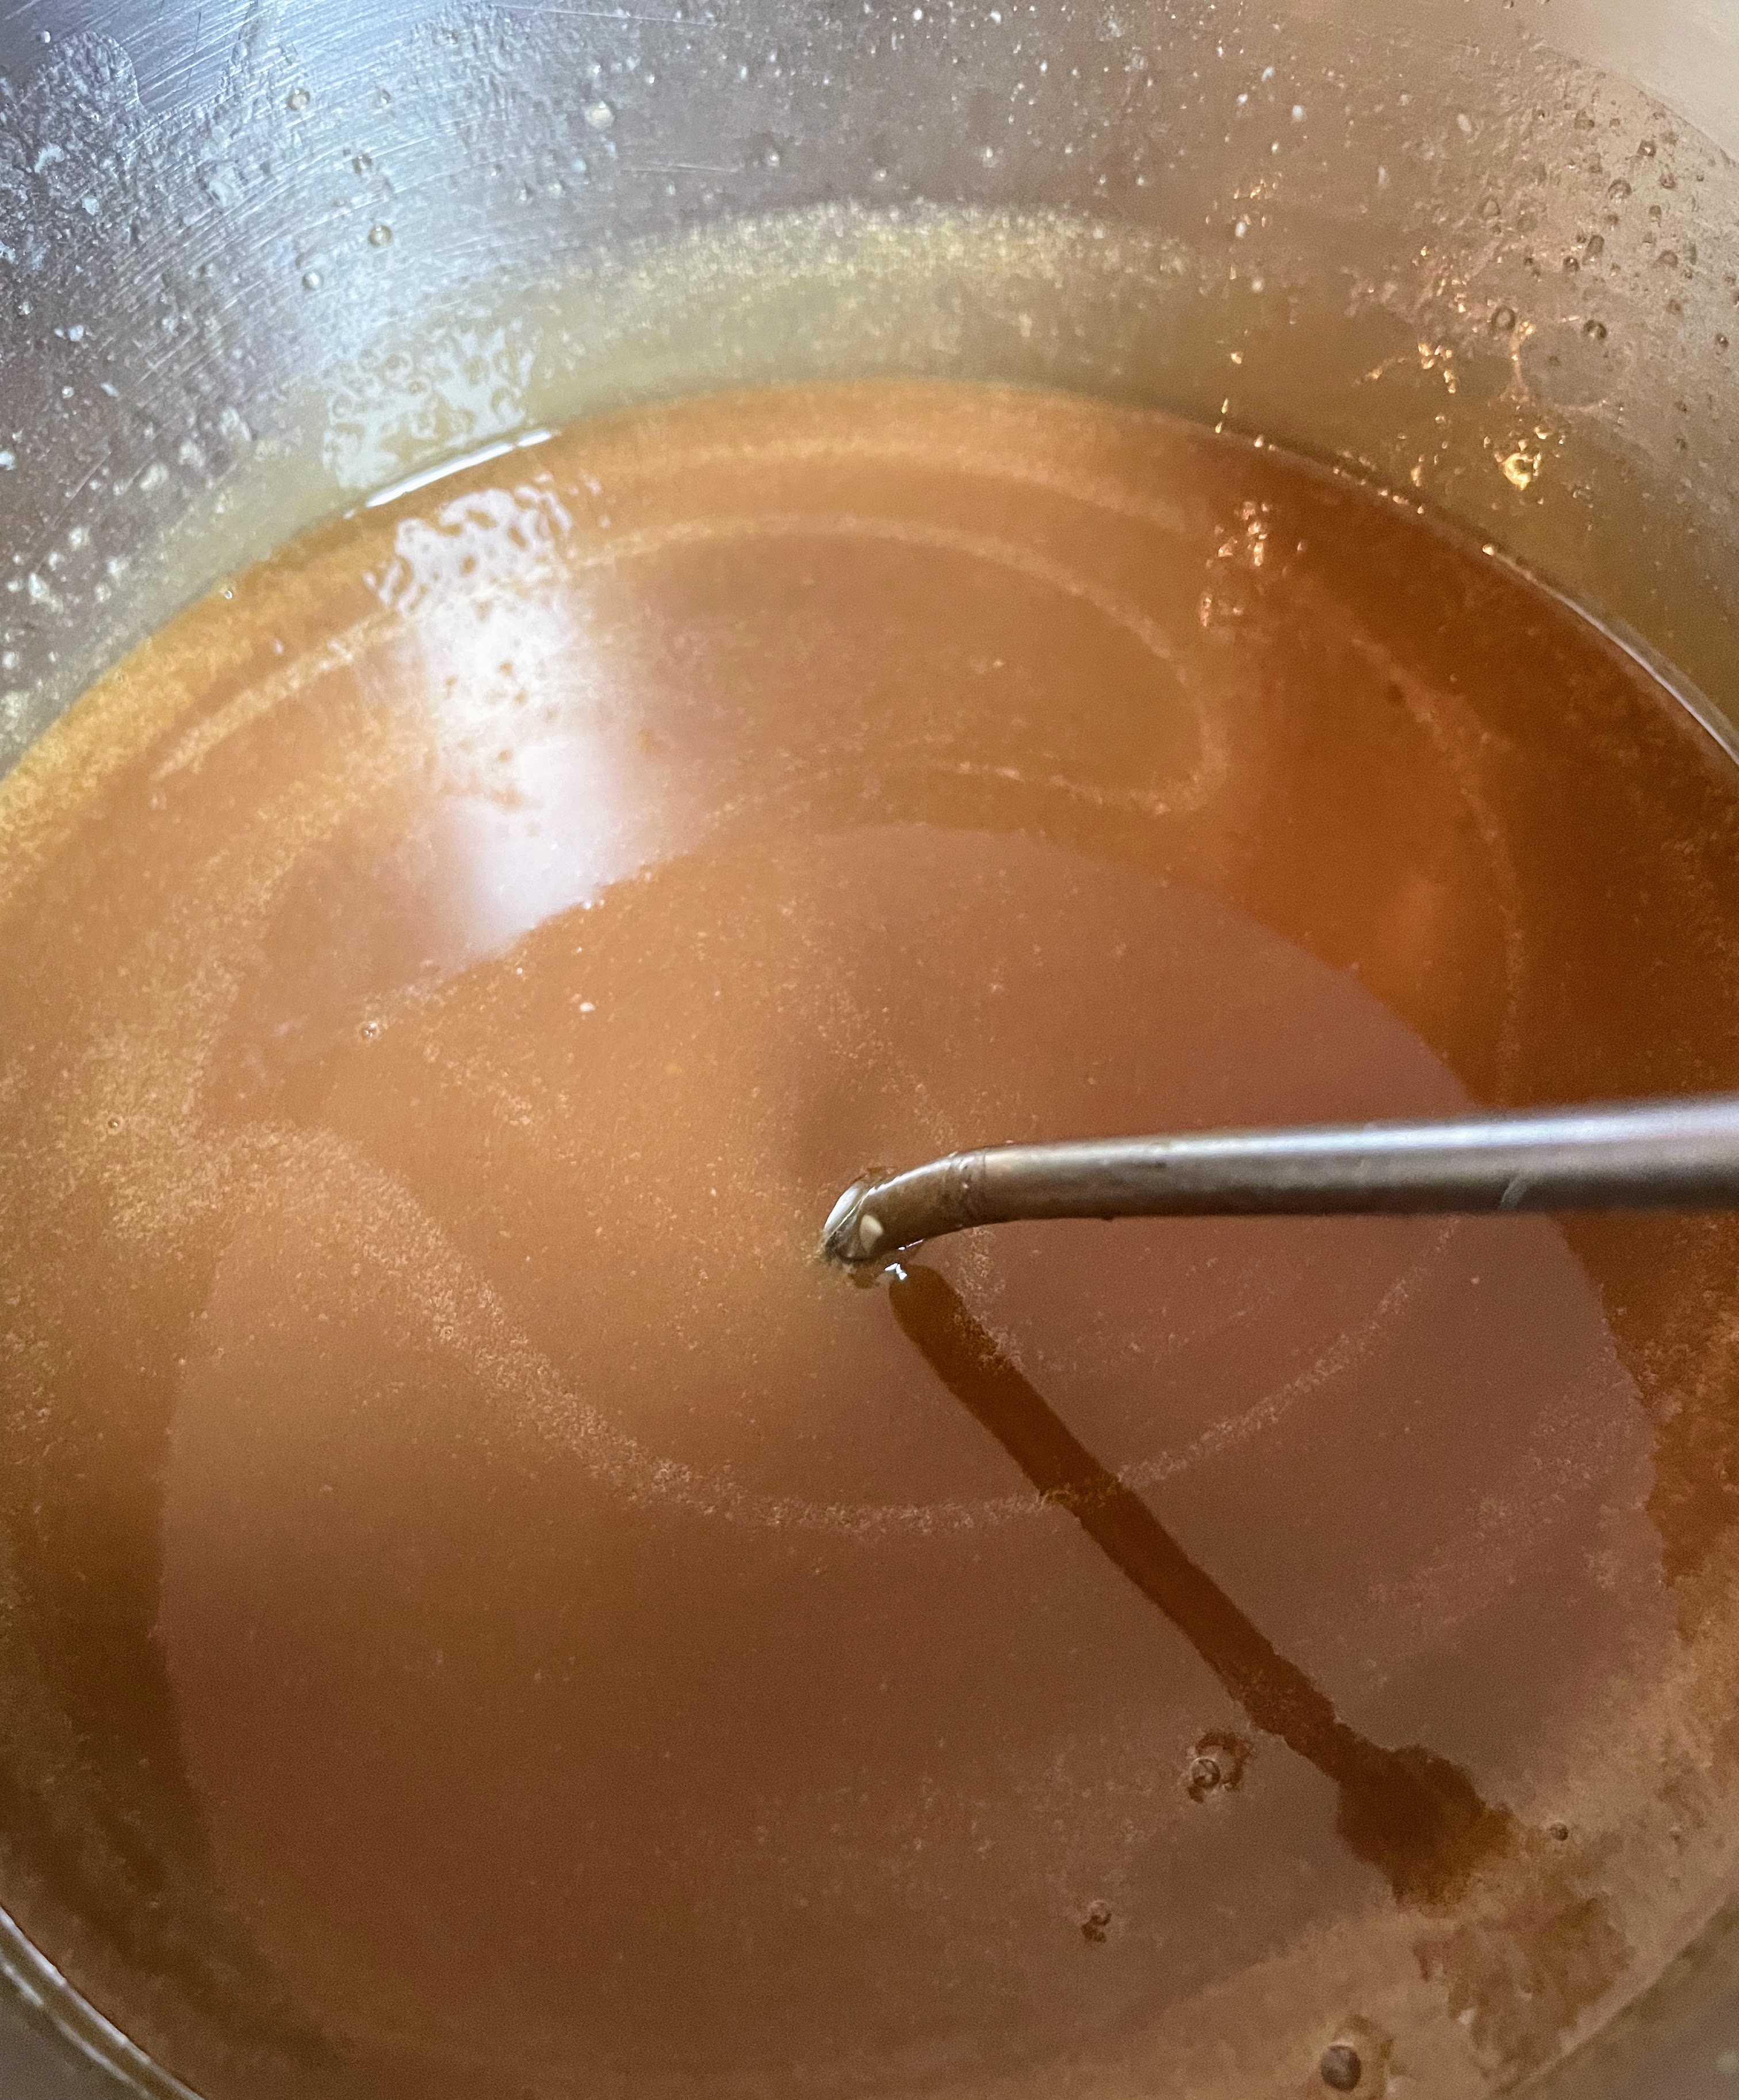
5. Put the basil and garlic in a food processor, add the pine nuts and salt, and pulse until the mixture is finely chopped and begins to come together. With the food processor still running, slowly pour in the olive oil and process until smooth.

6. If using the pesto the same day, add the cheese and lemon juice, and pulse again very briefly, just long enough to combine. Do a quick taste test to gauge lemon and salt levels; add more if needed. You can also add a bit more olive oil if the pesto seems too thick.
*7. If freezing the pesto, omit the cheese and lemon juice, divide the pesto among three freezer-proof containers, and freeze. When you want to use a batch, thaw it fully and let it come to room temperature. Prior to using, add 1/2 cup grated cheese and a few drops of lemon juice, and mix well. Do a quick taste test to gauge lemon and salt levels; add more if needed. You can also add a bit more olive oil if the pesto seems too thick.


 on the sides; front-facing wall of opus mixtum (bands of brick and tufa), with lateral 'toothing' and a structural arch; plus rough-hewn travertine column--Portico of Claudius, Portus (c. 50 AD)")
")
 with lateral 'toothing' and putlog holes at the top--Trajan's warehouse, Portus (c. 100 AD)")
")
, Trajan's warehouse, Portus (c. 100 AD)")

