The very last of my basil has flowered, so today I headed out and harvested all the remaining good leaves. It took a while, but the sun was warm on my back, the bees were buzzing gently by, and the smell of the basil as I plucked each leaf one by one, was intoxicating. There are worse ways to spend part of an October morning.
My aim? To make a few batches of pesto to freeze. But the end result looked (and smelled) so good, I couldn’t wait; I decided to use one batch tonight. It will get drizzled over a Sausage, Kale and Bean soup, the thought of which is already making me hungry!
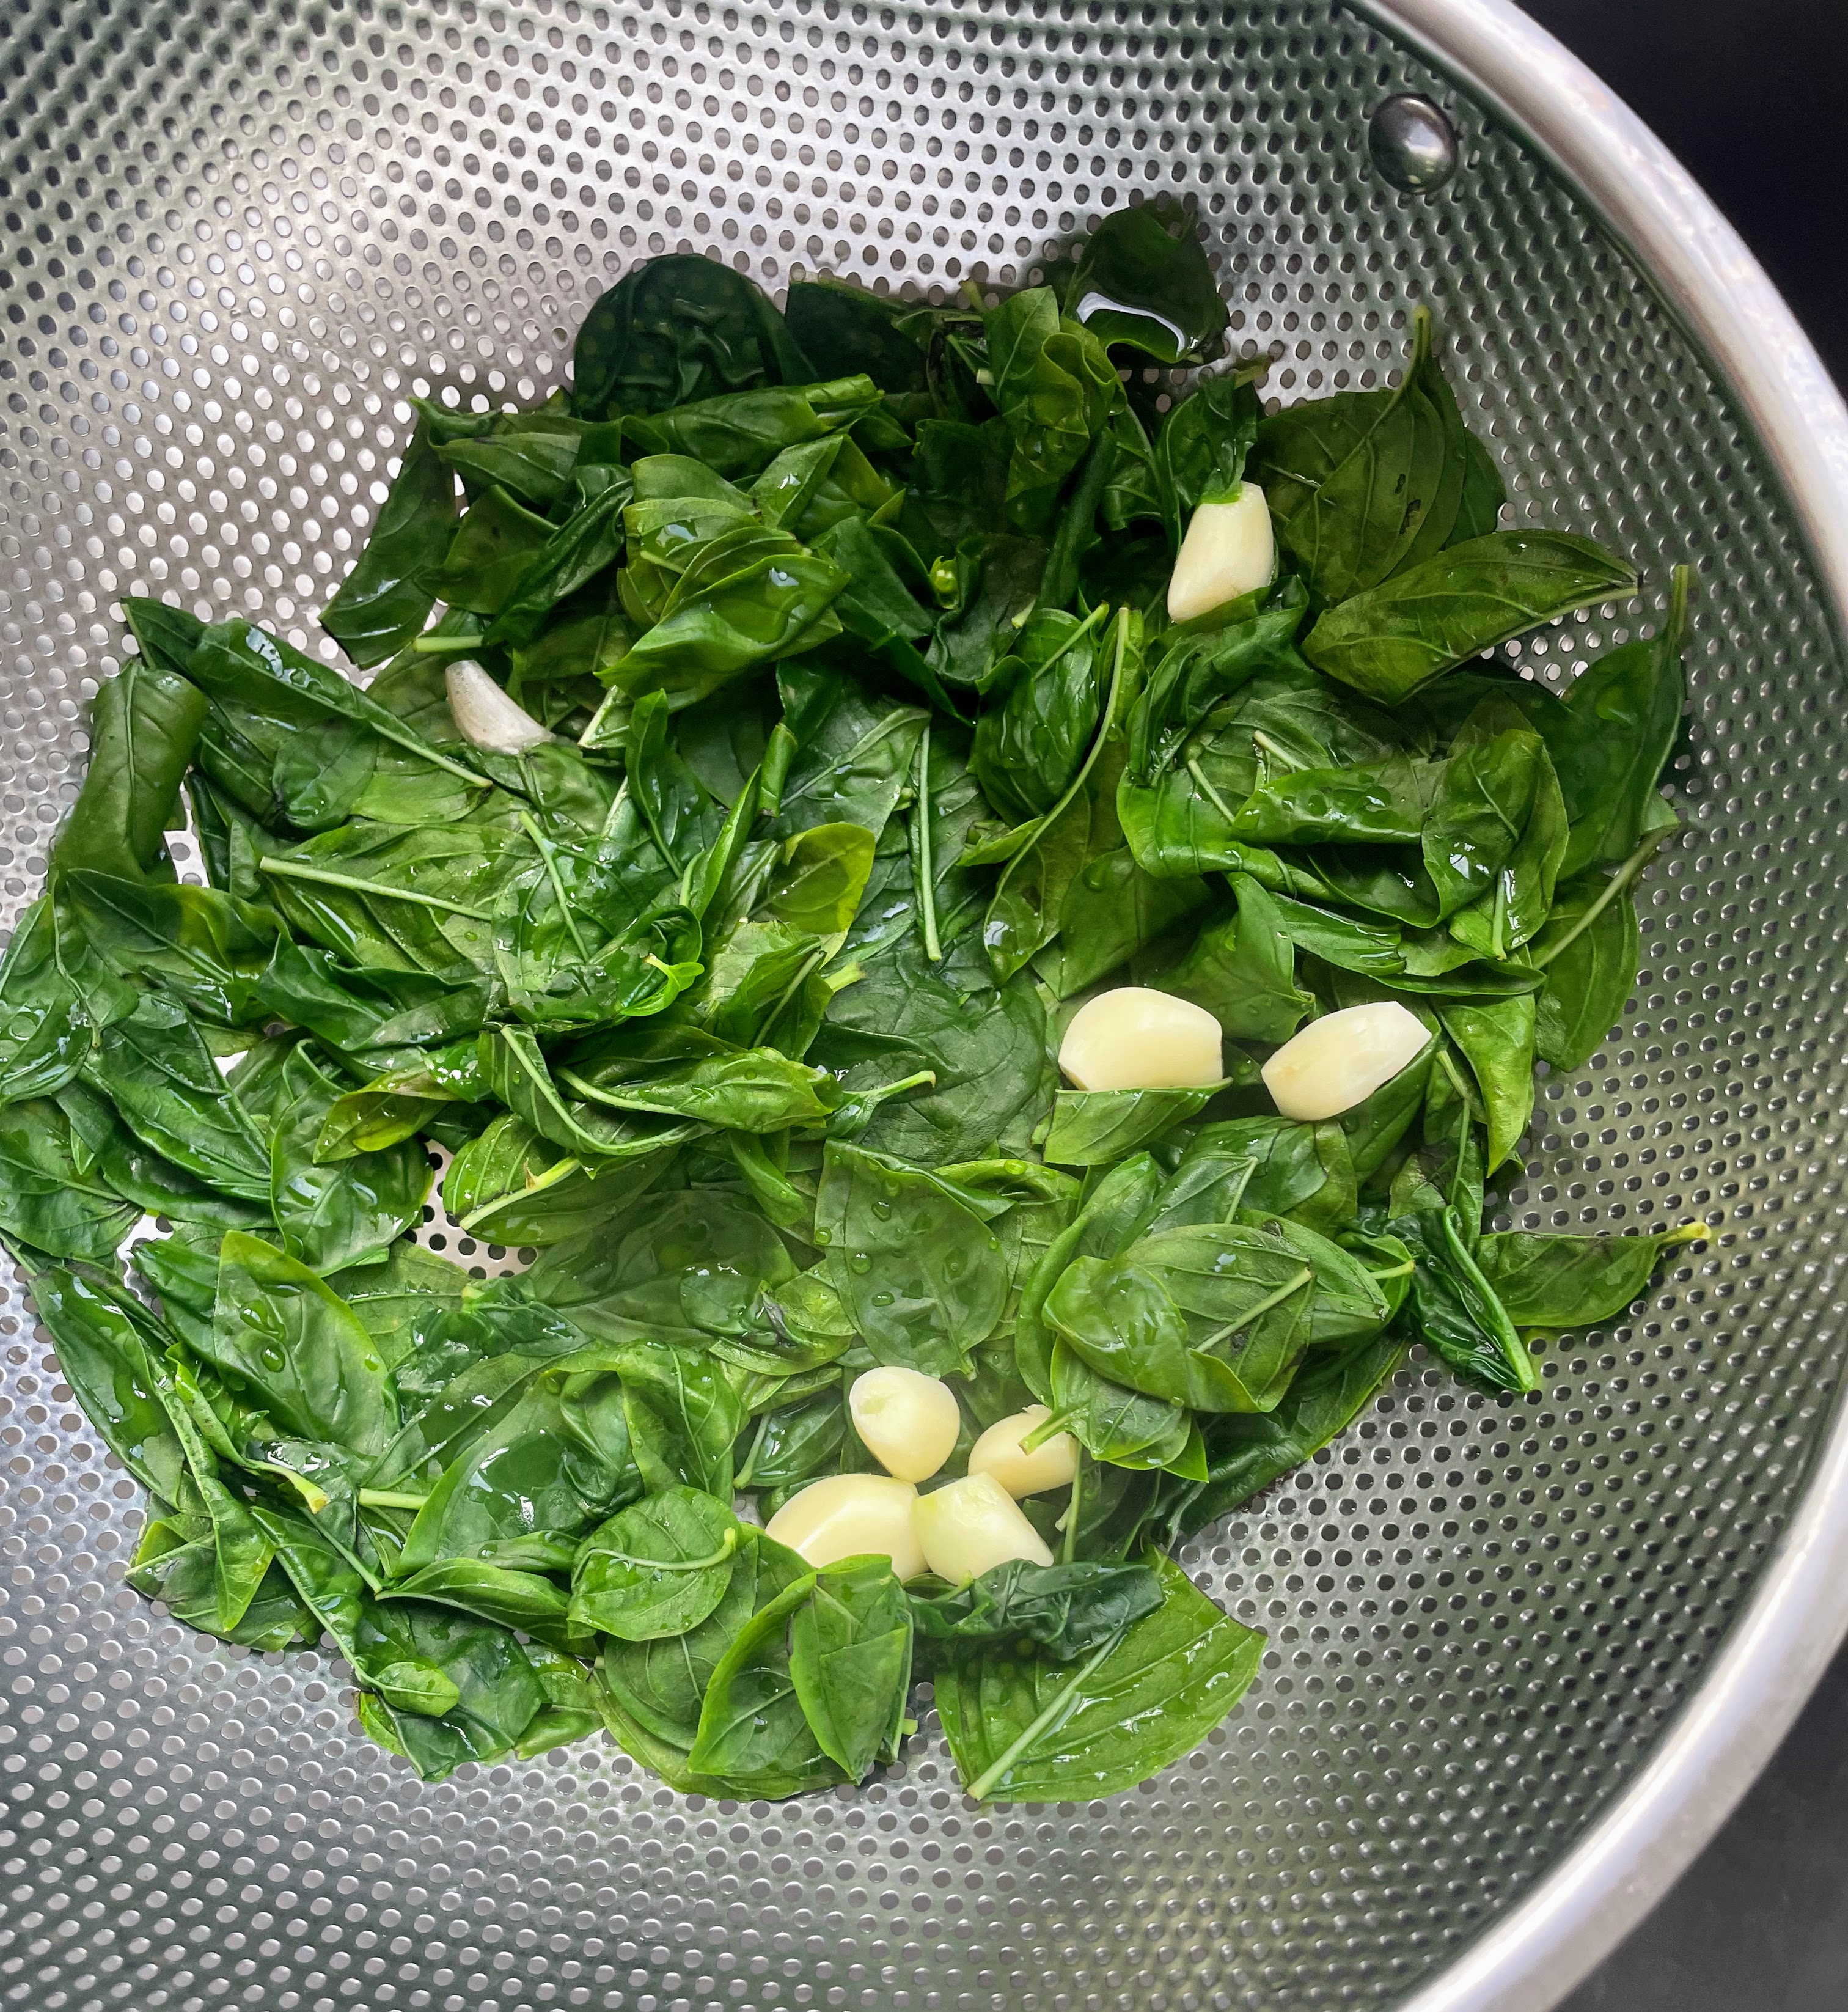
This recipe calls for blanching the basil, which I find is a key way to get the greenest color. Today, I used another trick, too: I added a handful of baby spinach leaves that needed using up as spinach also amplifies the emerald factor. The addition of a few drops of lemon juice makes the pesto a bit brighter, too; I almost feel like it makes the pesto taste greener (is that possible?).
Note: When I am making pesto to freeze, I do not add the cheese or lemon juice. Instead, I add both those things later on to the thawed pesto. So the photos below are pre-cheese, and thus, represent a vegan version that would be delicious on its own, too.
Bright Green Pesto (makes 2 cups total = 3 batches)
6 c. (slightly compressed but not packed) fresh basil leaves (about 120 gr.); can substitute up to 1 c. baby spinach leaves 3/4 c. toasted pine nuts 6 large garlic cloves 1/2 tsp. salt 1 c. extra-virgin olive oil *1.5 c. freshly grated Pecorino Romano cheese (preferred) or Parmesan *lemon juice, to taste
Preparation
1. Set a large pot of water to boil. 2. Pick over the basil leaves to make sure there are no blemishes (or stems). Fill a large bowl with ice water and set aside. When the water in the pot is boiling, add the basil and garlic, and push down on the basil leaves with a slotted spoon (to submerge them), just until they turn bright green. This blanching process should take less than a minute.
3. Immediately drain the basil and garlic in a colander, and then set the colander in the bowl of ice water to stop the cooking.
4. Once the spinach is cold, remove the colander from the bowl, set in the sink, and let the basil and garlic drain for a few minutes. Then place the basil and garlic on a clean dish towel and pat as dry as possible.
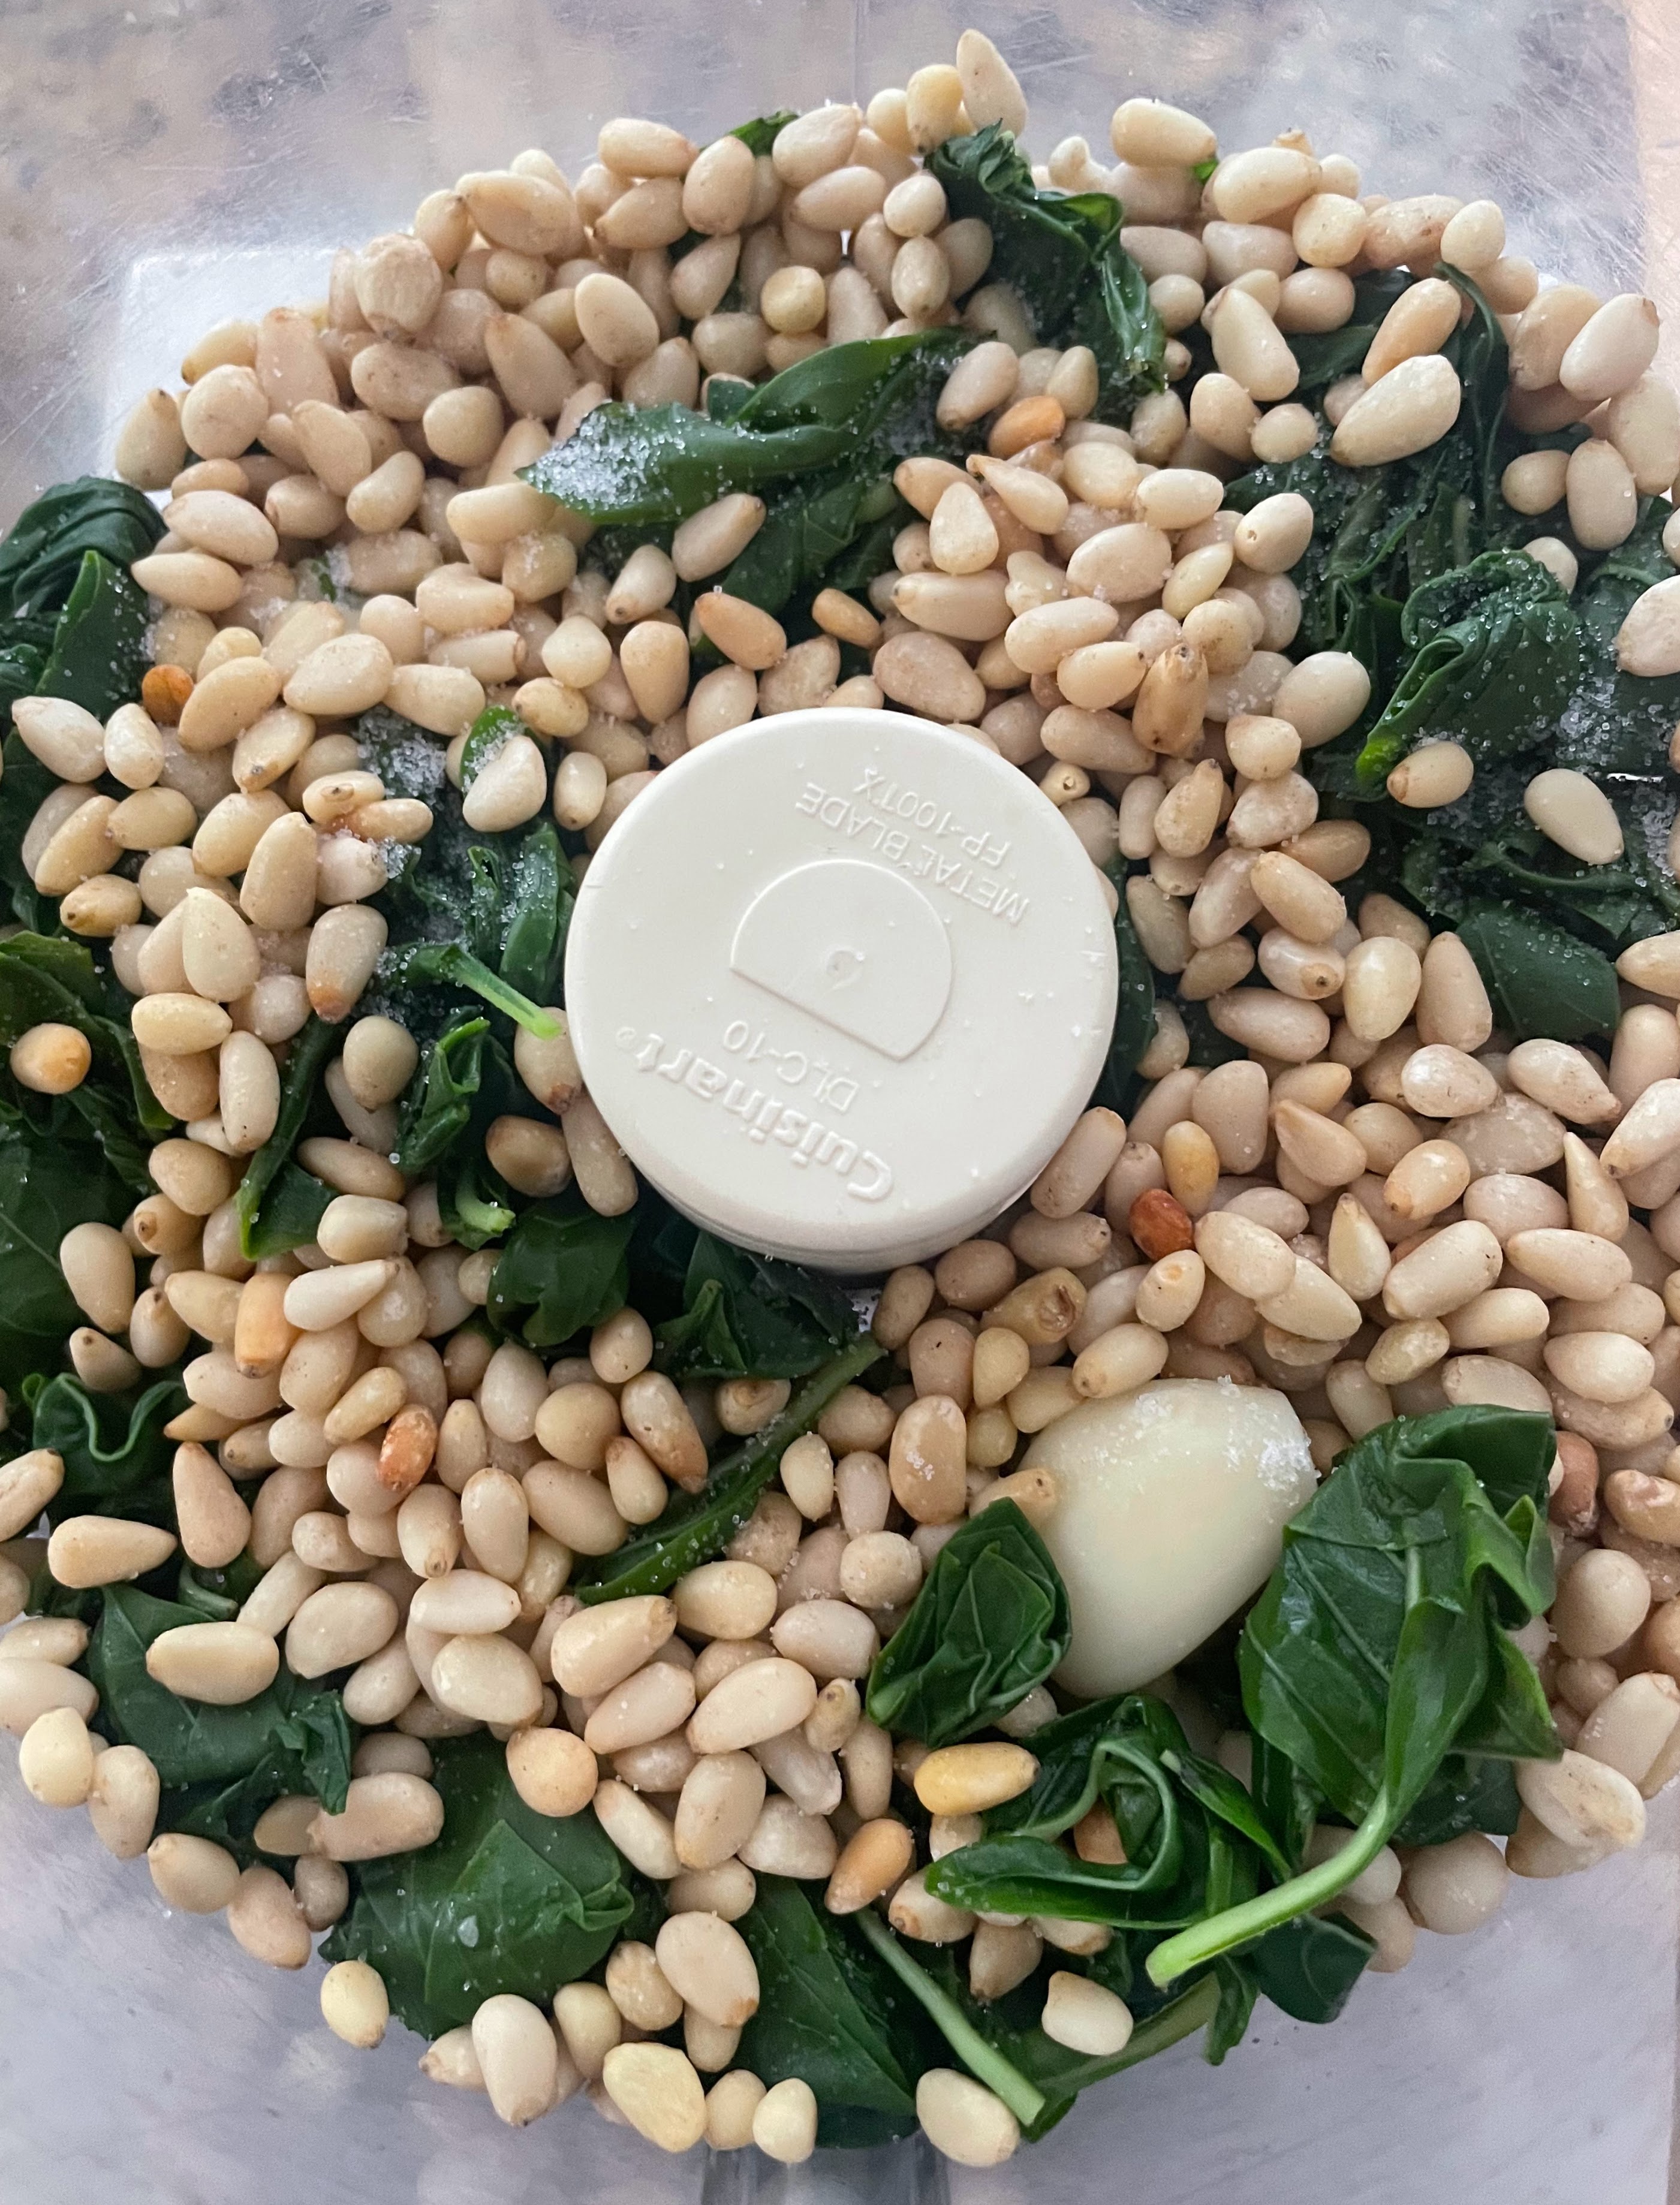
5. Put the basil and garlic in a food processor, add the pine nuts and salt, and pulse until the mixture is finely chopped and begins to come together. With the food processor still running, slowly pour in the olive oil and process until smooth.
6. If using the pesto the same day, add the cheese and lemon juice, and pulse again very briefly, just long enough to combine. Do a quick taste test to gauge lemon and salt levels; add more if needed. You can also add a bit more olive oil if the pesto seems too thick.
*7. If freezing the pesto, omit the cheese and lemon juice, divide the pesto among three freezer-proof containers, and freeze. When you want to use a batch, thaw it fully and let it come to room temperature. Prior to using, add 1/2 cup grated cheese and a few drops of lemon juice, and mix well. Do a quick taste test to gauge lemon and salt levels; add more if needed. You can also add a bit more olive oil if the pesto seems too thick.
This is a recipe I turn to time and again when serving Italian antipasti. It is the quick version of a Bon Appetit recipe, cutting the first rise time from 8-24 hours, to just 3-4. Even with the shorter first rise, this recipe has never failed me. I start the focaccia in the morning and it is ready at meal time, with only a few brief interventions in between while I am making other dishes. If you do have more time, definitely make the original, longer version. But if you need a quicker focaccia fix, search no further.
Note: Wherever possible, it is best to weigh key ingredients on a kitchen scale to preserve the correct ratios between them.
No-Fail, No-Knead Focaccia
Ingredients: ¼ oz. (7 gr.) active dry yeast 2 tsp. honey 2.5 c. (590 ml.) lukewarm water 22 oz. (625 gr.) all-purpose flour 5.5 tsp. (about 16 gr.) Diamond Crystal kosher salt 6 tbsp. extra-virgin olive oil, divided, plus more for hands butter Maldon sea salt flakes fresh rosemary (optional)
Preparation:
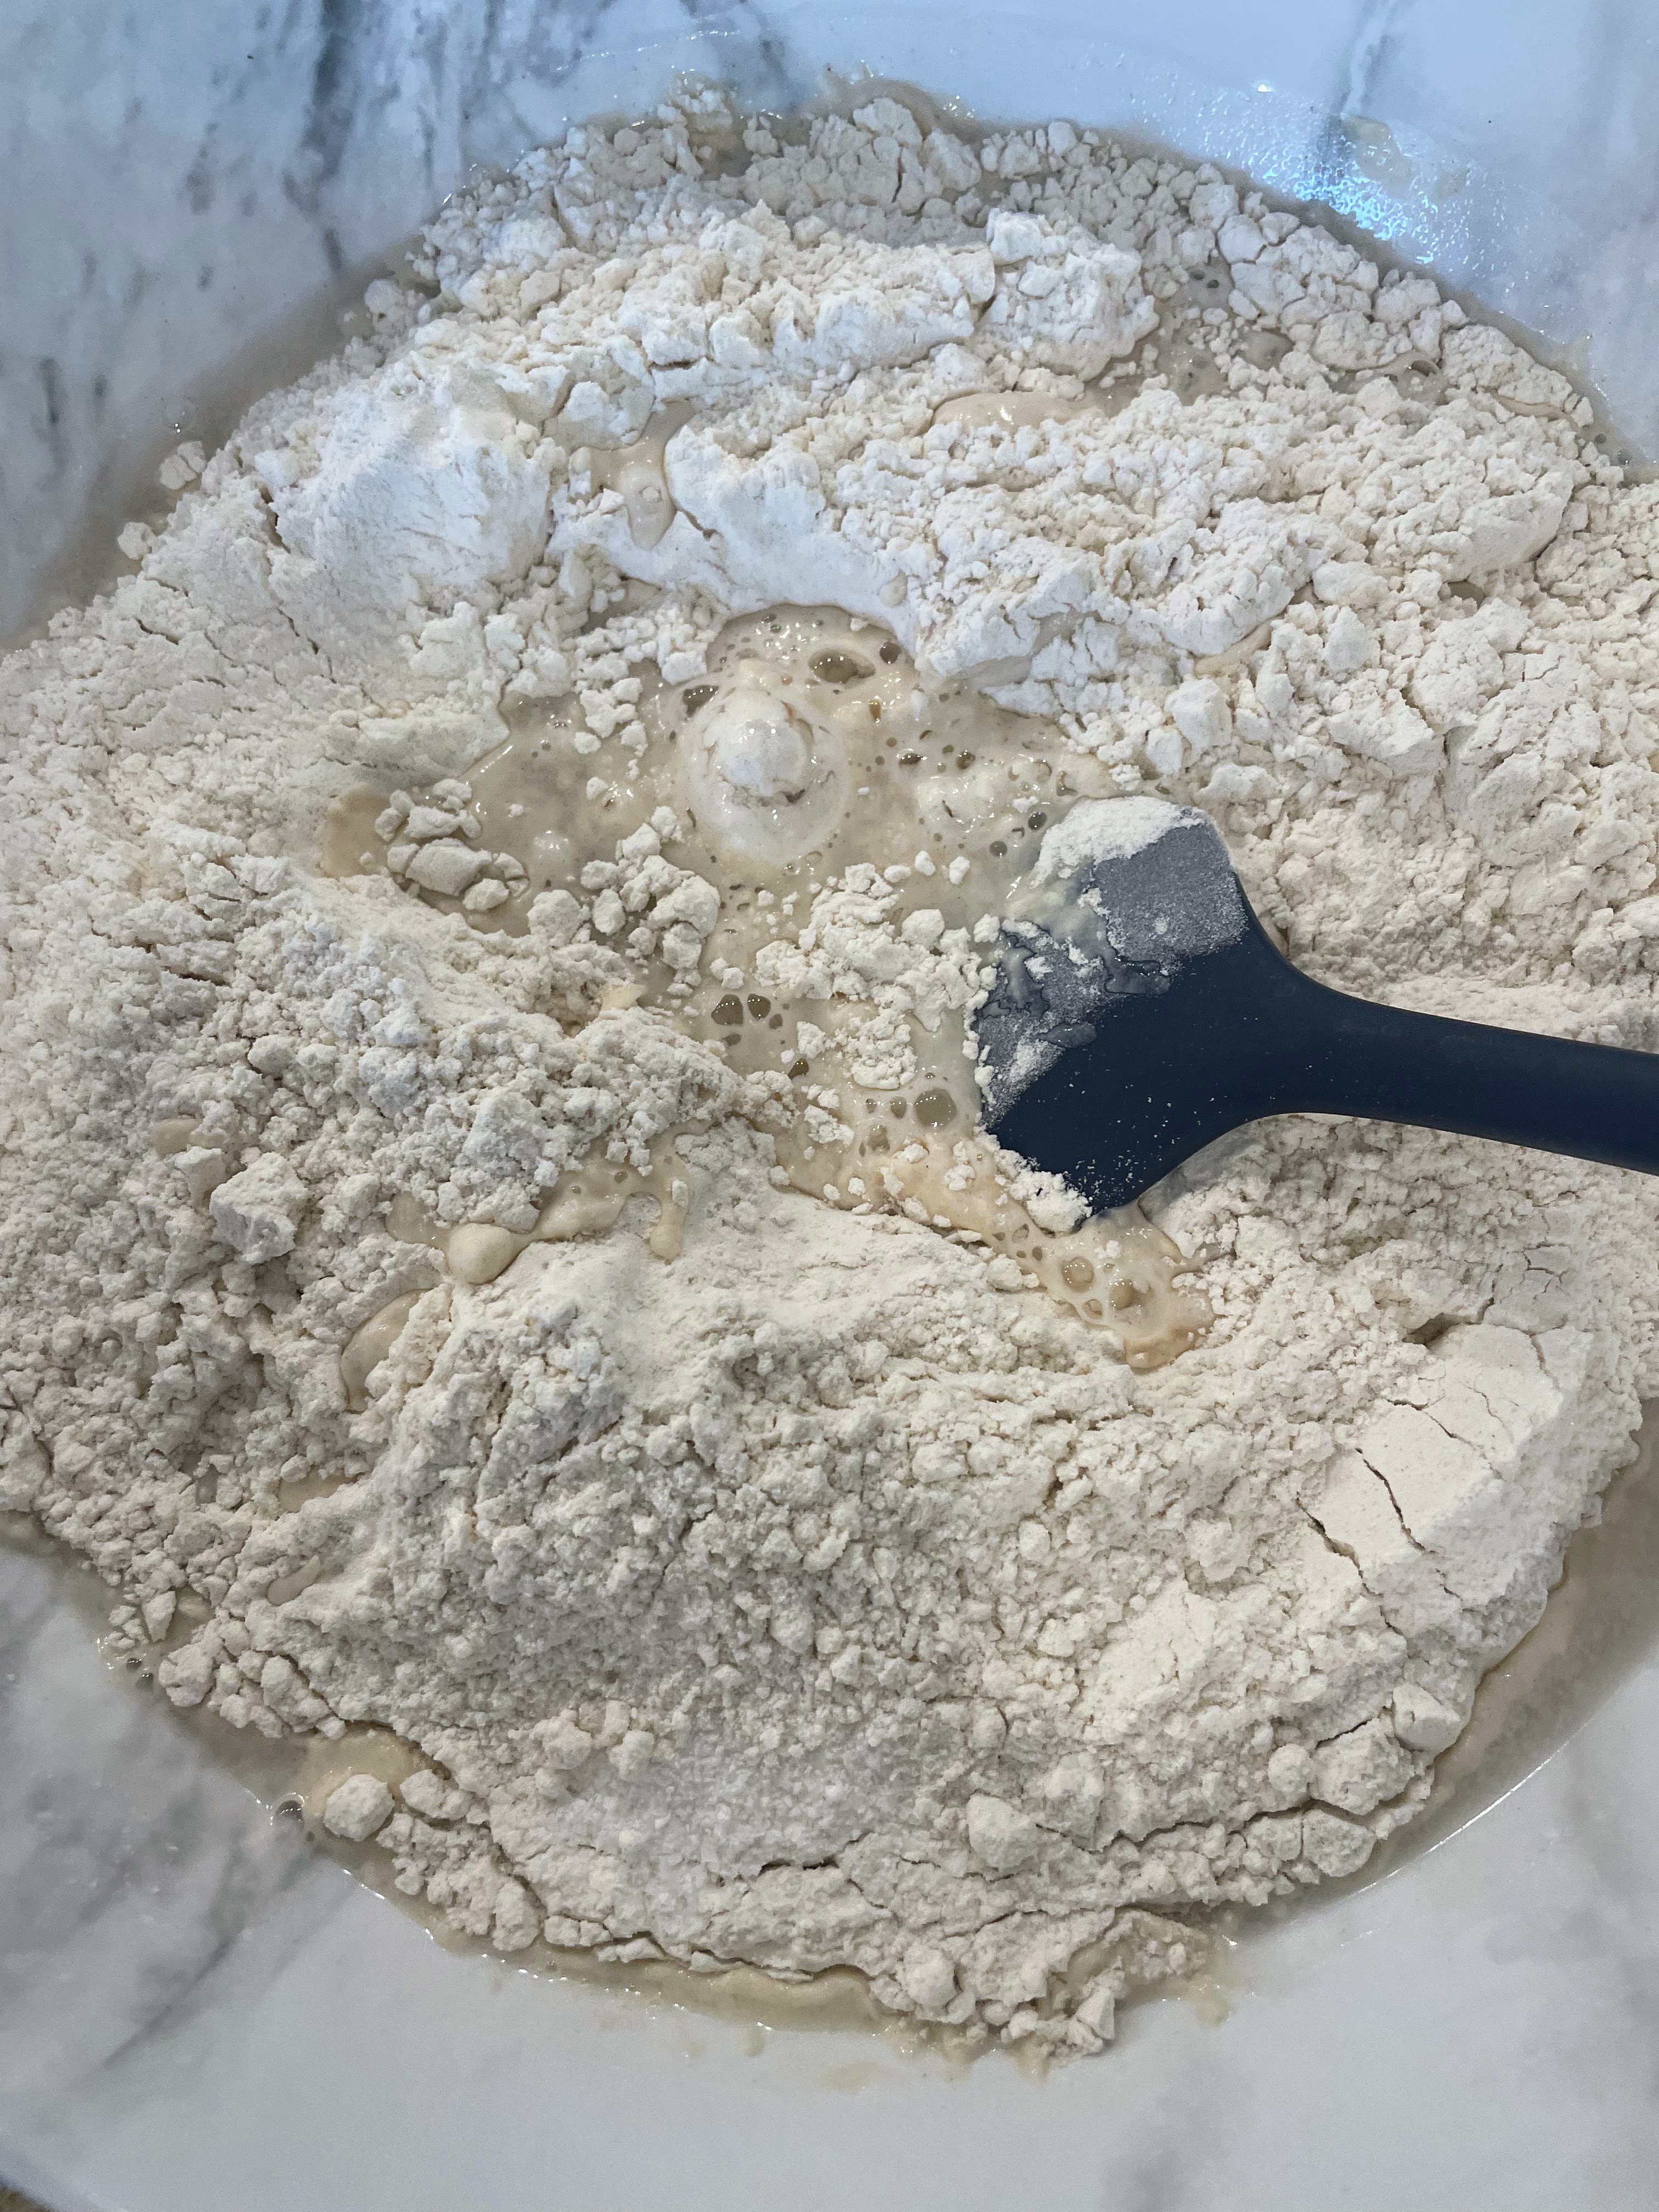
1. Whisk the honey and lukewarm water in a medium bowl; add the yeast, whisk again, and let sit 5 minutes (the mixture should look foamy or at least creamy; if it doesn’t, you should start again with new yeast).
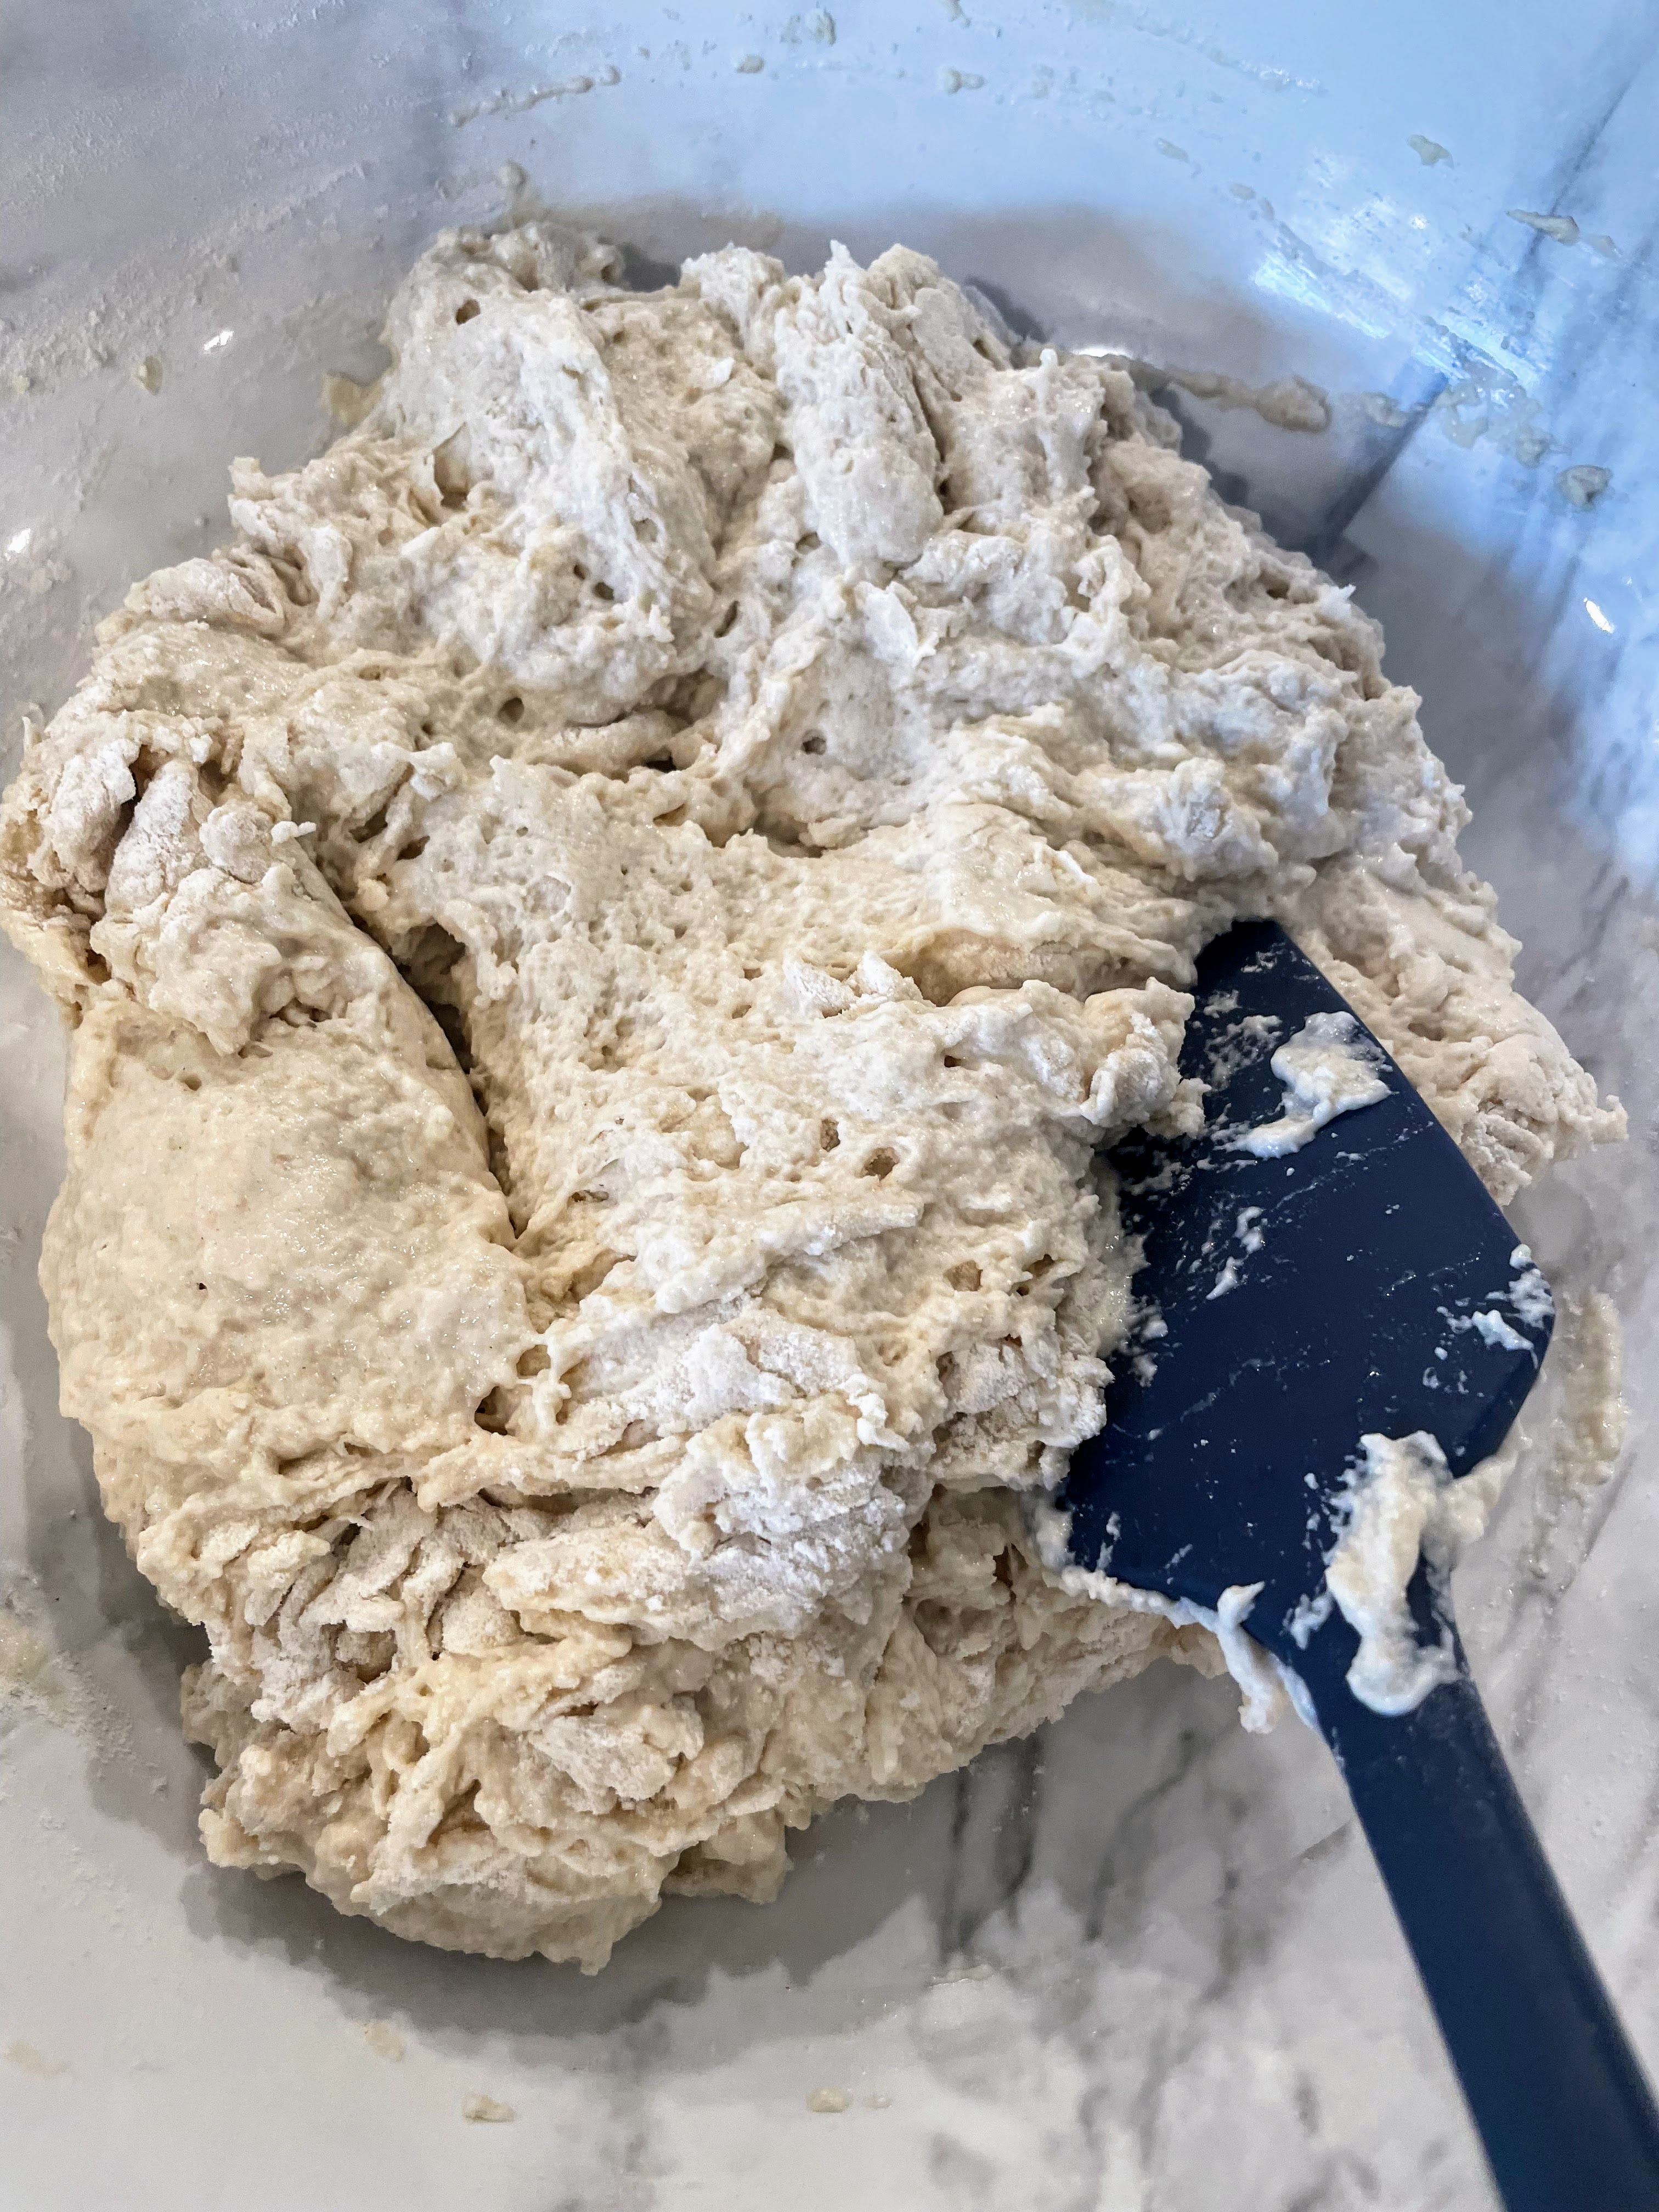
2. Add the all-purpose flour and kosher salt and mix with a rubber spatula until a shaggy dough forms and no dry streaks remain.
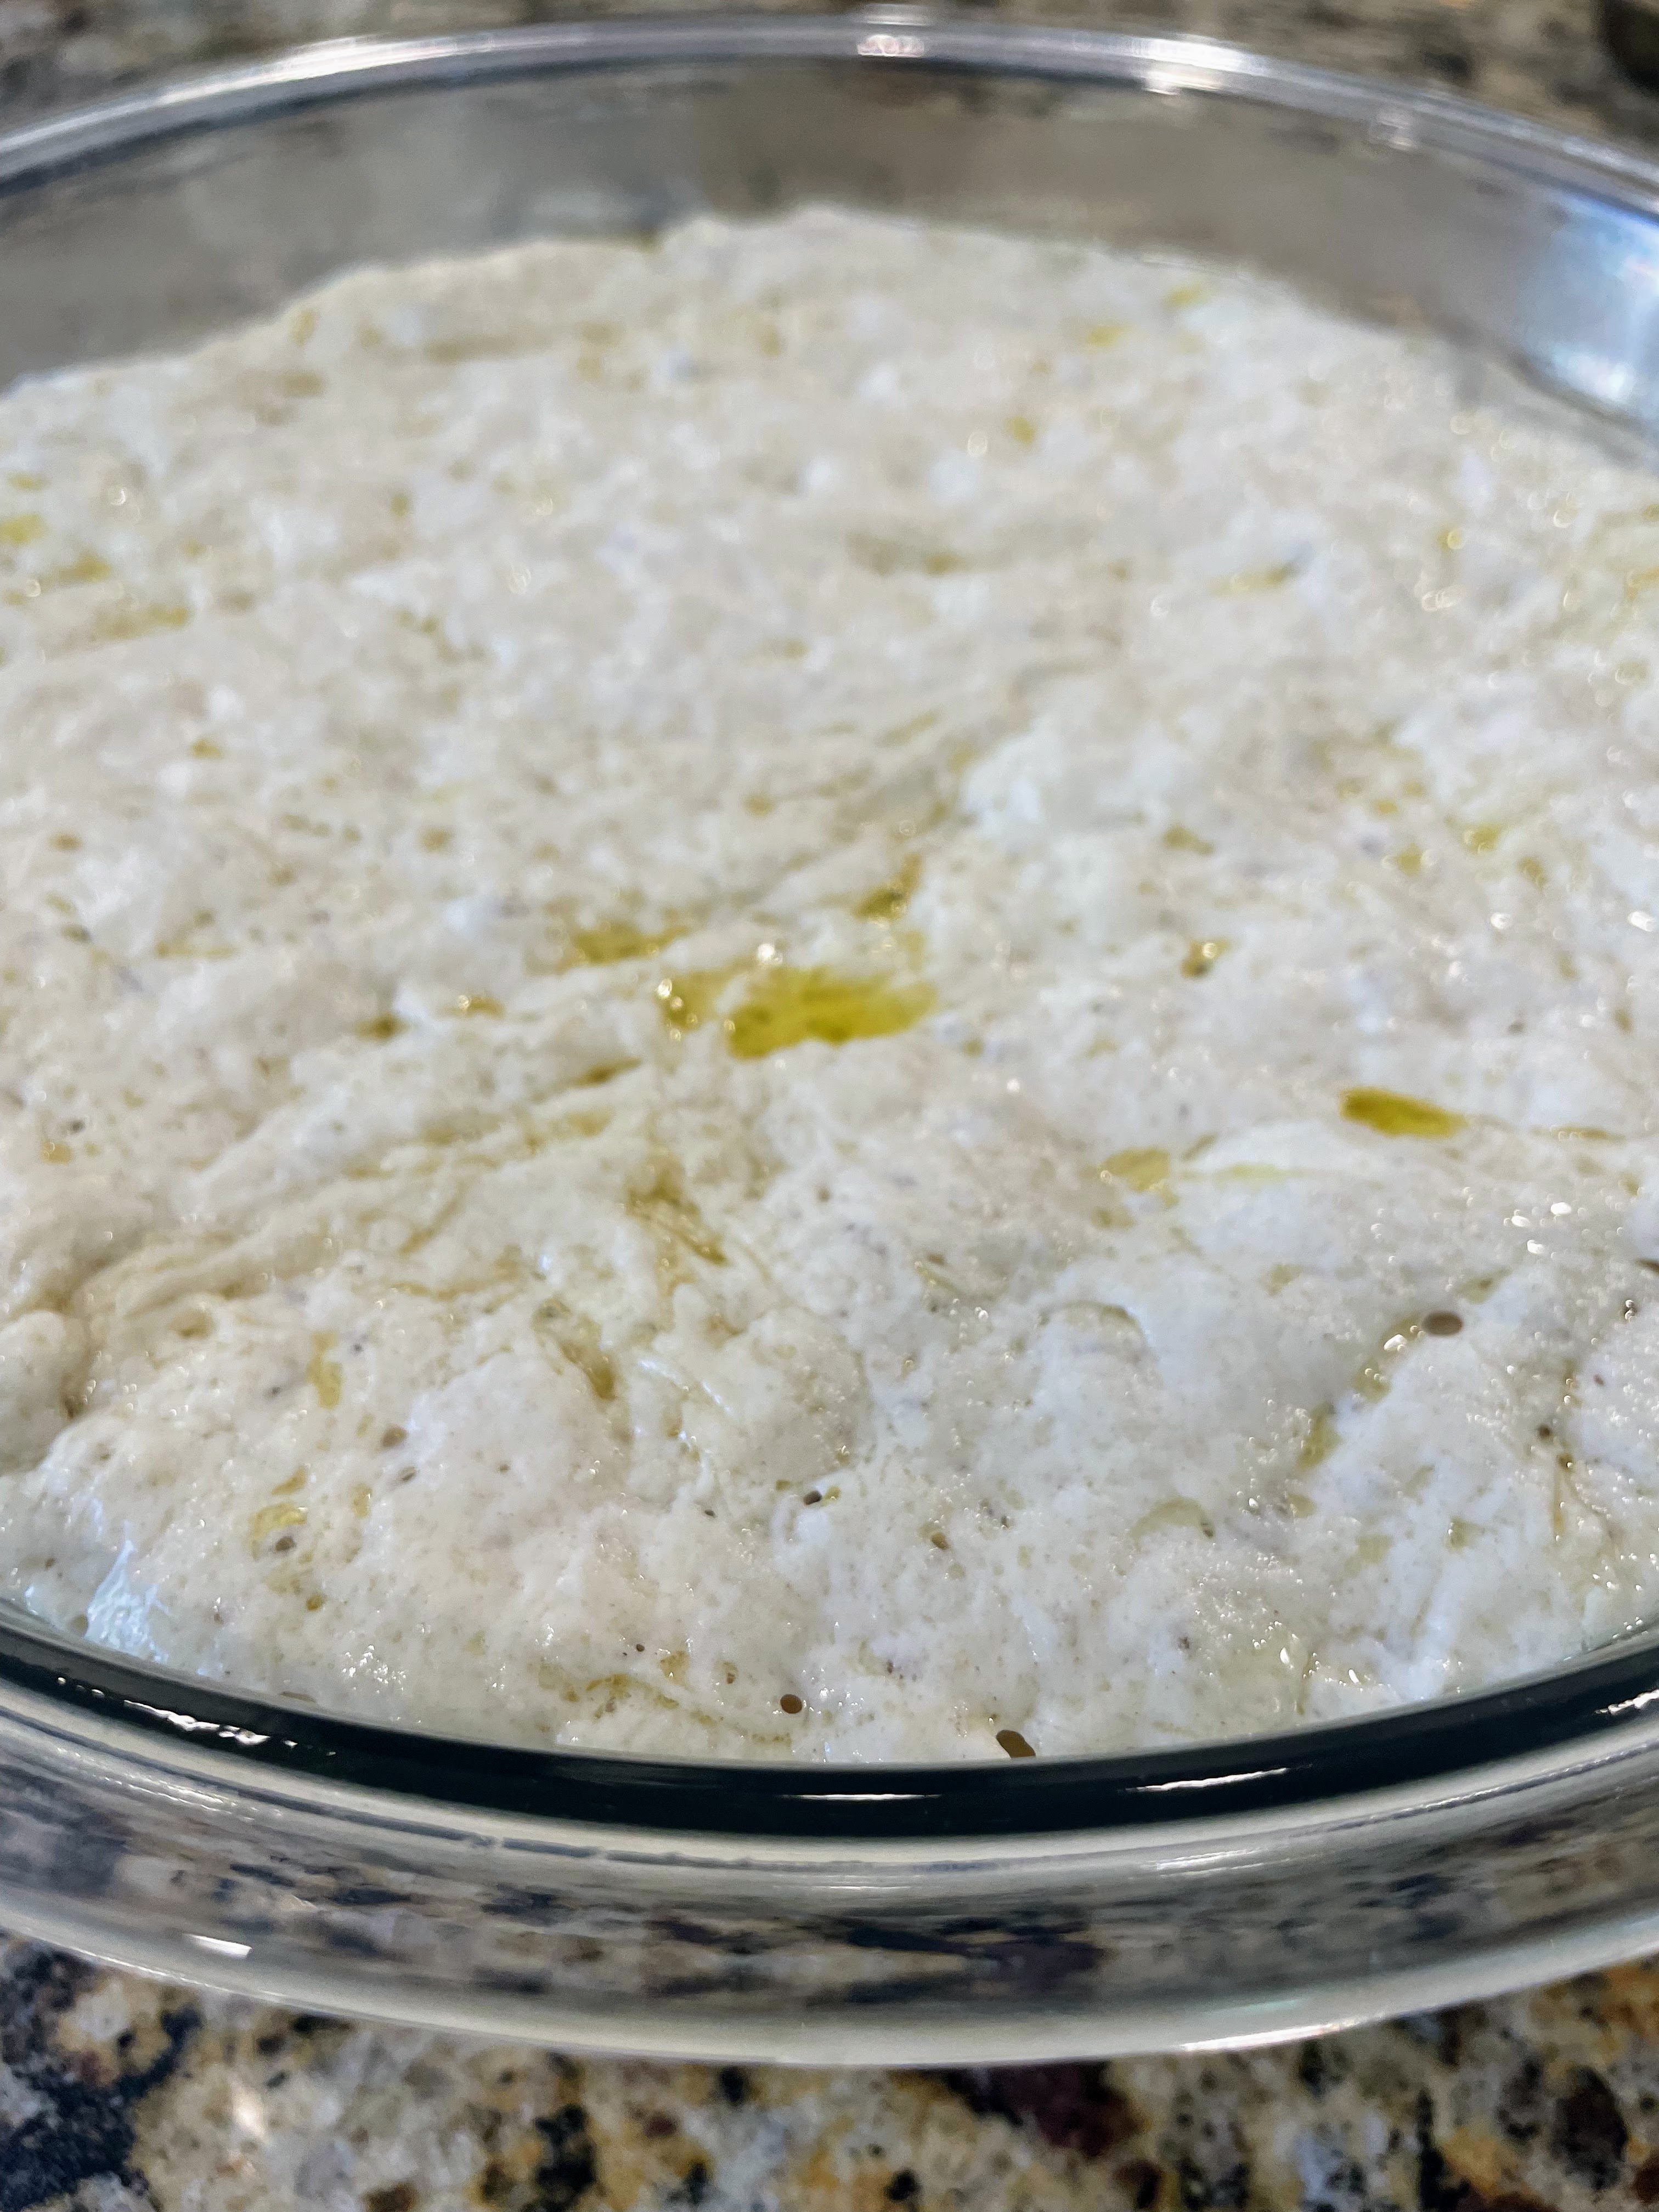
3. Pour 4 tbsp. of the extra-virgin olive oil into a large bowl, as the dough will rise a lot. Transfer the dough to the bowl and turn to coat in oil. Cover with a lid or plastic wrap and let rise at room temperature until doubled in size, 3–4 hours. This is the first rise (quick version).
4. Generously butter a half-sheet (18×13 in./45×33 cm.) rimmed baking sheet. The butter will ensure that your focaccia doesn’t stick. After buttering, pour 1 tbsp. extra-virgin olive oil into the center of the sheet.
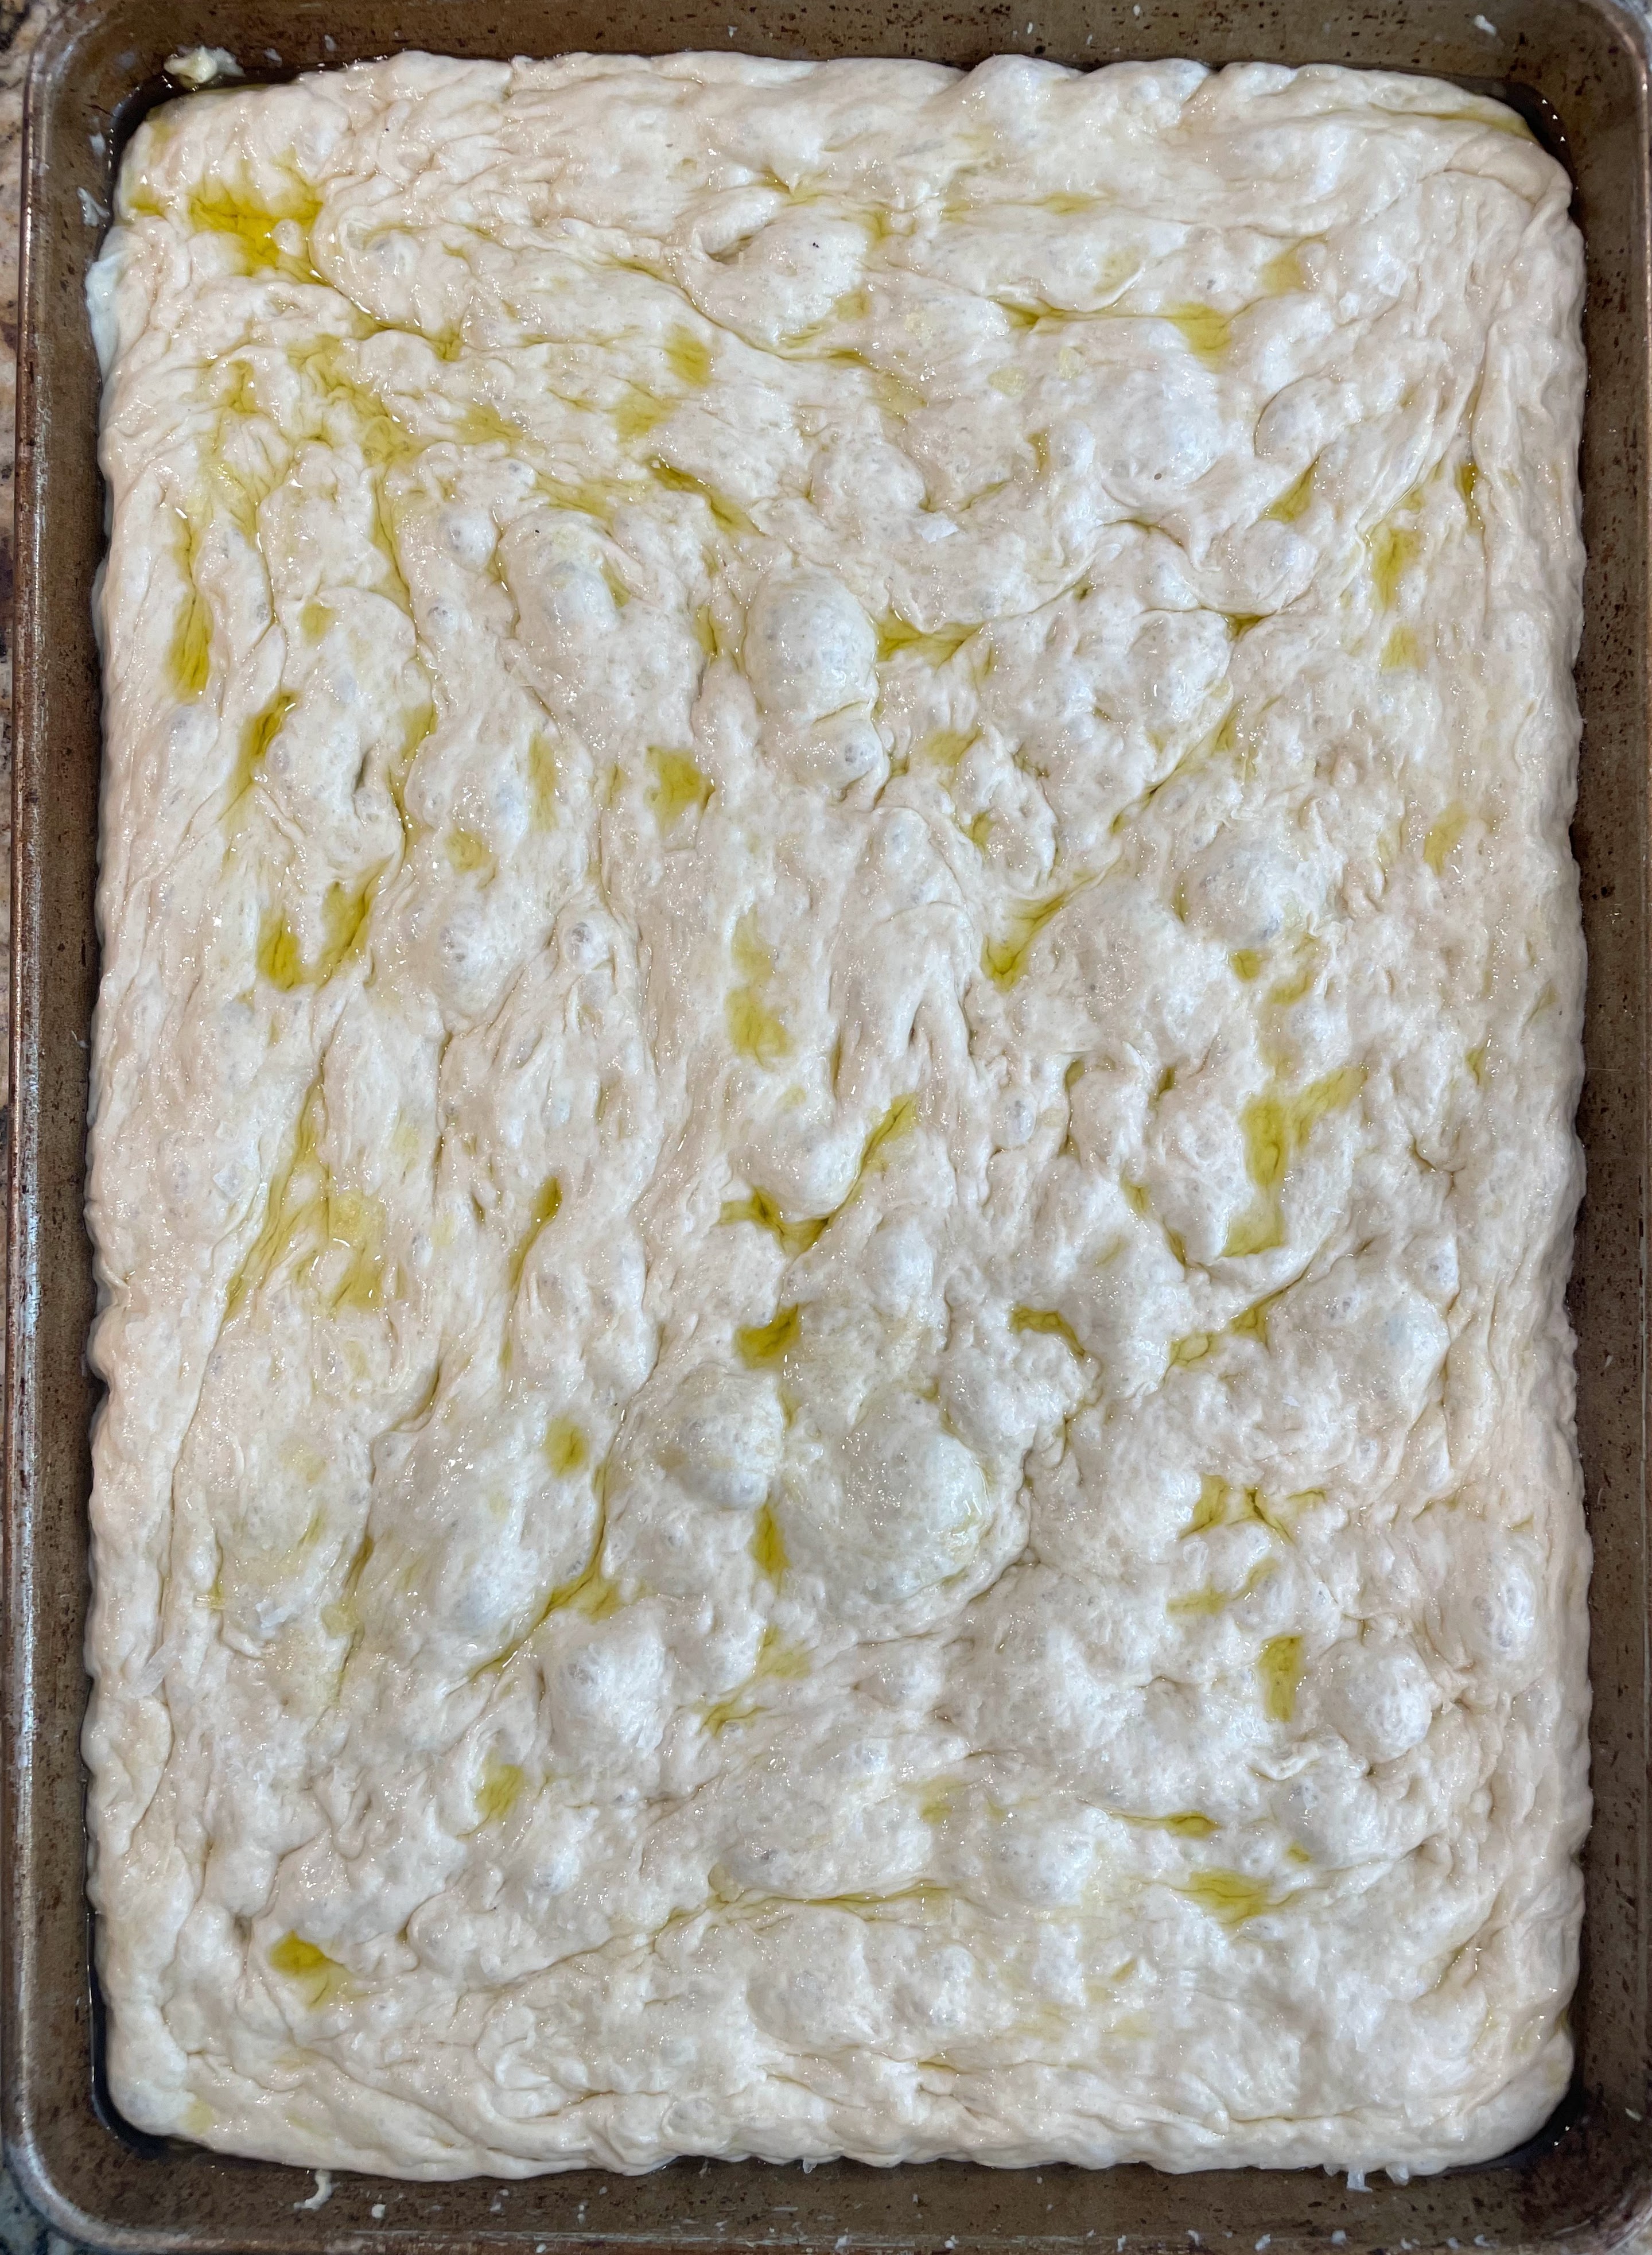
5. Keeping the dough in the bowl and using a fork in each hand, gather up the edges of the dough farthest from you and lift up and over into center of bowl. Give the bowl a quarter turn and repeat the process. Do this two more times until you have made it all the way around the bowl; you want to deflate the dough while slowly forming it into a rough ball. Transfer the dough to the buttered baking sheet. Pour any oil left in the bowl over and turn the dough to coat. Let rise, uncovered, in a warm, dry spot until doubled in size, at least 1½ hours and up to 4 hours. This is the second rise. By the end of it, the dough should have expanded toward the edges of the baking sheet.
6. Place a rack in the middle of the oven; preheat to 450F/230C.
7. To see if the dough is ready, poke it with your finger. It should spring back slowly, leaving a small indentation. If it springs back quickly, the dough isn’t ready. (If at this point the dough is ready to bake but you aren’t, you can chill it up to 1 hour.)
8. Lightly oil your hands. Gently stretch the dough to completely fill the sheet. Dimple the focaccia all over with your fingers, creating very deep depressions in the dough (reach your fingers all the way to the bottom of the pan). Drizzle with the remaining 1 tbsp. extra-virgin olive oil and sprinkle with the flaky sea salt (and rosemary, if using). Bake the focaccia until it is puffed and golden brown all over, 20–30 minutes.
Photos below are from two different bakes; one with flaky salt only, the other with rosemary and coarsely ground salt as I didn’t have the Maldon at the time. Both versions are delicious–you really can’t go wrong.
9. The focaccia is best the day it is made, but is delicious toasted the next day, too. My current favorite toppings: burrata and good-quality anchovies. Or burrata and mortadella. Or burrata and marinated tomatoes or marinated roasted peppers. Or no toppings at all….
Necessity is the mother of invention. In this case, I had recently purchased a pack of chicken thighs, without a clear idea of what to do with them — except that now I was home from work and dinner time was looming, I needed an easy solution, and a fairly quick one. So I opened the fridge and cupboards to see what my options were. I guess I could have asked ChatGPT to come up with a recipe, but that would have meant inputting the available ingredients into a prompt, which 1) I was too lazy to do, and also, 2) I like to think that the non-artificial intelligence center within my cranium is still capable of putting 1+1, or 2+3, together to come up with something to eat. (But ask me next week…).
The result of my kitchen scan? I had cherry tomatoes that definitely needed using and some yellow squash from the garden that was now languishing in the crisper bin. Hmmm. What else was in the fridge? There was feta, kalamata olives, and cream. And rosemary outside. An idea began to form. So, what follows is a non-recipe recipe, without actual amounts. I’m confident that no matter how you yourself approach this dish, you can’t go wrong. The ingredients combine into something really, really good!
Mediterranean Chicken with Feta and Olives
Boneless, skinless chicken thighs Salt and pepper Dried oregano Fresh rosemary, finely chopped Olive oil (I used garlic-infused olive oil) Cherry tomatoes, cut in half Yellow summer squash (or zucchini if you have it), diced Kalamata olives Feta cheese (cubed or crumbled) Heavy cream Oregano (dried or fresh)
Preparation
Preheat oven to 350 F (180C).
Sprinkle both sides of the chicken thighs with salt, pepper, oregano, and rosemary.
In a large heavy-bottomed pot, saute the thighs in olive oil over high heat until they are no longer pink on the outside and have picked up a bit of color.
Place the thighs, and any juices or crispy bits from the pot, into a casserole dish large enough to fit the thighs in one layer.
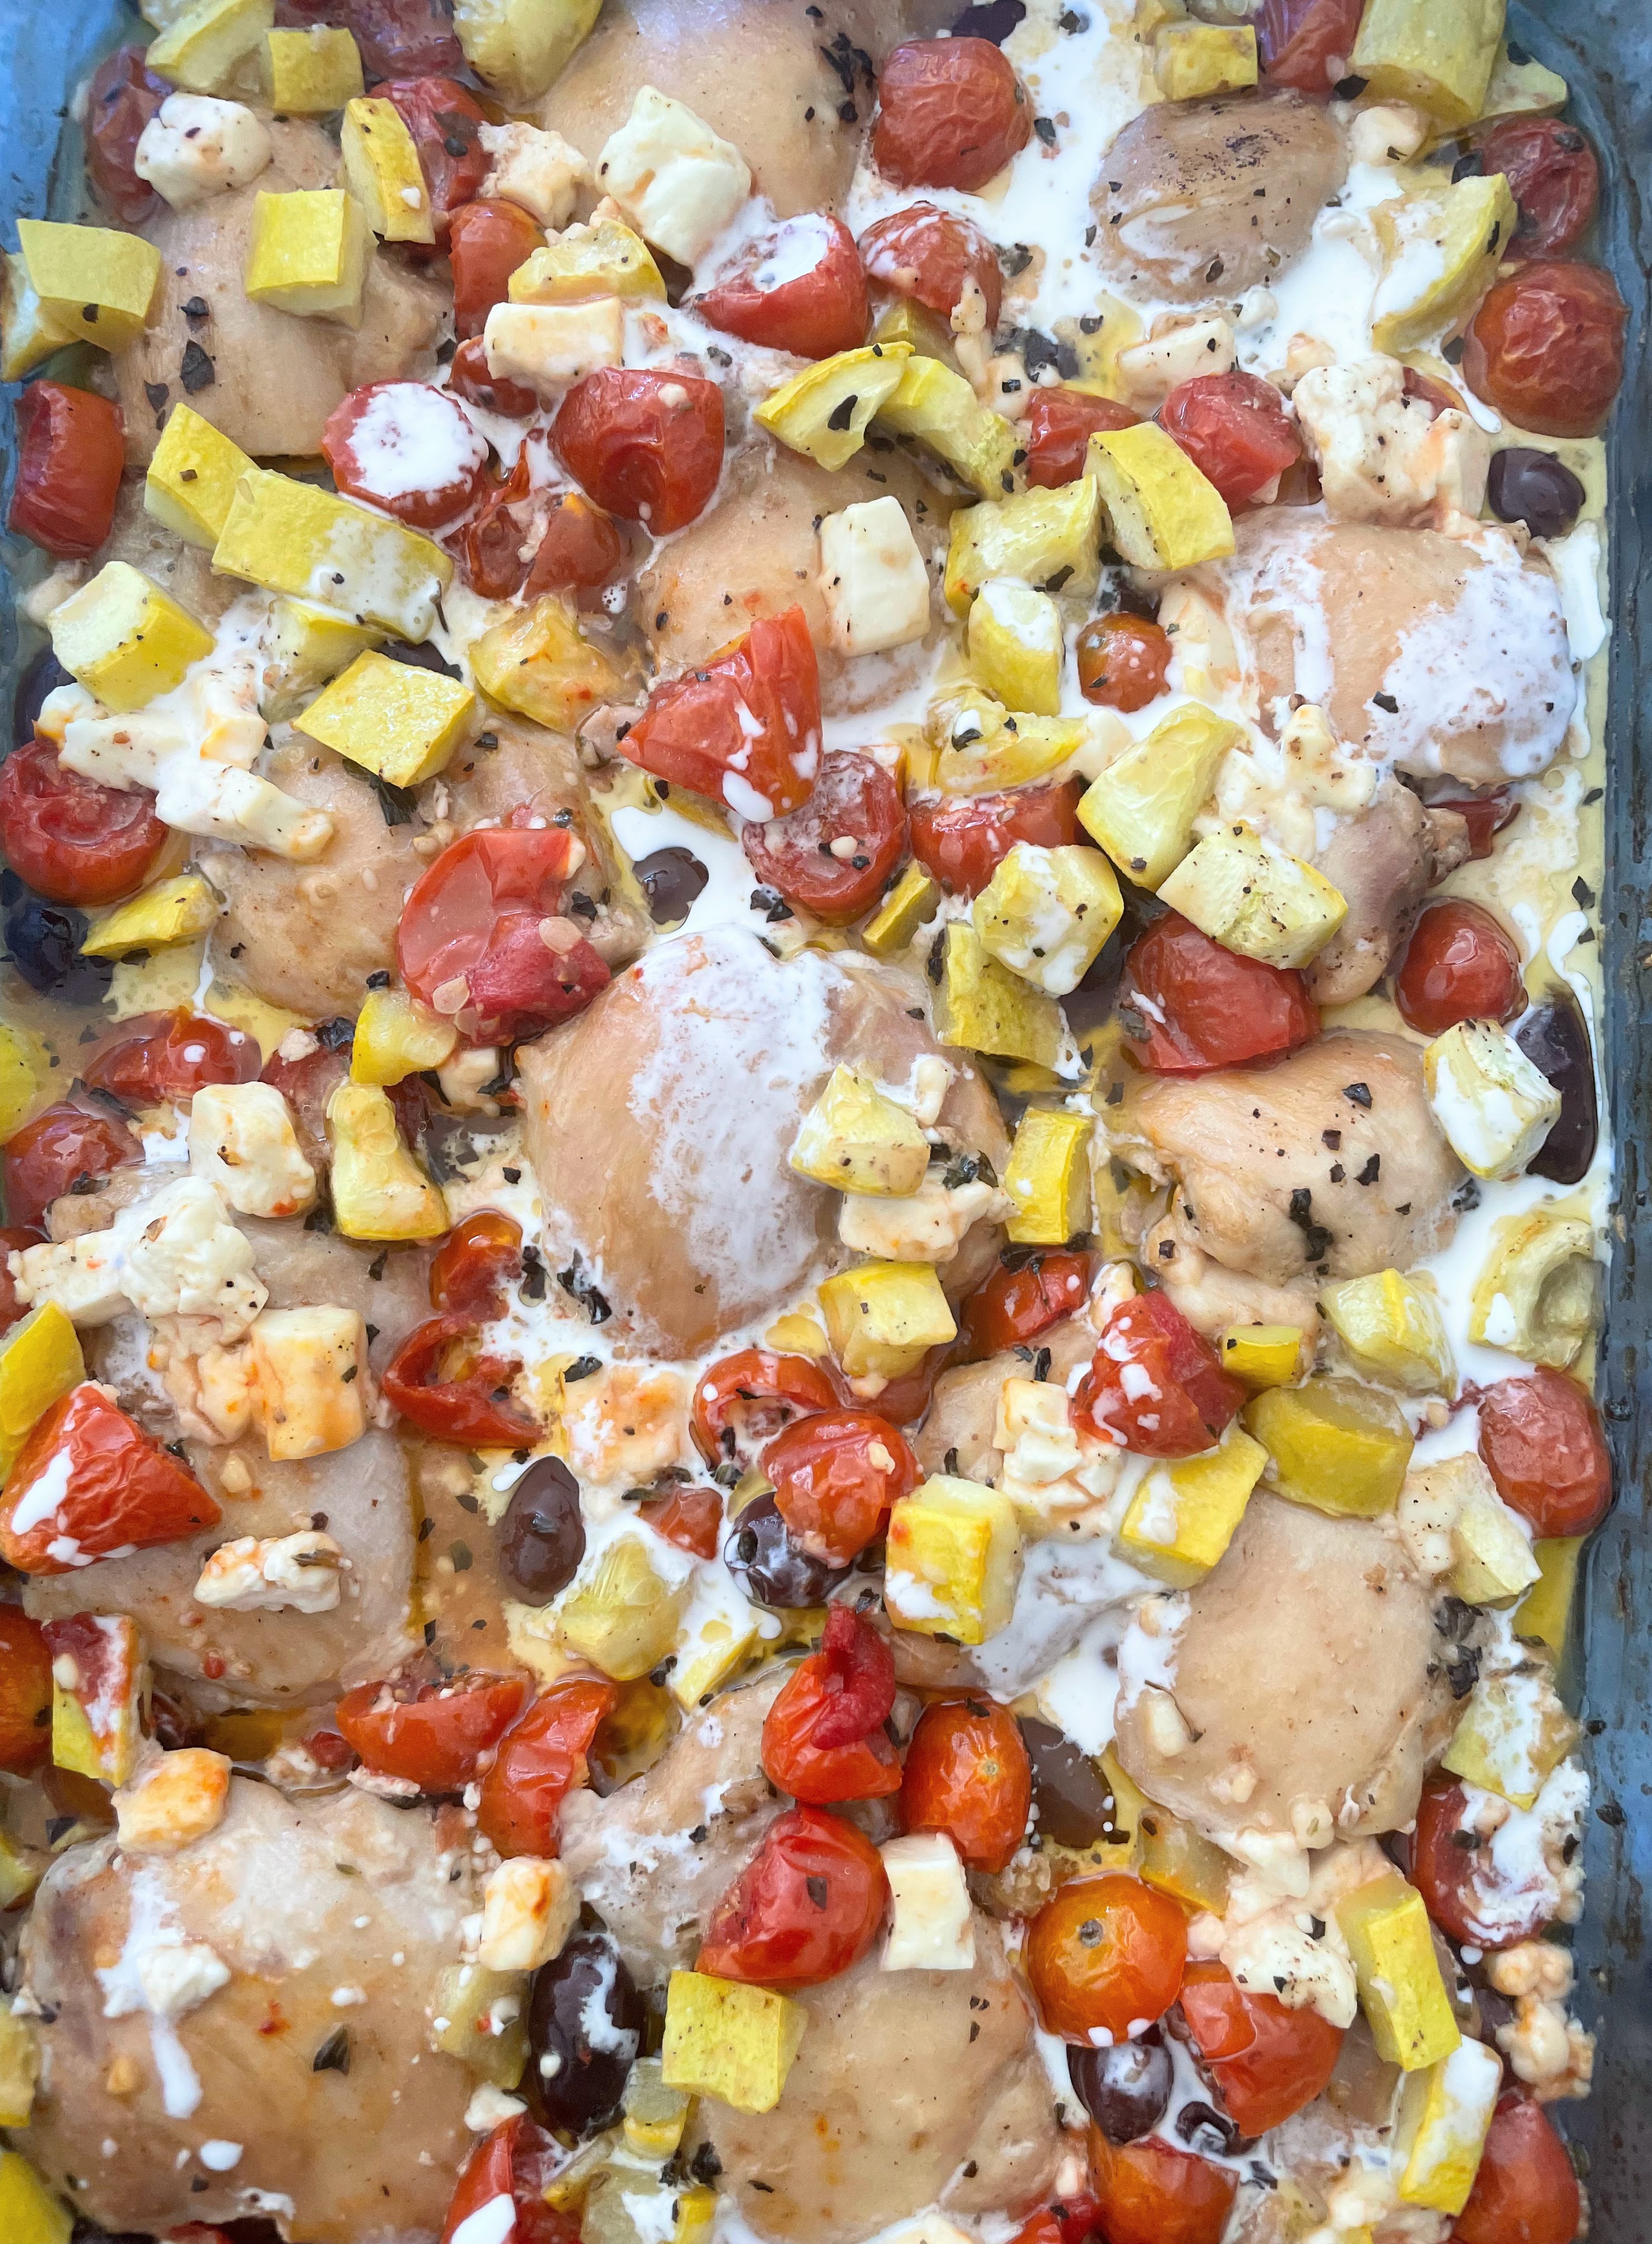
Sprinkle the olives, tomatoes, squash, and feta around the thighs, drizzle with some cream, and sprinkle a little more salt, pepper, and oregano over top.
6. Bake, covered, for about 30 minutes, or until the tomatoes and squash are soft.
You can serve this multiple ways: with crusty bread to soak up the creamy, tomato-ey broth, over quinoa or rice, with potatoes or other roast vegetables, etc.
I first discovered dense, delicious mud cakes when we lived in Australia. Traditional mud cakes are rich, fudgy, and very chocolatey — which may explain the name. They are said to have originated in the southern U.S.; the Mississippi variant has marshmallows melted into the frosting on top, while the Aussie version is often topped with a velvety ganache. Mud cakes are single layer, and most are baked low and slow. They also freeze very well.
This particular cake is not chocolate–but caramel, and is an amalgam of two recipes. The ganache is adapted from the Australian Women’s Weekly, and the cake from taste.com.au. The amount of ganache listed here is just enough to cover the cake, and when the cake is also served with whipped cream, it is perfect. If you really, really love frosting/ganache, then make 1.5x the recipe. Which I will do next time….
Ingredients
Caramelized White Chocolate Ganache 300 grams (10.5 oz) white chocolate chips 1/2 cup (125 ml) heavy cream 1 tsp vanilla 1/4-1/2 tsp table salt, to taste
Mud Cake Melted butter, to grease 200 gr (7 oz) butter, cubed 200 gr (7 oz) white chocolate chips 200 gr (7 oz) dark brown sugar 180 ml (3/4 cup) hot water (or milk; can also sub in a little whiskey for a boozier cake) 1 tbsp golden syrup, maple syrup, or dark corn syrup 1 tbsp vanilla 2 eggs, at room temperature 150 gr (1 cup) all-purpose flour 150 gr (1 cup) self-raising flour [= 1 cup all-purpose flour + 1 tsp baking powder + ½ tsp salt + ¼ tsp baking soda]
Preparation
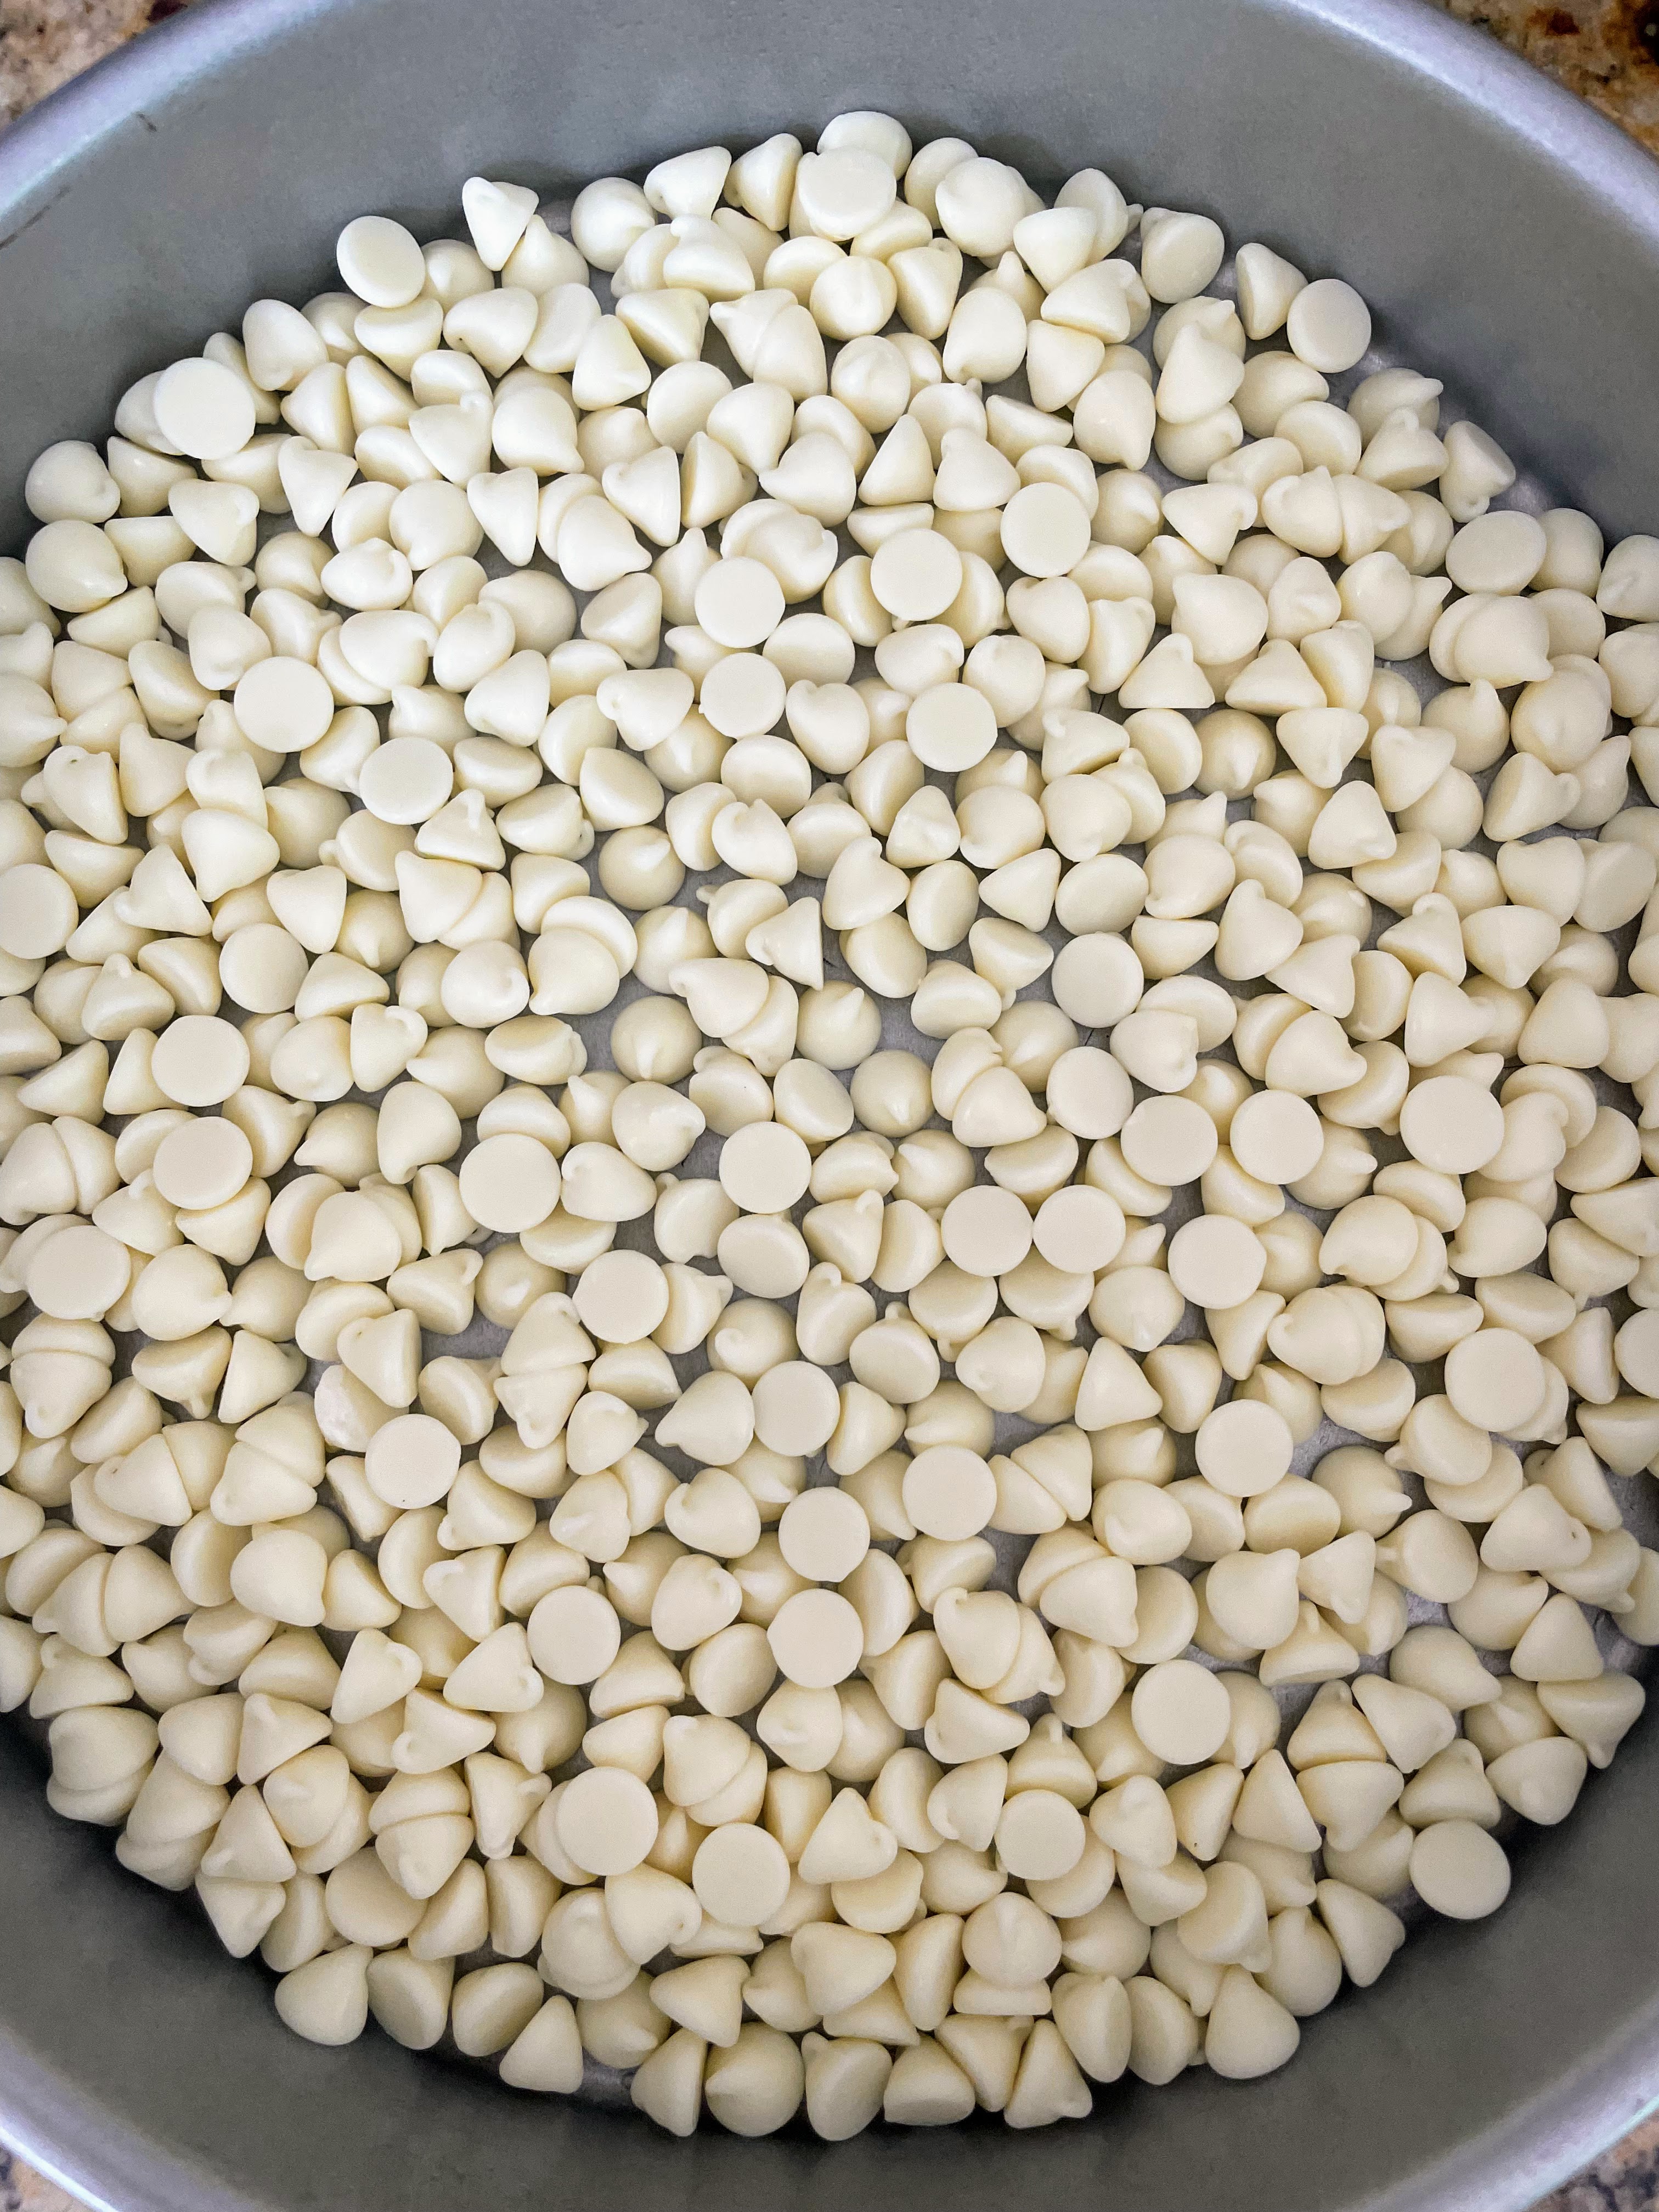
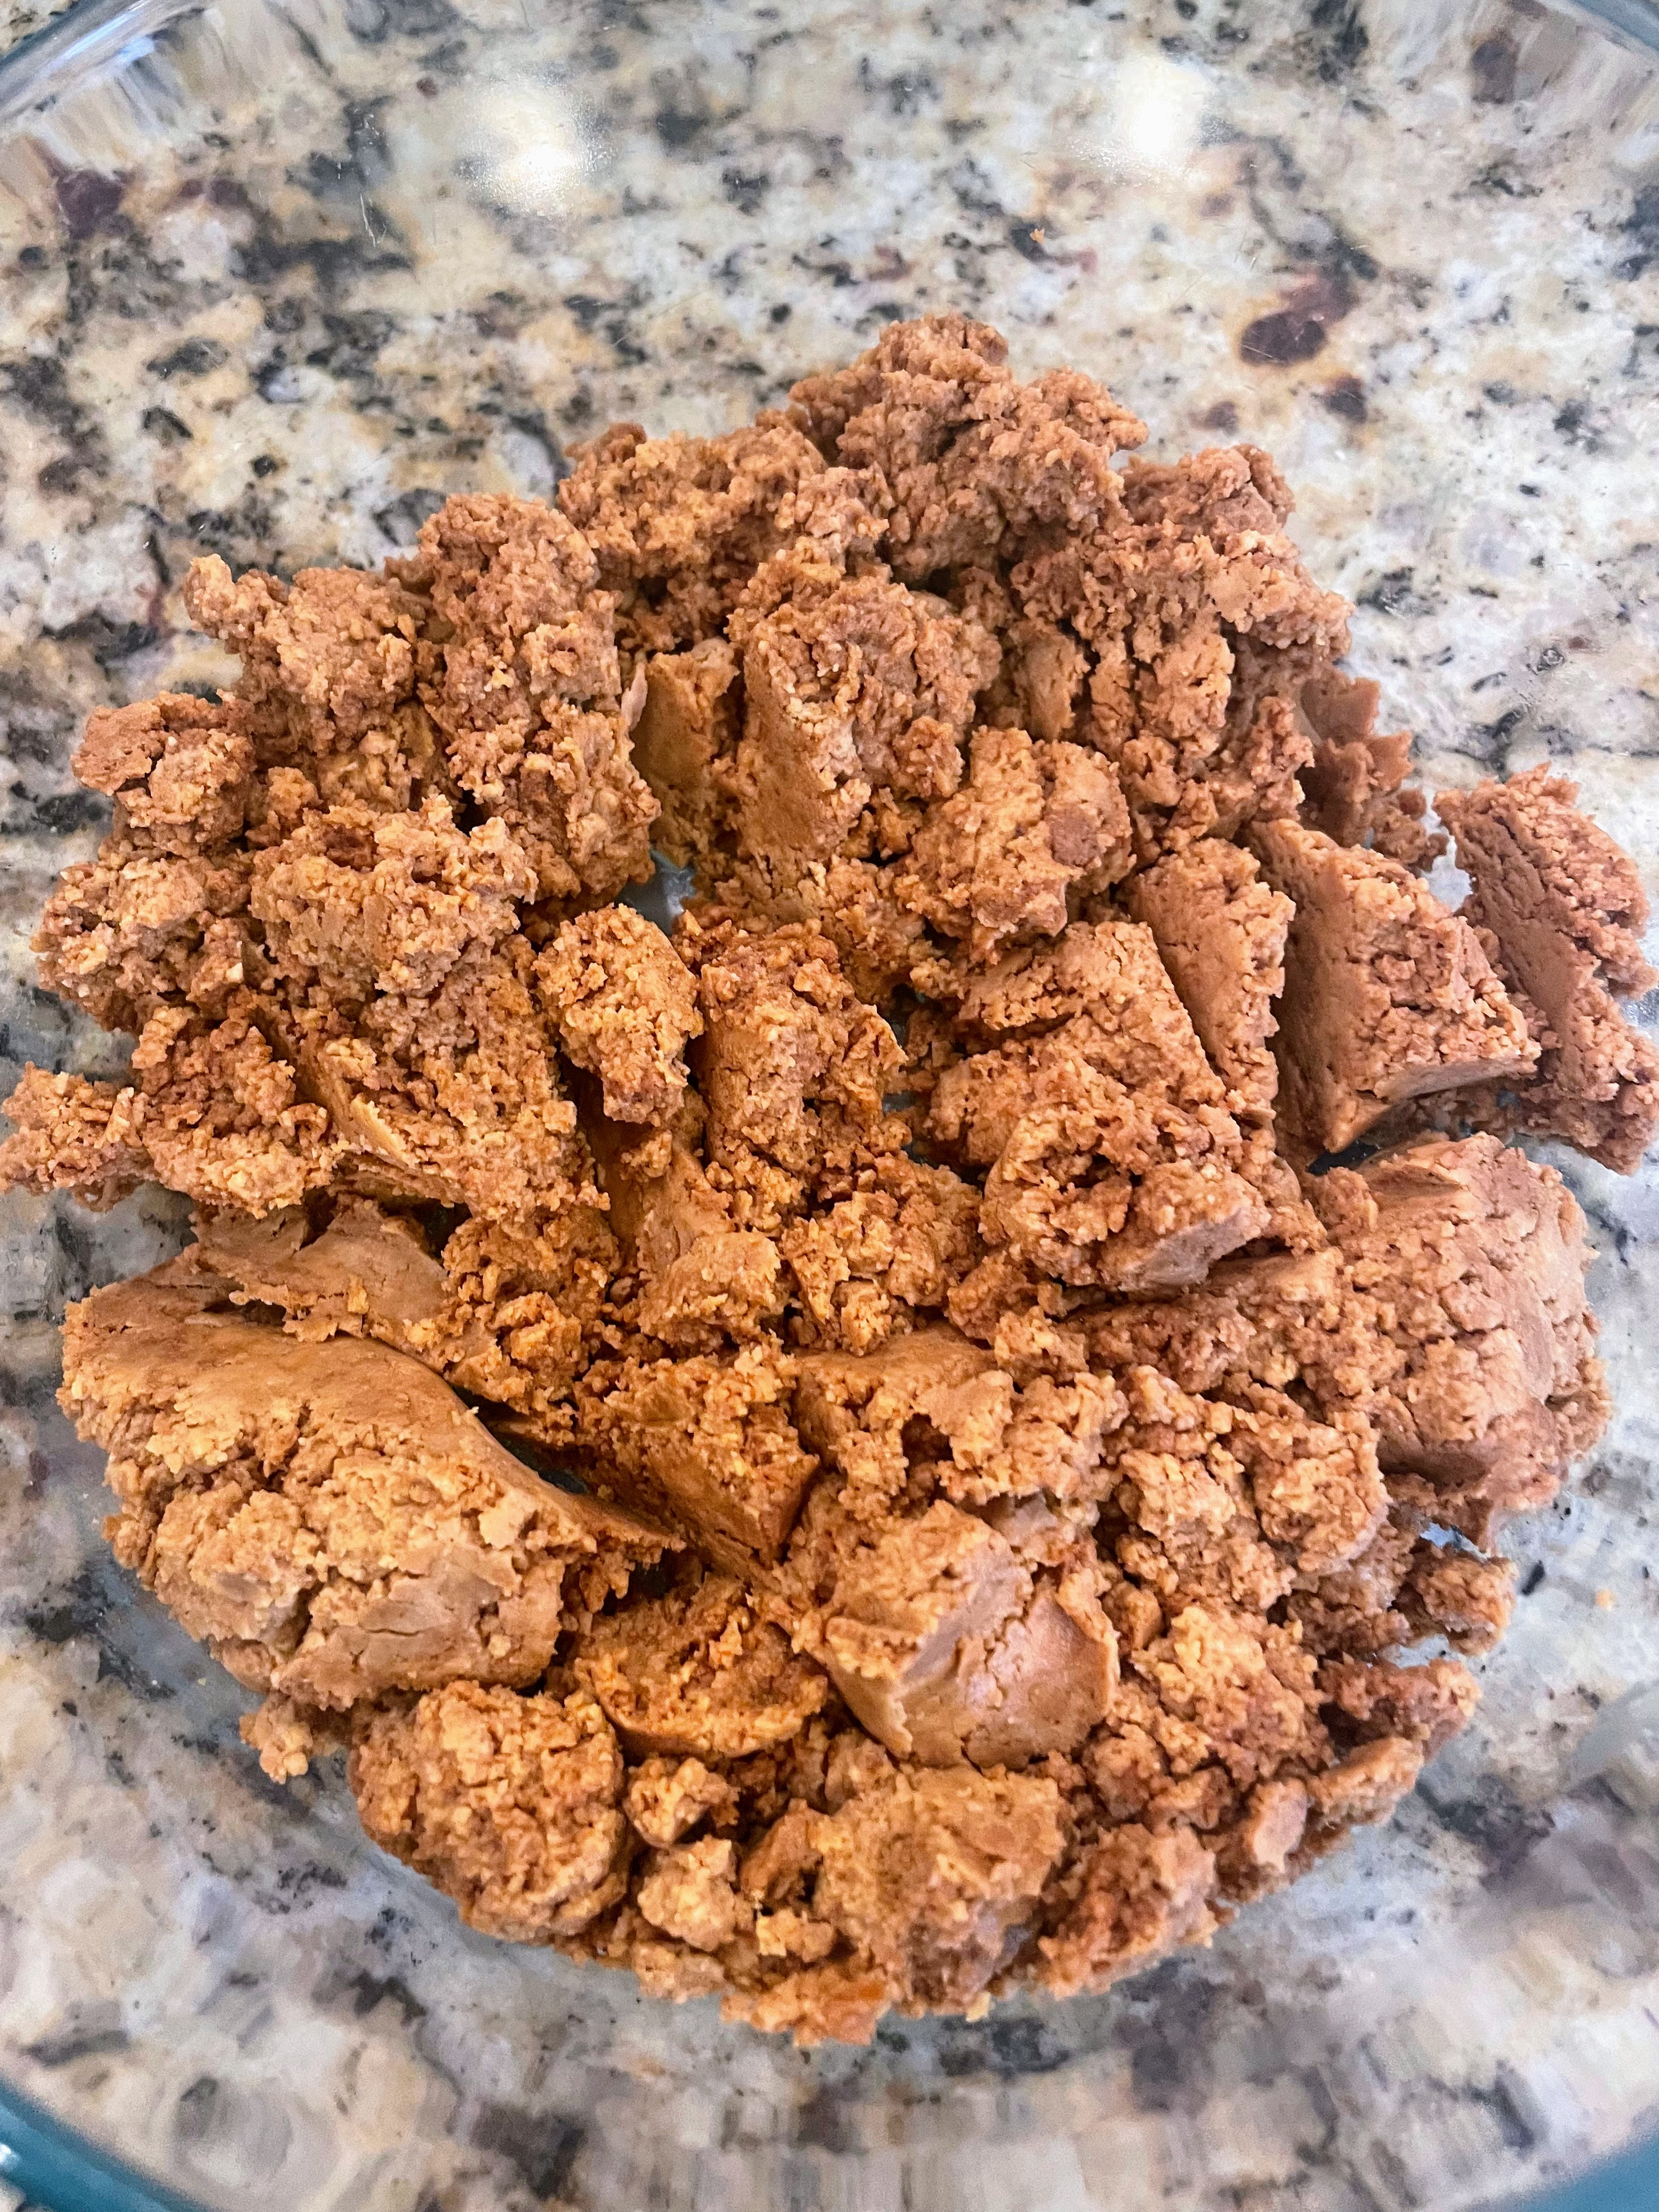
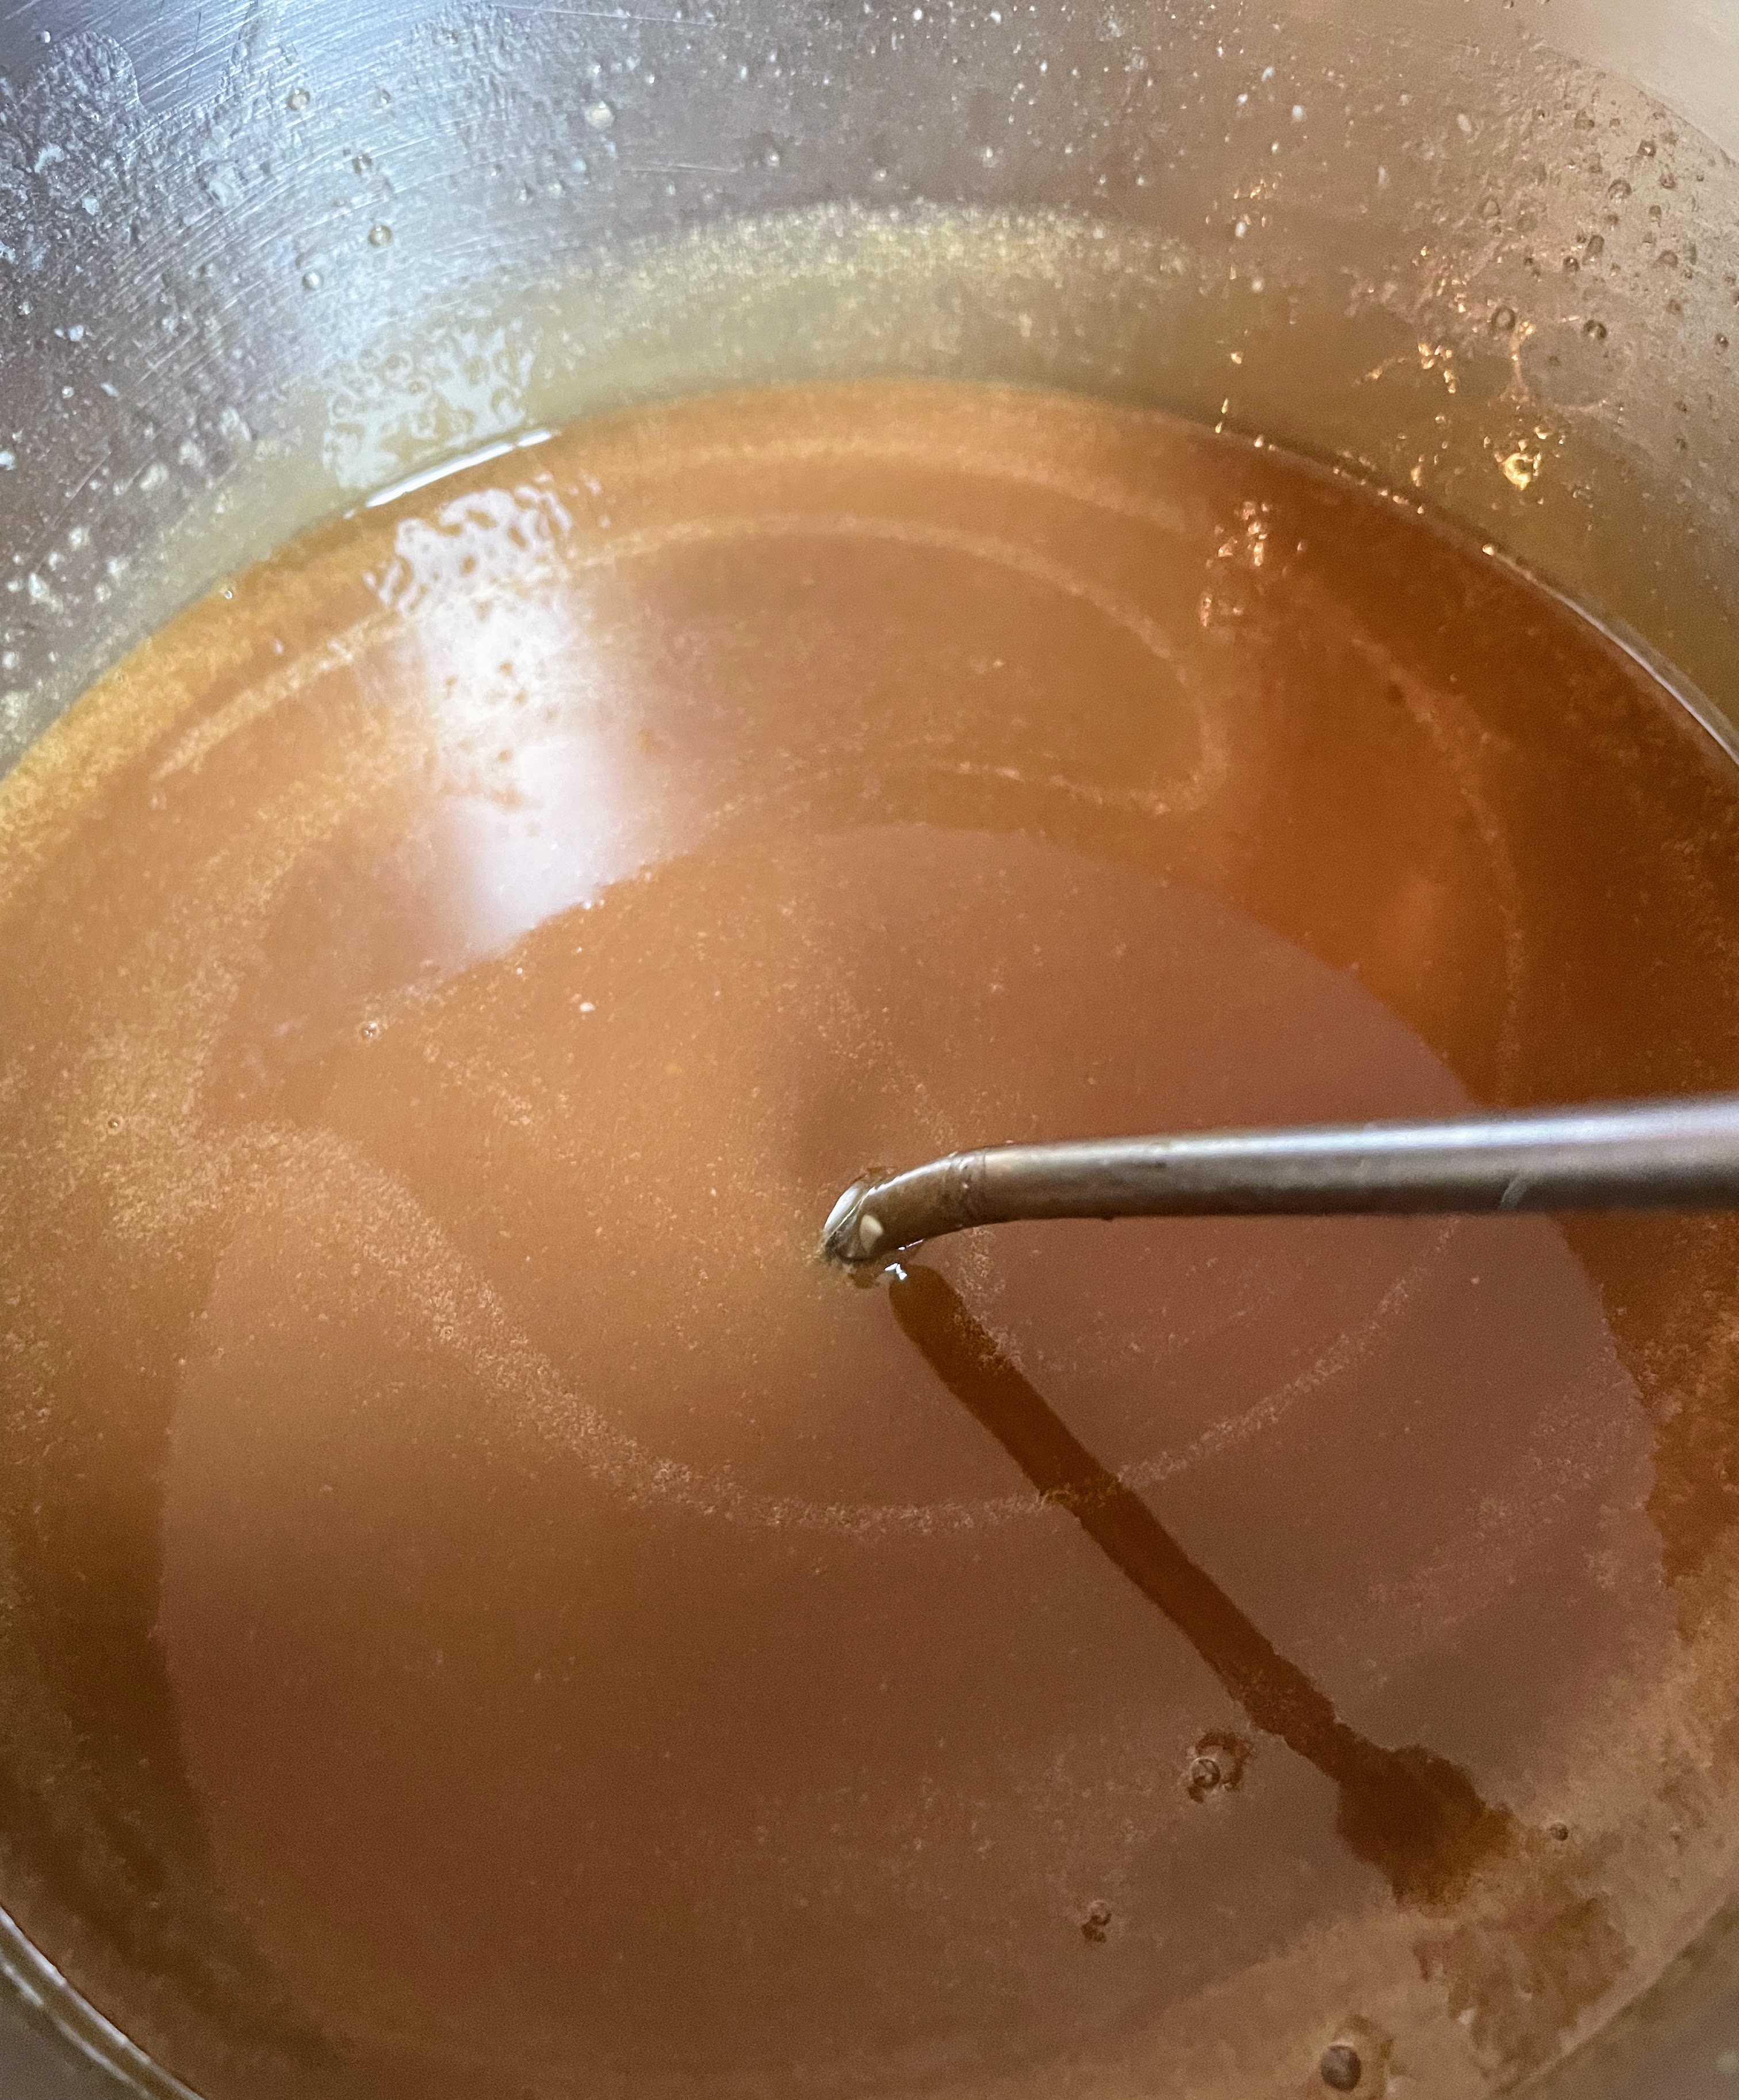
Ganache 1. Preheat oven to 180C/350F. Scatter chocolate evenly over base of a shallow baking dish/cake tin and bake for about 15-20 minutes, stirring a few times with a rubber spatula, until caramel in colour (the chocolate will be crumbly, and will slowly change color; keep stirring and baking until it is a rich chocolate brown).
2. Transfer to a large bowl. Bring cream almost to the boil in a small saucepan and pour over chocolate. Mix until semi incorporated, then blend with an immersion blender until smooth.
3. Cover and refrigerate for 30 minutes, stirring occasionally, or until ganache is of a spreadable consistency.
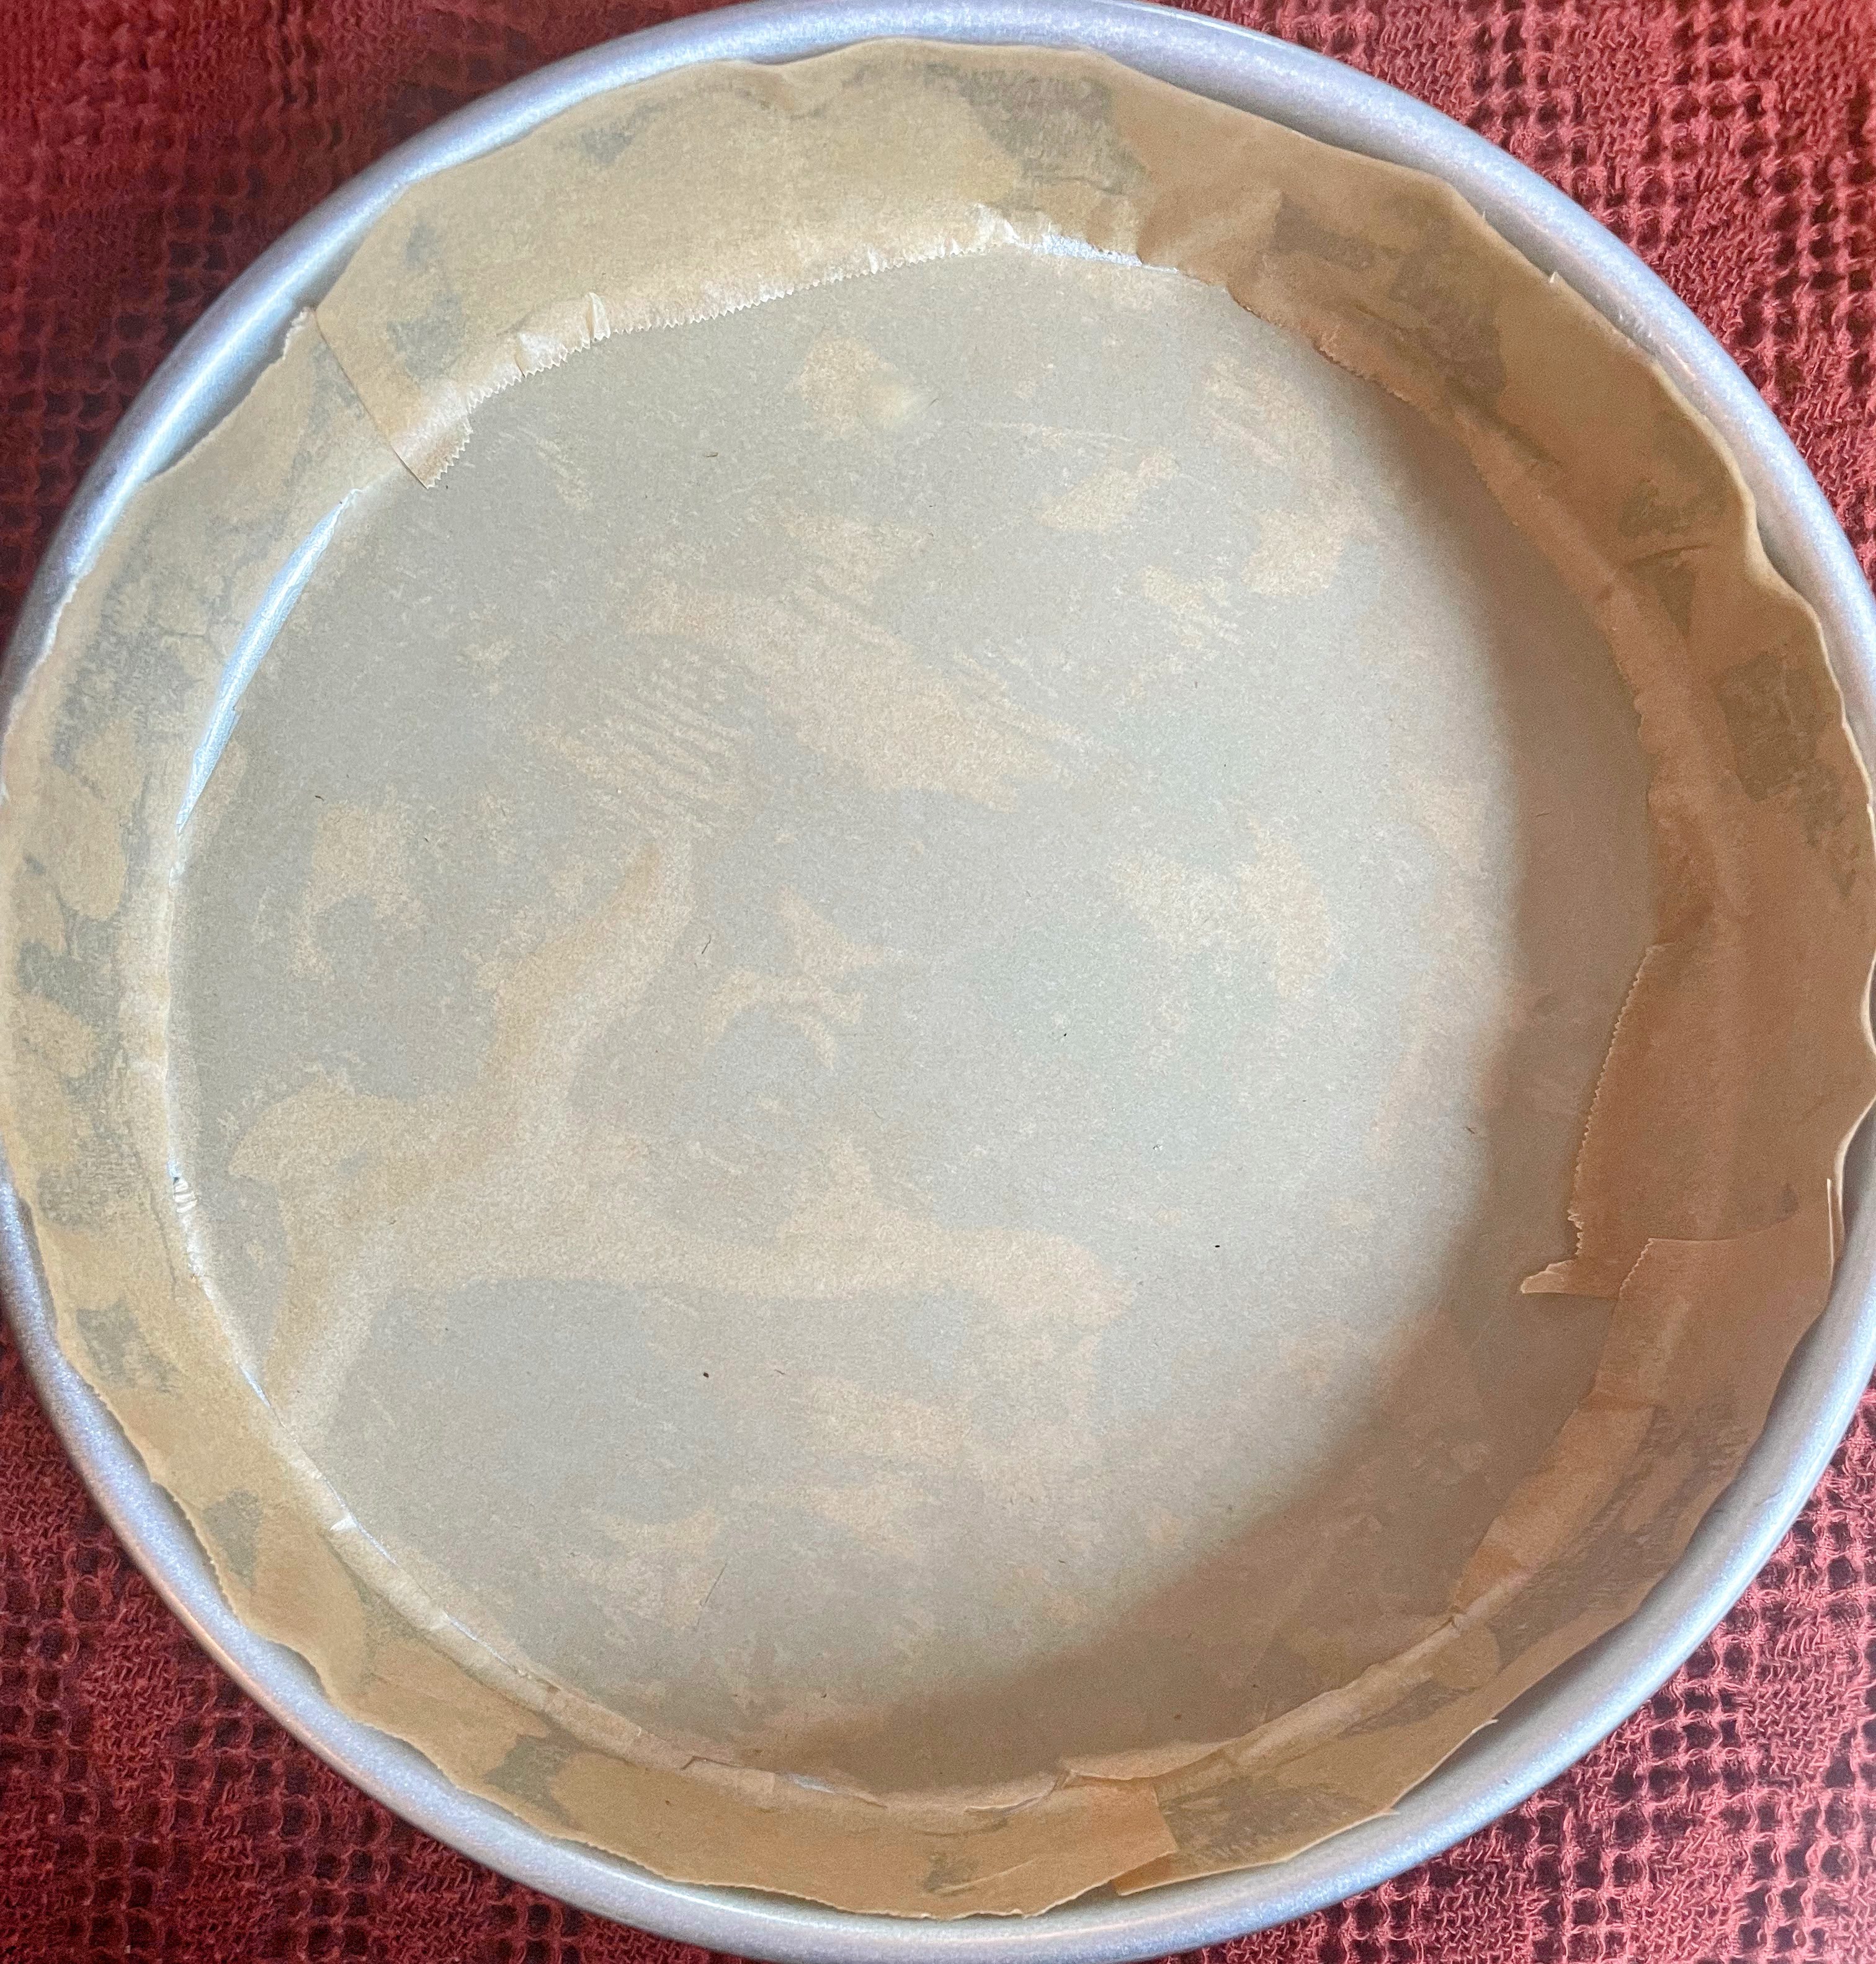
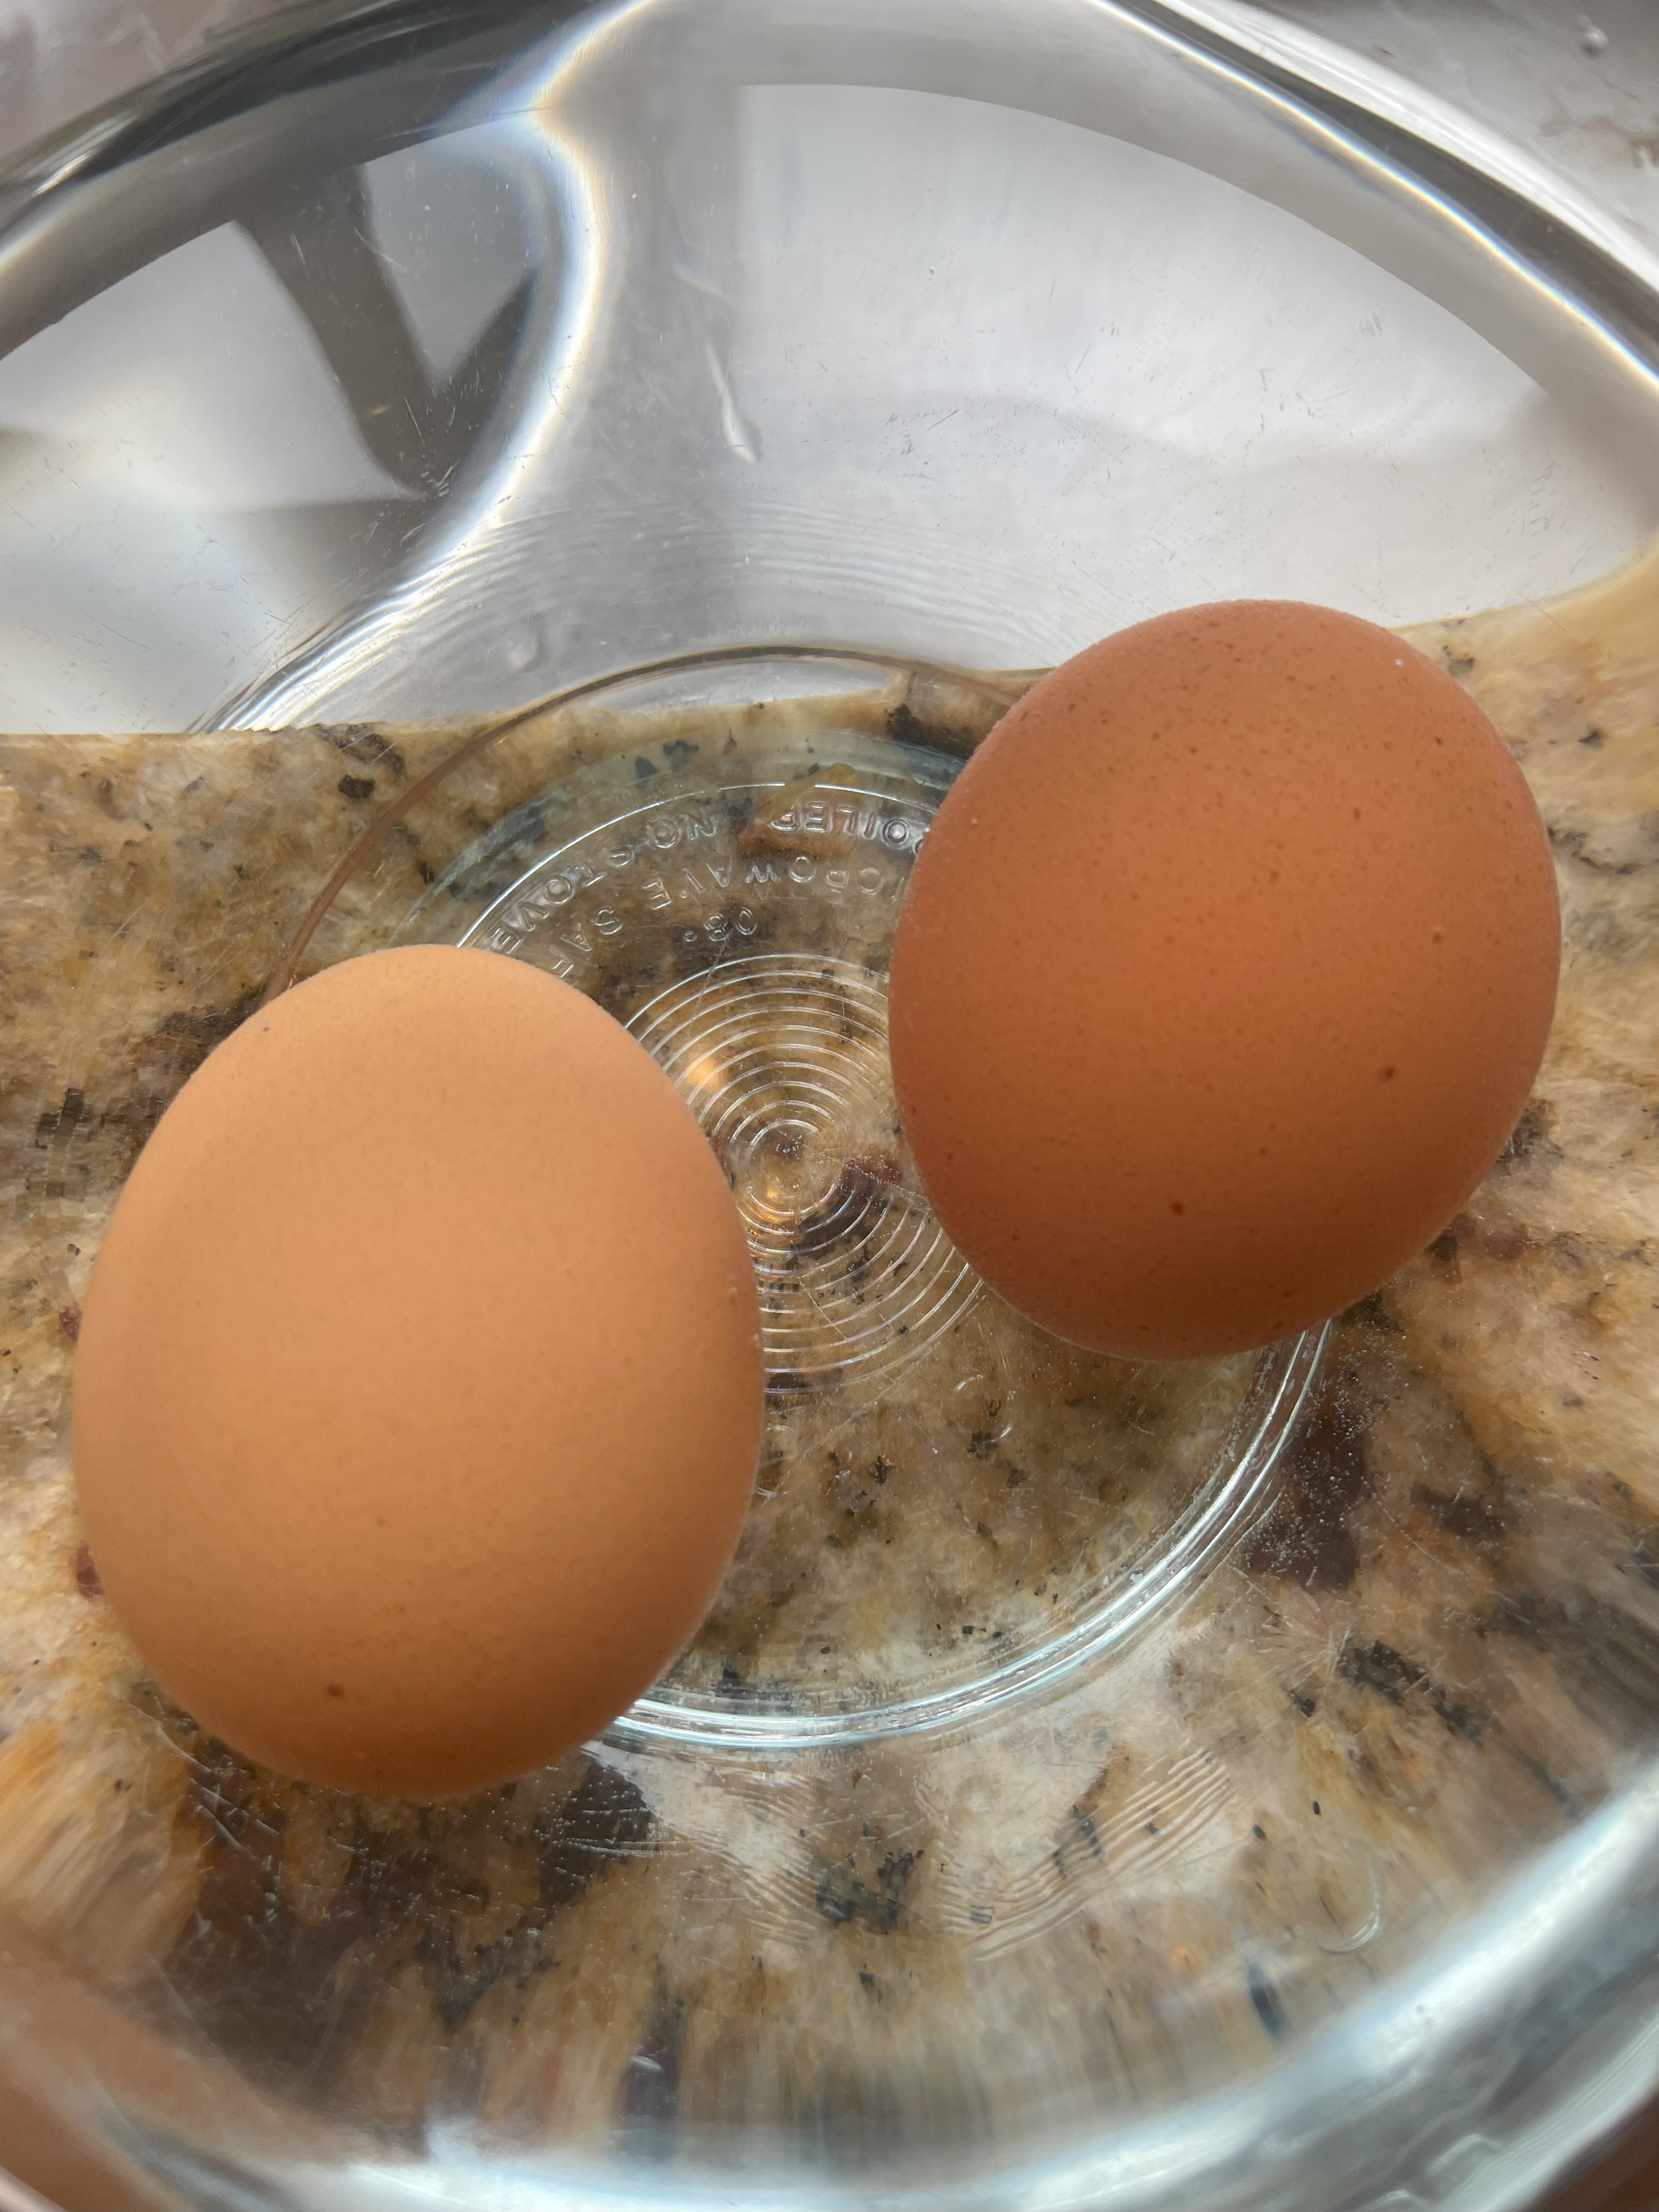
Mud Cake 1. Preheat oven to 160C (320F). Brush a round 22 cm (8-9 inch) cake pan with melted butter. Line base and sides with parchment paper, then spray the paper with baking spray or gently brush more melted butter over. [Note: If you forgot to take your eggs out earlier, you can let them sit in some hot water while you get the cake tin and the rest of the batter ready.]
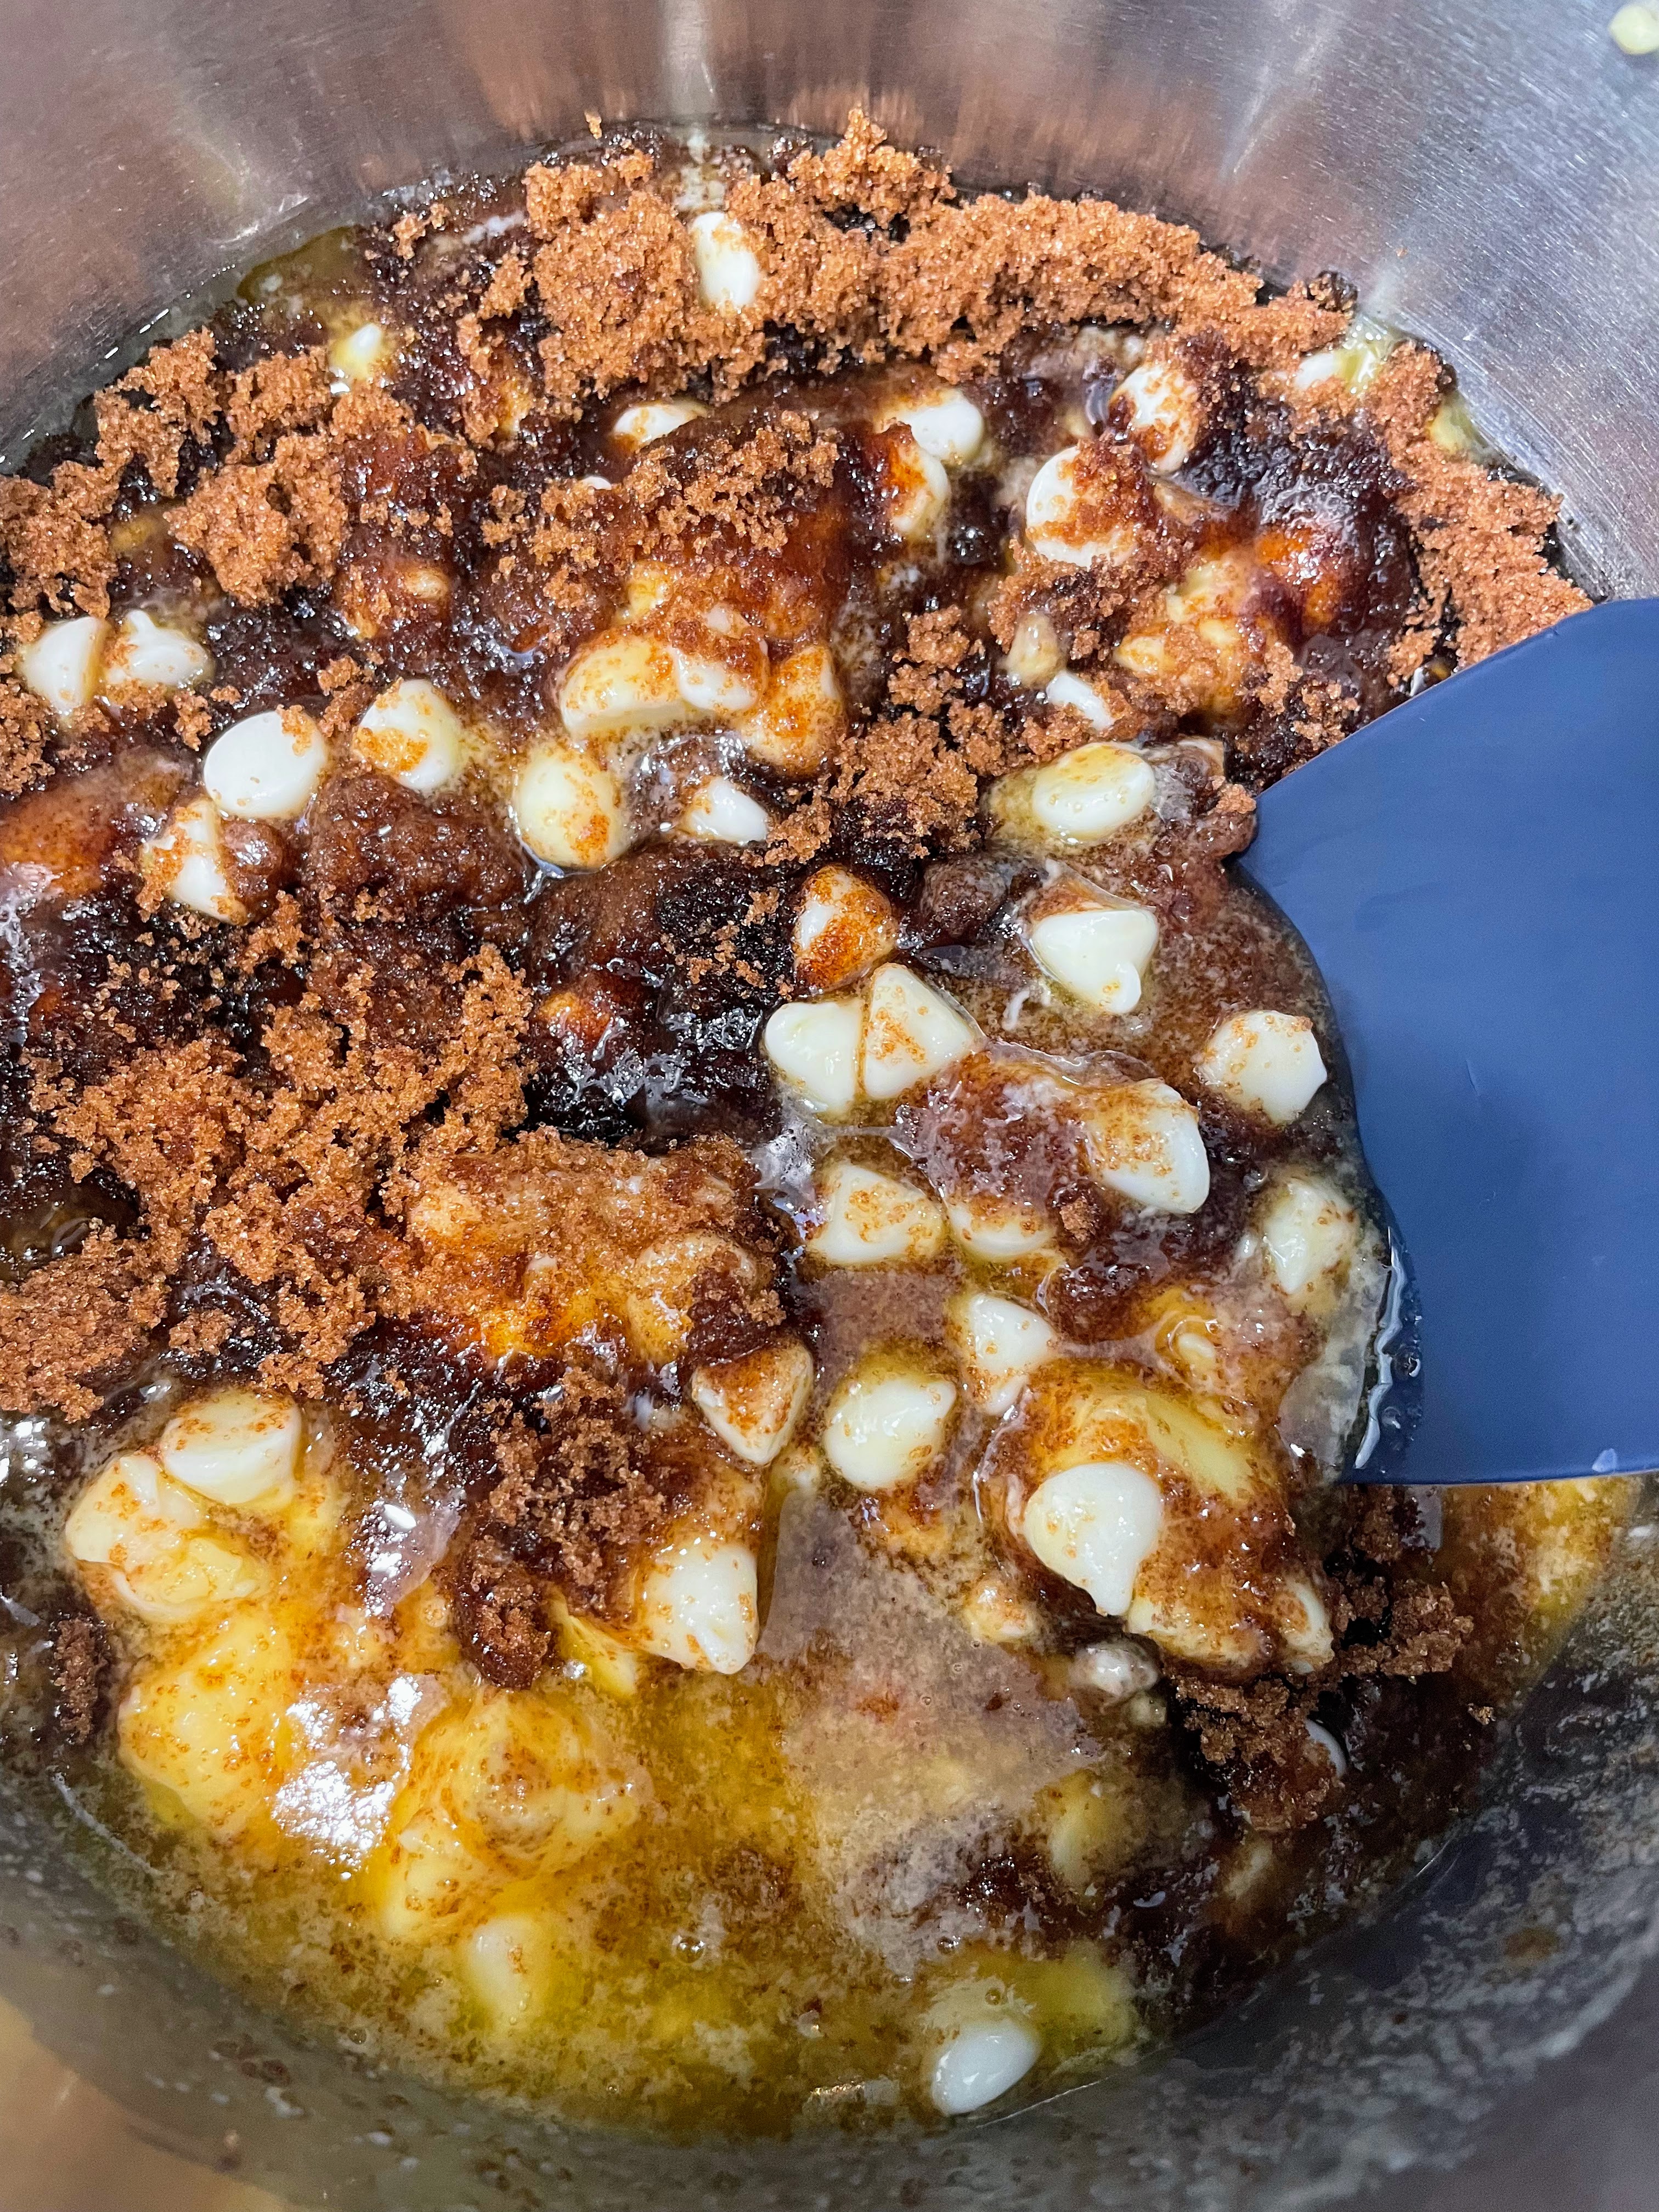
2. Place butter, white chocolate, sugar, water, syrup, and vanilla in a heavy-based saucepan. Stir over medium-low heat for 5 minutes or until white chocolate melts and mixture is smooth. Set mixture aside for 20 minutes to cool.
3. Add eggs to white chocolate mixture in saucepan, one at a time, beating well after each addition. Sift in the flours (plus the extra ingredients if you don’t have self-raising flour) and stir until well combined.
4. Pour mixture into pan and bake in preheated oven for 50 mins or until a skewer comes out almost clean. Let cake sit for 20 mins before turning onto a wire rack to cool. Frost with ganache and enjoy! (Or, refrigerate, covered, for up to three days; let come to room temperature before serving.)
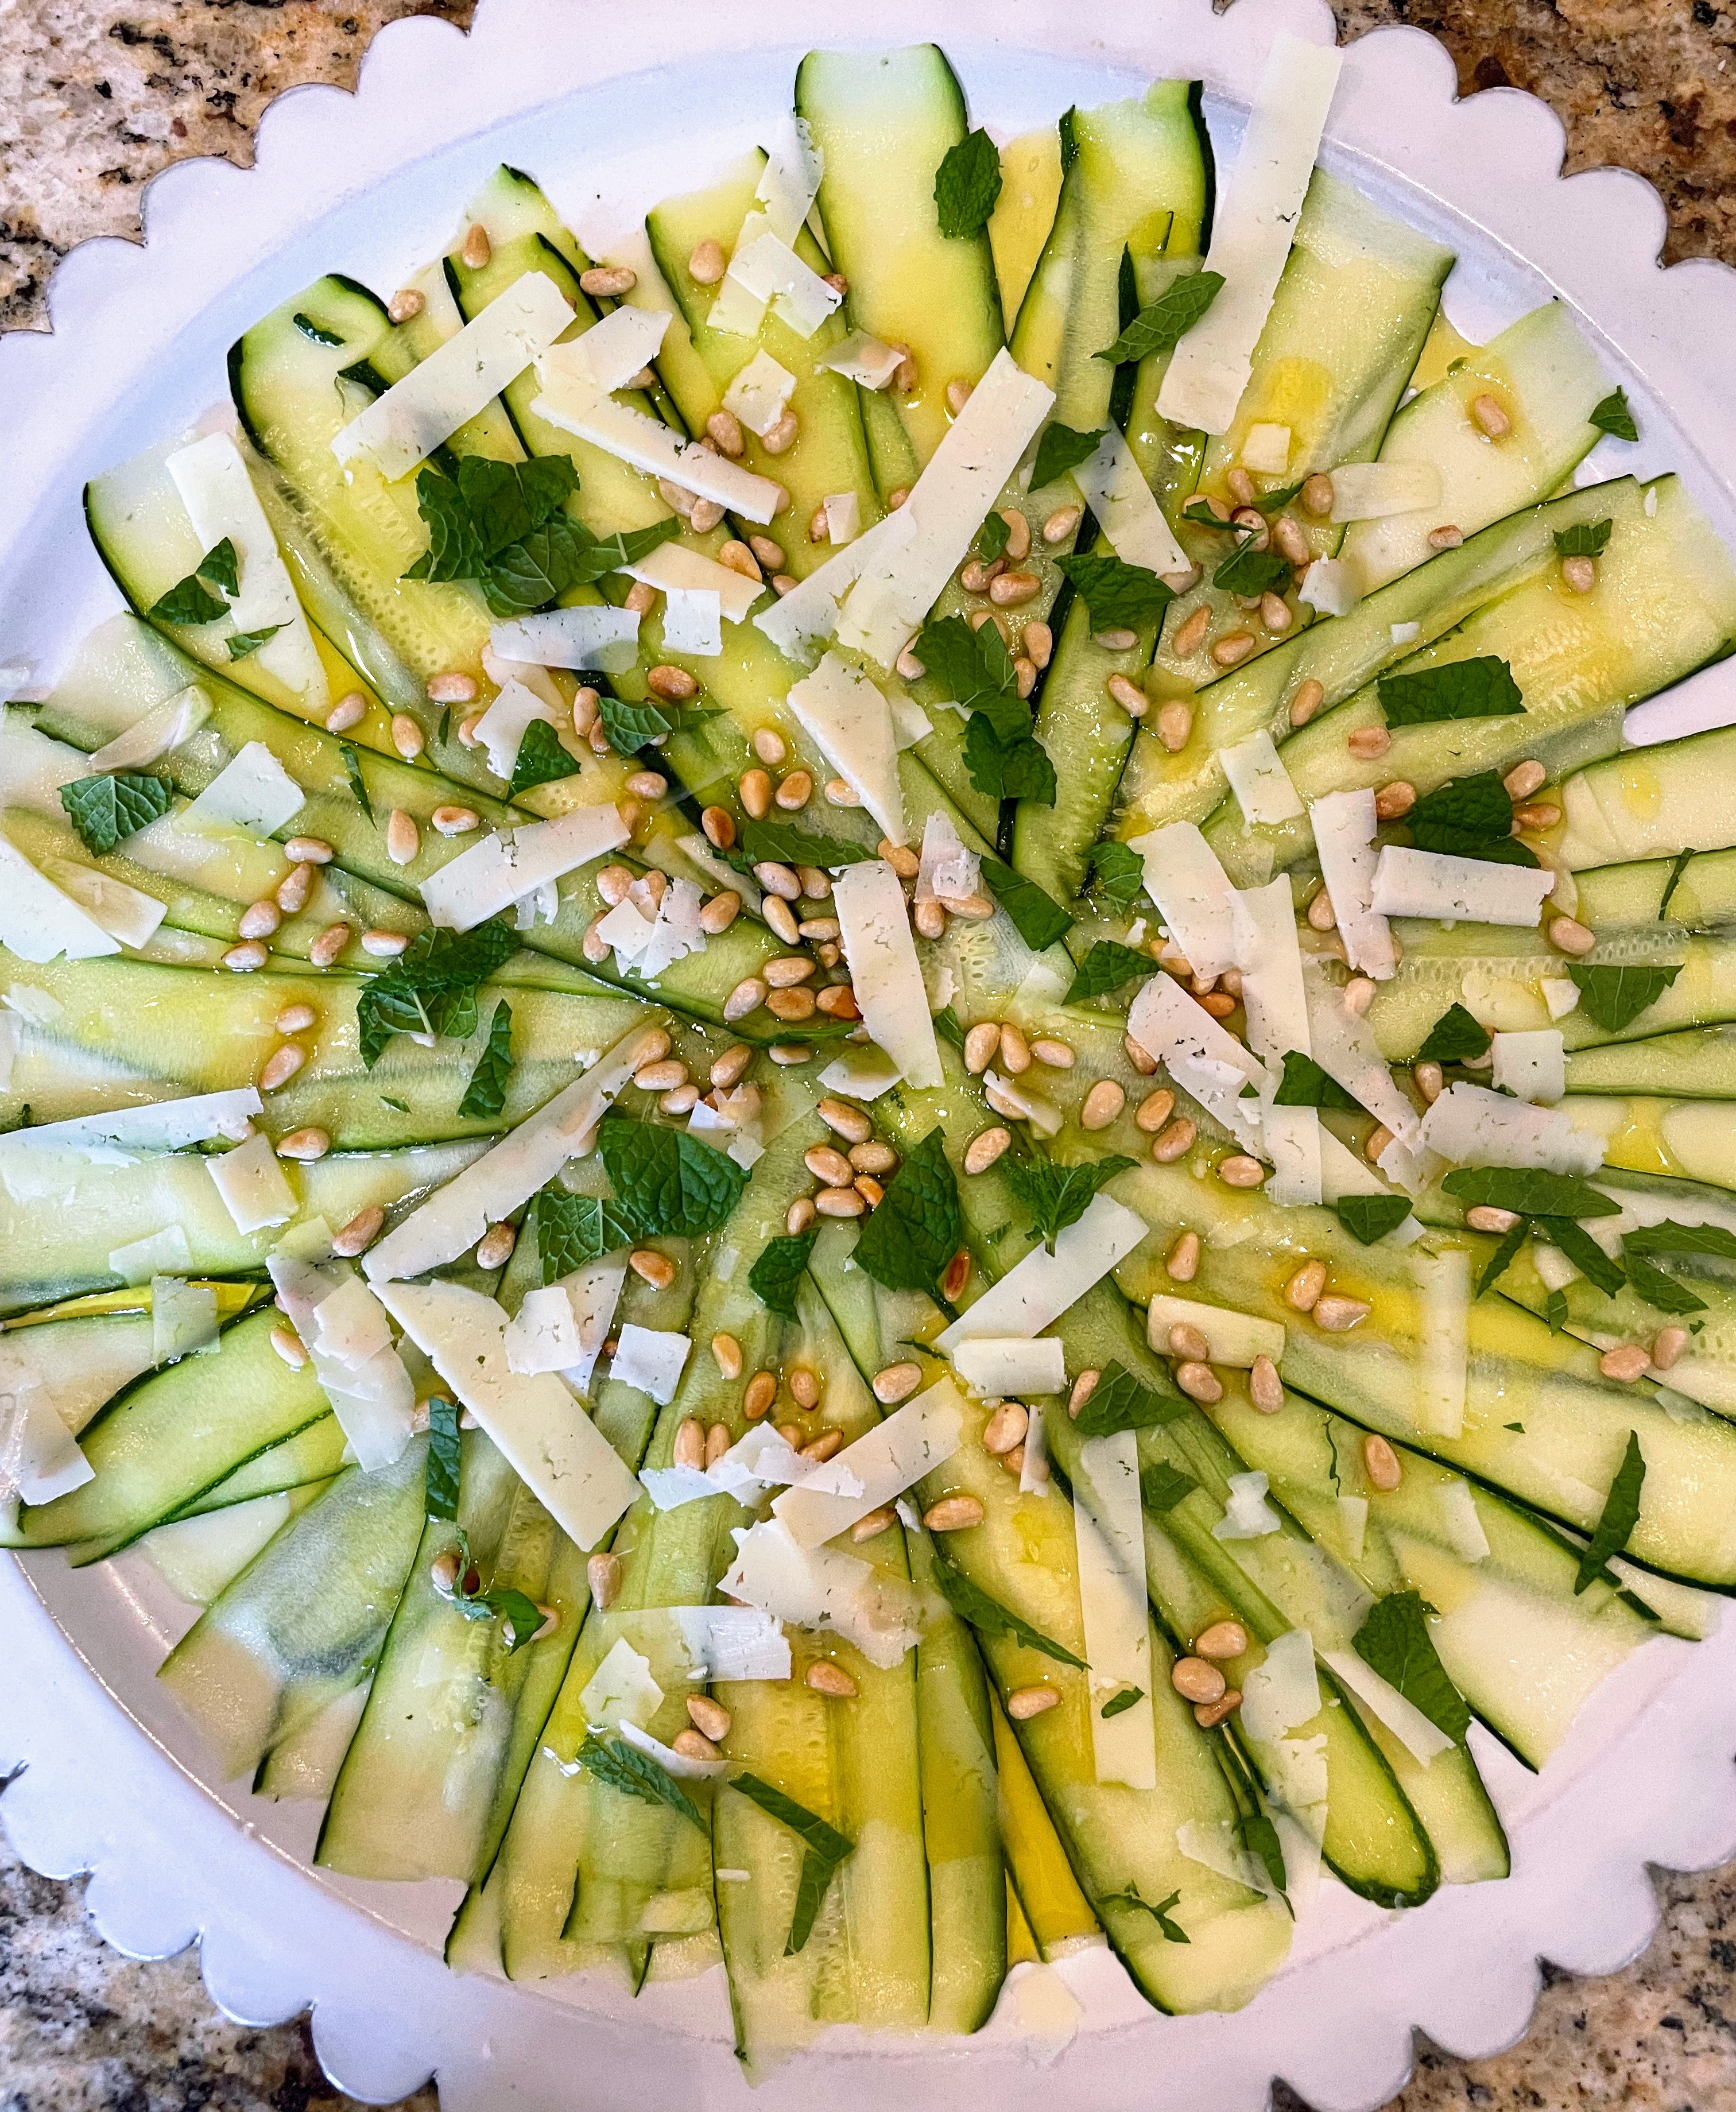
This refreshing, no-cook zucchini recipe (which I very slightly adapted from the New York Times) is just the thing when it’s hot outside, you have zucchini to use up, and you’d like to make an impression. It’s an unusual recipe in that the thinly-sliced zucchini is raw, though nicely marinated and softened in lemon juice (a bit like what happens with ceviche). Definitely worth a try.
Ingredients: 2 medium zucchini salt 2 garlic cloves, thinly sliced freshly squeezed juice of 1/2 lemon (or more, as needed) 2-3 tbsp. of the best olive oil you have 2 tbsp. toasted pine nuts torn or chopped fresh mint, to taste Optional: 1 tbsp. Parmesan (or Pecorino Romano) shavings, 1 tablespoon currants, 1 tsp. honey, and/or freshly ground black pepper
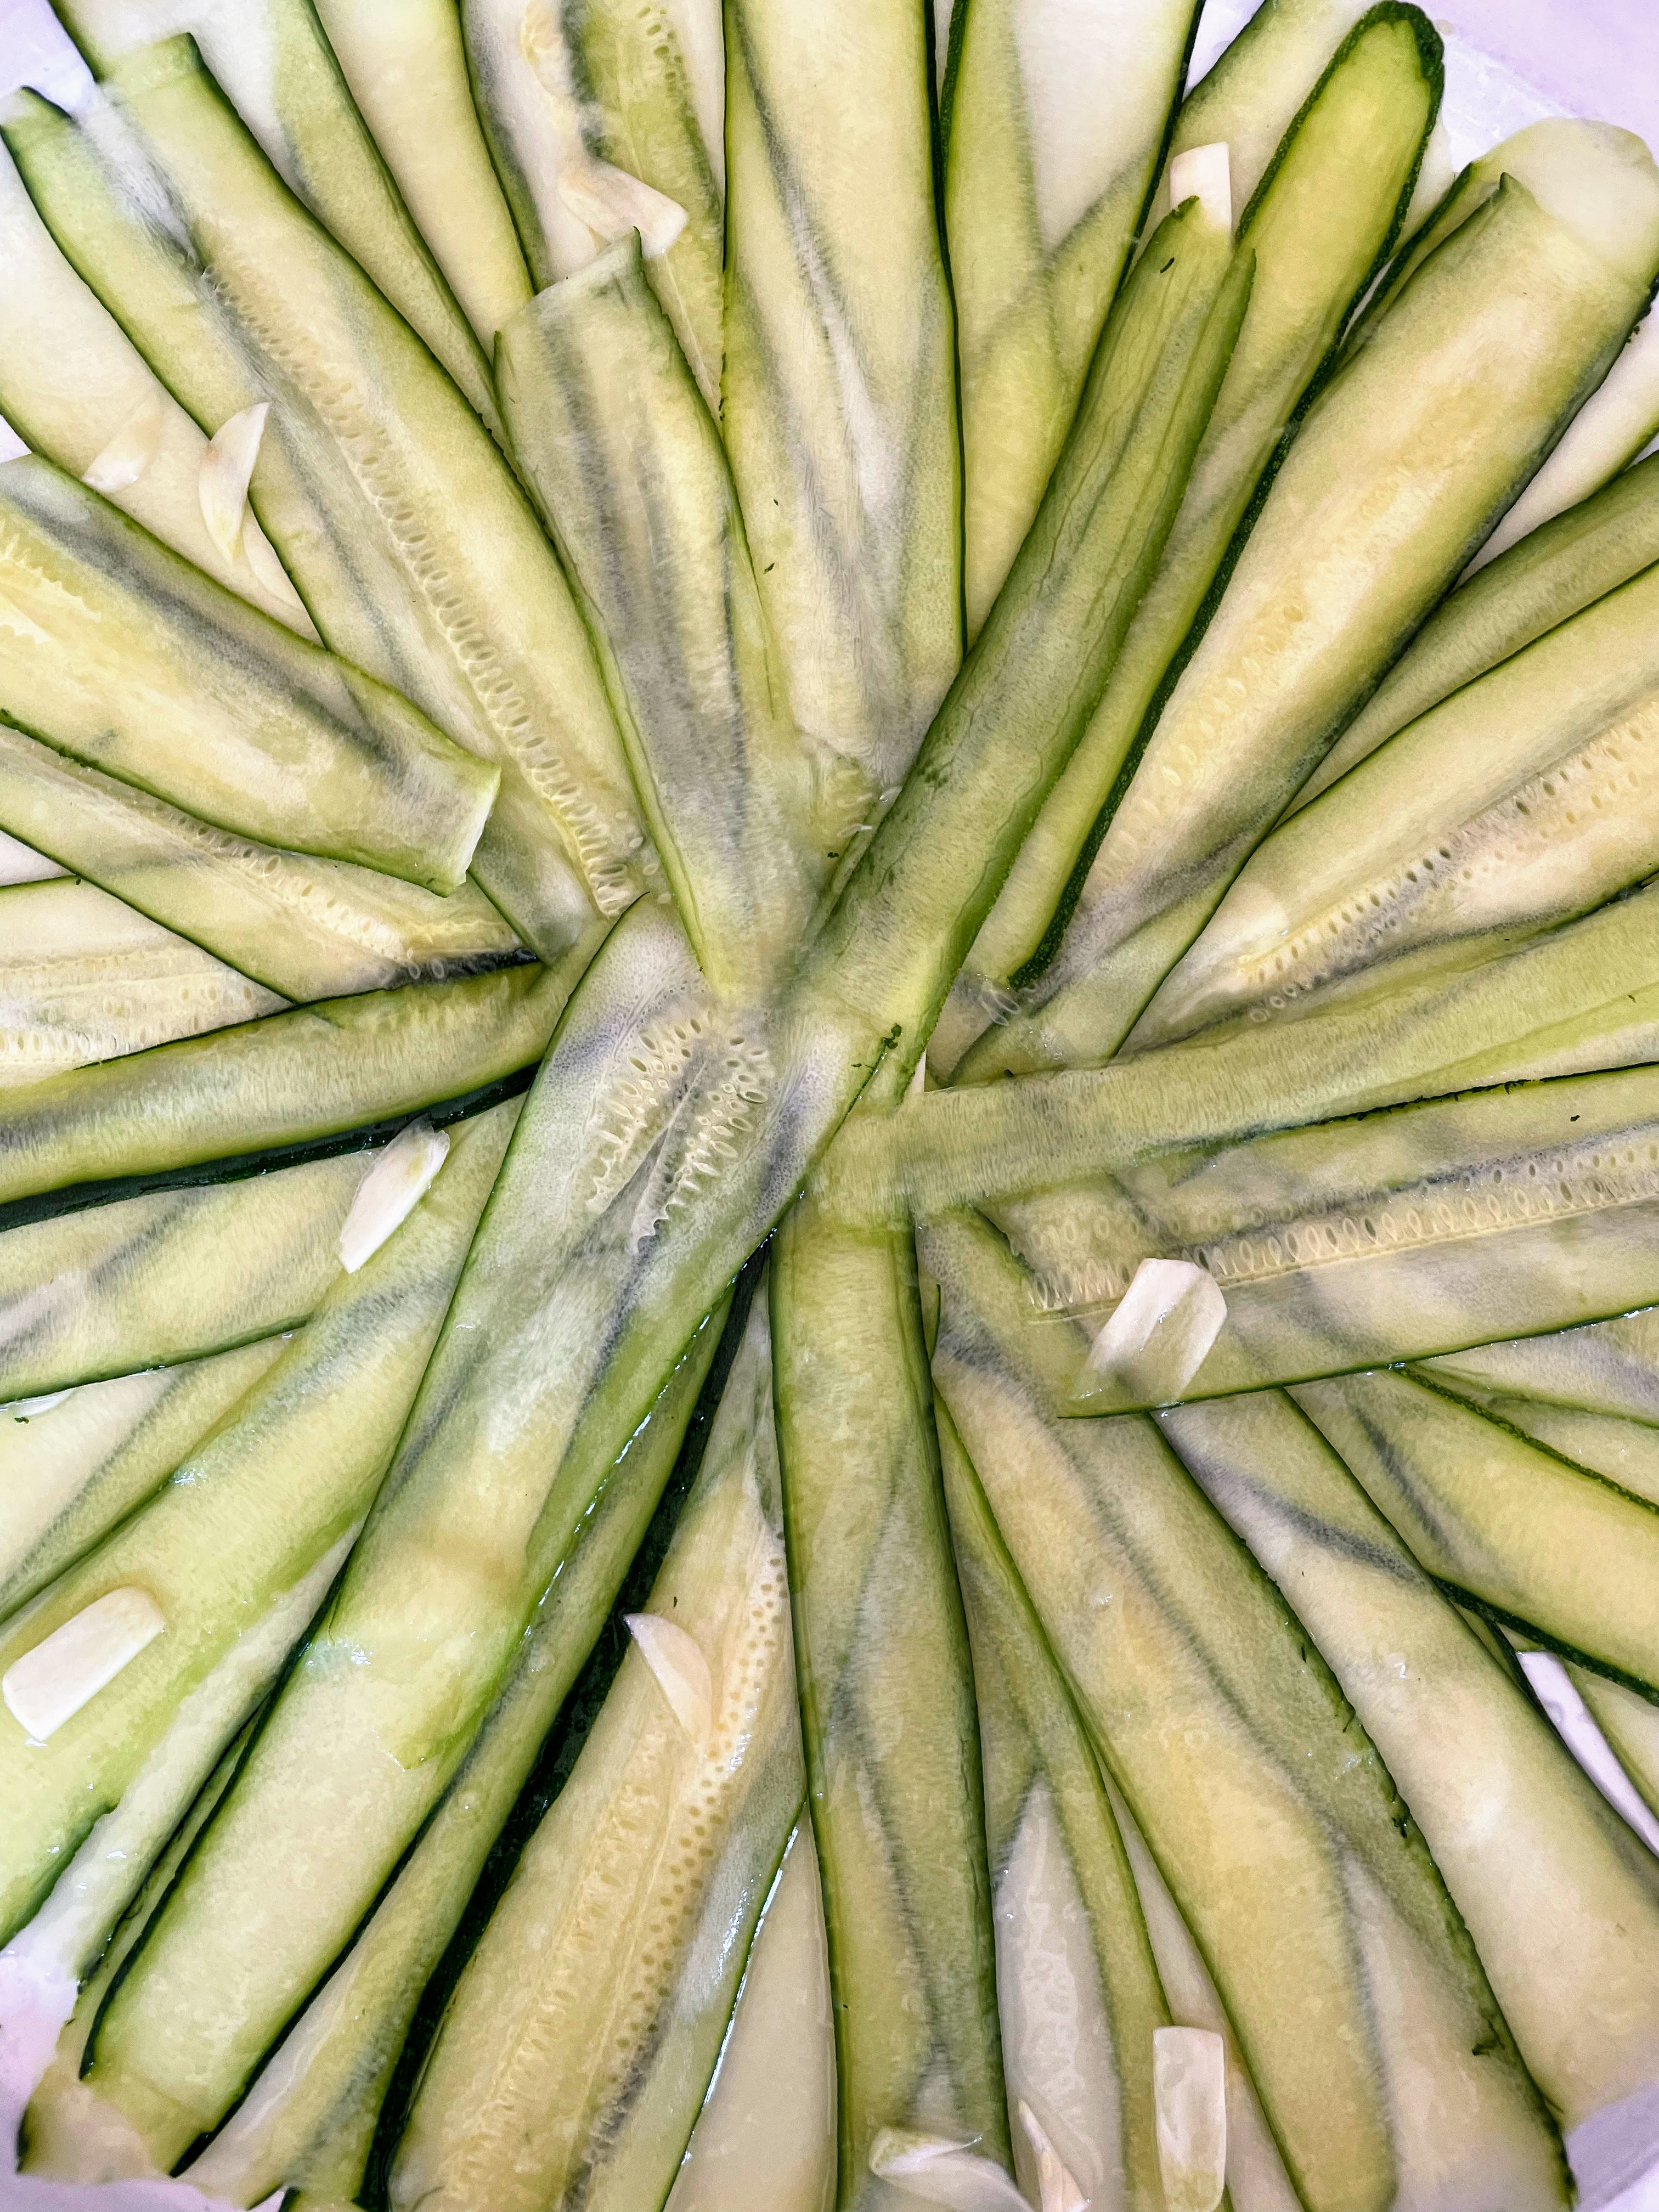
Directions: 1. Slice zucchini lengthwise with a mandoline or chef’s knife as thinly as you can, and sprinkle lightly with salt. Place in a colander for 30 minutes to remove the excess moisture, tossing occasionally. 2. Dry the zucchini on paper towels and arrange the slices in layers on a shallow platter or serving dish, adding slices of garlic between the layers, and drizzling each layer with some of the lemon juice (if you run out, squeeze some juice from the other half of the lemon).
3. Marinate, refrigerated, for at least 15 minutes and up to 1 hour. 4. Drizzle olive oil over and top with pine nuts and mint (and any of the optional ingredients, if using).
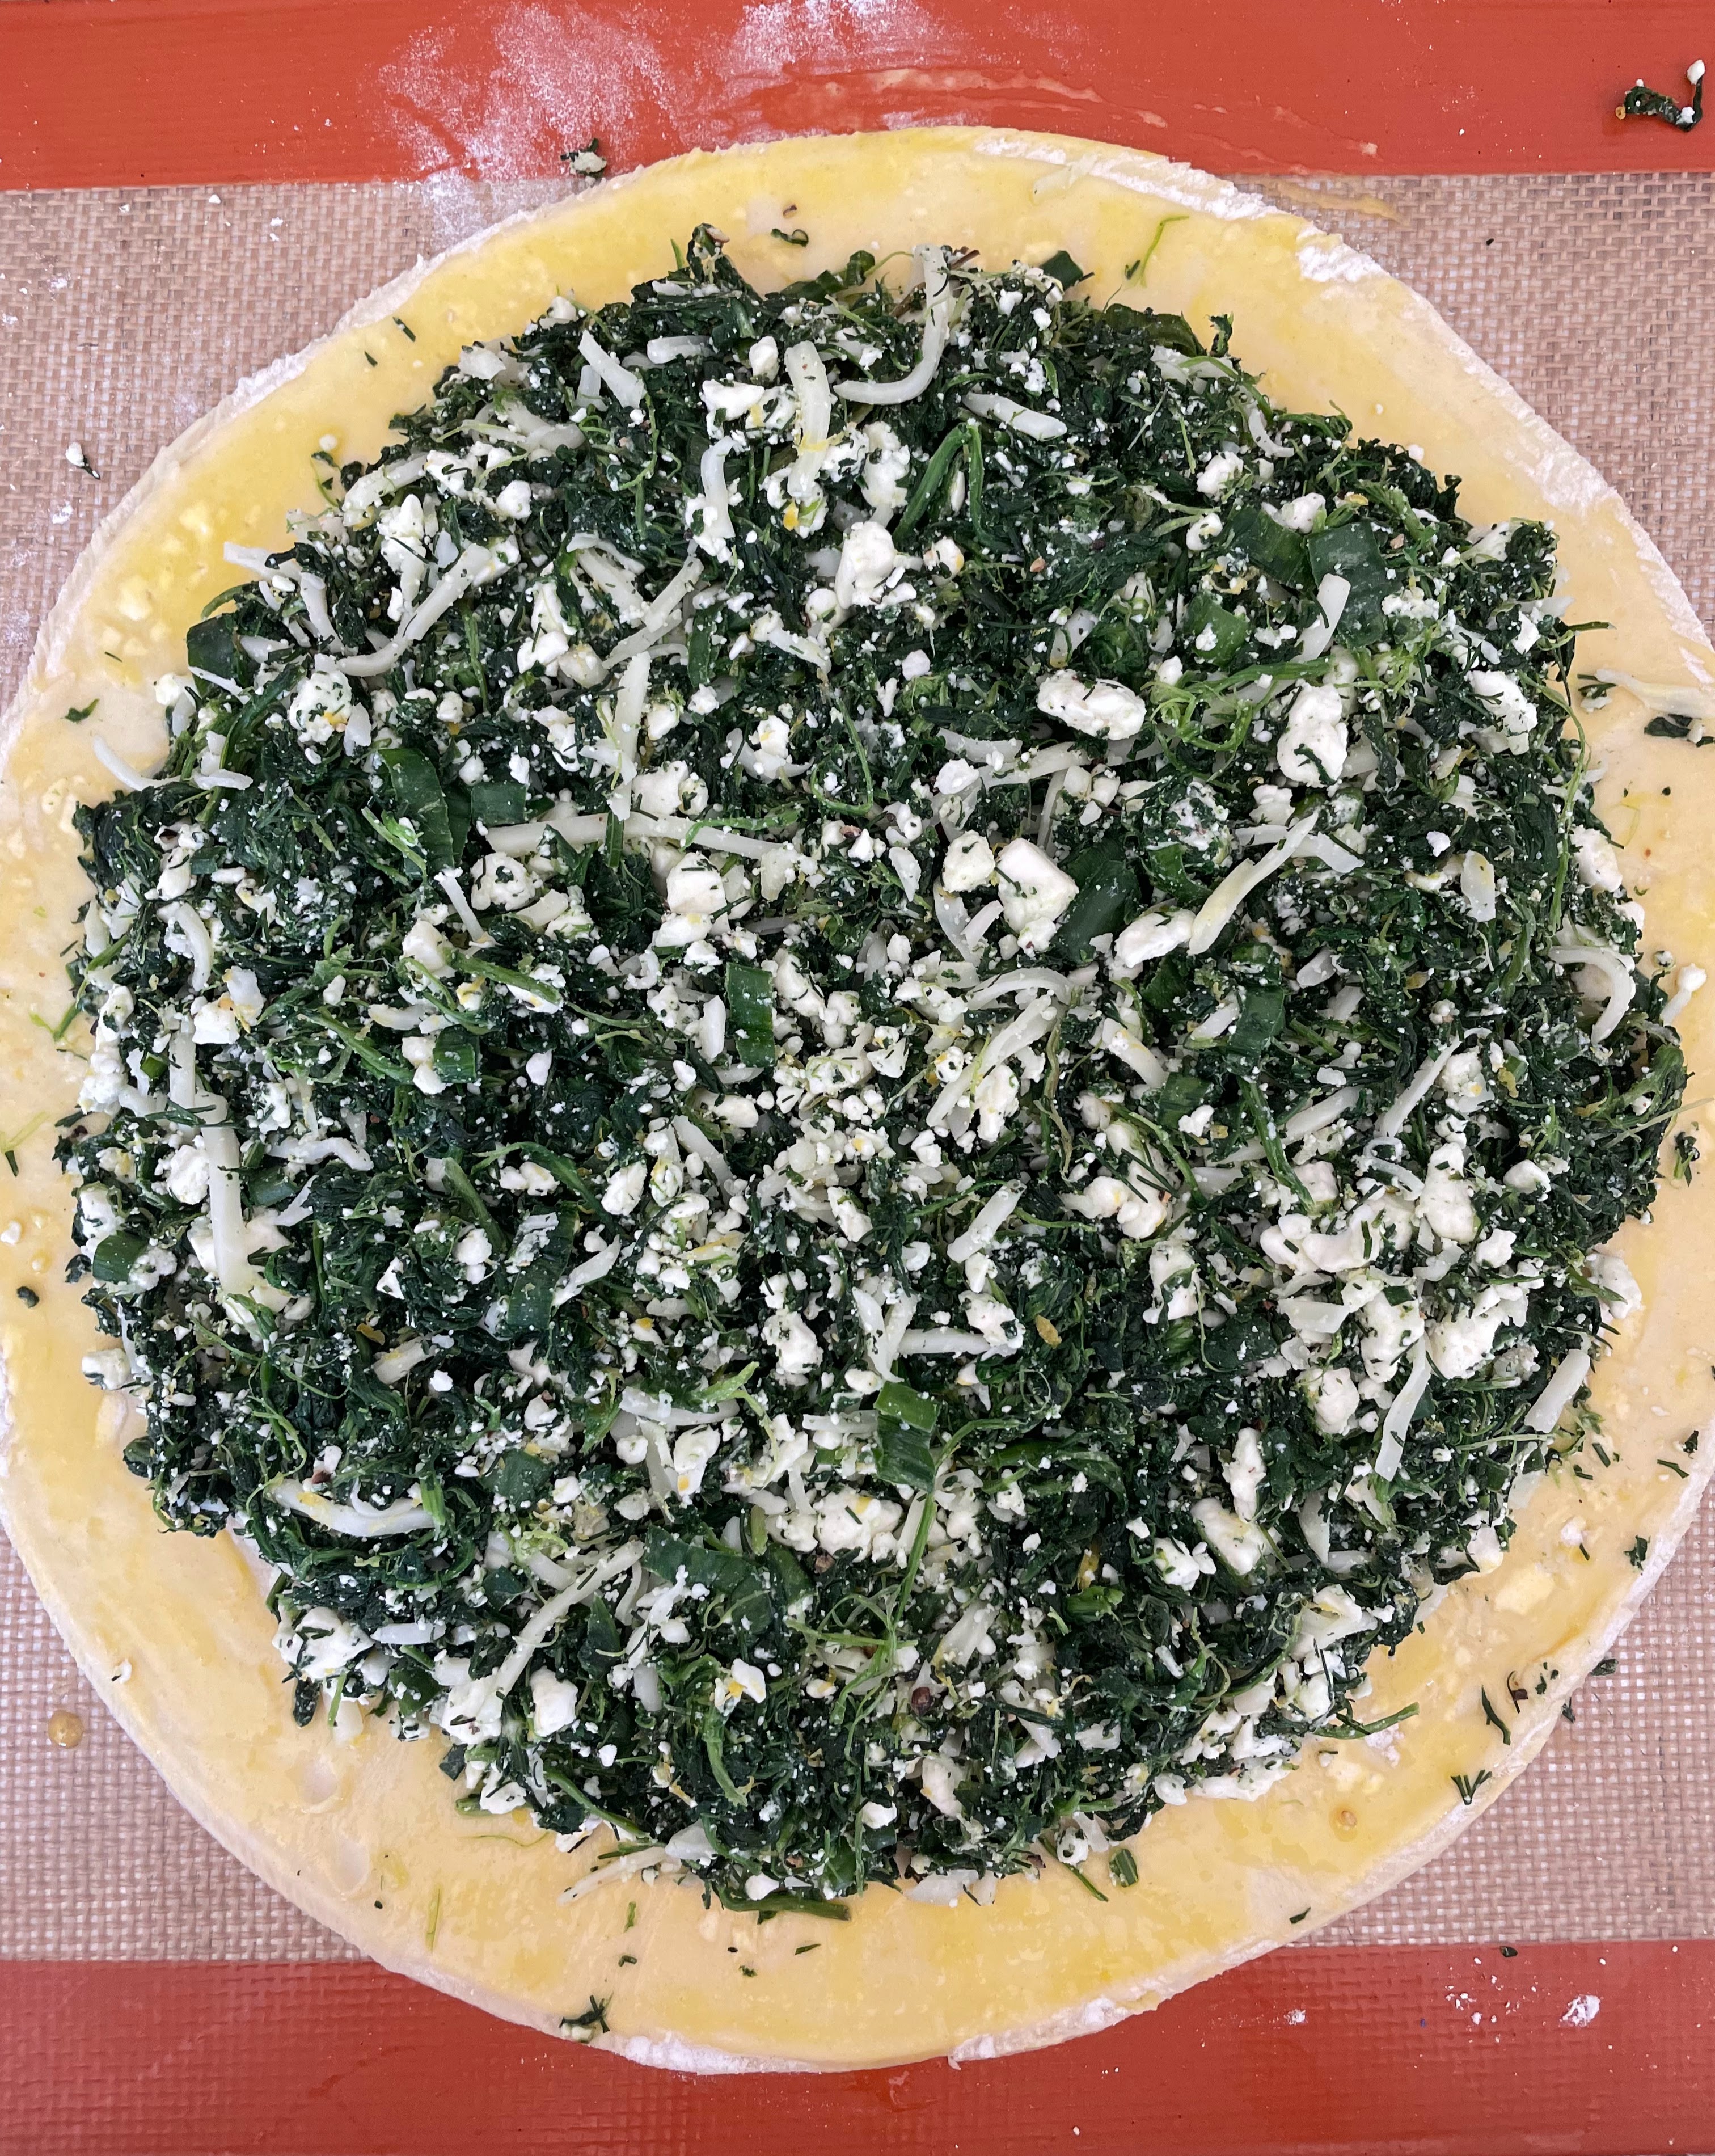
Looking for a stunning appetizer? Or a great accompaniment to, say, soup or a salad? Look no further than this pastry, which is as good to eat as it is to look at. It requires a little more effort than other things you can do with puff pastry, but is still relatively easy (and, more importantly, fun) to make. And anything that looks this delicious is worth it.
I love the original recipe as follows below. But, as you will see in some of the photos, I’ve played around with it at times. Once, I added a base layer of tomato pesto to see what that would be like, and used finely chopped red onions instead of the scallions I forgot to buy. Another time I did not have quite enough spinach, so I made up the weight by adding extra feta and shredded mozzarella. So tweak this recipe as you desire — or don’t; it will be delicious every time no matter how you prepare it.
Ingredients: 1 package (17.3-oz. /490 gr.) frozen puff pastry (= 2 sheets) 2 packages (10 oz/283 gr. each) frozen, chopped spinach — defrosted; see below 2 scallions (or about 1/4 of a white or red onion), finely chopped 2 tbsp. fresh dill, finely chopped 2½ oz. (70 gr.) feta cheese, crumbled ( = about ⅔ cup) 2 garlic cloves, crushed 1 lemon, zested 1 tsp. kosher salt, plus more ¼ tsp. freshly ground black pepper, plus more All-purpose flour (for rolling) 1 large egg, whisked (aka egg wash)
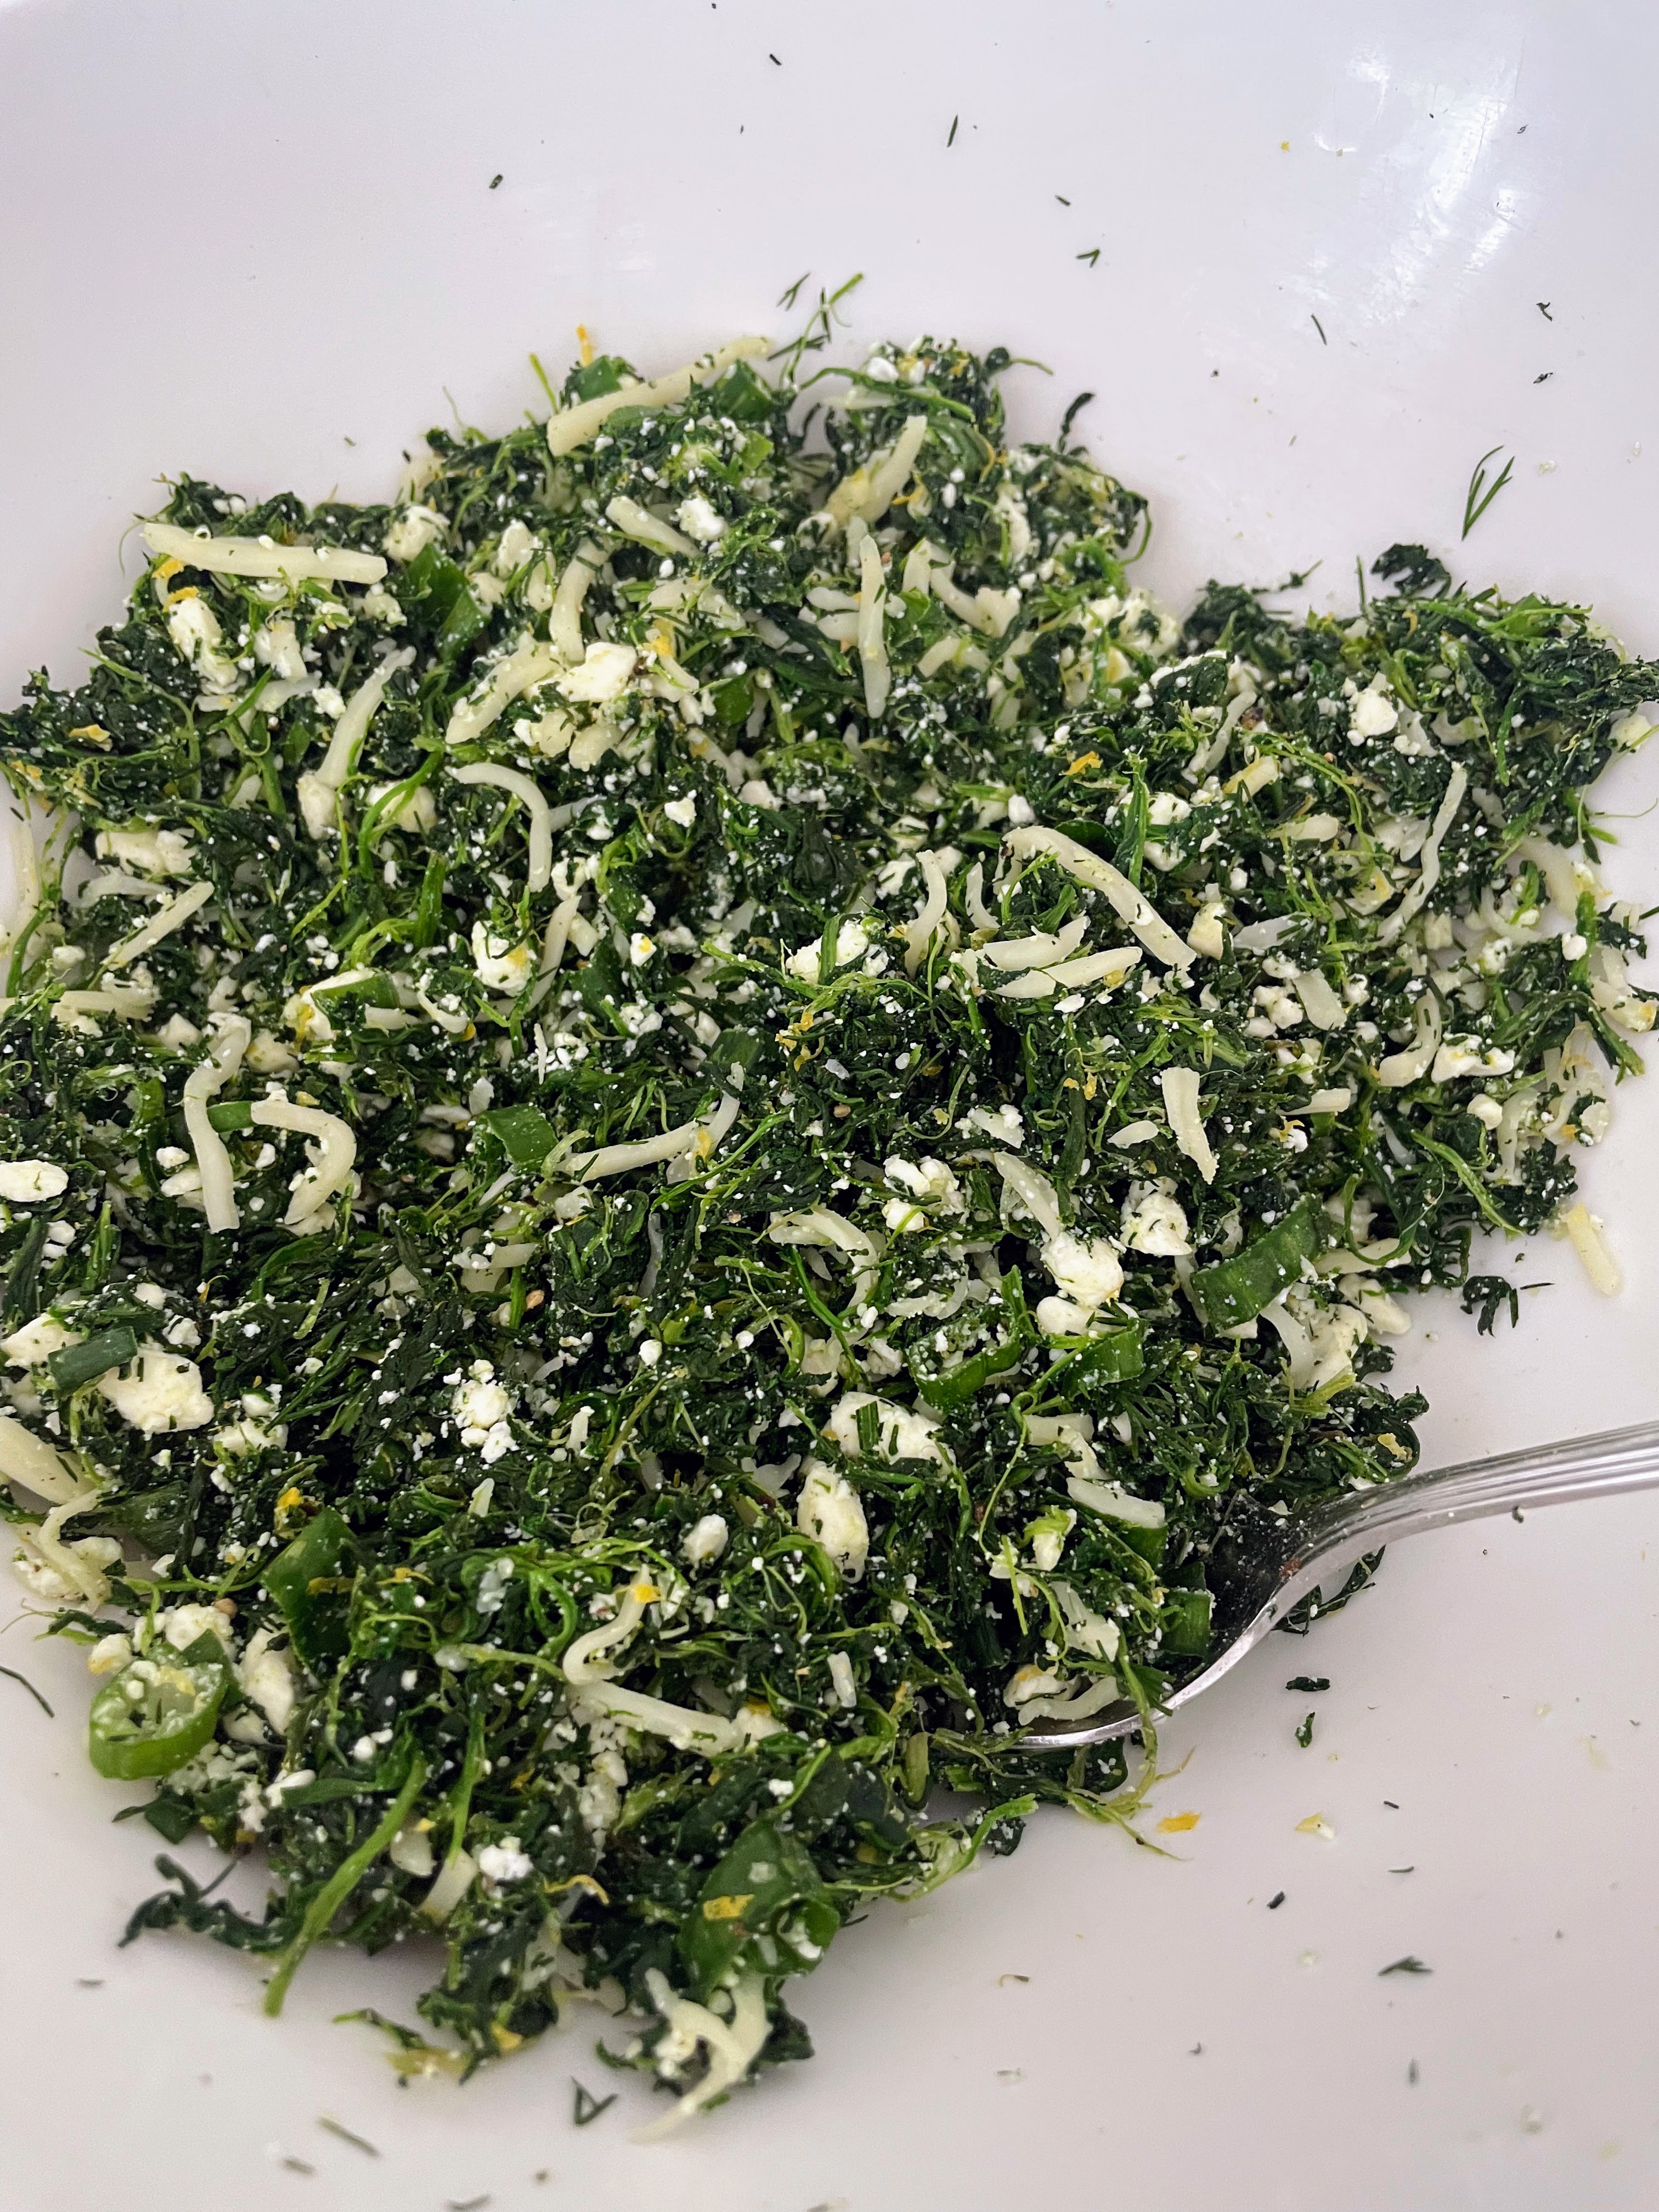
Preparation: 1. Defrost the frozen puff pastry and the frozen spinach in the fridge for at least 8 hours or overnight. (Note: Place the spinach packages in a leak-proof container, just in case.) 2. When you are ready to make the tart, place the defrosted spinach in a fine-meshed strainer, and press/squeeze to get as much of the liquid out as possible; you want it as dry as you can get it. 3. Add the spinach, scallions, dill, feta, garlic, lemon zest, salt, and pepper to a medium bowl. Stir to combine, making sure to break up any spinach clumps. I find it is easiest to use my (clean) hands to do this. You should have 2½ cups spinach mixture. (The photo below is from when I added mozzarella to make up for not having quite enough spinach.)
4. Find a round object that’s 10–12 inches (25-30 cm.) in diameter. I’ve used whatever I can lay my hands on, such as the lid of a Tupperware container or the lid of a large Dutch oven, each about 11 inches/28 cm. in diameter. 5. Place one of the pastry sheets on parchment paper (or on a well-floured counter if you prefer, or if you forgot you were supposed to roll it out on parchment paper…). Lightly dust the pastry with flour, both over and under. Roll it out in all directions and dust with more flour if needed, until it’s at least 1–2 inches (2.5-5 cm.) larger than your round object/lid. 6. Place the round object/lid over the pastry, press to indent, then use a sharp knife to trace the circle. Set aside the excess pastry. (Tip: You can save the excess pastry in the fridge for a couple days, tightly wrapped, then when the urge strikes you can tear it into small pieces, dust with cinnamon and sugar, and bake for a few minutes for a quick and delicious treat).
7. If you rolled your pastry directly on the counter, now is the time to 1) transfer your pastry round to some parchment paper (preferred) or to a baking mat (if you are out of parchment), and then to 2) place the whole thing on a baking sheet. Brush the egg wash all along the circumference of the pastry round; reserve remaining egg wash for later. Spread the spinach mixture over the pastry base, leaving a ½” border.
8. Cut out the second sheet of pastry, following the same directions as for the first one. Place the second round of pastry on top of the spinach mixture (if you’re having trouble moving it, fold it into quarters, then unfold it on top of the spinach) and press gently to seal. Using a small cup or shot glass (2 inches/ 5 cm. in diameter), make an indent in the very center. Your pastry might be slightly warm by now. If so, chill 10–20 minutes.
9. Once the pastry is cool, transfer the whole set-up, parchment/baking mat and all, to a work surface. With a chef’s knife, cut pastry into 4 quadrants, stopping when you reach the center circle. Cut each quadrant in half, then in half again, so that you have 16 spokes. (Note: If cutting on a baking mat, cut as gently as possible to avoid damaging the mat). Transfer the tarte with the parchment/baking mat back to sheet tray.
10. Working with one spoke at a time, pull gently away from the center (to extend the length of each piece), then twist to expose the spinach insides. Aim for three or four twists. Nudge them around to distribute evenly. it doesn’t matter if they look messy; they will all look beautiful when baked. Freeze the tarte until cold, 10–15 minutes.
11. Meanwhile, place a rack in the middle of the oven; preheat to 400°F/200°C. Brush the tarte all over with the reserved egg wash; season with salt and pepper. Bake the tarte until well browned, about 30–35 minutes.
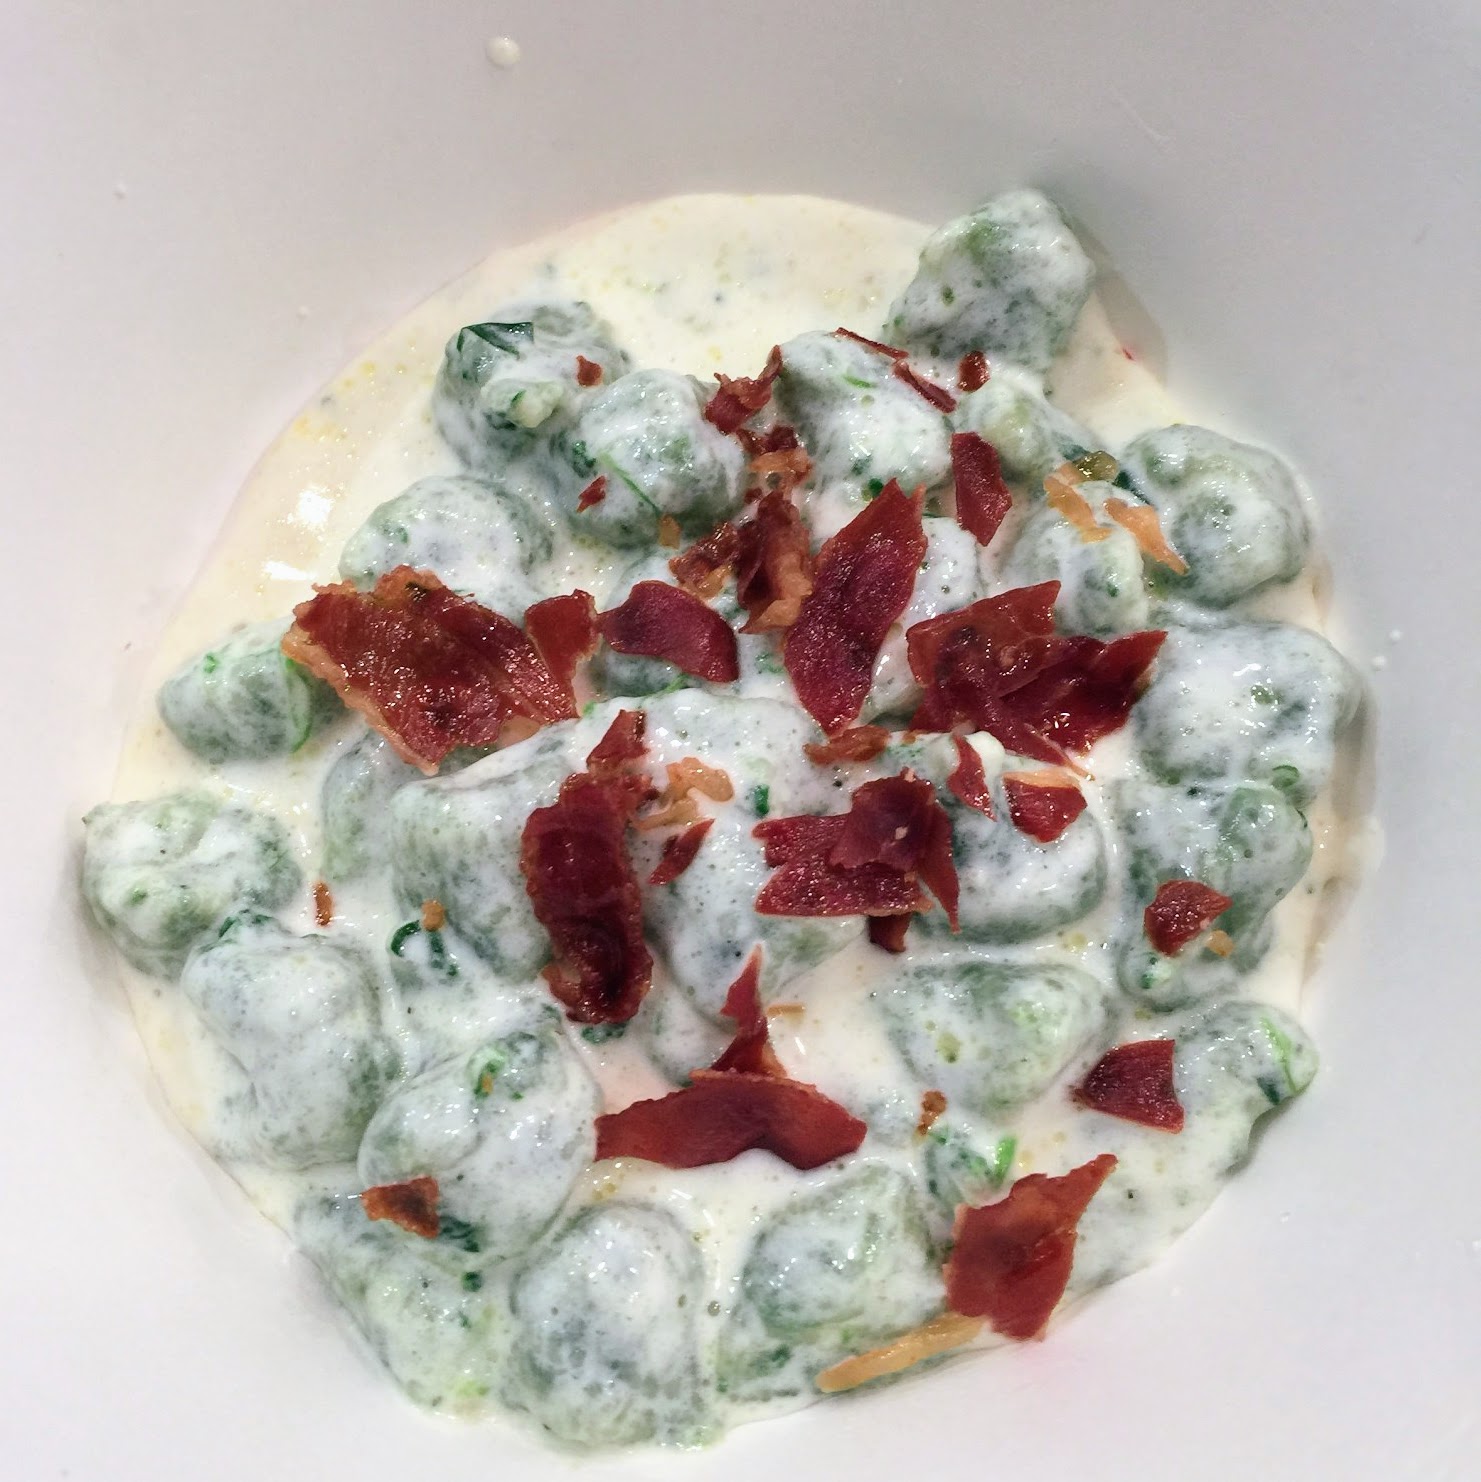
If you like gnocchi, or spinach-ricotta ravioli, you may very well also like gnudi.Gnocchi and gnudiare similar, except gnocchi are made with potatoes and have some chewiness, whereas gnudi are made with ricotta and are quite light and soft, which I prefer. In Italian, “gnudi” means “naked ones;” these spinach-ricotta delights are essentially the filling for ravioli, without the pasta to cover it up.
You can eat them with a marinara sauce, which would keep them very light — but I first learned how to make gnudi in a cream sauce with crunchy prosciutto on top, which is what I’ll share here because it is delicious! You can easily omit the prosciutto for a vegetarian main, however.
Ingredients 4 servings
11 oz (300 gr) spinach leaves 2 garlic cloves, minced extra-virgin olive oil 150 gr whole-milk ricotta (drained if very wet) 1 egg, lightly beaten 150 gr. ( about 2 c.) Parmesan or Pecorino Romano cheese, grated — and divided in half 2-3 tbsp. flour 500 gr. (2 c.) heavy cream salt and freshly ground pepper, to taste pinch ground nutmeg
Preparation
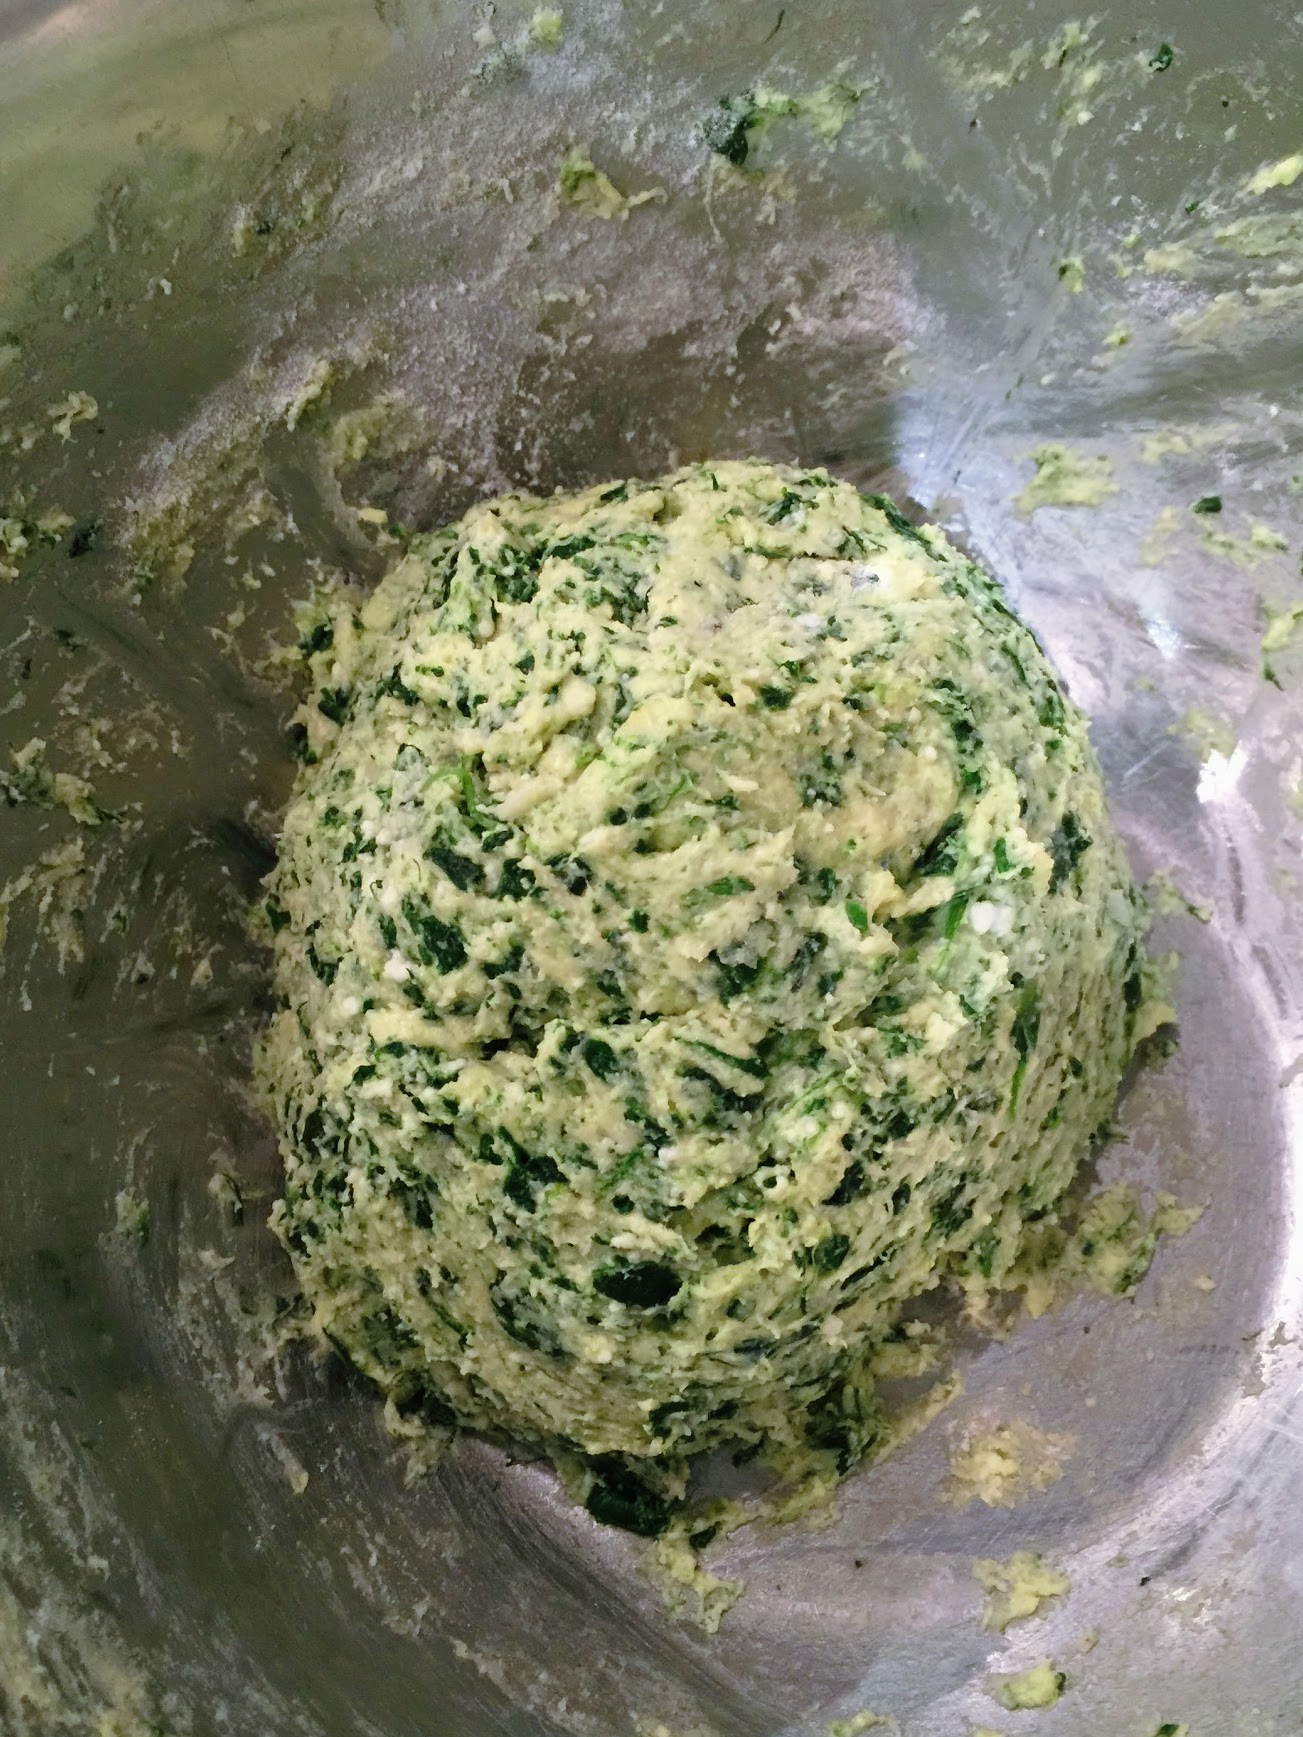
1. Preheat the oven to 400F (200C). 2. Rinse the spinach well and cook in a pot with only the water that is clinging to it, until soft and wilted. Remove, drain/squeeze dry, then chop. Put the spinach in a bowl with the garlic and a drizzle of olive oil; toss to combine.
3. Add the ricotta, egg, 1 cup of the grated cheese, flour, a small pinch of salt (but not too much, due to the cheese), and pepper. Mix well, form the dough into a ball, and let rest for 30 minutes.
4. Meanwhile, place the prosciutto on a baking sheet and bake until crispy, keeping a close eye on it as it can go from crispy to burnt very quickly. Let the prosciutto cool, then break into pieces. Set aside.
5. Once the gnudi dough has rested, take pieces of it and roll into logs on flour-dusted parchment paper. Cut the logs into small pieces. Start a big pot of lightly salted water boiling.
6. Make the cream sauce: Bring the cream to a simmer for a couple minutes, stirring continuously. Take it off the heat and add the remaining cup of grated cheese, whisking to incorporate. Season to taste with salt, pepper, and nutmeg (if desired). 7. Gently slide the gnudi in the boiling water (you can take the parchment paper and slowly funnel them into the pot that way, or use a skimmer, spider, or slotted spoon). You may need to add the gnudi to the boiling water in batches; only put enough in to form a single layer across the top of the pot. The gnudi will be ready in just a few minutes — as soon as they float back up to the surface.
8. Remove the gnudi with the skimmer, spider, or slotted spoon and place them in a serving bowl (or another pot); pour the cream sauce over, adding more grated cheese if desired. Serve in individual bowls with crispy prosciutto on top. Enjoy!
Puff pastry is a culinary lifesaver, since pretty much anything tastes better when puff pastry is involved. Also, it’s a great way to use up all sorts of things in your fridge or cupboards. This week, I defrosted a package of puff pastry for a meal I did not end up making, and I needed to use it soon. So the scavenger hunt began. Amongst other things in the fridge, I spotted two pork sausage links, some mushrooms that were not going to make it much longer, and a bit of fresh spinach that was beginning to look not so fresh. On the counter, I could see some cherry tomatoes on the cusp of wrinkling. And in the cheese drawer were wedges of Gruyere and Pecorino Romano.
These ingredients reminded me of a sausage and mushroom pizza al taglio (pizza by the slice) I loved in Rome. So the solution was clear–I would make an ‘Avoid Food Waste/Clear Out the Fridge’ puff pizza al taglio. (Ok, honestly, this can also be called a puff pastry tart….) You can cut it into larger pieces for lunch or dinner, or cut it smaller ones to serve as an appetizer.
Note: This recipe is just a suggestion; you can put all sorts of things on top of puff pastry (like this beet and feta vegetarian option) and you will end up with something delicious. I often let fate and the contents of my fridge decide. With a little bit of extra effort, you can also make puffs, but I was feeling lazy and went freeform.
Ingredients
1 pkg. puff pastry (the kind I buy has two sheets of pastry; I used both) mushrooms, sliced (16 oz./450 gr.) garlic salt (optional) baby spinach, chopped (as much as desired; I only had a small handful) 2 pork sausages, casings removed cherry tomatoes, cut in quarters (as much as desired; I had about 10 cherry tomatoes to use) Gruyere cheese, grated (as much as desired) Pecorino Romano cheese, grated (as much as desired)
Preparation
1. Thaw your puff pastry (ideally, overnight in the fridge). 2. Preheat oven to 375 F (190 C). 3. Cook any ingredients that are likely to wet the puff pizza too much (or not cook fully while in the oven). For me, those ingredients were the mushrooms, spinach, and sausage. In a frying pan, I quickly sauteed the mushrooms in some olive oil and tossed them with garlic salt. I placed them on a dish, then cooked the sausage in the same pan until it was no longer pink, crumbling it as it cooked. The sausage went on another plate and the little spinach I had went into the pan; it almost disappeared before my eyes, but ended up being just enough to add a spot of additional color to the puff pizza.
4. Spray a rimmed baking sheet with olive oil cooking spray, or wipe a thin layer of oil over it. 5. Lay the puff pastry sheets down the center of the baking sheet, pressing the seam between the two together. Score the sides of the pastry with a sharp knife. This will allow the sides to rise into a crust. (I did not score the short sides as I was able to press them up against the baking sheet rim where they formed their own crust.)
6. Layer your prepped ingredients onto the puff pastry, taking care to not place anything past the score lines: I started with a little Gruyere, then the mushrooms, sausage, tomatoes, and spinach, ending with a bit more Gruyere and some Pecorino Romano. I tend to go lightly on the cheeses as I want the flavors of the other ingredients to shine, but feel free to add as much as you like.
7. Bake for 25-30 minutes, or until puff pastry and cheeses are golden. Using a firm spatula, lift one edge of the pizza up and check the bottom; you want to be sure it, too, is golden. 8. Remove, let sit for a minute or two, then cut into individual pieces. Enjoy!
Taralli (or tarallini) are a delicious, crispy, unleavened, ring-shaped snack from the Puglia region of Italy, though they have spread well beyond their place of origin. In Rome, you may be served savory taralli along with your aperitivo (Aperol Spritz, anyone?)–but they are also available in local grocery shops in a variety of flavors, including plain (classico), pepper (al pepe), fennel seed (al finocchio), and chili-flavored (al peperoncino). We used to keep a stash at home when we lived in Italy.
Our kids (who, sadly, have not lived with us for while now as they are all grown) loved to have taralli when they would come visit us in Rome, and every time we returned to the U.S. to see them, we would make sure to stash several bags in our suitcases (along with vacuum-packed wedges of Pecorino Romano from Antica Caciara in Trastevere). Mmmm….
It became much more difficult to find taralli when we moved back to the U.S., at least where we currently live. So I decided to see how hard it was to make them. If you have ever made bagels at home, then you will have no problem making taralli. The technique is similar: make the dough, shape it, boil it, let it dry, then bake it. Being much smaller than bagels, taralli get nice and crispy–a perfect snack. I would sometimes also crumble them over a bowl of pureed vegetable soup.
This recipe is for a small batch (about 24-28) of the classic style; feel free to add any of the optional ingredients. When I made them, I added black pepper.
Ingredients:
1 3/4 c. (1/2 lb., 250 gr.) 00 flour 3/4 tsp. sea salt (about 4.5 gr.) 1/4 c. (75 ml. ) olive oil 3.5 oz. (3/8 c., 100 ml.) white wine
Optional (freshy ground black pepper, fennel seeds, chili flakes)
Preparation:
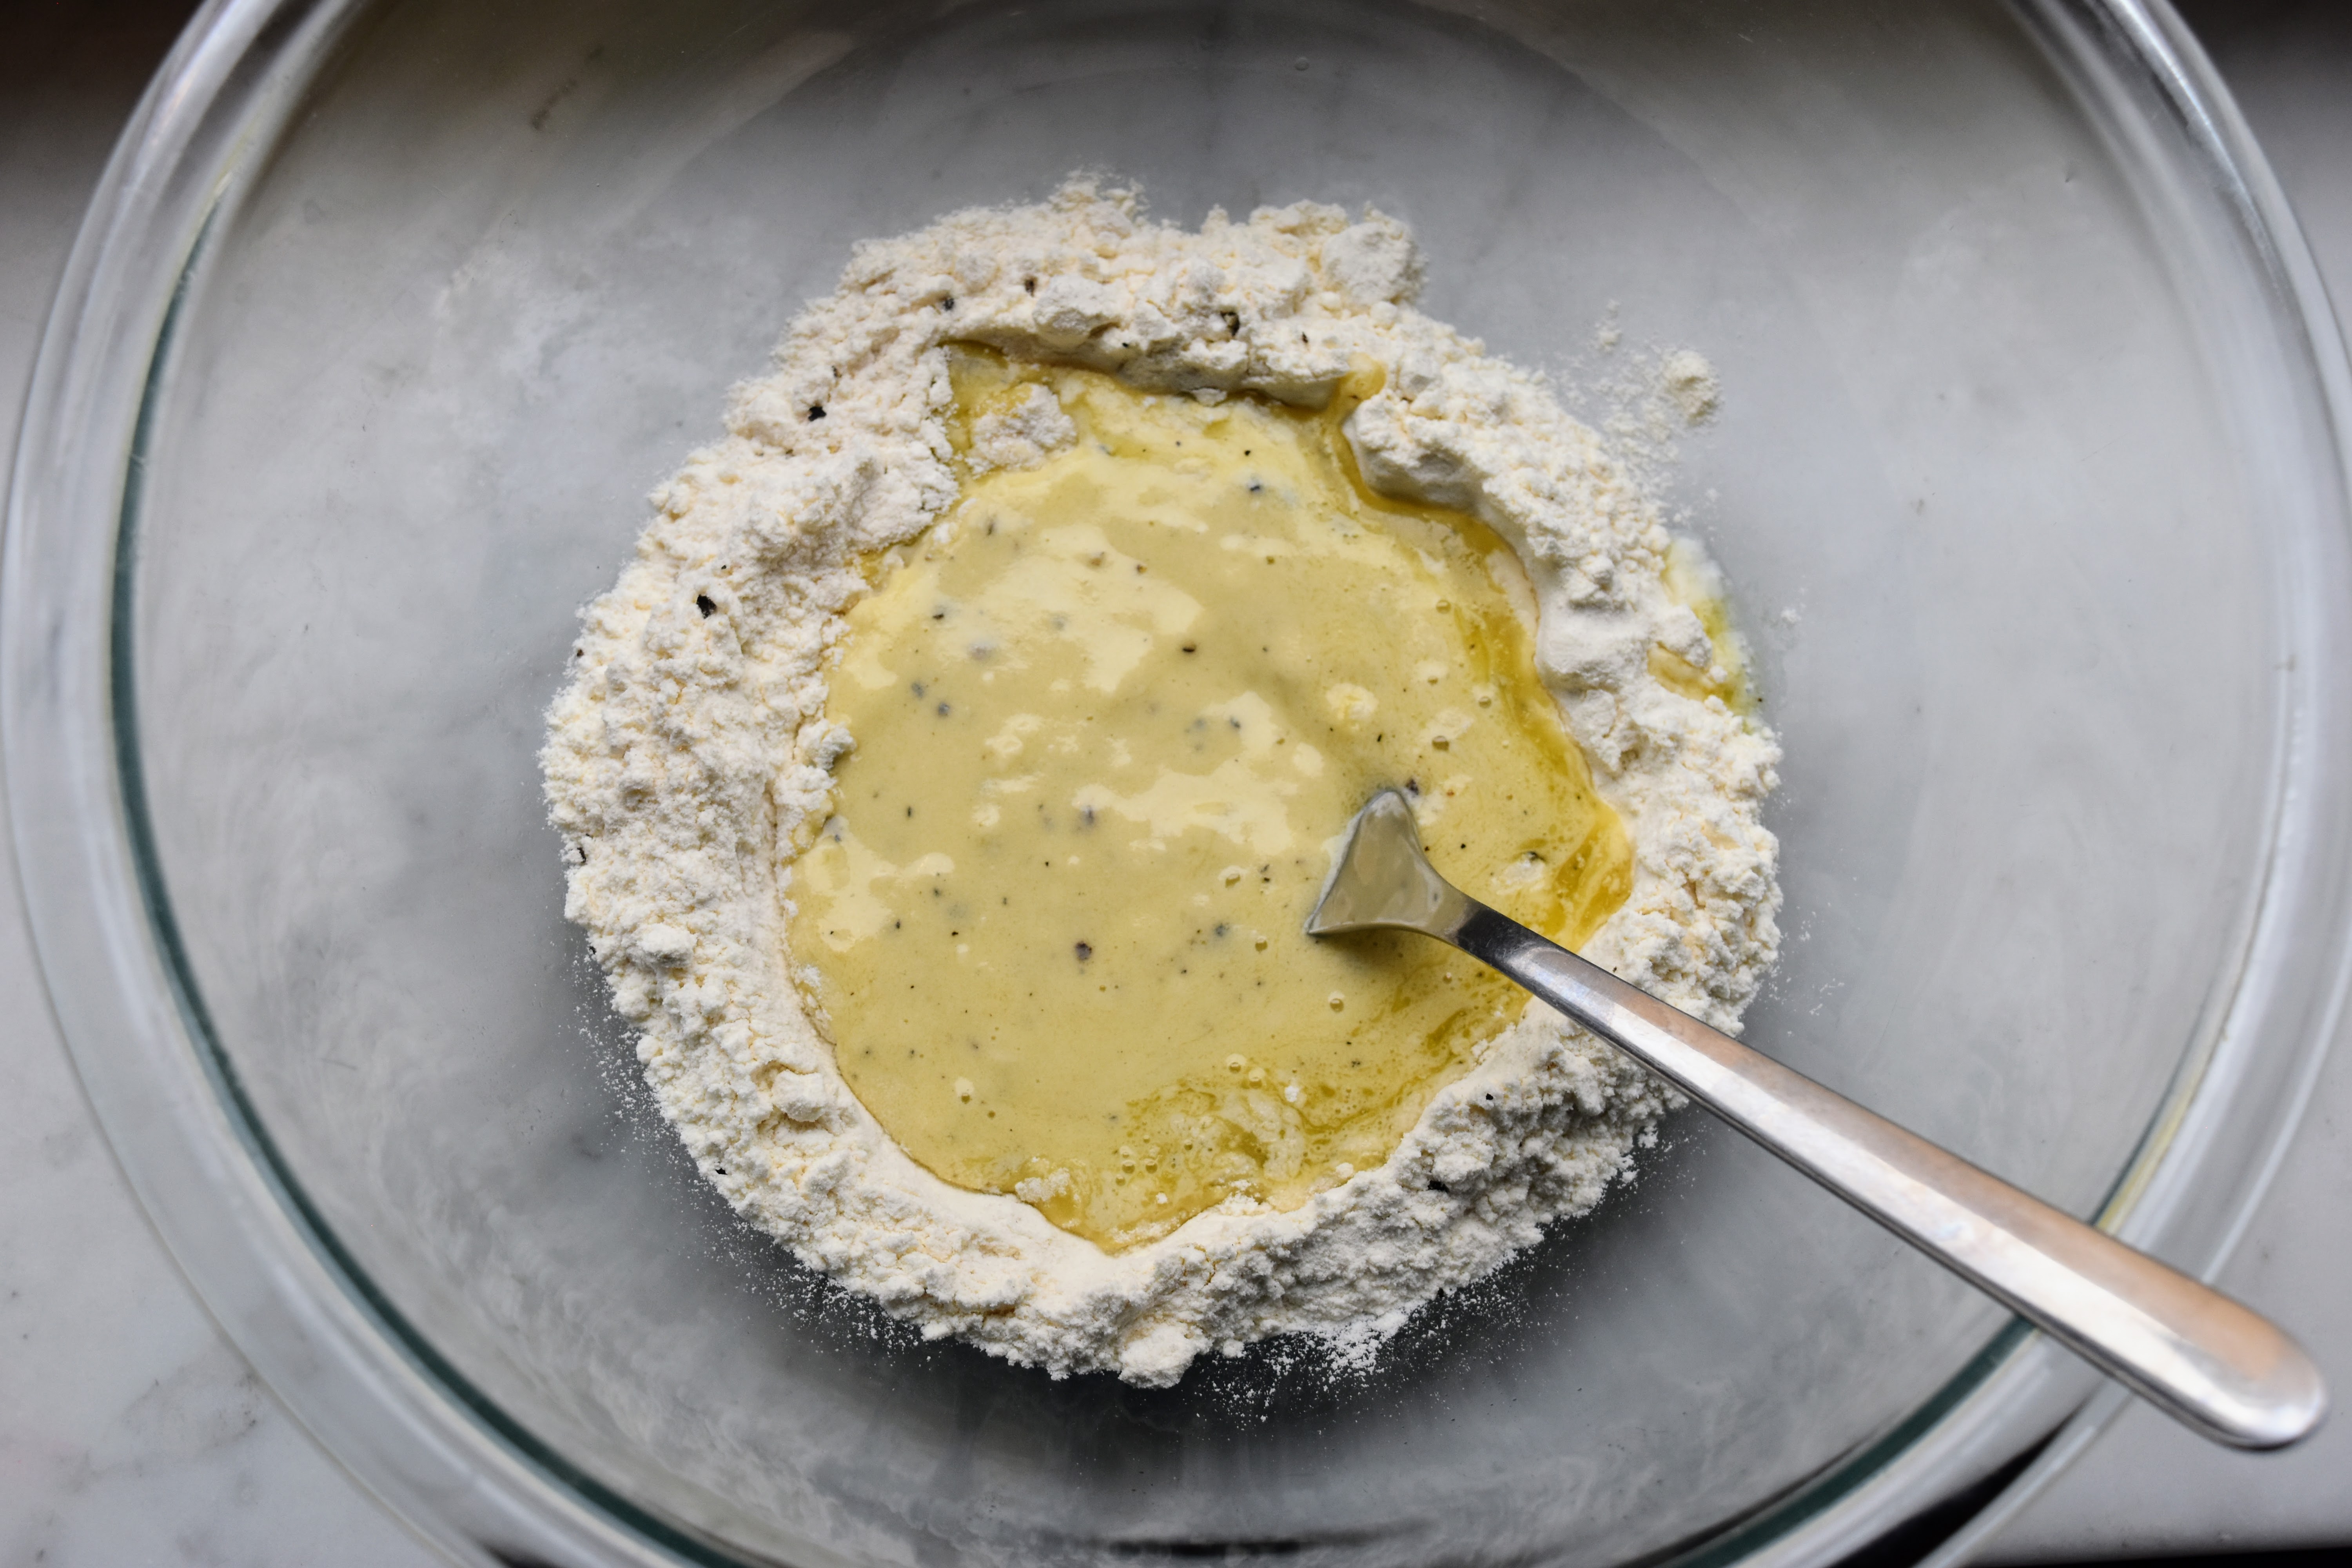
1. In a medium bowl, combine the flour and salt (and any other optional ingredients). Make a well, and add the olive oil and wine. Using a fork, slowly stir to incorporate.
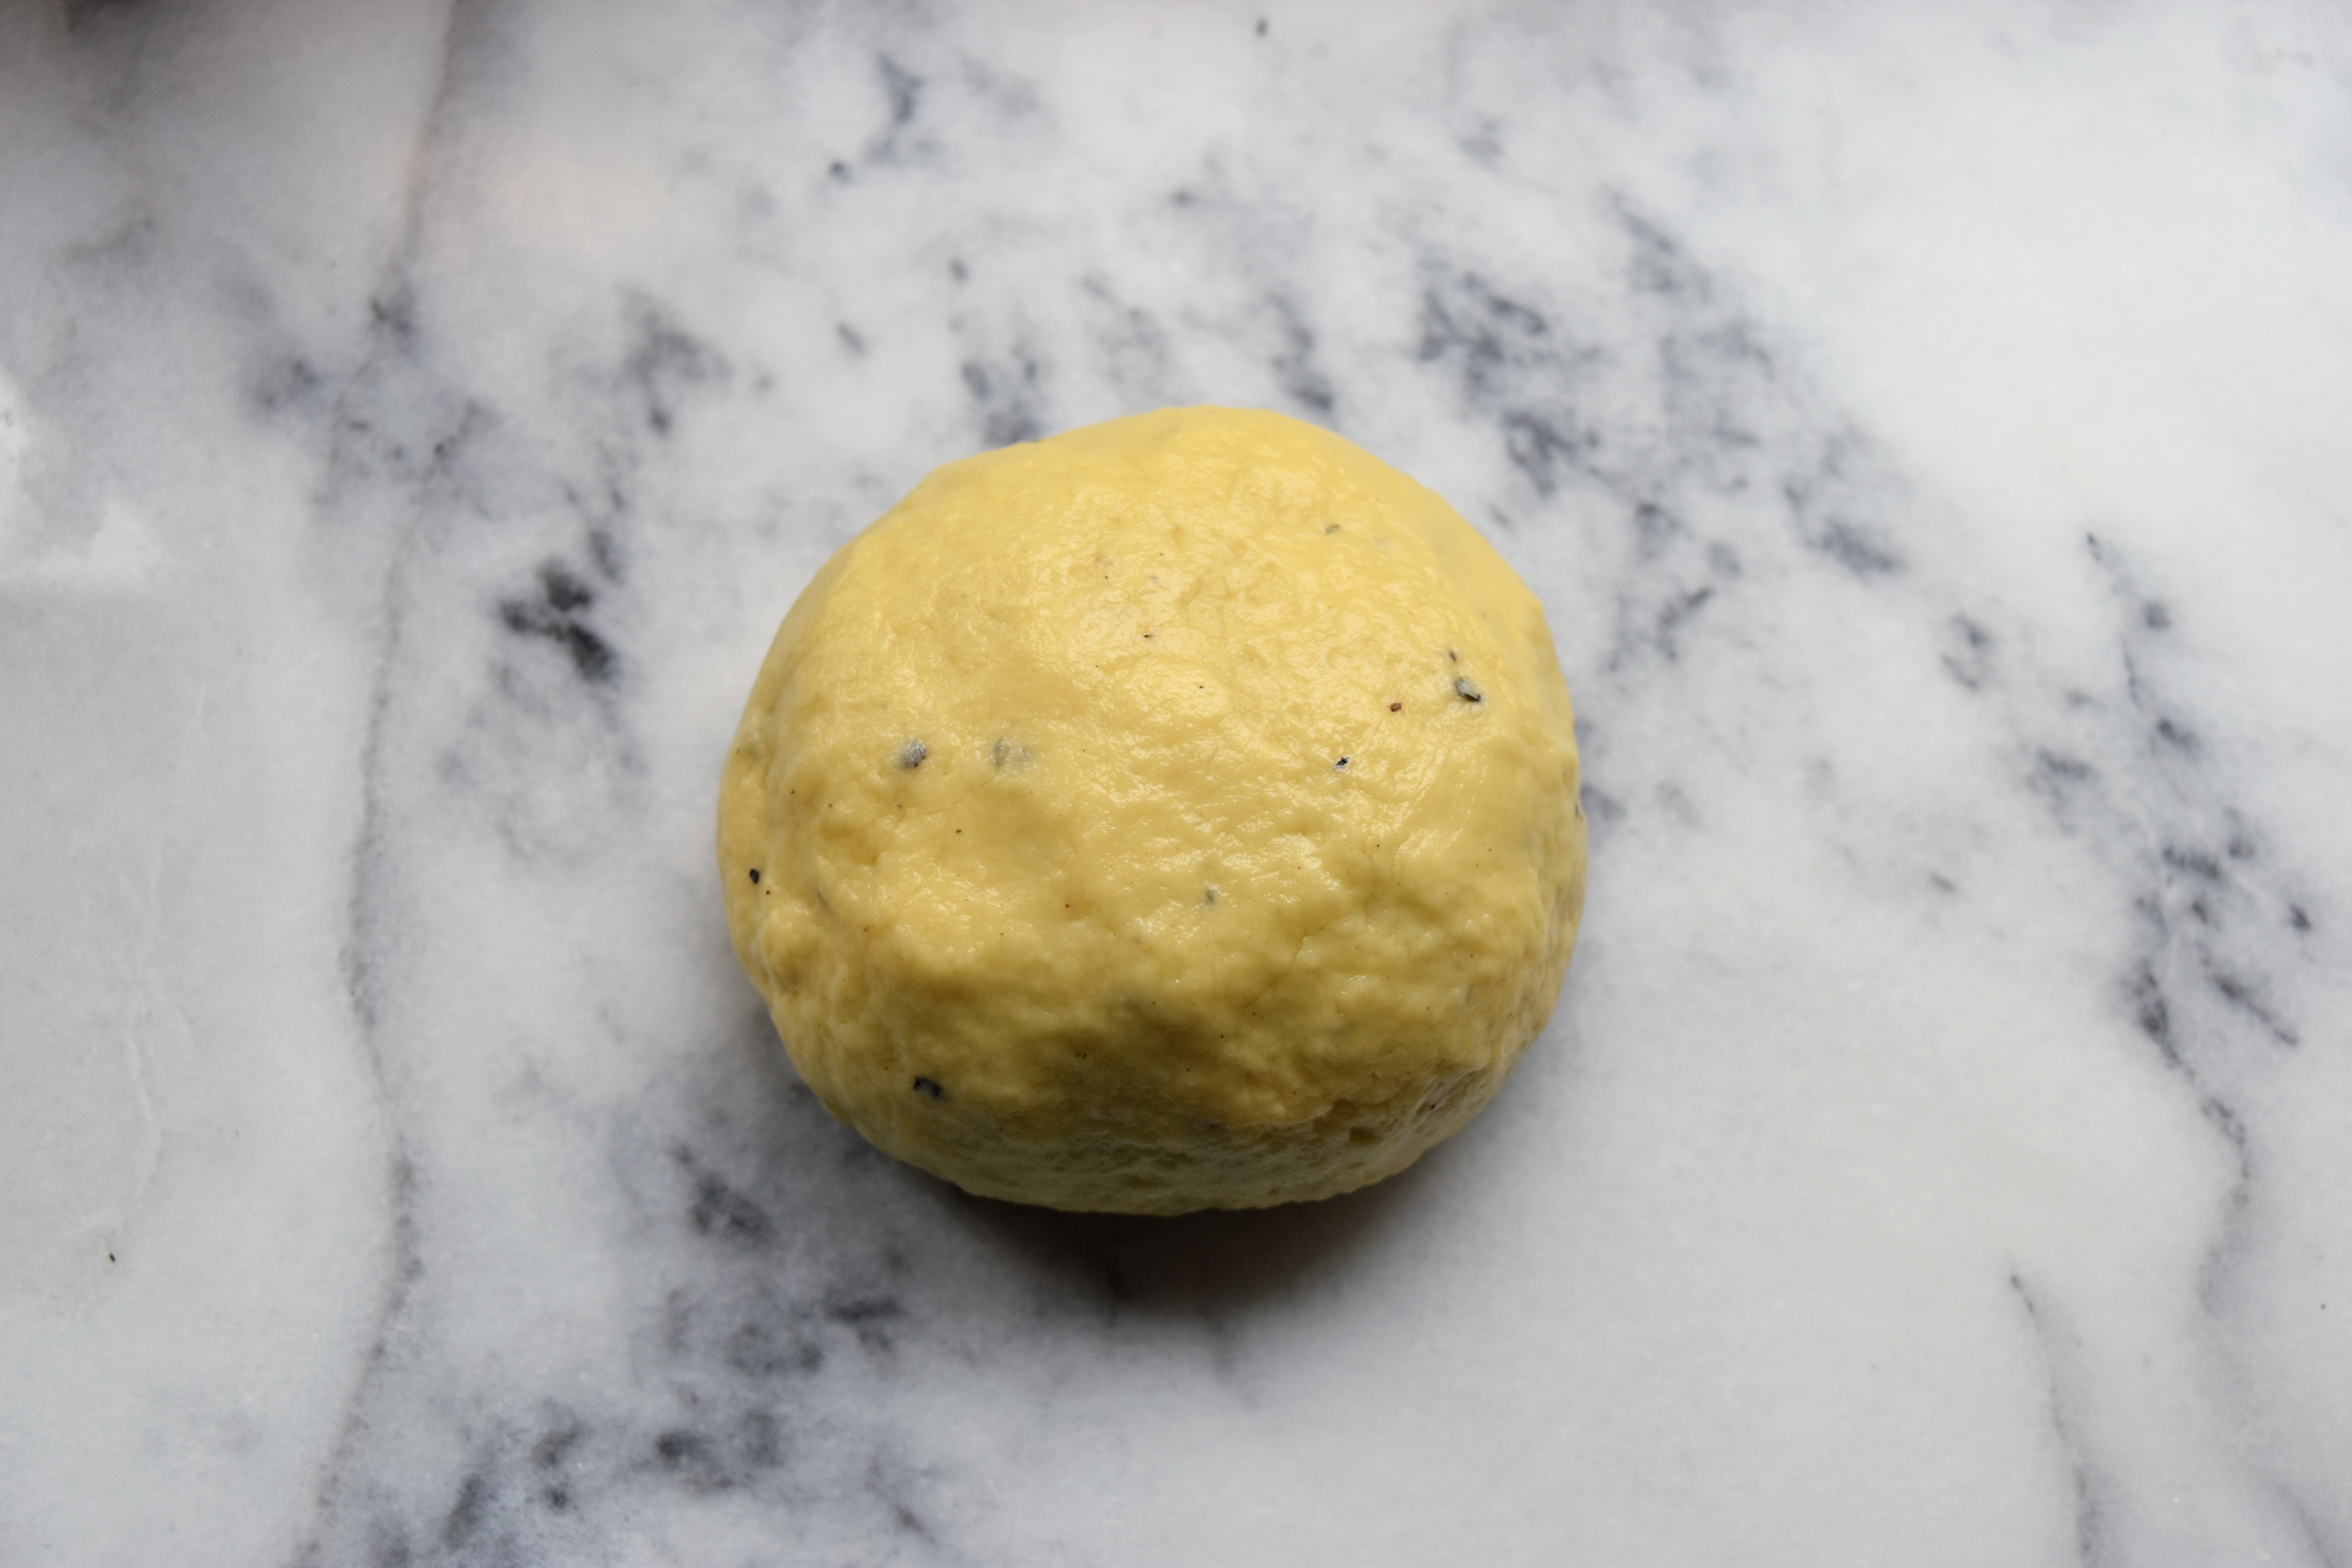
2. Knead the dough for about 10 minutes, until smooth. Shape into a ball, then cover with plastic wrap or place in a plastic bag, and let rest for half an hour.
3. Start a medium pot of water boiling. Add a pinch of salt to the pot. Place a clean dish towel on a baking sheet (or platter) near your stove.
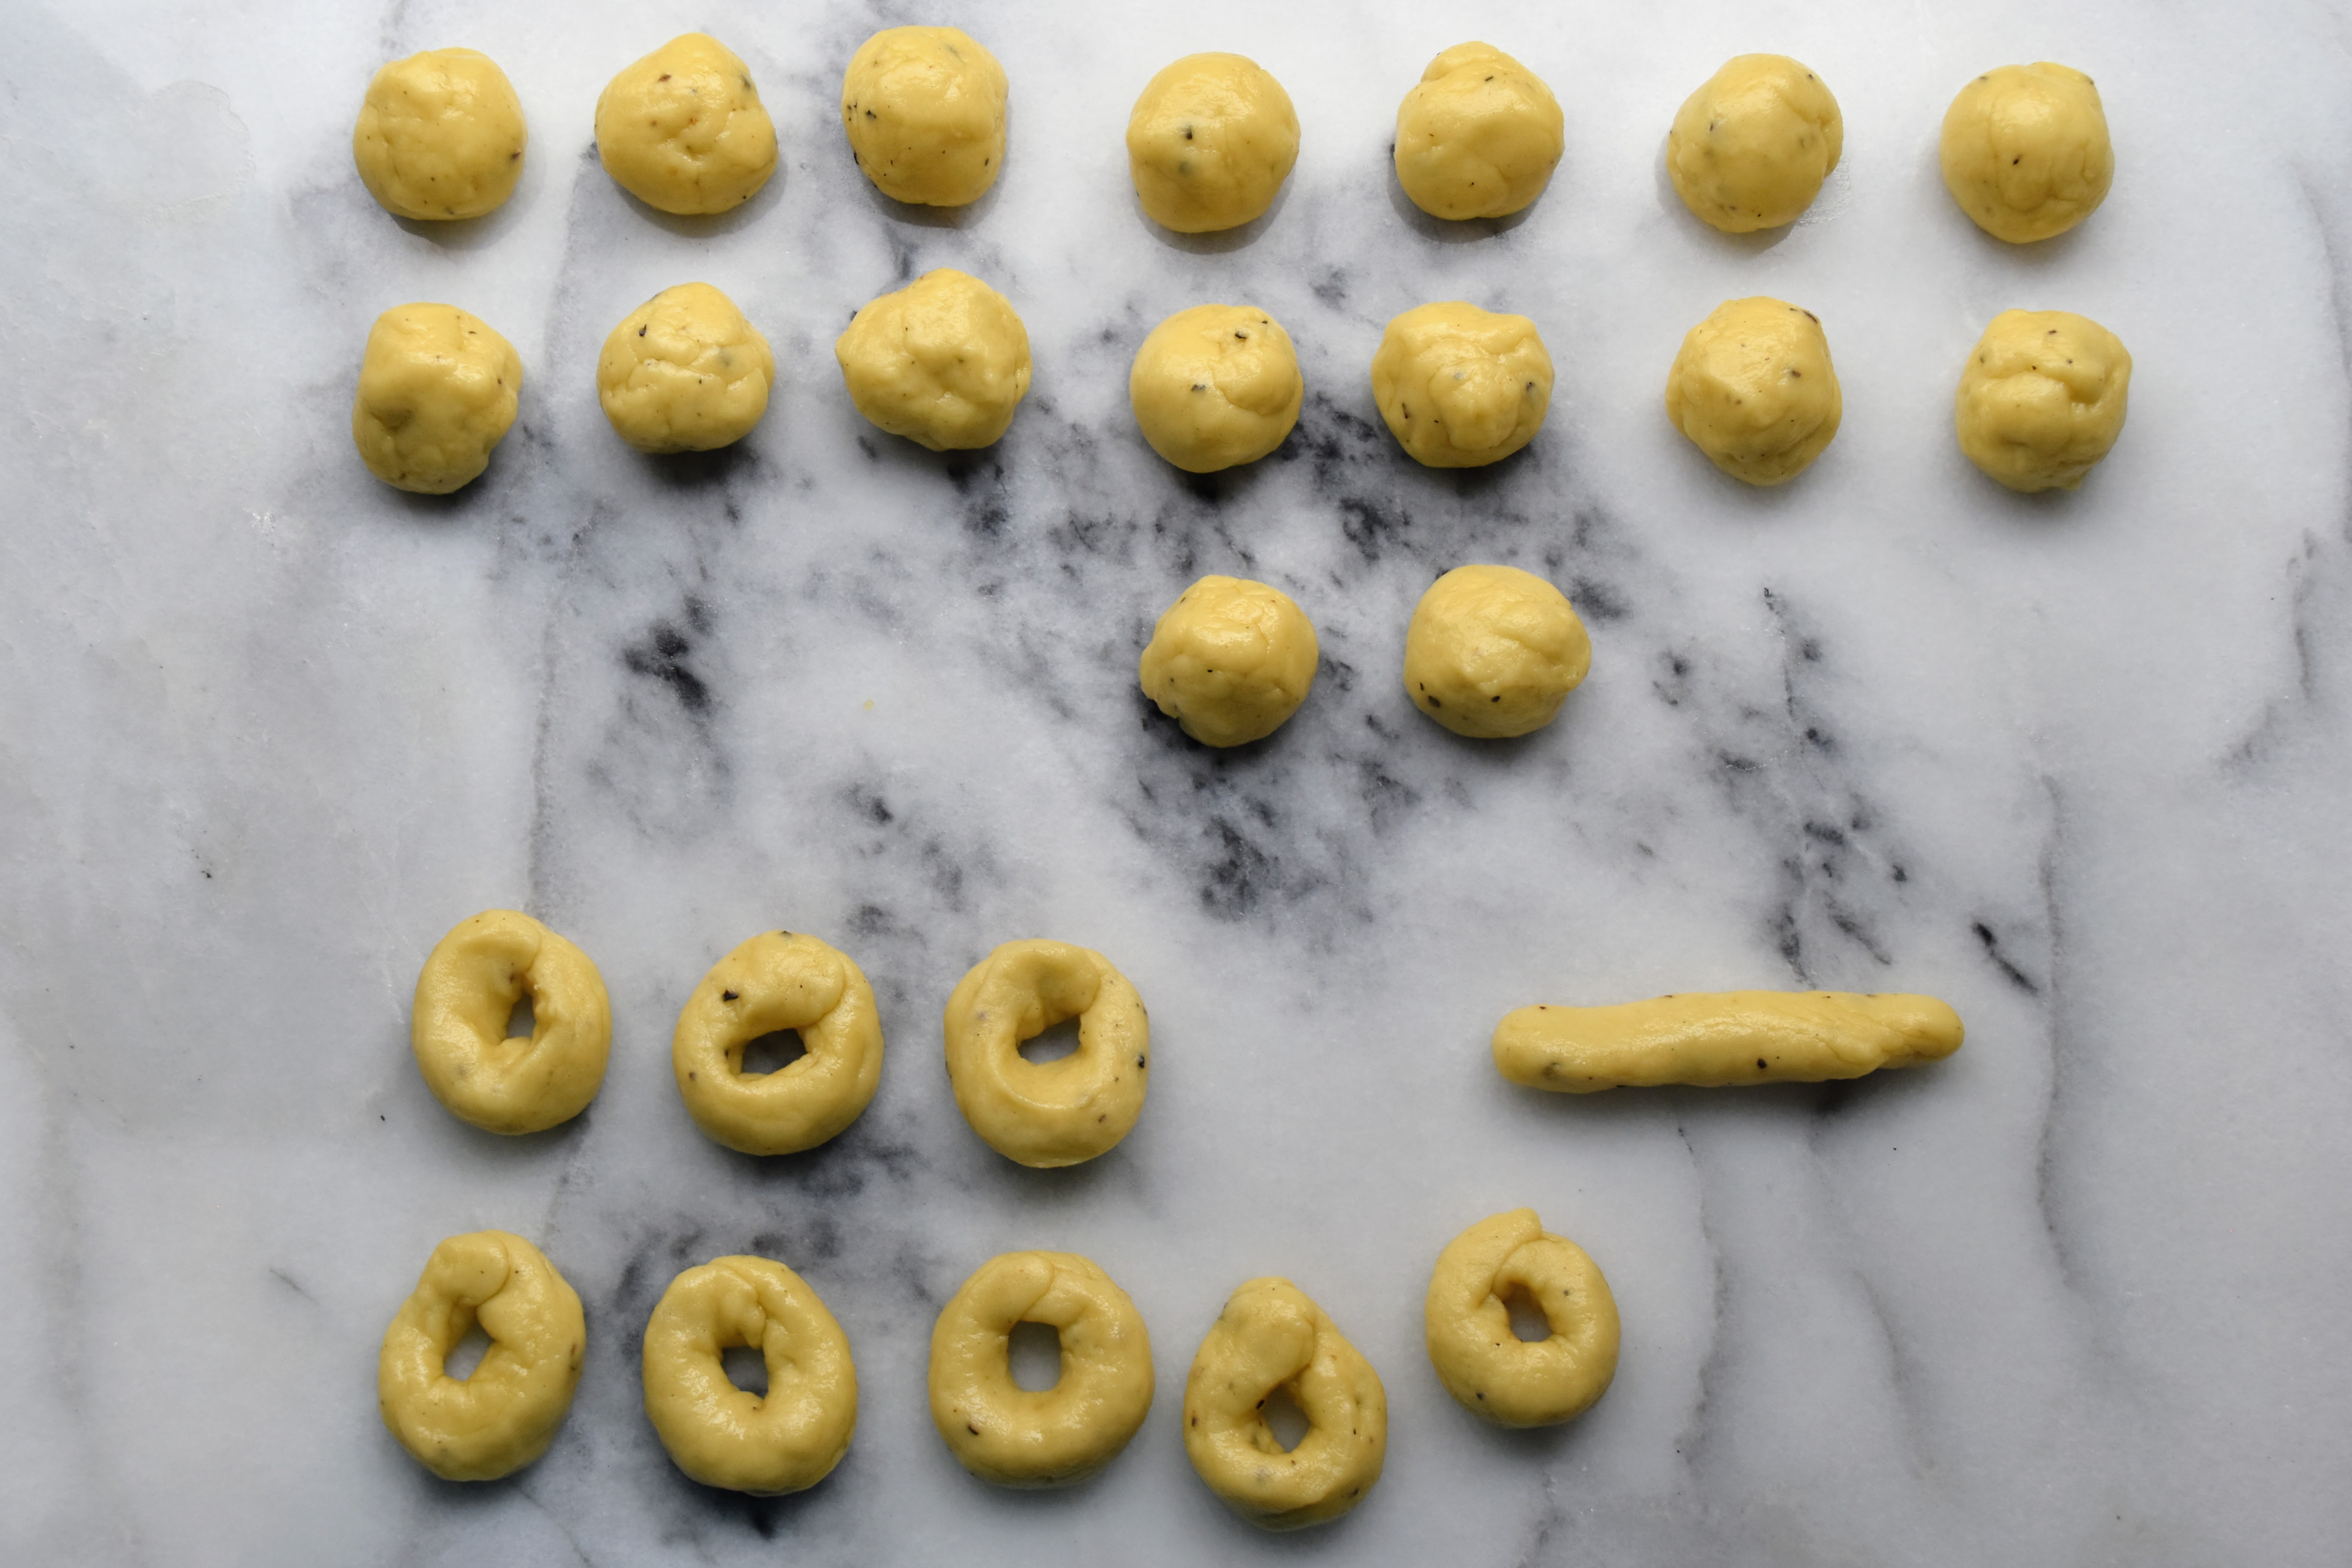
4. Divide the taralli dough into four equal pieces and roll into four equally sized logs. Cut each log into 6 or 7 pieces and shape each piece into a little ball.
5. Roll each little ball into a small, thin log shape. (Though, now that I think of it, I’m wondering why I made the little balls in the first place! I could have rolled each of the cut pieces into a small, thin log and skipped the ball part. I probably wanted to make sure everything was the same size… and, those little dough balls look cute. But, feel free to ignore the ball step.) Form each little log into a ring shape, pulling and pinching the ends together.
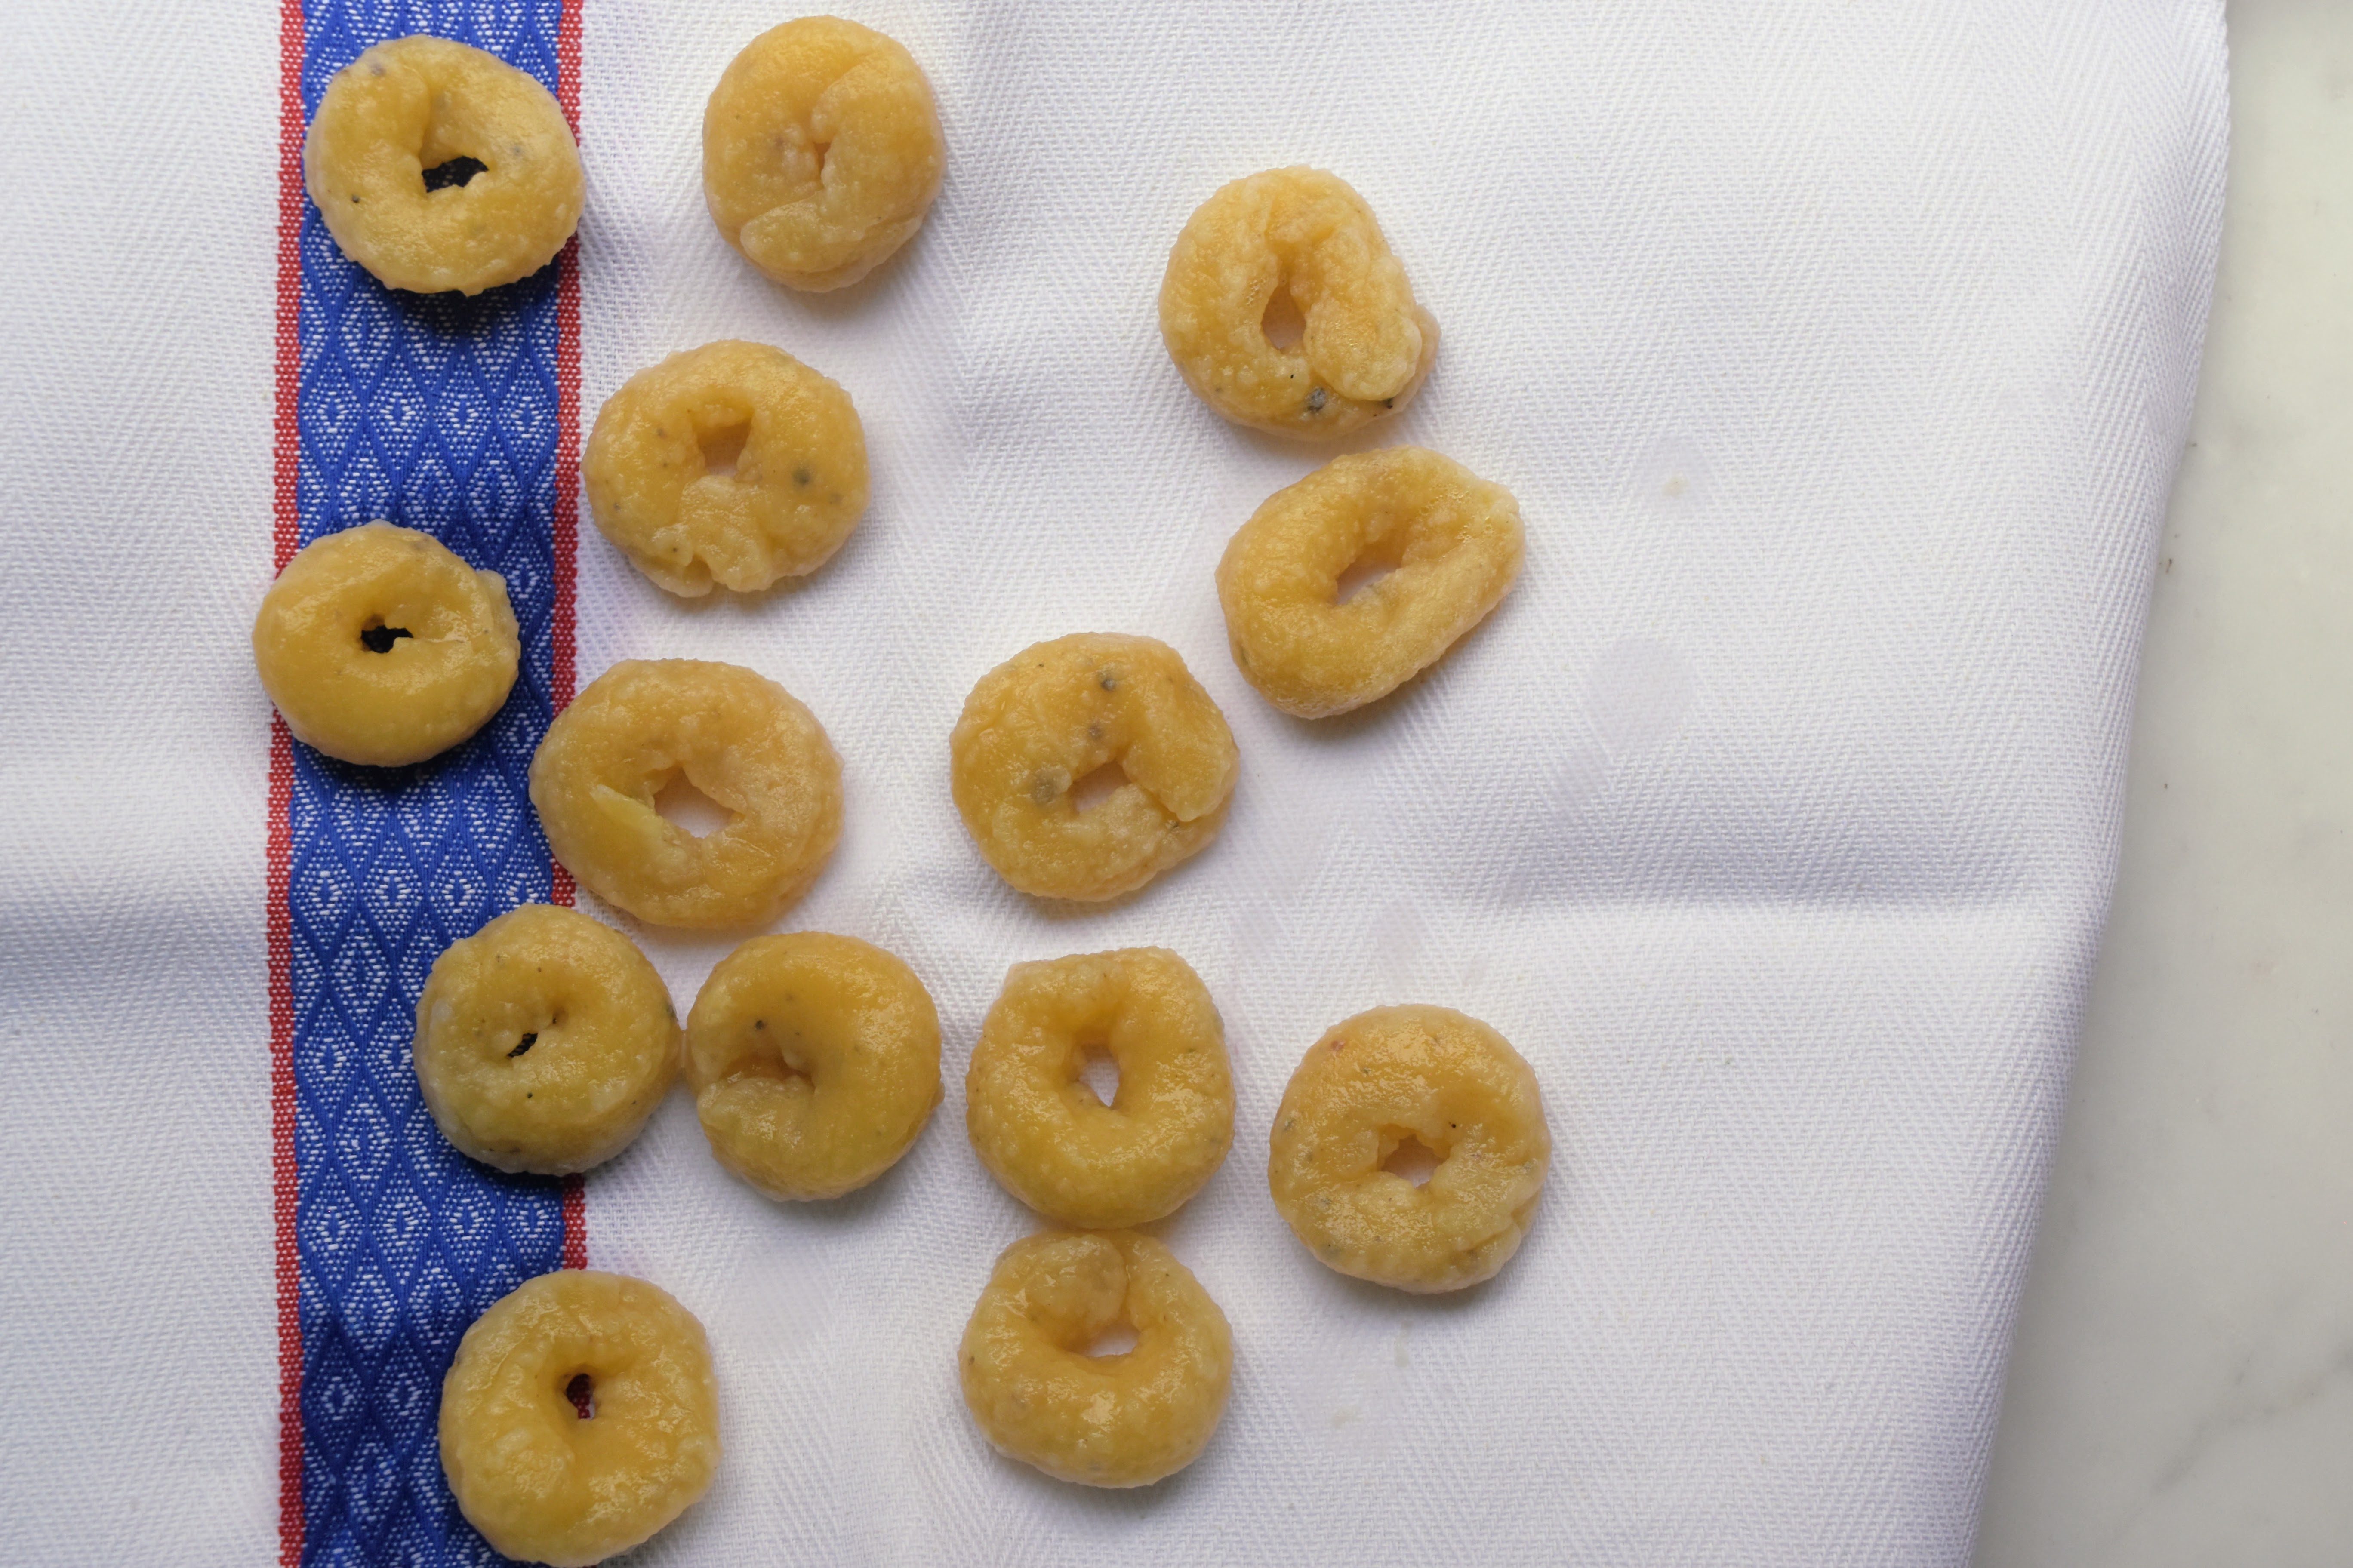
6. Boil the taralli, maybe 5-8 at a time depending on the size of your pot, until they float. Remove with a slotted spoon or skimmer, and place them on the clean dish towel to dry. Repeat until all the taralli are done; let them dry thoroughly. (You could, at this stage, leave them out for a few hours and bake them later; the extra drying time will not hurt at all.)
7. Preheat the oven to 400F/200C. Place the taralli on a baking sheet lined with parchment paper and bake on the center rack for about 30 minutes, or until the taralli are deeply golden brown; the longer they bake, the crispier they become. Enjoy!
Like many others, I first learned about Kouign-Amann from watching the Great British Bake Off (Great British Baking Show), marveling at the complexity and apparent deliciousness of this pastry from Brittany. Then I tasted some in San Francisco and Berkeley while visiting my son, daughter-in-law, and daughter — and became a convert. Kouign-Amann is a crispy, buttery, salty/sweet confection that is worth every moment of a weekend day (or two) to make — especially when, as is currently the case for me, there are no such pastries to be had nearby. I start thinking about them in winter when it is harder to be out and about and when the weather lends itself to baking. These pastries are perfect with a cup of coffee or tea as you settle into a cozy inside spot while reading one of the Brittany-based Commissaire Dupin mysteries.
This excellent recipe is from Brown Eyed Baker, though I reduced the sugar slightly and included cinnamon and chocolate chips as optional ingredients. Neither of those are traditional, but each lends something to the pastries. The original version is absolutely delicious, too. Finally, these kouign-amann are individual sized, whereas in Brittany the pastry is more traditionally made in the shape of a caramelized, crispy cake that is meant to be sliced.
Kouign-Amann Makes 12
For the Dough: 1 c. (240 ml.) water, at room temperature 2 tsp. (3.2 gr.) instant yeast 2.5 c. (355 gr.) all-purpose flour 1 tsp. sea salt
For the Butter Block: 8 oz. (227 gr.) salted butter, chilled and cubed
For the Pastries: 1 1/3 cup (267 gr.) granulated white sugar, divided 1 tsp. (2.6 gr.) cinnamon (optional) dark chocolate chips (optional)
Directions
Make the Dough: Combine the water and yeast in the bowl of a stand mixer (or a mixing bowl, if kneading by hand). Add the flour and the salt. Stir with a wooden spoon until a shaggy dough is formed.
Fit the mixer with a dough hook attachment and knead the dough at low speed until the dough is slightly tacky but smooth, 3 to 5 minutes. If the dough sticks to the sides of the bowl, add 1 tablespoon of flour at a time and knead until the dough is smooth. If the dough feels very stiff and dry, add 1 tablespoon of water at a time and knead until the dough is smooth.
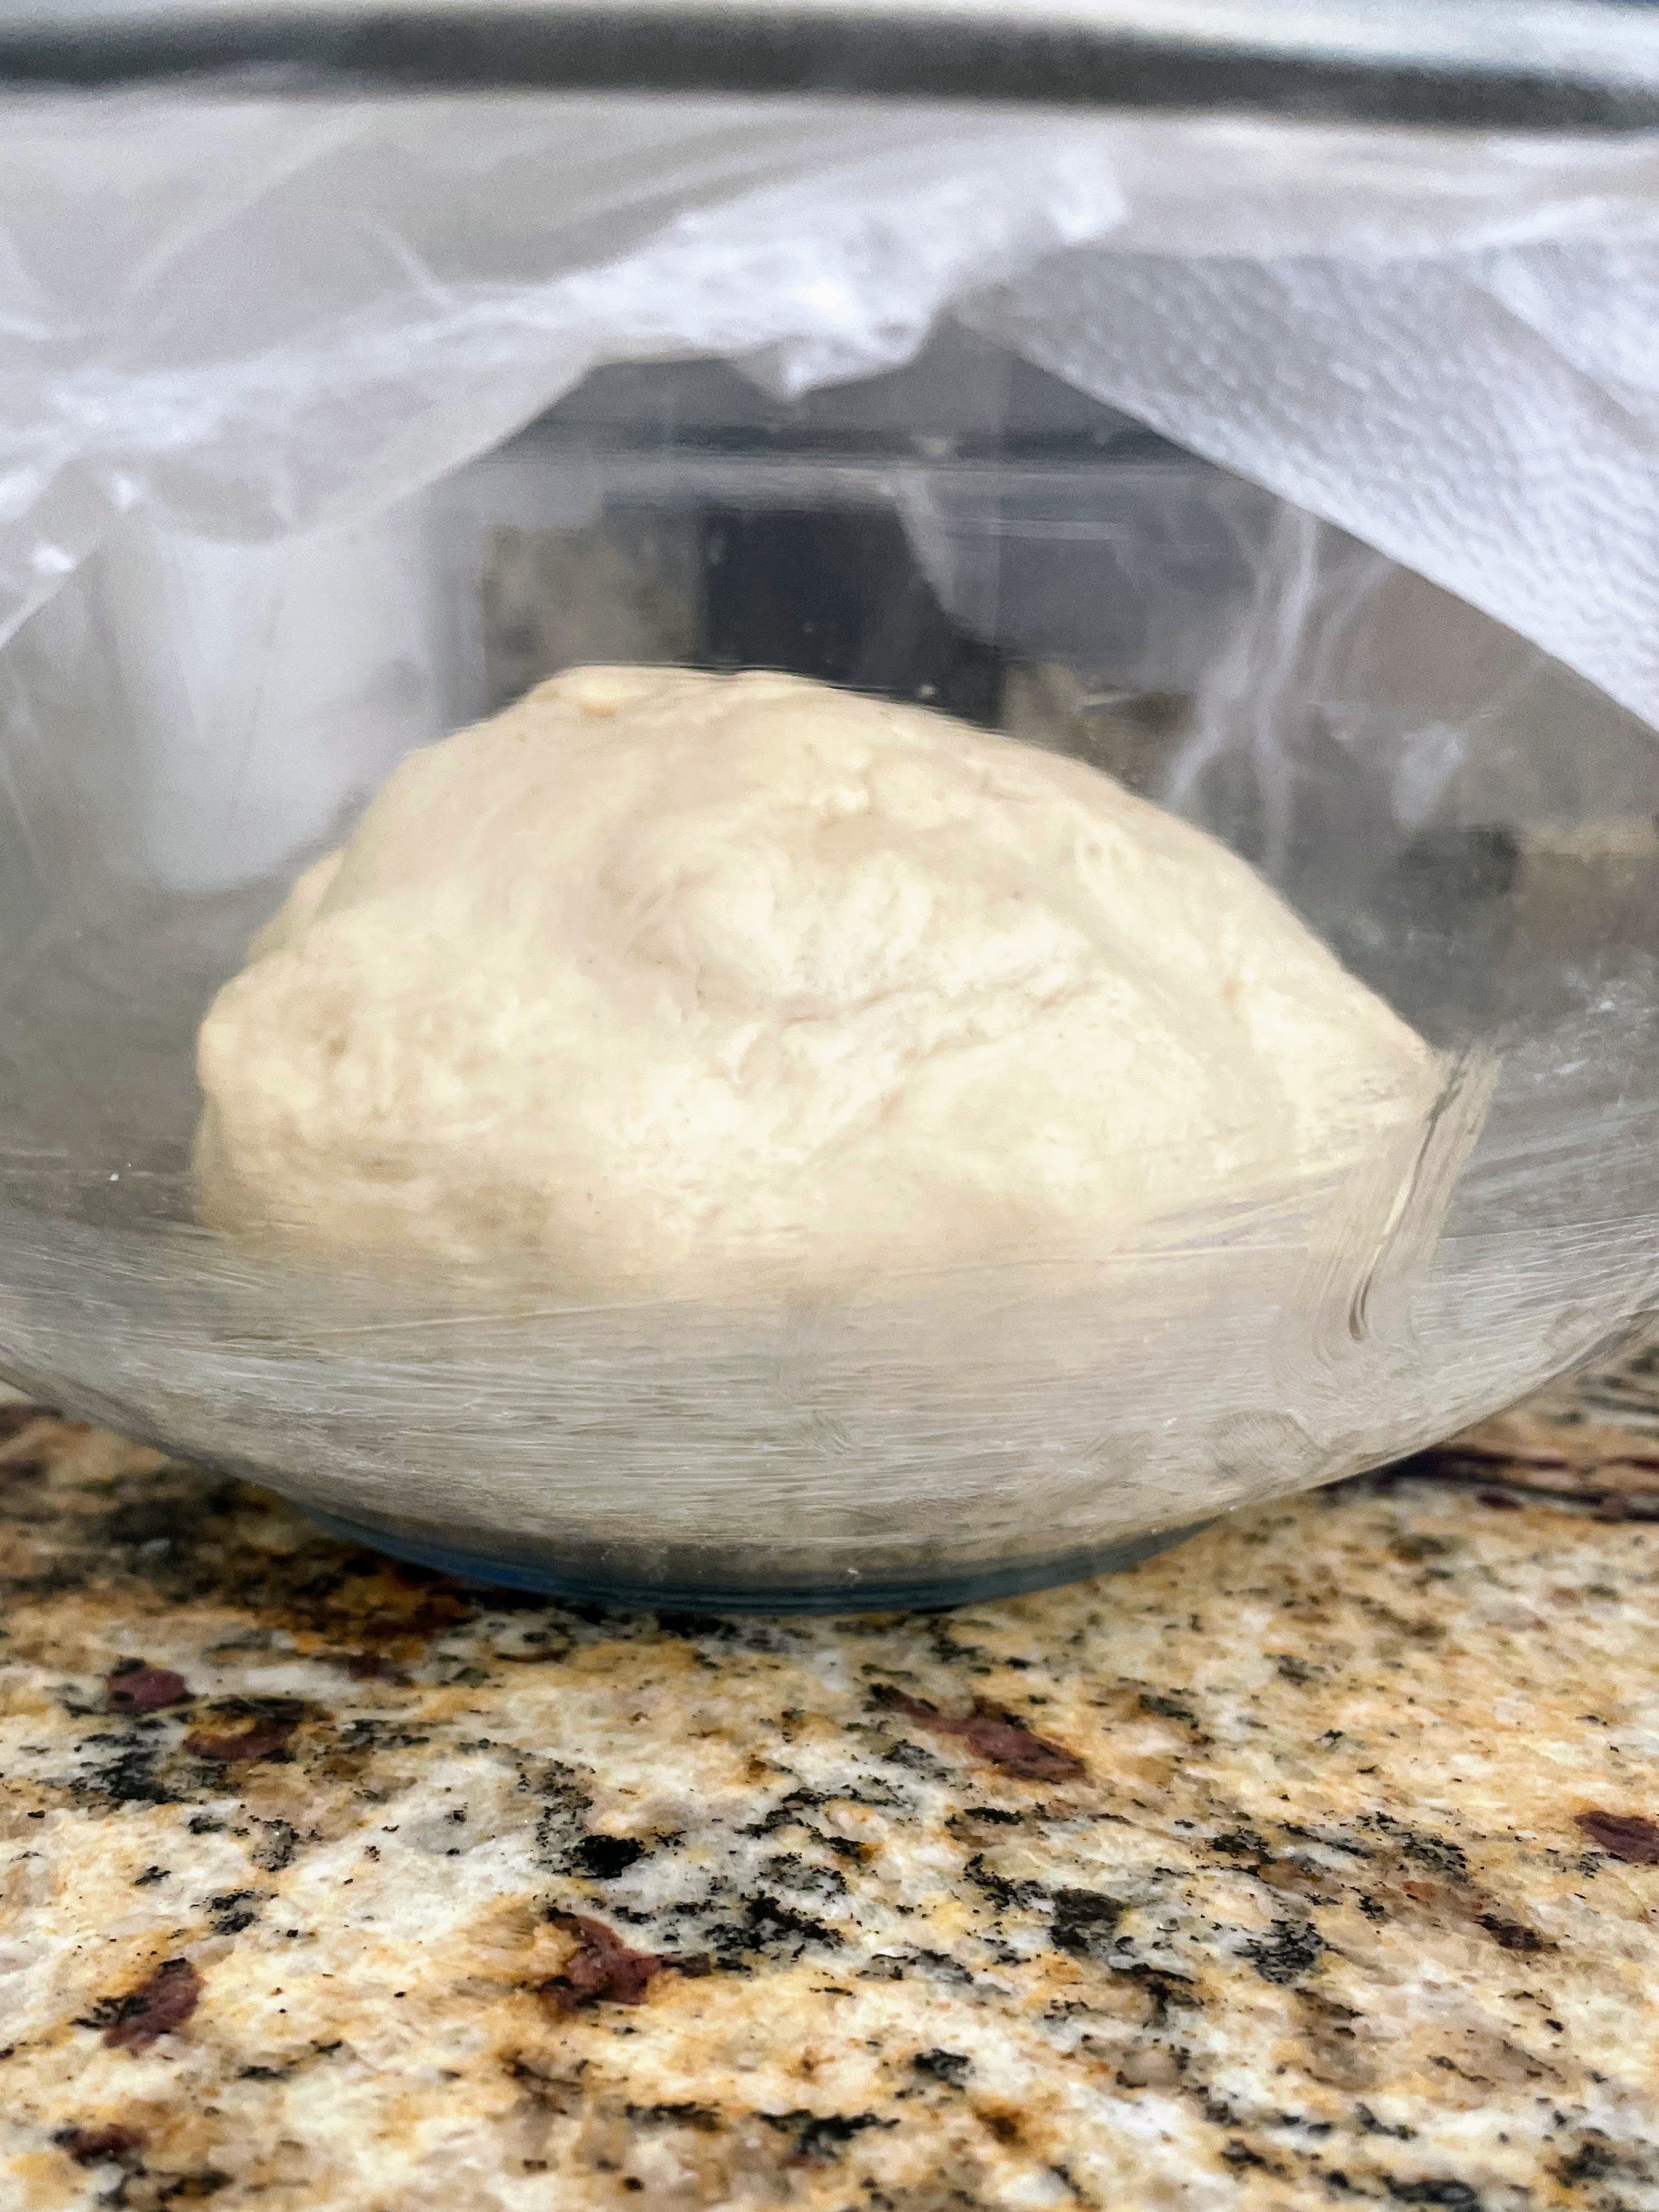
Transfer the dough to a clean bowl that has been lightly greased with butter, turning the dough to coat it with butter. Cover the mixing bowl with plastic wrap and let the dough rise until doubled in size, about 1 hour. Once the dough has doubled in size, place it in the refrigerator for at least 30 minutes.
MAKE-AHEAD NOTE1: At this point, you can refrigerate the dough overnight, then proceed with the recipe.
Make the Butter Block: Beat the butter on low speed until it’s smooth, about 3 minutes, scraping the beater and bowl as needed to break up the cubes. Turn the butter out onto a piece of parchment paper and shape into a rectangle about 6 x 10 in. (15 x 25 cm.). Wrap the butter in the parchment paper, pressing out any air. Gently roll a rolling pin over the butter packet, pushing the butter into the corners to create a perfect rectangle with even thickness. Refrigerate until firm yet still pliable, about 25 to 30 minutes.
Roll out the Dough: Place the chilled dough onto a floured work surface and roll into a rectangle 12 in. wide x 20 in. long (30 x 50 cm.). Remove the butter from the refrigerator and place it in the middle of the dough. Fold one half of the dough over the butter, then fold the other half on top, like folding a letter. Roll it out slightly to press the layers together, then fold it again into thirds like a letter.
–Turn #1: Rotate the dough so that the open, narrower edge is facing you. Roll the dough out to a rectangle 12 in. wide x 20 in. long (30 x 50 cm.). Fold the top third down and bottom third up, again like folding a letter. Place the packet of dough on a baking sheet, cover with plastic wrap, and refrigerate for 30 minutes (but not longer as the butter will get too hard).
–Turn #2: Place the unwrapped packet of dough on a floured surface with the open, narrower edge facing you. Roll the dough out to a rectangle 12 in. wide x 20 in. long (30 x 50 cm.). Fold the top third down and bottom third up, again like folding a letter. Place the packet of dough on a baking sheet, cover with plastic wrap, and refrigerate for 30 minutes.
MAKE-AHEAD NOTE 2: At this point, you can wrap the dough in plastic wrap, place in a freezer-safe bag and freeze for up to 2 months. Thaw in the refrigerator overnight, then proceed with the recipe. **If you would only like to make a half batch now (ie, 6 pastries), cut the dough in half, wrap and freeze one half, and proceed with the recipe using the other half. This is my preferred option, as we no longer have a full house of eaters who could polish off 12 pastries in a weekend!
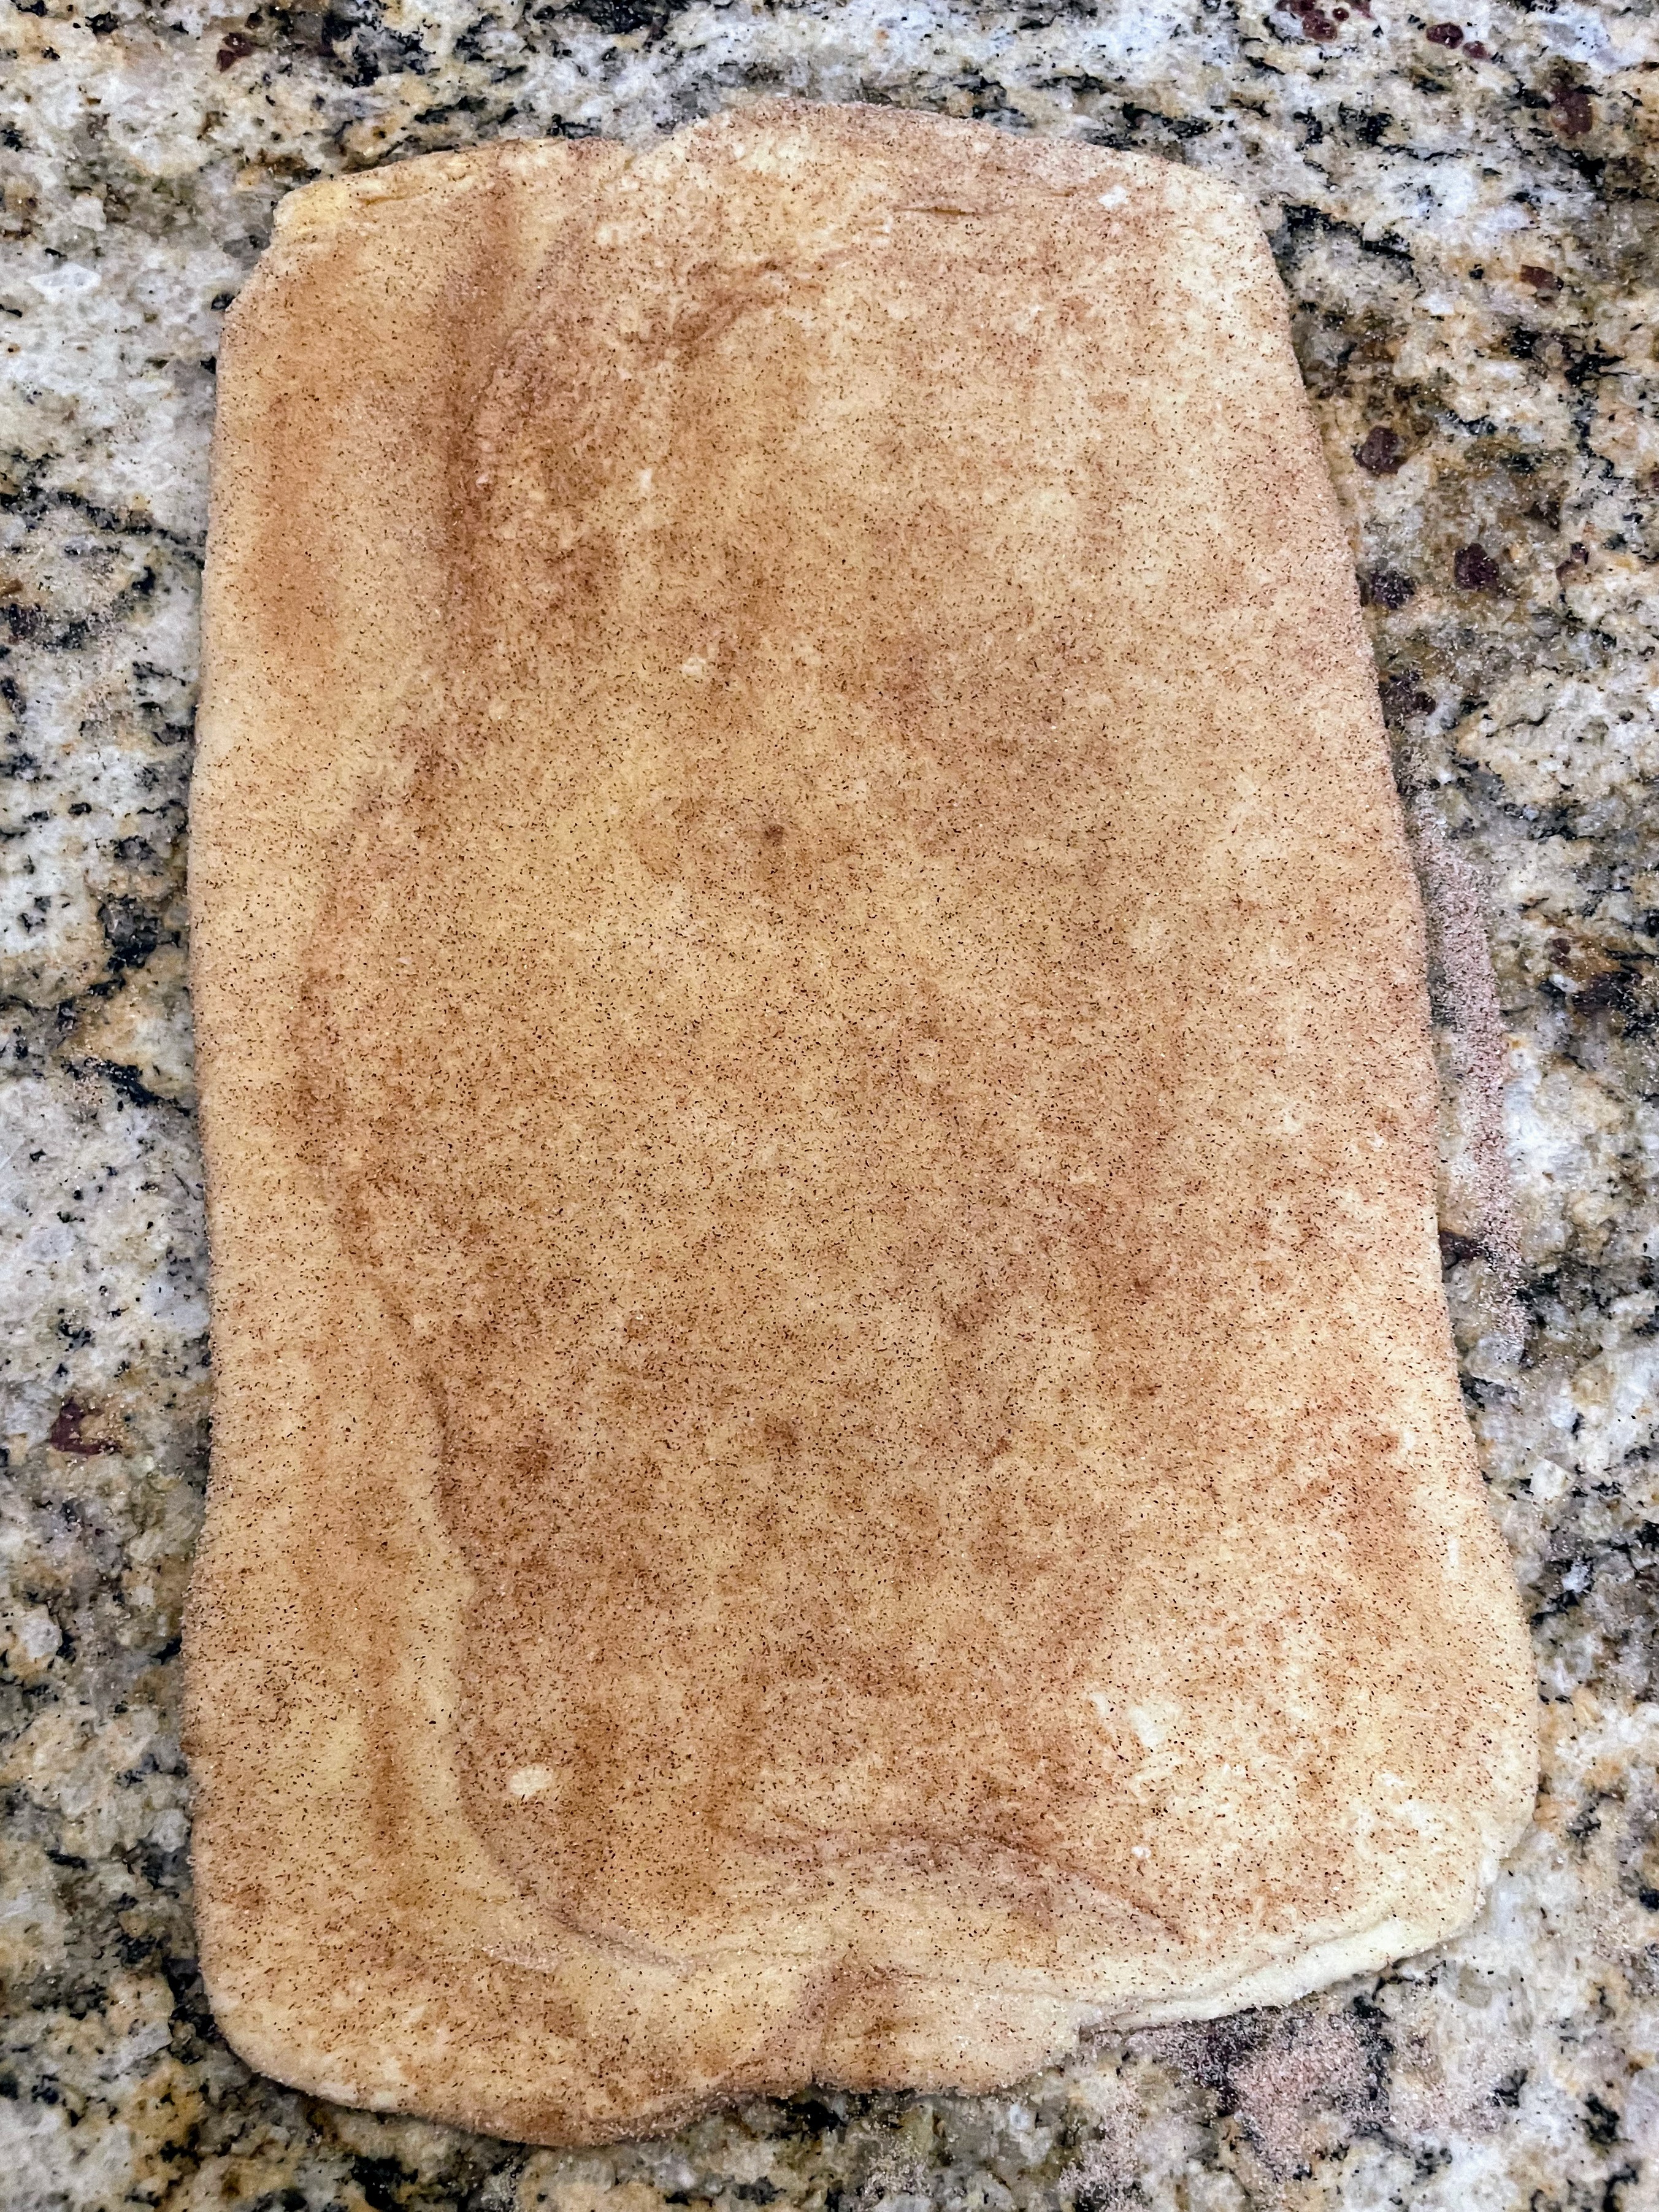
–Turn #3: Place the unwrapped packet of dough on a floured surface with the open, narrower edge facing you. Roll the dough out to a rectangle 12 in. wide x 20 in. long (30 x 50 cm.) [If making half a batch, roll the dough out to 6 x 10 in. (15 x 25 cm.); pinch cut edge closed before rolling]. Sprinkle the entire surface of the dough with 2/3 c. sugar [1/3 c. sugar for half batch], then press lightly to help it stick to the dough. Sprinkle with 1 tsp. cinnamon [1/2 tsp. for half batch], if using. Fold the top third down and bottom third up, again like folding a letter. If any sugar falls out, press it back into the folds. Place the packet of dough on a baking sheet, cover with plastic wrap, and refrigerate for 30 minutes.
–Turn #4: Place the unwrapped packet of dough on a floured surface with the open, narrower edge facing you. Roll the dough out to a rectangle 12 in. wide x 20 in. long (30 x 50 cm.) [If making half a batch, roll the dough out to 6 x 10 in. (15 x 25 cm.)]. Sprinkle the entire surface of the dough with 2/3 c. sugar [1/3 c. sugar for half batch], then press lightly to help it stick to the dough. Sprinkle with 1 tsp. cinnamon [1/2 tsp. for half batch], if using. Fold the top third down and bottom third up, again like folding a letter. If any sugar falls out, press it back into the folds. Place the packet of dough on a baking sheet, cover with plastic wrap, and refrigerate for 30 minutes.
Prepare the Muffin Tin: Generously grease the insides of a standard 12-cup muffin pan (or 6-cup muffin pan if making a half batch) with butter. Set aside.
Shape the Kouign-Amann: Remove the dough from the refrigerator and transfer it to the counter. Sprinkle a little extra sugar (and cinnamon, if desired) over the top of the dough; pat to press it in. Roll the dough out to a rectangle 8 in. wide by 24 in. long (20 x 60 cm.) [If making half a batch, roll the dough out to 8 x 12 in. (20 x 30 cm.).] Slice the dough down the long side to form two strips that are 4 in. wide. Cut each strip into 4 x 4-in. squares (10 x 10 cm.) to create 12 squares (or 6 squares if making a half batch).
If you are adding chocolate chips, arrange chocolate chips on each square. Note: You want to taste the buttery, salty, sweet pastry, so err on the side of fewer chocolate chips vs more. Fold the corners of each square toward the center. Pick up each pastry and tuck it firmly into the buttered muffin pan.
MAKE-AHEAD NOTE 3: At this point, you can cover the muffin pan with plastic wrap and refrigerate overnight. The next day, allow the pastries to come to room temperature and rise for 1 hour before baking.
Otherwise, cover the pan loosely with plastic wrap and let the pastries rise until slightly puffy, 30 to 40 minutes. Meanwhile, preheat the oven to 400 degrees F (200 C).
Bake the Kouign-Amann: Set the muffin pan on a rimmed baking sheet, place in the oven and immediately reduce the heat to 350 degrees F (180 C). Bake until the pastries are deep golden brown and tips are very dark brown, 40 to 45 minutes, rotating the pan halfway through baking.
Transfer the pan to a cooling rack and let the pastries stand until they are just cool enough to handle, about 5 minutes. Gently remove them from the muffin pan and set them on the cooling rack to finish cooling completely. The kouign-amann can be served warm or at room temperature.
Final note: The pastries are best served the same day they are made, but you can store them at room temperature in an air-tight container and they will be good for one more day; after that they will get soft. You can also freeze the baked pastries by letting them cool completely, wrapping them individually in plastic wrap, and placing them in a freezer-safe bag; freeze for up to 3 months. Thaw at room temperature or place in a 325-degree F (163 C) oven for 10 minutes.


 on the sides; front-facing wall of opus mixtum (bands of brick and tufa), with lateral 'toothing' and a structural arch; plus rough-hewn travertine column--Portico of Claudius, Portus (c. 50 AD)")
")
 with lateral 'toothing' and putlog holes at the top--Trajan's warehouse, Portus (c. 100 AD)")
")
, Trajan's warehouse, Portus (c. 100 AD)")

