Tag Archives: pastry

Recipe: Tarte Soleil (Sun-Shaped Spinach Feta Tart)

11 May

Looking for a stunning appetizer? Or a great accompaniment to, say, soup or a salad? Look no further than this pastry, which is as good to eat as it is to look at. It requires a little more effort than other things you can do with puff pastry, but is still relatively easy (and, more importantly, fun) to make. And anything that looks this delicious is worth it.

I love the original recipe as follows below. But, as you will see in some of the photos, I’ve played around with it at times. Once, I added a base layer of tomato pesto to see what that would be like, and used finely chopped red onions instead of the scallions I forgot to buy. Another time I did not have quite enough spinach, so I made up the weight by adding extra feta and shredded mozzarella. So tweak this recipe as you desire — or don’t; it will be delicious every time no matter how you prepare it.

Tarte Soleil
(adapted from Bon Appetit)

Ingredients:
1 package (17.3-oz. /490 gr.) frozen puff pastry (= 2 sheets)
2 packages (10 oz/283 gr. each) frozen, chopped spinach — defrosted; see below
2 scallions (or about 1/4 of a white or red onion), finely chopped
2 tbsp. fresh dill, finely chopped
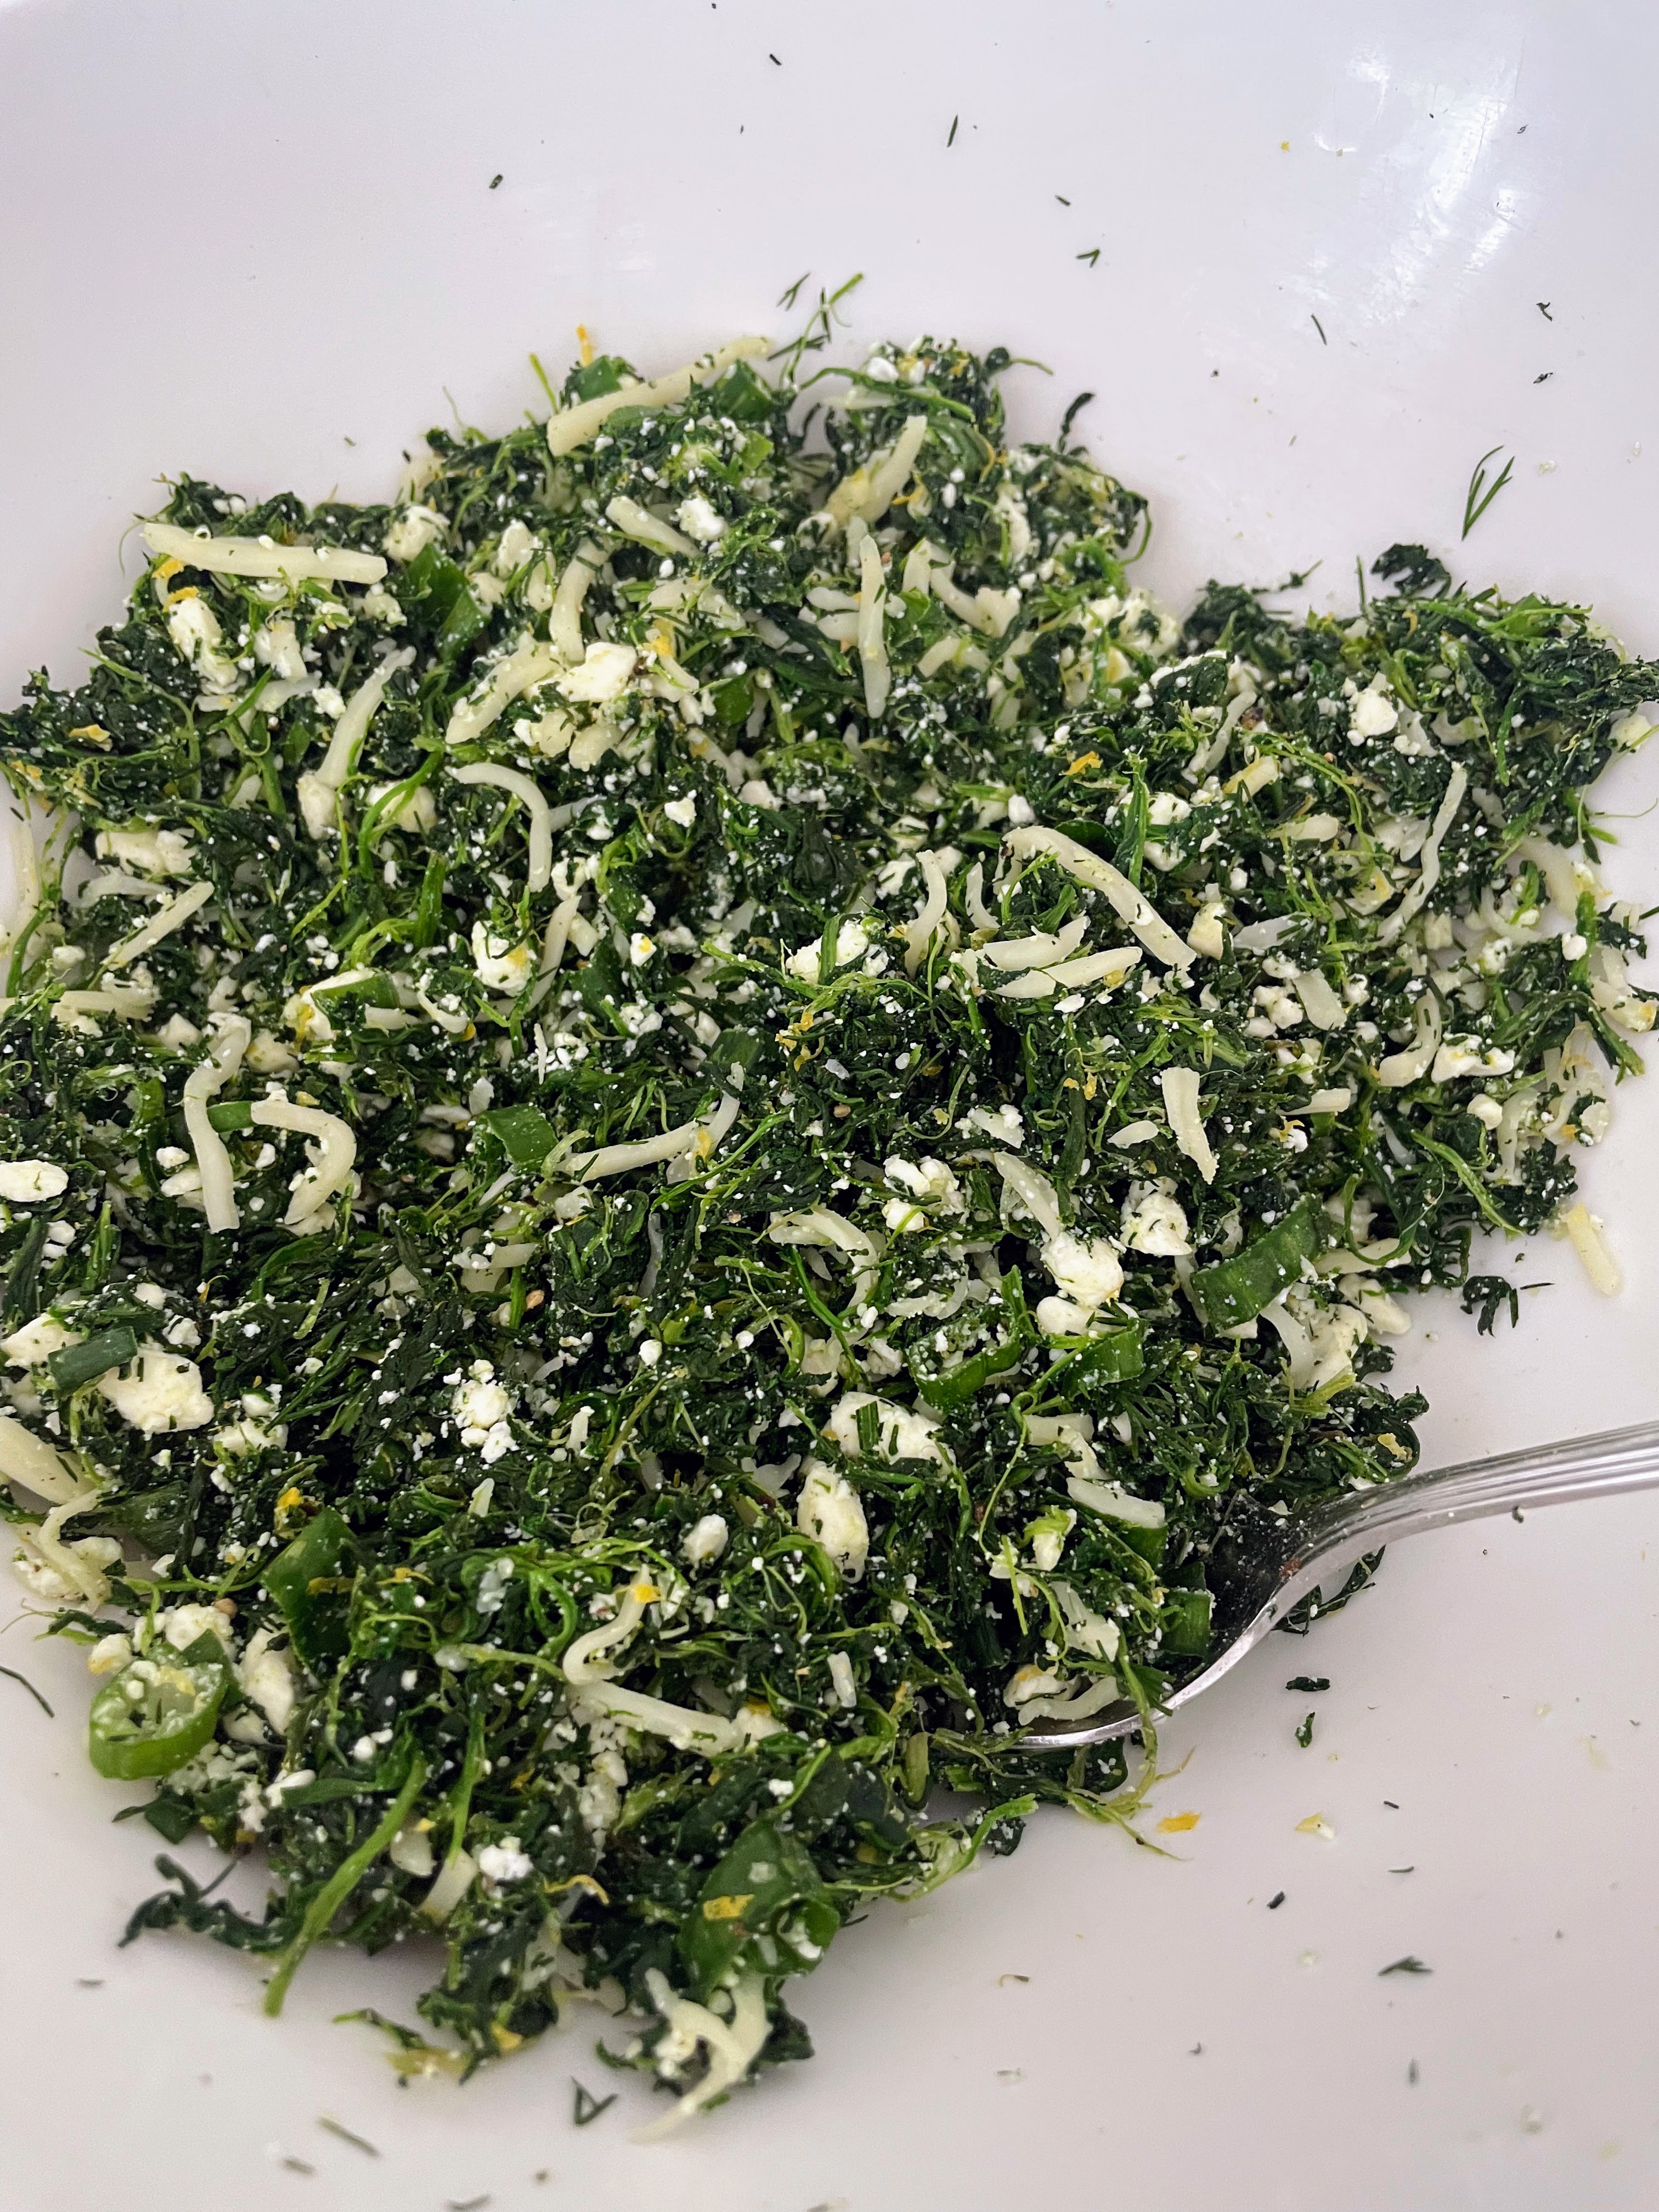
2½ oz. (70 gr.) feta cheese, crumbled ( = about ⅔ cup)
2 garlic cloves, crushed
1 lemon, zested
1 tsp. kosher salt, plus more
¼ tsp. freshly ground black pepper, plus more
All-purpose flour (for rolling)
1 large egg, whisked (aka egg wash)

Preparation:
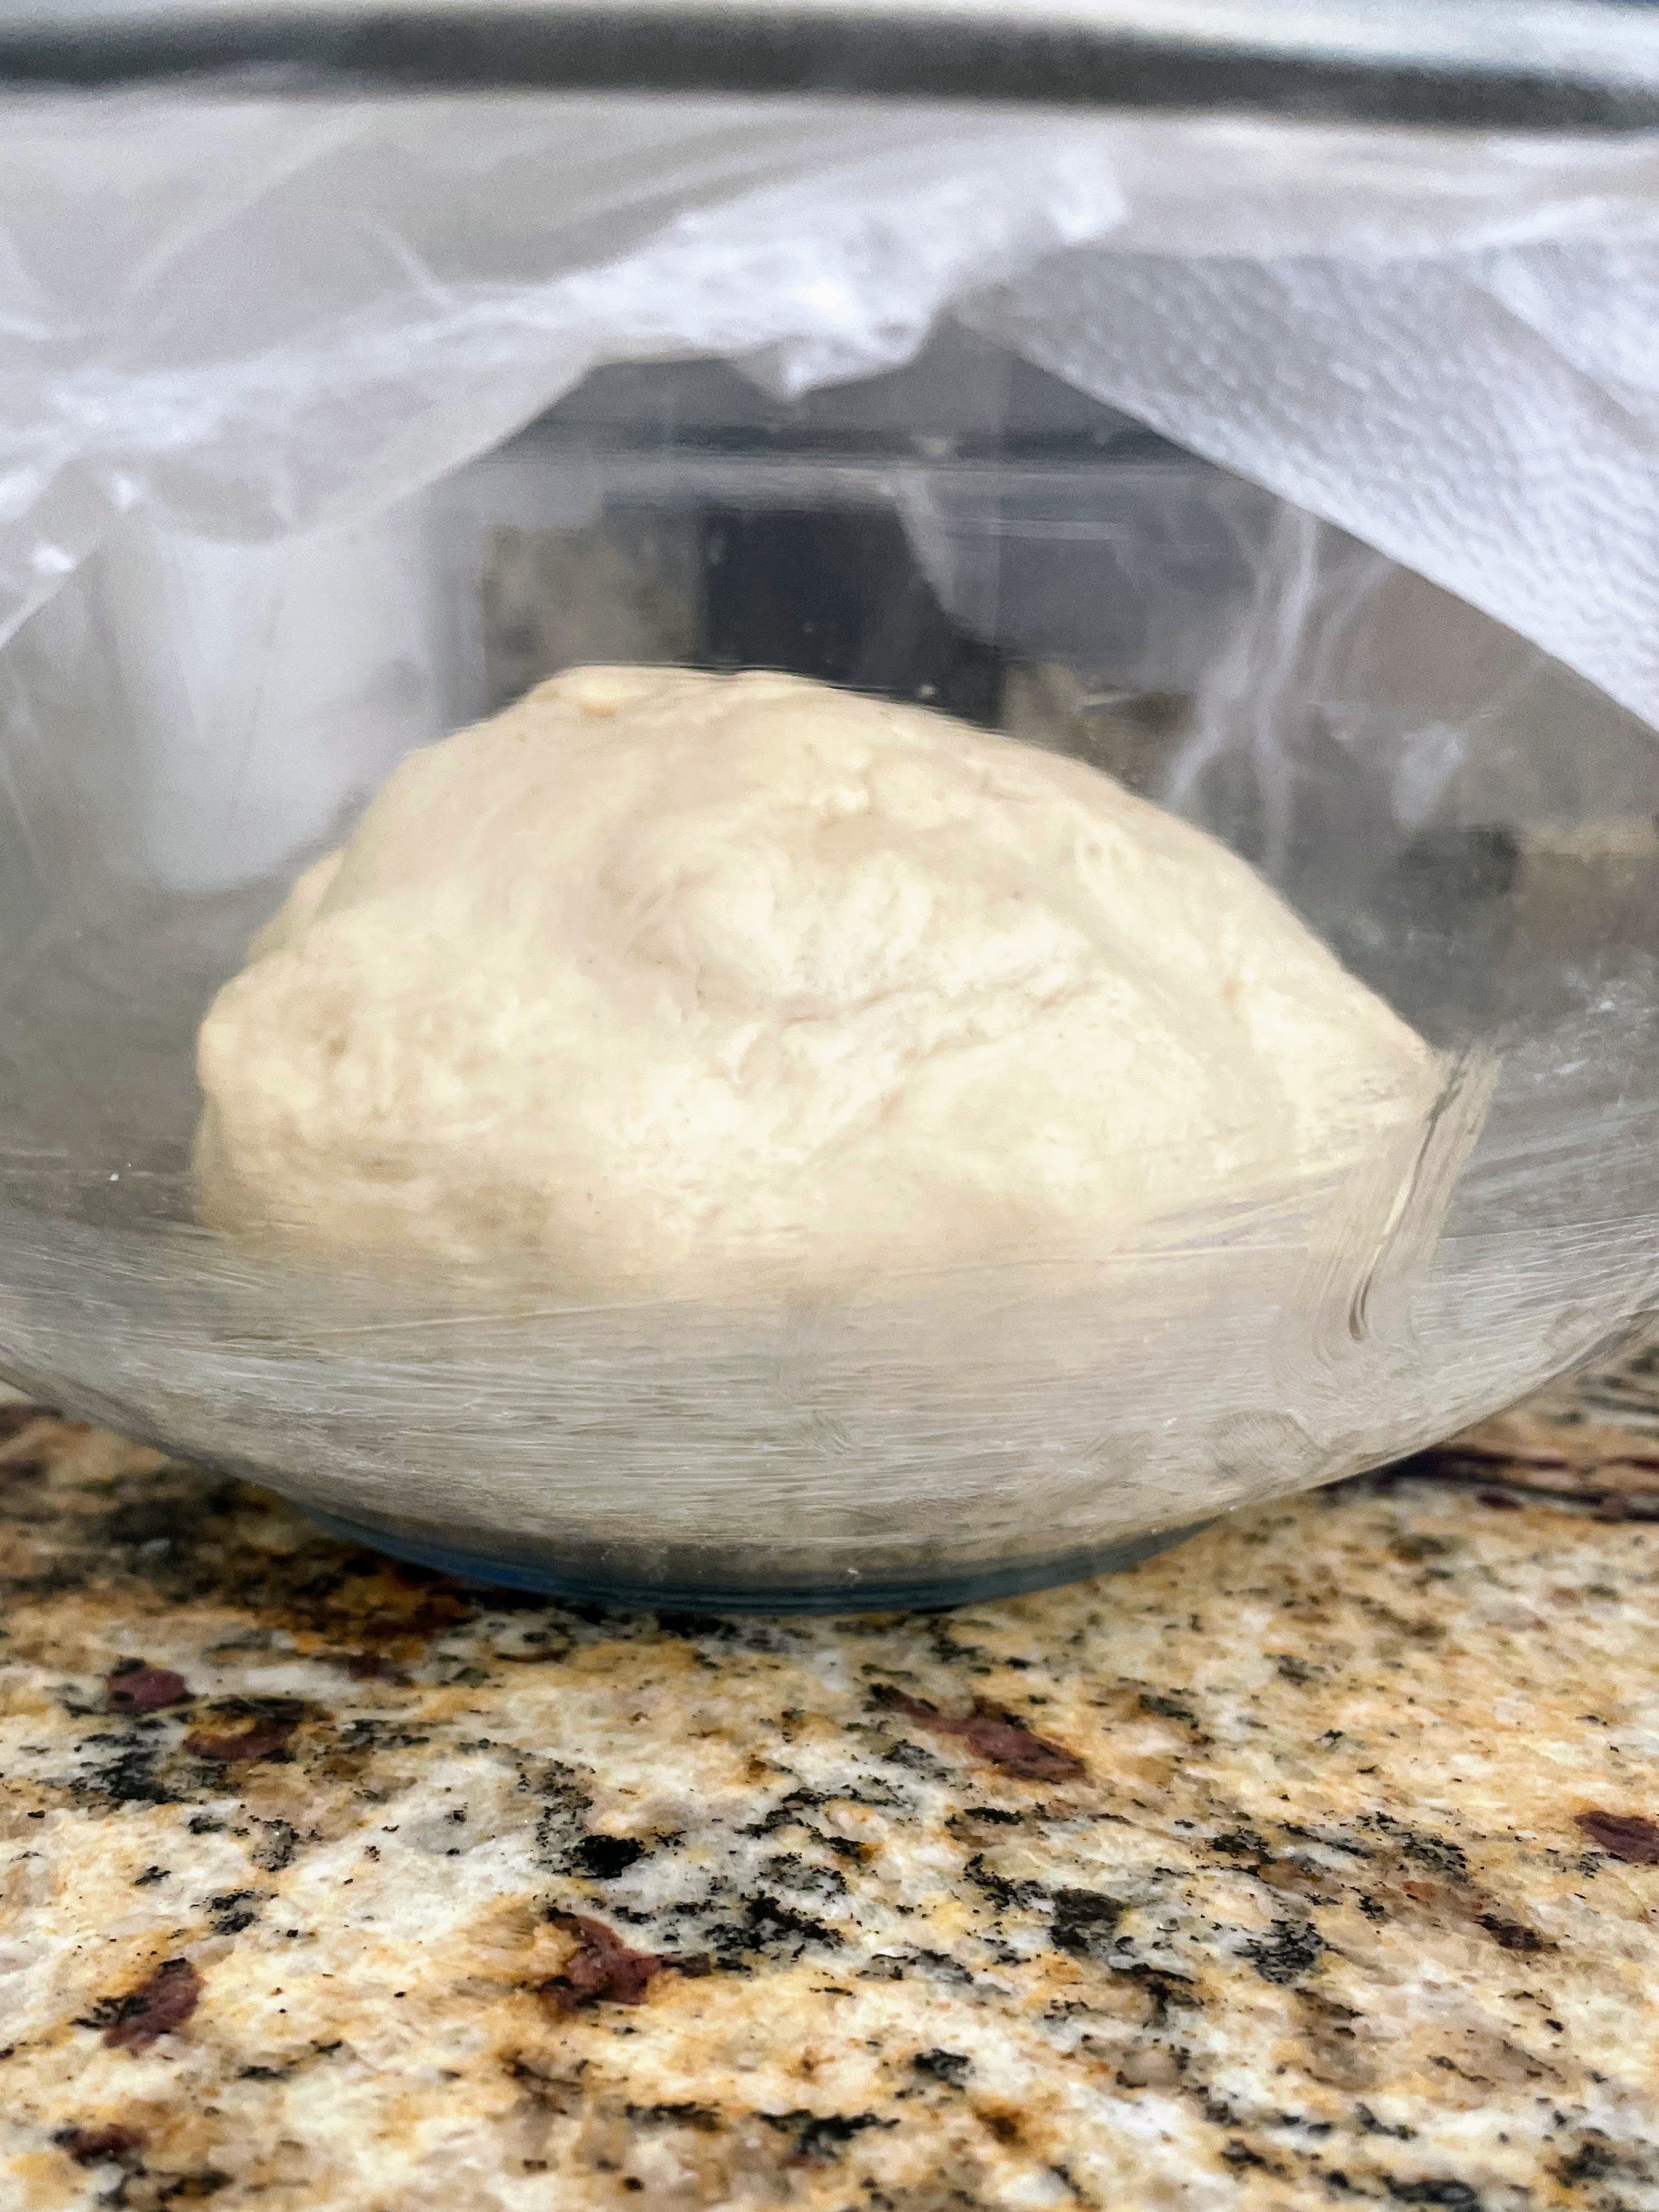
1. Defrost the frozen puff pastry and the frozen spinach in the fridge for at least 8 hours or overnight. (Note: Place the spinach packages in a leak-proof container, just in case.)
2. When you are ready to make the tart, place the defrosted spinach in a fine-meshed strainer, and press/squeeze to get as much of the liquid out as possible; you want it as dry as you can get it.
3. Add the spinach, scallions, dill, feta, garlic, lemon zest, salt, and pepper to a medium bowl. Stir to combine, making sure to break up any spinach clumps. I find it is easiest to use my (clean) hands to do this. You should have 2½ cups spinach mixture. (The photo below is from when I added mozzarella to make up for not having quite enough spinach.)

4. Find a round object that’s 10–12 inches (25-30 cm.) in diameter. I’ve used whatever I can lay my hands on, such as the lid of a Tupperware container or the lid of a large Dutch oven, each about 11 inches/28 cm. in diameter.
5. Place one of the pastry sheets on parchment paper (or on a well-floured counter if you prefer, or if you forgot you were supposed to roll it out on parchment paper…). Lightly dust the pastry with flour, both over and under. Roll it out in all directions and dust with more flour if needed, until it’s at least 1–2 inches (2.5-5 cm.) larger than your round object/lid.
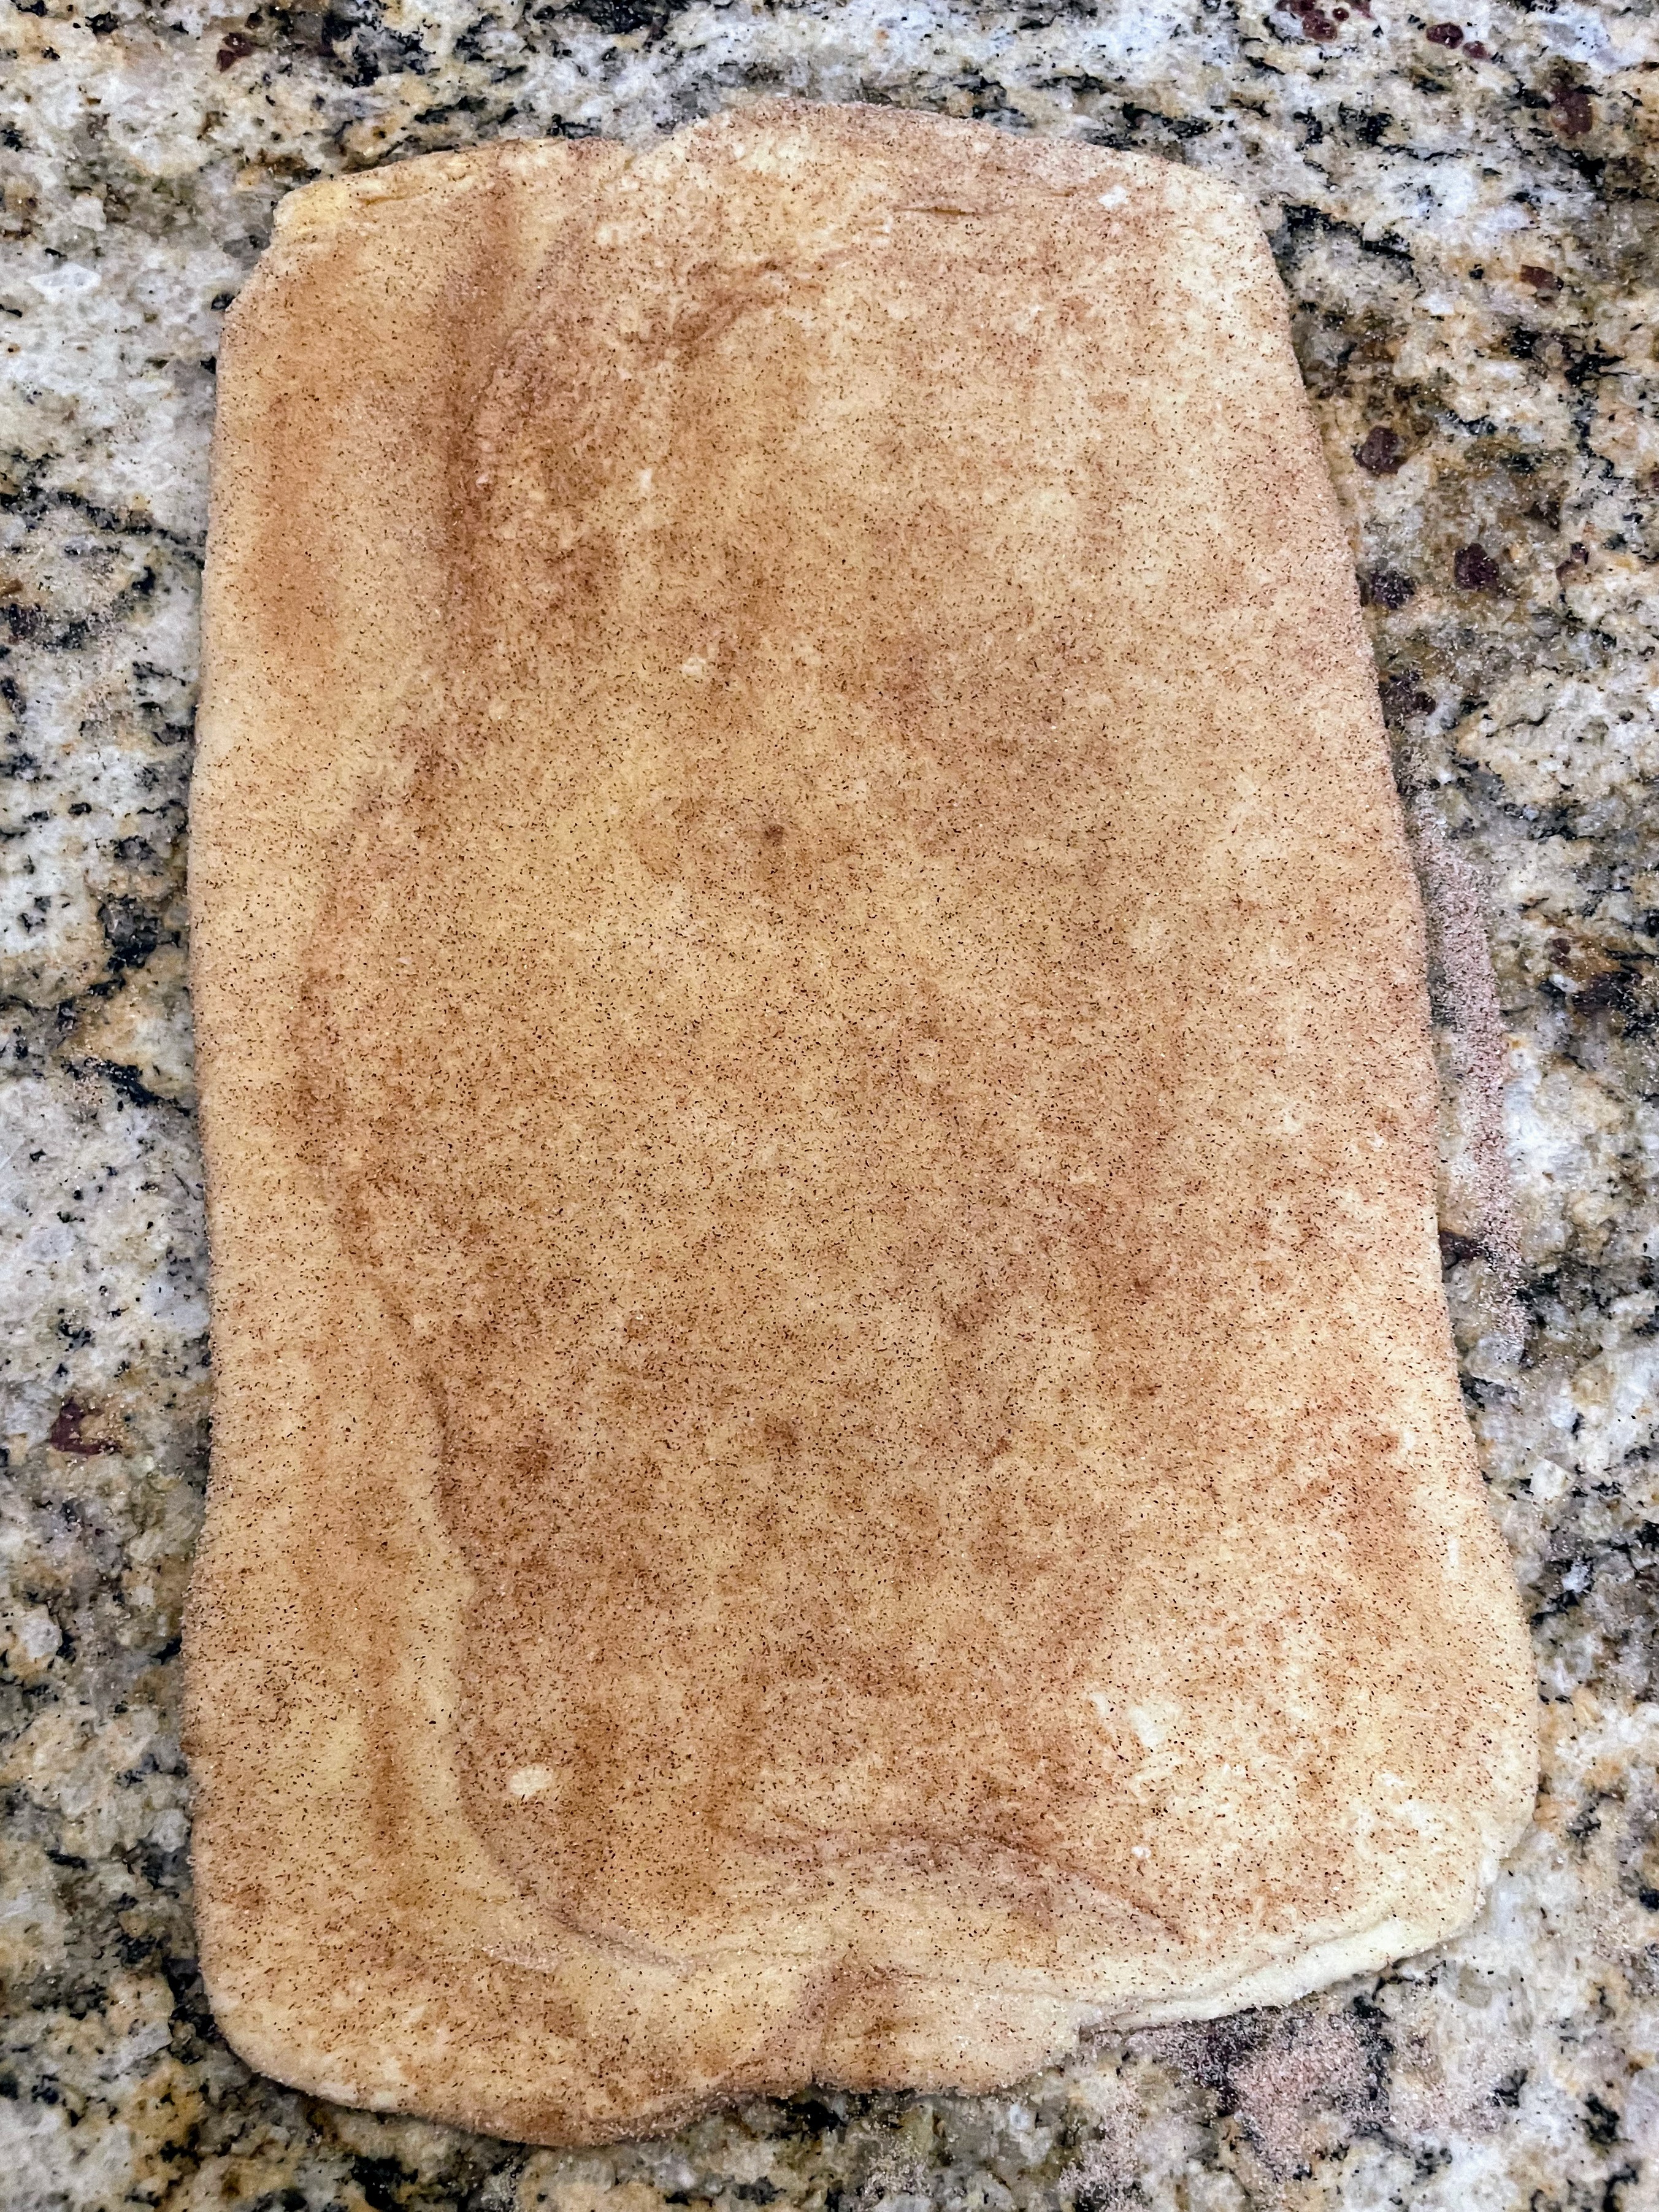
6. Place the round object/lid over the pastry, press to indent, then use a sharp knife to trace the circle. Set aside the excess pastry. (Tip: You can save the excess pastry in the fridge for a couple days, tightly wrapped, then when the urge strikes you can tear it into small pieces, dust with cinnamon and sugar, and bake for a few minutes for a quick and delicious treat).

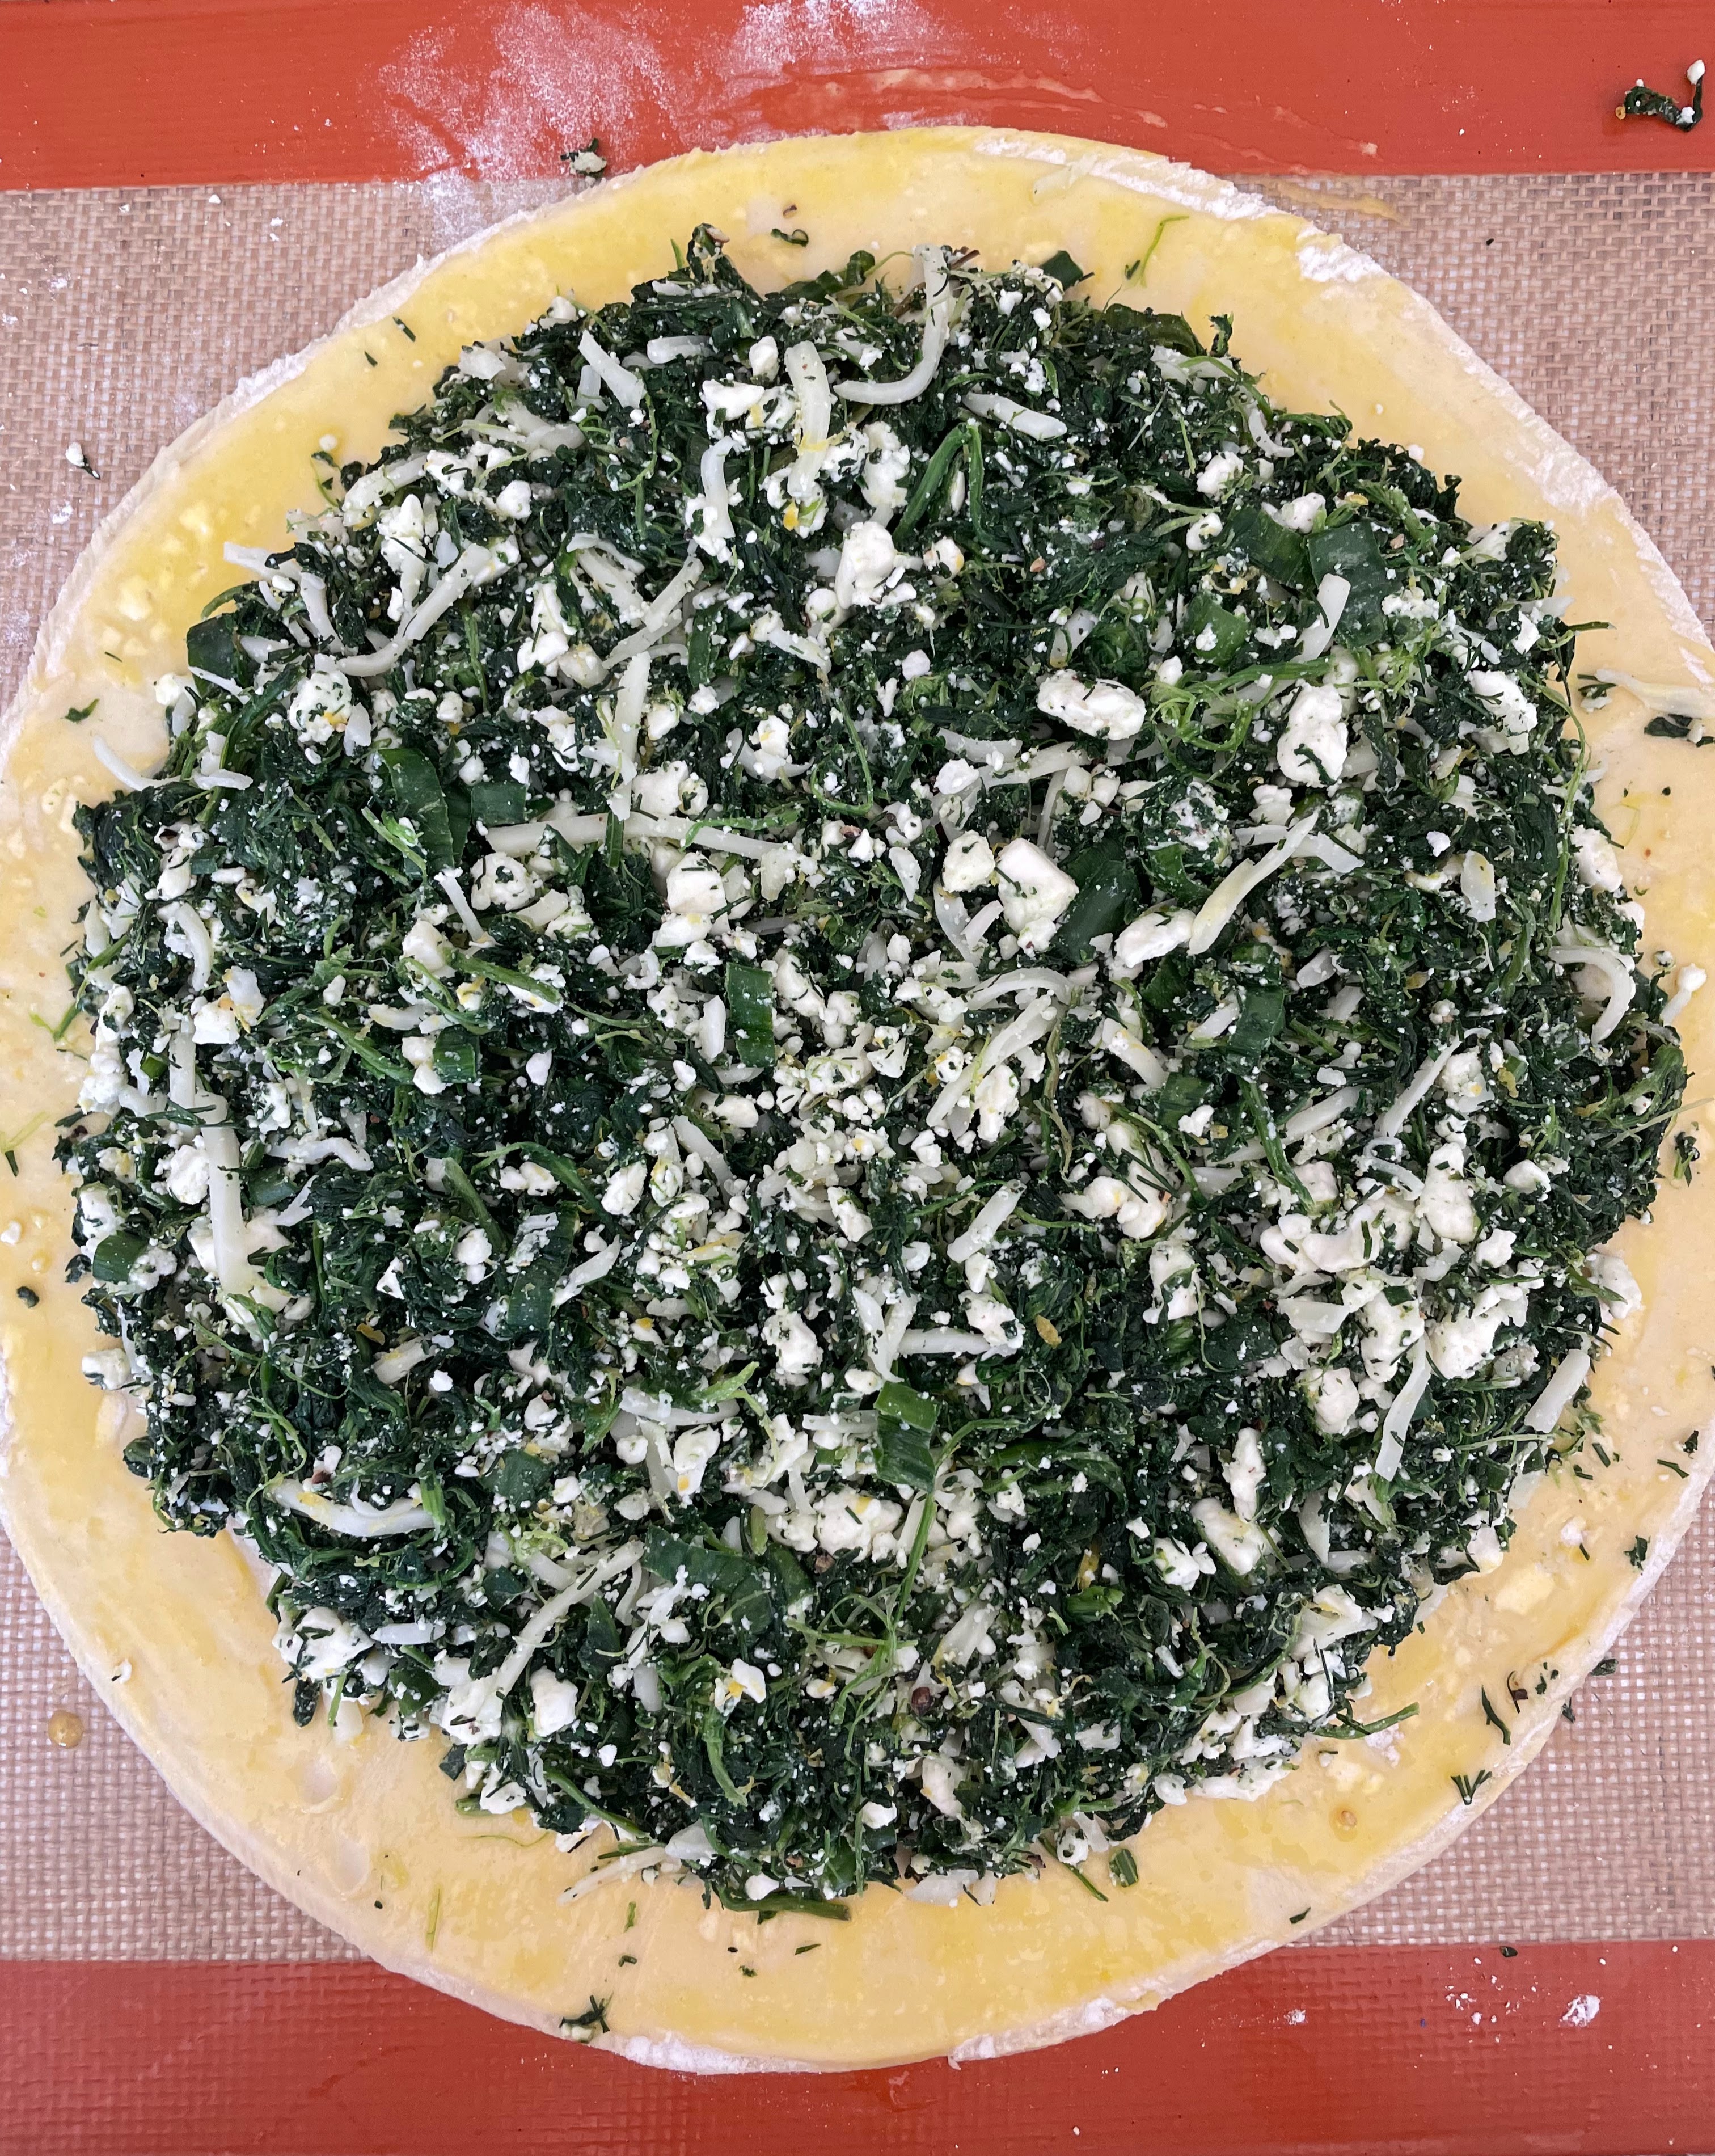
7. If you rolled your pastry directly on the counter, now is the time to 1) transfer your pastry round to some parchment paper (preferred) or to a baking mat (if you are out of parchment), and then to 2) place the whole thing on a baking sheet. Brush the egg wash all along the circumference of the pastry round; reserve remaining egg wash for later. Spread the spinach mixture over the pastry base, leaving a ½” border.

8. Cut out the second sheet of pastry, following the same directions as for the first one. Place the second round of pastry on top of the spinach mixture (if you’re having trouble moving it, fold it into quarters, then unfold it on top of the spinach) and press gently to seal. Using a small cup or shot glass (2 inches/ 5 cm. in diameter), make an indent in the very center. Your pastry might be slightly warm by now. If so, chill 10–20 minutes.

9. Once the pastry is cool, transfer the whole set-up, parchment/baking mat and all, to a work surface. With a chef’s knife, cut pastry into 4 quadrants, stopping when you reach the center circle. Cut each quadrant in half, then in half again, so that you have 16 spokes. (Note: If cutting on a baking mat, cut as gently as possible to avoid damaging the mat). Transfer the tarte with the parchment/baking mat back to sheet tray.

10. Working with one spoke at a time, pull gently away from the center (to extend the length of each piece), then twist to expose the spinach insides. Aim for three or four twists. Nudge them around to distribute evenly. it doesn’t matter if they look messy; they will all look beautiful when baked. Freeze the tarte until cold, 10–15 minutes.

11. Meanwhile, place a rack in the middle of the oven; preheat to 400°F/200°C. Brush the tarte all over with the reserved egg wash; season with salt and pepper. Bake the tarte until well browned, about 30–35 minutes.

Recipe: Kouign-Amann Pastries

27 Jan

Like many others, I first learned about Kouign-Amann from watching the Great British Bake Off (Great British Baking Show), marveling at the complexity and apparent deliciousness of this pastry from Brittany. Then I tasted some in San Francisco and Berkeley while visiting my son, daughter-in-law, and daughter — and became a convert. Kouign-Amann is a crispy, buttery, salty/sweet confection that is worth every moment of a weekend day (or two) to make — especially when, as is currently the case for me, there are no such pastries to be had nearby. I start thinking about them in winter when it is harder to be out and about and when the weather lends itself to baking. These pastries are perfect with a cup of coffee or tea as you settle into a cozy inside spot while reading one of the Brittany-based Commissaire Dupin mysteries.

This excellent recipe is from Brown Eyed Baker, though I reduced the sugar slightly and included cinnamon and chocolate chips as optional ingredients. Neither of those are traditional, but each lends something to the pastries. The original version is absolutely delicious, too. Finally, these kouign-amann are individual sized, whereas in Brittany the pastry is more traditionally made in the shape of a caramelized, crispy cake that is meant to be sliced.

Kouign-Amann
Makes 12

For the Dough:
1 c. (240 ml.) water, at room temperature
2 tsp. (3.2 gr.) instant yeast
2.5 c. (355 gr.) all-purpose flour
1 tsp. sea salt

For the Butter Block:
8 oz. (227 gr.) salted butter, chilled and cubed

For the Pastries:
1 1/3 cup (267 gr.) granulated white sugar, divided
1 tsp. (2.6 gr.) cinnamon (optional)
dark chocolate chips (optional)

Directions

Make the Dough:
Combine the water and yeast in the bowl of a stand mixer (or a mixing bowl, if kneading by hand). Add the flour and the salt. Stir with a wooden spoon until a shaggy dough is formed.

Fit the mixer with a dough hook attachment and knead the dough at low speed until the dough is slightly tacky but smooth, 3 to 5 minutes. If the dough sticks to the sides of the bowl, add 1 tablespoon of flour at a time and knead until the dough is smooth. If the dough feels very stiff and dry, add 1 tablespoon of water at a time and knead until the dough is smooth.

Transfer the dough to a clean bowl that has been lightly greased with butter, turning the dough to coat it with butter. Cover the mixing bowl with plastic wrap and let the dough rise until doubled in size, about 1 hour. Once the dough has doubled in size, place it in the refrigerator for at least 30 minutes.

MAKE-AHEAD NOTE 1: At this point, you can refrigerate the dough overnight, then proceed with the recipe.

Make the Butter Block:
Beat the butter on low speed until it’s smooth, about 3 minutes, scraping the beater and bowl as needed to break up the cubes. Turn the butter out onto a piece of parchment paper and shape into a rectangle about 6 x 10 in. (15 x 25 cm.). Wrap the butter in the parchment paper, pressing out any air. Gently roll a rolling pin over the butter packet, pushing the butter into the corners to create a perfect rectangle with even thickness. Refrigerate until firm yet still pliable, about 25 to 30 minutes.

Roll out the Dough:
Place the chilled dough onto a floured work surface and roll into a rectangle 12 in. wide x 20 in. long (30 x 50 cm.). Remove the butter from the refrigerator and place it in the middle of the dough. Fold one half of the dough over the butter, then fold the other half on top, like folding a letter. Roll it out slightly to press the layers together, then fold it again into thirds like a letter.

–Turn #1: Rotate the dough so that the open, narrower edge is facing you. Roll the dough out to a rectangle 12 in. wide x 20 in. long (30 x 50 cm.). Fold the top third down and bottom third up, again like folding a letter. Place the packet of dough on a baking sheet, cover with plastic wrap, and refrigerate for 30 minutes (but not longer as the butter will get too hard).

–Turn #2: Place the unwrapped packet of dough on a floured surface with the open, narrower edge facing you. Roll the dough out to a rectangle 12 in. wide x 20 in. long (30 x 50 cm.). Fold the top third down and bottom third up, again like folding a letter. Place the packet of dough on a baking sheet, cover with plastic wrap, and refrigerate for 30 minutes.

MAKE-AHEAD NOTE 2: At this point, you can wrap the dough in plastic wrap, place in a freezer-safe bag and freeze for up to 2 months. Thaw in the refrigerator overnight, then proceed with the recipe. **If you would only like to make a half batch now (ie, 6 pastries), cut the dough in half, wrap and freeze one half, and proceed with the recipe using the other half. This is my preferred option, as we no longer have a full house of eaters who could polish off 12 pastries in a weekend!

–Turn #3: Place the unwrapped packet of dough on a floured surface with the open, narrower edge facing you. Roll the dough out to a rectangle 12 in. wide x 20 in. long (30 x 50 cm.) [If making half a batch, roll the dough out to 6 x 10 in. (15 x 25 cm.); pinch cut edge closed before rolling]. Sprinkle the entire surface of the dough with 2/3 c. sugar [1/3 c. sugar for half batch], then press lightly to help it stick to the dough. Sprinkle with 1 tsp. cinnamon [1/2 tsp. for half batch], if using. Fold the top third down and bottom third up, again like folding a letter. If any sugar falls out, press it back into the folds. Place the packet of dough on a baking sheet, cover with plastic wrap, and refrigerate for 30 minutes.

–Turn #4: Place the unwrapped packet of dough on a floured surface with the open, narrower edge facing you. Roll the dough out to a rectangle 12 in. wide x 20 in. long (30 x 50 cm.) [If making half a batch, roll the dough out to 6 x 10 in. (15 x 25 cm.)]. Sprinkle the entire surface of the dough with 2/3 c. sugar [1/3 c. sugar for half batch], then press lightly to help it stick to the dough. Sprinkle with 1 tsp. cinnamon [1/2 tsp. for half batch], if using. Fold the top third down and bottom third up, again like folding a letter. If any sugar falls out, press it back into the folds. Place the packet of dough on a baking sheet, cover with plastic wrap, and refrigerate for 30 minutes.

Prepare the Muffin Tin:
Generously grease the insides of a standard 12-cup muffin pan (or 6-cup muffin pan if making a half batch) with butter. Set aside.

Shape the Kouign-Amann:
Remove the dough from the refrigerator and transfer it to the counter. Sprinkle a little extra sugar (and cinnamon, if desired) over the top of the dough; pat to press it in. Roll the dough out to a rectangle 8 in. wide by 24 in. long (20 x 60 cm.) [If making half a batch, roll the dough out to 8 x 12 in. (20 x 30 cm.).] Slice the dough down the long side to form two strips that are 4 in. wide. Cut each strip into 4 x 4-in. squares (10 x 10 cm.) to create 12 squares (or 6 squares if making a half batch).

If you are adding chocolate chips, arrange chocolate chips on each square. Note: You want to taste the buttery, salty, sweet pastry, so err on the side of fewer chocolate chips vs more. Fold the corners of each square toward the center. Pick up each pastry and tuck it firmly into the buttered muffin pan.

MAKE-AHEAD NOTE 3: At this point, you can cover the muffin pan with plastic wrap and refrigerate overnight. The next day, allow the pastries to come to room temperature and rise for 1 hour before baking.

Otherwise, cover the pan loosely with plastic wrap and let the pastries rise until slightly puffy, 30 to 40 minutes. Meanwhile, preheat the oven to 400 degrees F (200 C).

Bake the Kouign-Amann:
Set the muffin pan on a rimmed baking sheet, place in the oven and immediately reduce the heat to 350 degrees F (180 C). Bake until the pastries are deep golden brown and tips are very dark brown, 40 to 45 minutes, rotating the pan halfway through baking.

Transfer the pan to a cooling rack and let the pastries stand until they are just cool enough to handle, about 5 minutes. Gently remove them from the muffin pan and set them on the cooling rack to finish cooling completely. The kouign-amann can be served warm or at room temperature.

Final note: The pastries are best served the same day they are made, but you can store them at room temperature in an air-tight container and they will be good for one more day; after that they will get soft. You can also freeze the baked pastries by letting them cool completely, wrapping them individually in plastic wrap, and placing them in a freezer-safe bag; freeze for up to 3 months. Thaw at room temperature or place in a 325-degree F (163 C) oven for 10 minutes.

Recipe: Easy Lahm bi Ajin (Lebanese Lamb Pizza)

5 Oct

In Arabic, lahm means “meat,” and ajin means dough or pastry. Many cultures pair meat with pastry, and while I like just about every iteration of that theme, this Lebanese version is one of my favorites. This recipe is slightly easier and quicker to make than some traditional versions because it uses a pita-bread base instead of one requiring home-made dough. These Lahm bi Ajin are pretty hearty, and go quite nicely with Tabouli or other salads.

lahm bi Ajin3
Lahm bi Ajin
Serves 4

1 lb. (454 gr.) ground lamb
3 tbsp. olive oil
1 large onion, finely chopped
5 cloves garlic, crushed
1/2 tsp. cinnamon
1/4 tsp. allspice
1/8 tsp. chili flakes
1/3 c. (85 gr.) tomato paste
1 tbsp. pomegranate molasses, or juice of 1/2 a small lemon
1/4 c. (61 gr.) yogurt
salt and pepper to taste

1/4 c. (34 gr.) pine nuts, optional
extra 2 tbsp. olive oil
4 medium-sized pitas, unopened
1 tbsp. each of chopped fresh mint and parsley, or 1/2 tsp. dried mint and dried parsley

Preparation
1. Heat a heavy-bottomed skillet over medium-high heat, drizzle with a bit of olive oil, and cook the lamb until it is no longer pink, breaking it up as finely as possible. Remove the lamb from the pan, drain in a colander, and set aside.
2. Wipe the skillet, add the 3 tbsp. of olive oil, and when hot, add the onion and cook until translucent and slightly golden.
3. Add the garlic and spices, and cook for a few more minutes. Return the lamb to the pan along with the tomato paste and the pomegranate molasses/lemon juice; mix well to combine. Cook the lamb mixture for 5 minutes over low heat, mashing periodically with the back of a wooden spoon.
4. Turn off the heat, and add the yogurt to the lamb mixture in two batches, incorporating well after each batch. Season with salt and pepper to taste. Set the lamb mixture aside.
5. Heat the oven to 400 degrees. Take out one large (or two medium) rimmed baking sheets–to accommodate the four pitas.
6. Toast the pine nuts in a small skillet until they start to turn golden; remove from skillet.
7. To assemble: pour the extra 2 tbsp. olive oil into a very small bowl; brush the top of each unopened pita with the olive oil. Place the pitas on the baking sheet(s).
8. Divide the lamb mixture among the four pitas, patting it down and spreading it to the edge of each pita. Sprinkle each pita with the mint, parsley, and pine nuts, pressing the pine nuts into the lamb mixture. Drizzle the pitas with any remaining olive oil from the small bowl.
9. Bake in the oven until the edges of the pitas start to get crisp and the lamb topping begins to brown, about 15 minutes.
10. Eat immediately.

Recipe: Nutella Hazelnut Palmiers

19 Apr

By family decree, certain elements of our Easter Brunch can never be altered: the Breakfast Pizzas; the Pesto-Roasted Tomatoes, Red Onion, and Garlic with Pine Nuts; and the Fruit Salad with Honey Lime Dressing. The ham comes and goes and the potatoes occasionally vary (Hashbrown Casserole has been a favorite for many years, but to the dismay of one of our sons, is being edged out this year by Country-Fried Potatoes with Bacon and Green Onions). Other dishes enter and exit as the urge strikes: this year, one of those “other” items will be Stuffed Mushrooms with Merguez Sausage and Spinach, which I realized I hadn’t made in a while.

The one area of Easter Brunch where more experimentation is allowed is the sweet section, which consists of 2-3 items chosen at whim. Today, I made these Nutella Hazelnut Palmiers while everyone was out hiking; I’ll need to hide them pretty soon, lest the returning teenagers and 20-somethings demolish them before tomorrow’s brunch. And before I “taste test” any more of them myself….

Palmiers

Nutella Hazelnut Palmiers
Makes about 30

1 (17.65 oz. ) pkg. puff pastry dough sheets, thawed
2 tbsp. raw sugar, divided in half
1 c. Nutella (chocolate hazelnut spread), divided in half*
1/2 c. chopped hazelnuts, divided in half

Preparation

1. Lightly flour a clean, 12 x 12-inch spot on your counter. Sprinkle the spot with 1 tbsp. raw sugar.
2. The puff pastry dough package should contain two sheets. Unfold one of the sheets and place it on top of the  flour/sugar. Gently roll out the dough to the left and to the right until it is about 15-inches long (don’t worry about the width); you mostly want to embed the sugar into the underside of the dough.
3. Spread 1/2 c. Nutella onto the puff pastry sheet; sprinkle 1/4 c. chopped hazelnuts over the top.
4. Starting at the top long end, roll the dough toward you until you get to the middle of the pastry sheet. Now roll from the bottom end up to the middle. Bring the two rolls together, and place the log of dough seam-side down on a baking sheet lined with parchment paper.
5. Repeat with the second puff pastry sheet. Sprinkle the counter with more flour and the remaining tbsp. of sugar, top with the second pastry sheet, and gently roll the dough out. Spread with the remaining Nutella and sprinkle the remaining hazelnuts on top; roll up as indicated in Step 4. Place the second log of dough on the baking sheet, too, and then put the baking sheet in the freezer for about 10 minutes to firm up the dough.
6. Preheat oven to 350 degrees.
7. Working with one  log of dough at a time, place on a cutting board and slice into 3/4-inch thick slices (or as close as you can get) with a serrated knife. Lay the palmiers flat side down on the parchment paper-lined baking sheet, with ample room between palmiers since they will expand.  You will need multiple baking sheets, or will need to bake in batches.
8. Bake for 30 minutes or so, until the palmiers are golden. (Keep an eye on them; baking time will depend on the thickness of the palmiers.)
9. Let them cool on the baking sheet for a couple of minutes, then remove to a rack to cool completely.
10. Enjoy!

* Can add up to 1/2 c. more Nutella ( 1/4 c. on each sheet) for sweeter but slightly messier palmiers.

Recipe: Dulce de Leche Pastry Cake (Torta Chilena)

26 Nov

When I was in college,  I sampled an exquisite confection that has forever remained seared on my memory: Torta Chilena. It was a cake with eight crispy layers filled with dulce de leche (caramelized sweet milk).  I immediately requested the recipe from the Costa Rican lady who made it, and it has since followed me across continents and years to be pulled out on special occasions.

Torta Chilena is a beloved Costa Rican dessert. So why, you may ask, is it called a “Chilean Cake”?  In Chile, a very similar dessert is called Torta Mil Hojas (“Thousand-Layer Cake”), which is itself a variation on the mille-feuille theme. But instead of being filled with custard, as the French versions are, the Latin American versions are filled with dulce de leche.  Latin Americans love dulce de leche, so it is a natural adaptation. I surmise that a Chilean with a fondness for sweets settled in Costa Rica, made the dessert to great acclaim, and helped start the national craze for Torta Chilena. However this cake originated, I am deeply grateful.

Note: One popular way to make dulce de leche is to cook unopened cans of sweetened condensed milk in boiling water for 2-3 hours. The problem with this method is that the occasional can explodes. So, I’ve always preferred making it in the oven in a bain-marie (water bath, also known as a baño maría in Spanish).

Torta Chilena
[Updated 12-15-12]

Pastry
2 c. flour (250 gr.)
1 tbsp. sugar
½ lb. butter (2 sticks, 227 gr.)
¼ + 1/8 c. white wine (90 ml.)

Dulce de Leche Filling
2 cans (14 oz./400 gr. each) sweetened condensed milk

powdered sugar

Preparation
1. Dulce de Leche filling: Heat oven to 425ºF/220ºC. Spray a glass casserole dish with cooking spray, pour both cans of condensed milk into it, cover the dish, and then set it in a deep roasting pan filled with enough water to rise slightly above the level of the condensed milk in the casserole dish. Bake covered for about 3 hours until golden brown (stirring vigorously 2-3 times during the latter part of the cooking process to avoid lumps). Set aside. This is the dulce de leche; you can make it ahead of time, but if you are not using immediately, refrigerate it and bring to room temperature before using.


2. Pastry: Put flour and sugar in a large bowl, cut in butter, then add ¼ c. (60 ml.) wine, mix thoroughly, then add remaining 1/8 c. wine (30 ml.). Mix thoroughly. Turn dough out onto well-floured surface, shape into a log and cut into 8 equal pieces. Roll each piece into a ball. Draw 9-inch (23 cm.) circles on baking/parchment paper (I used a  plate and traced around it). Turn sheets of paper over so dough doesn’t come into contact with pen/pencil marks, then place 1 ball of dough in center of the circle, and use fingers to spread out to edges. Dough will be very thin.

3. Preheat oven to 300ºF/150ºC.  Bake pastry circles until slightly golden (exact time will depend on your oven; start checking at about 8-10 minutes–the circles should look “cooked,” but not brown). When cool, very carefully remove each pastry circle from paper; circles will be wafer-like and fragile. Place a small dab of dulce de leche on a round platter, then gently position the first pastry circle on top. Press carefully to stabilize the circle on the platter, then spread with roughly 1/7 of the dulce de leche (doing so as lightly as possible). Put the next cooked pastry circle on top, spread with dulce de leche, and repeat with all the layers except the top one – sift powdered sugar on top of that one. Some layers may crack; press the pieces onto the dulce de leche base, and try to reserve the best layer for the top.
4. Enjoy.

*For another cake that features dulce de leche, see this recipe.