

I first discovered dense, delicious mud cakes when we lived in Australia. Traditional mud cakes are rich, fudgy, and very chocolatey — which may explain the name. They are said to have originated in the southern U.S.; the Mississippi variant has marshmallows melted into the frosting on top, while the Aussie version is often topped with a velvety ganache. Mud cakes are single layer, and most are baked low and slow. They also freeze very well.
This particular cake is not chocolate–but caramel, and is an amalgam of two recipes. The ganache is adapted from the Australian Women’s Weekly, and the cake from taste.com.au. The amount of ganache listed here is just enough to cover the cake, and when the cake is also served with whipped cream, it is perfect. If you really, really love frosting/ganache, then make 1.5x the recipe. Which I will do next time….
Ingredients
Caramelized White Chocolate Ganache
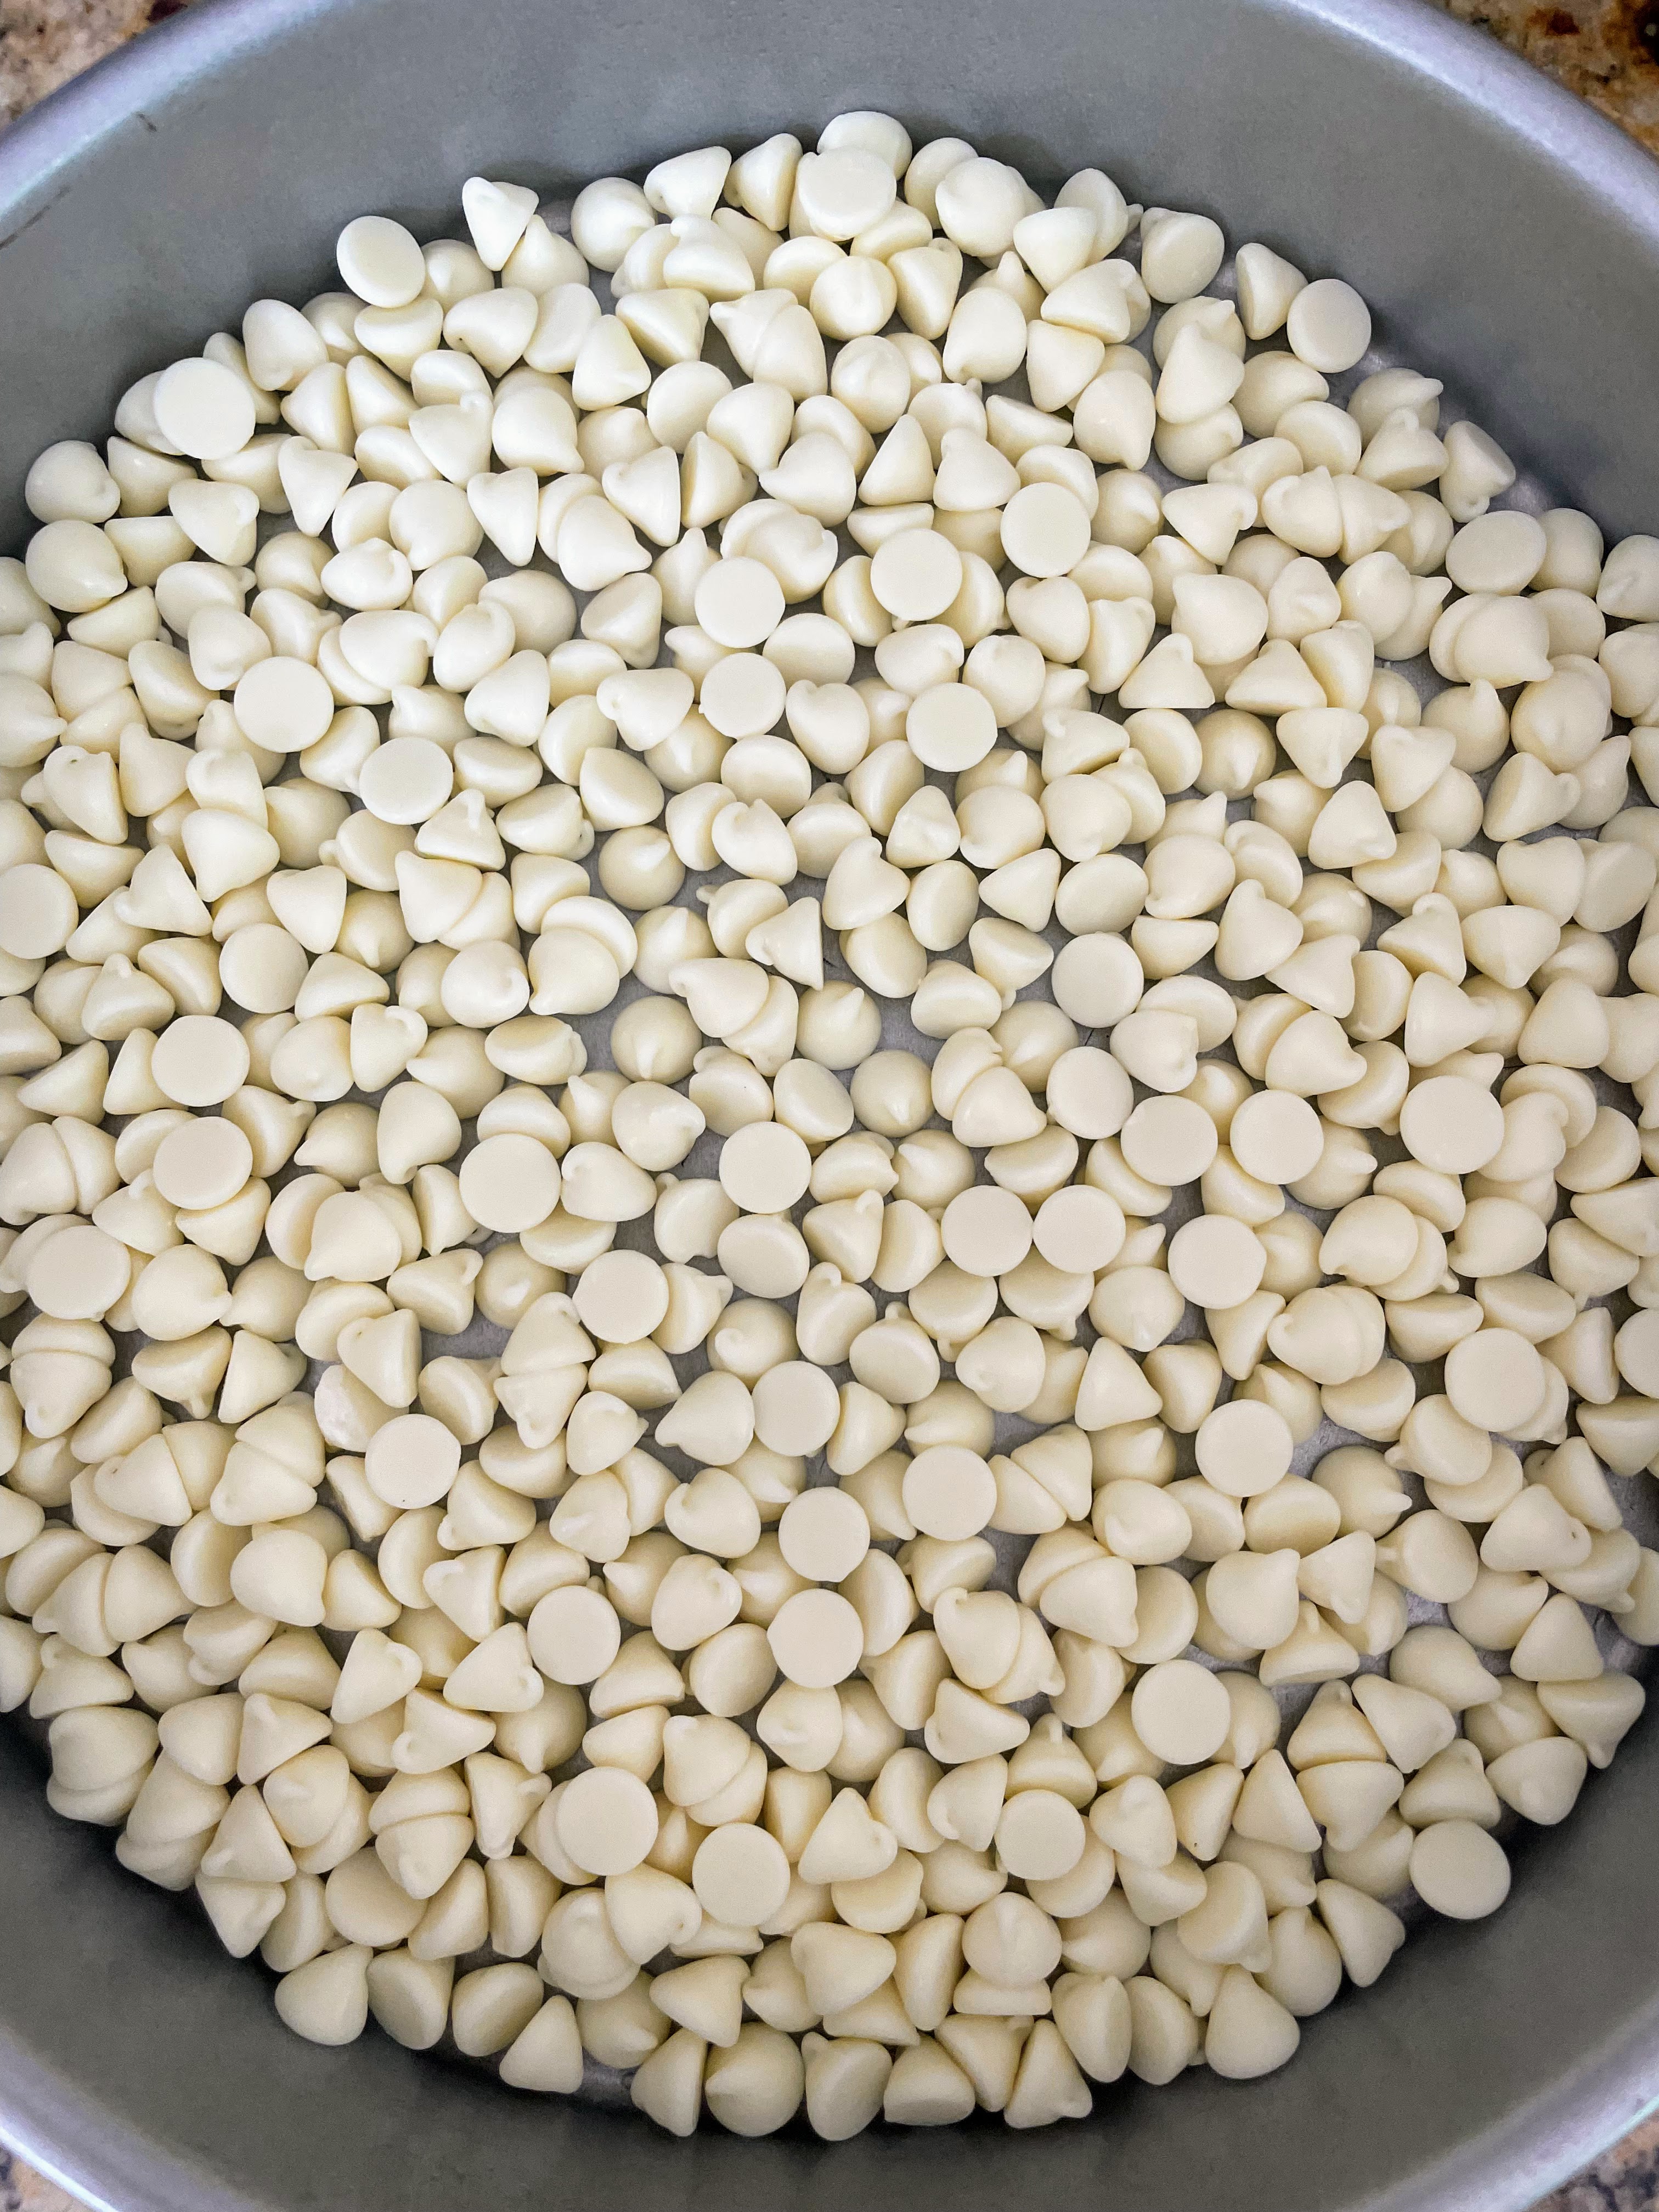
300 grams (10.5 oz) white chocolate chips
1/2 cup (125 ml) heavy cream
1 tsp vanilla
1/4-1/2 tsp table salt, to taste
Mud Cake
Melted butter, to grease
200 gr (7 oz) butter, cubed
200 gr (7 oz) white chocolate chips
200 gr (7 oz) dark brown sugar
180 ml (3/4 cup) hot water (or milk; can also sub in a little whiskey for a boozier cake)
1 tbsp golden syrup, maple syrup, or dark corn syrup
1 tbsp vanilla
2 eggs, at room temperature
150 gr (1 cup) all-purpose flour
150 gr (1 cup) self-raising flour [= 1 cup all-purpose flour + 1 tsp baking powder + ½ tsp salt + ¼ tsp baking soda]
Preparation
Ganache
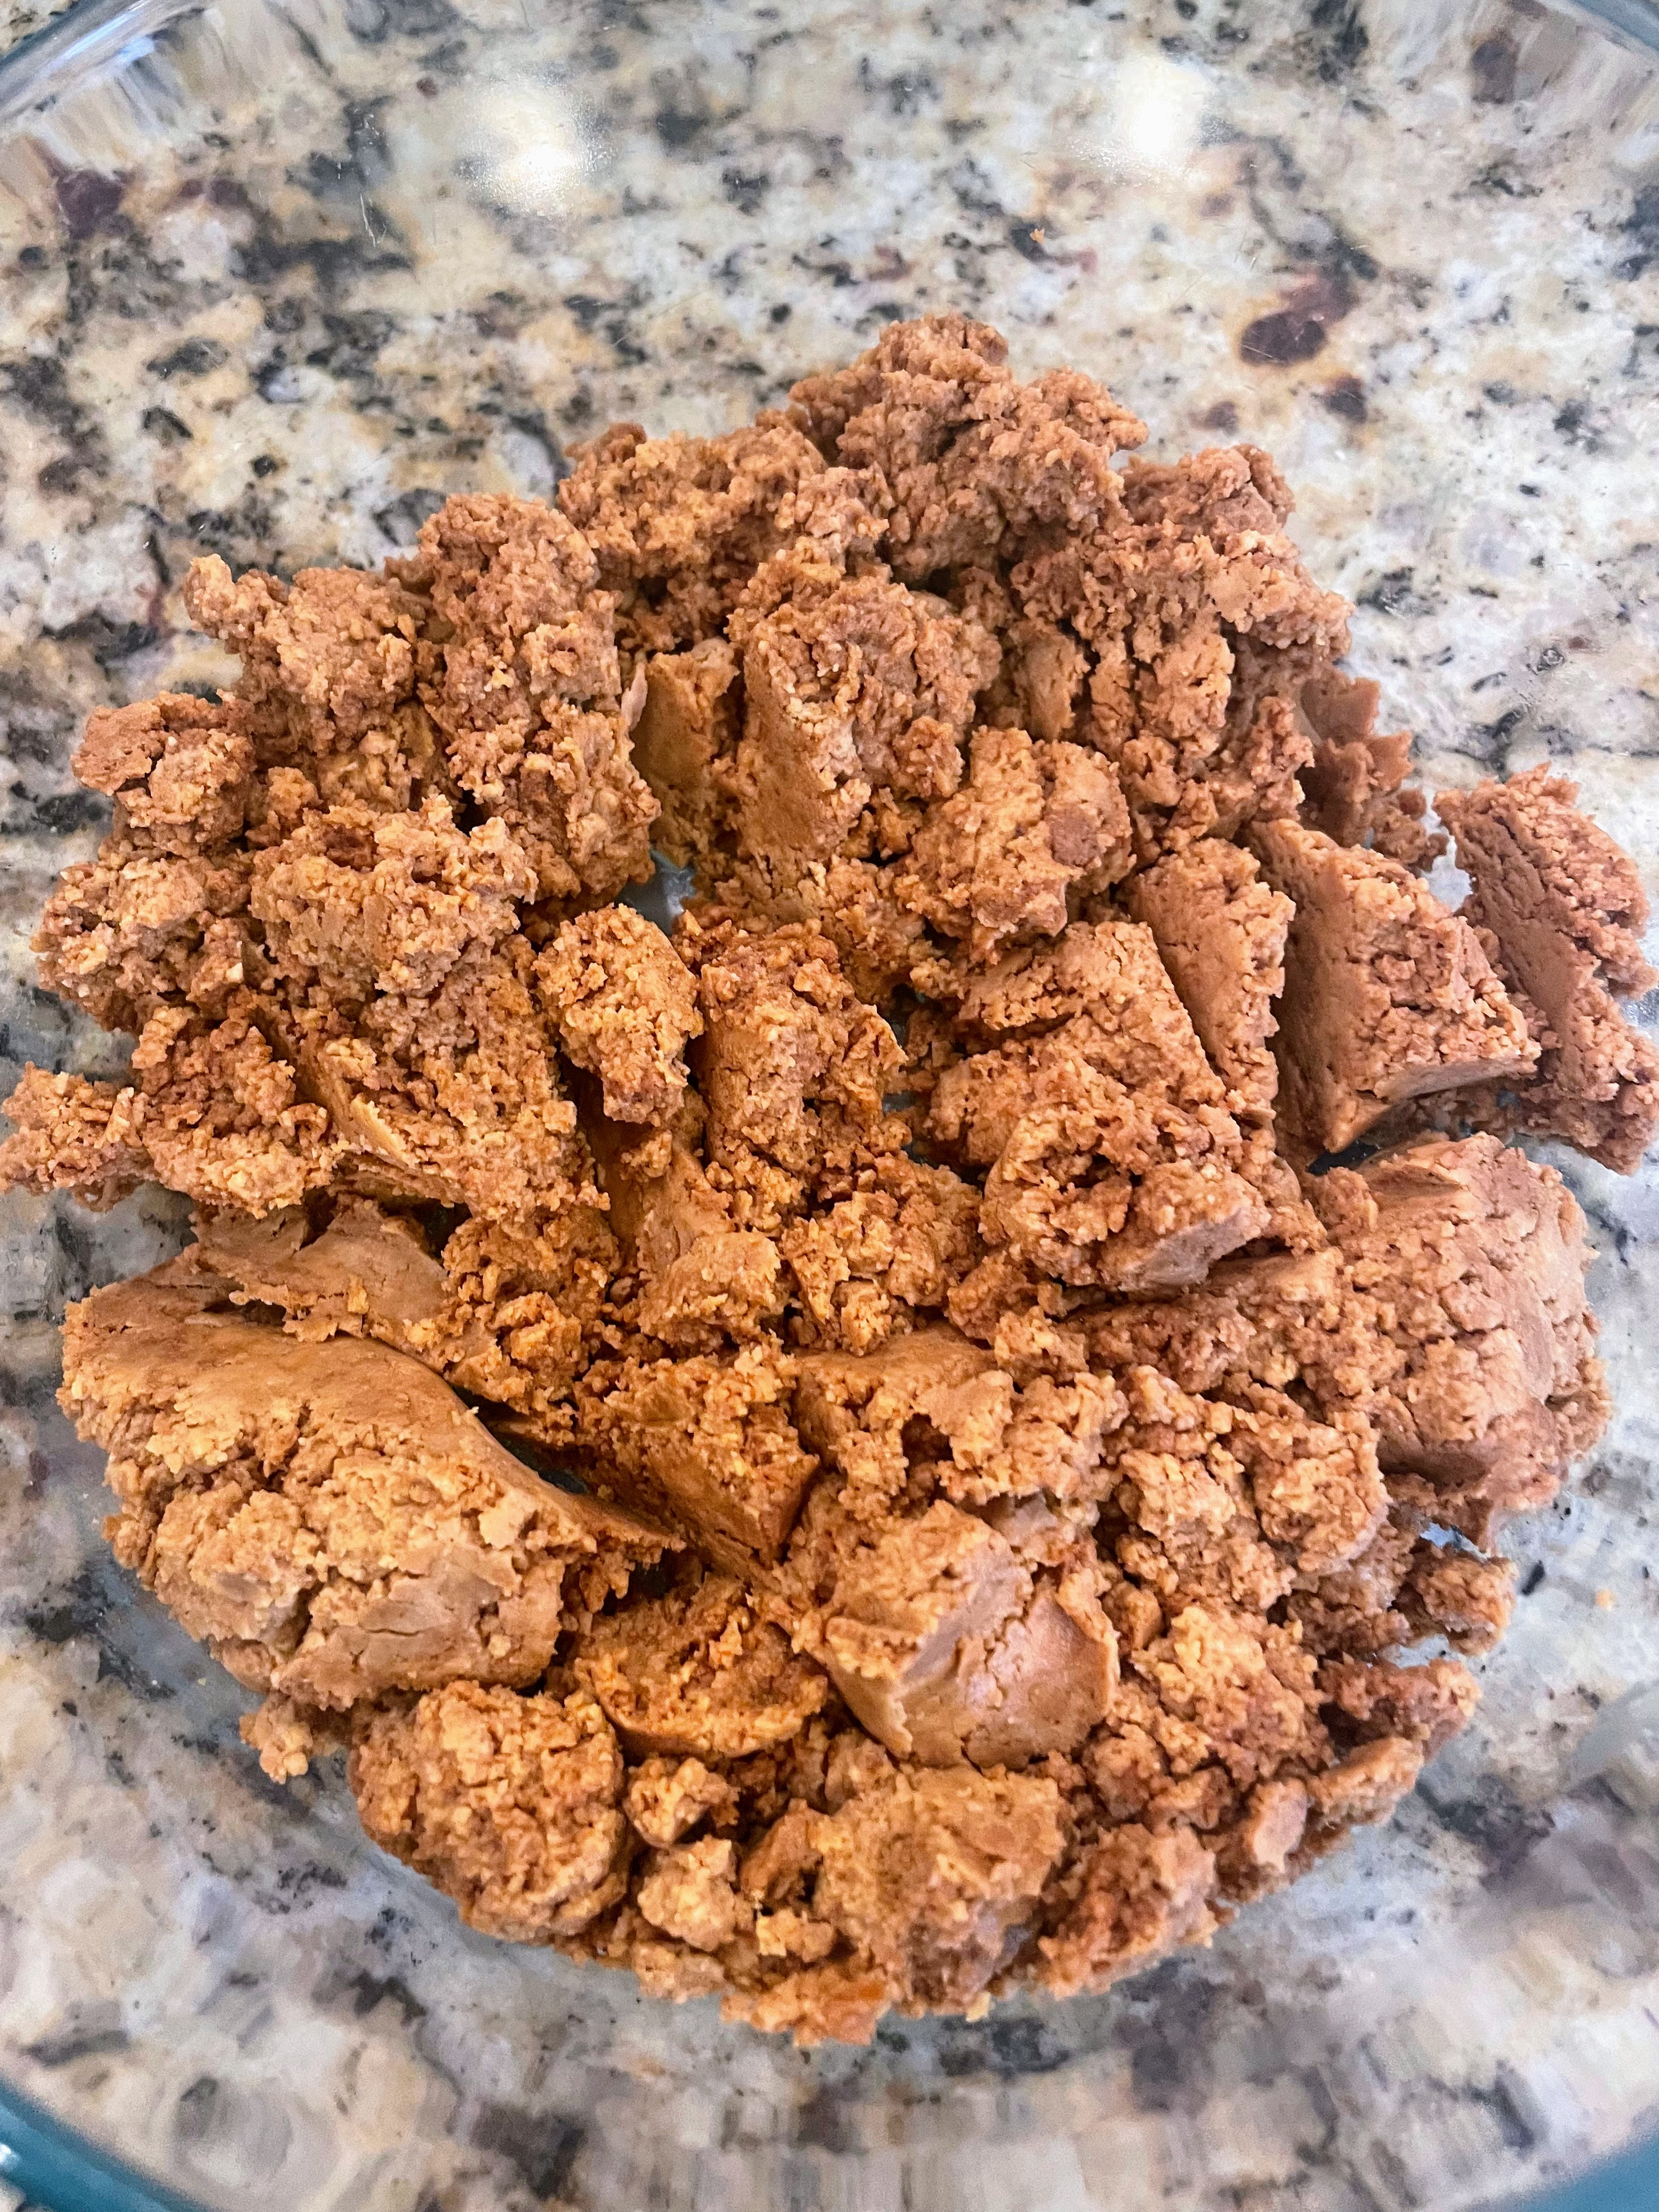
1. Preheat oven to 180C/350F. Scatter chocolate evenly over base of a shallow baking dish/cake tin and bake for about 15-20 minutes, stirring a few times with a rubber spatula, until caramel in colour (the chocolate will be crumbly, and will slowly change color; keep stirring and baking until it is a rich chocolate brown).


2. Transfer to a large bowl. Bring cream almost to the boil in a small saucepan and pour over chocolate. Mix until semi incorporated, then blend with an immersion blender until smooth.


3. Cover and refrigerate for 30 minutes, stirring occasionally, or until ganache is of a spreadable consistency.
Mud Cake
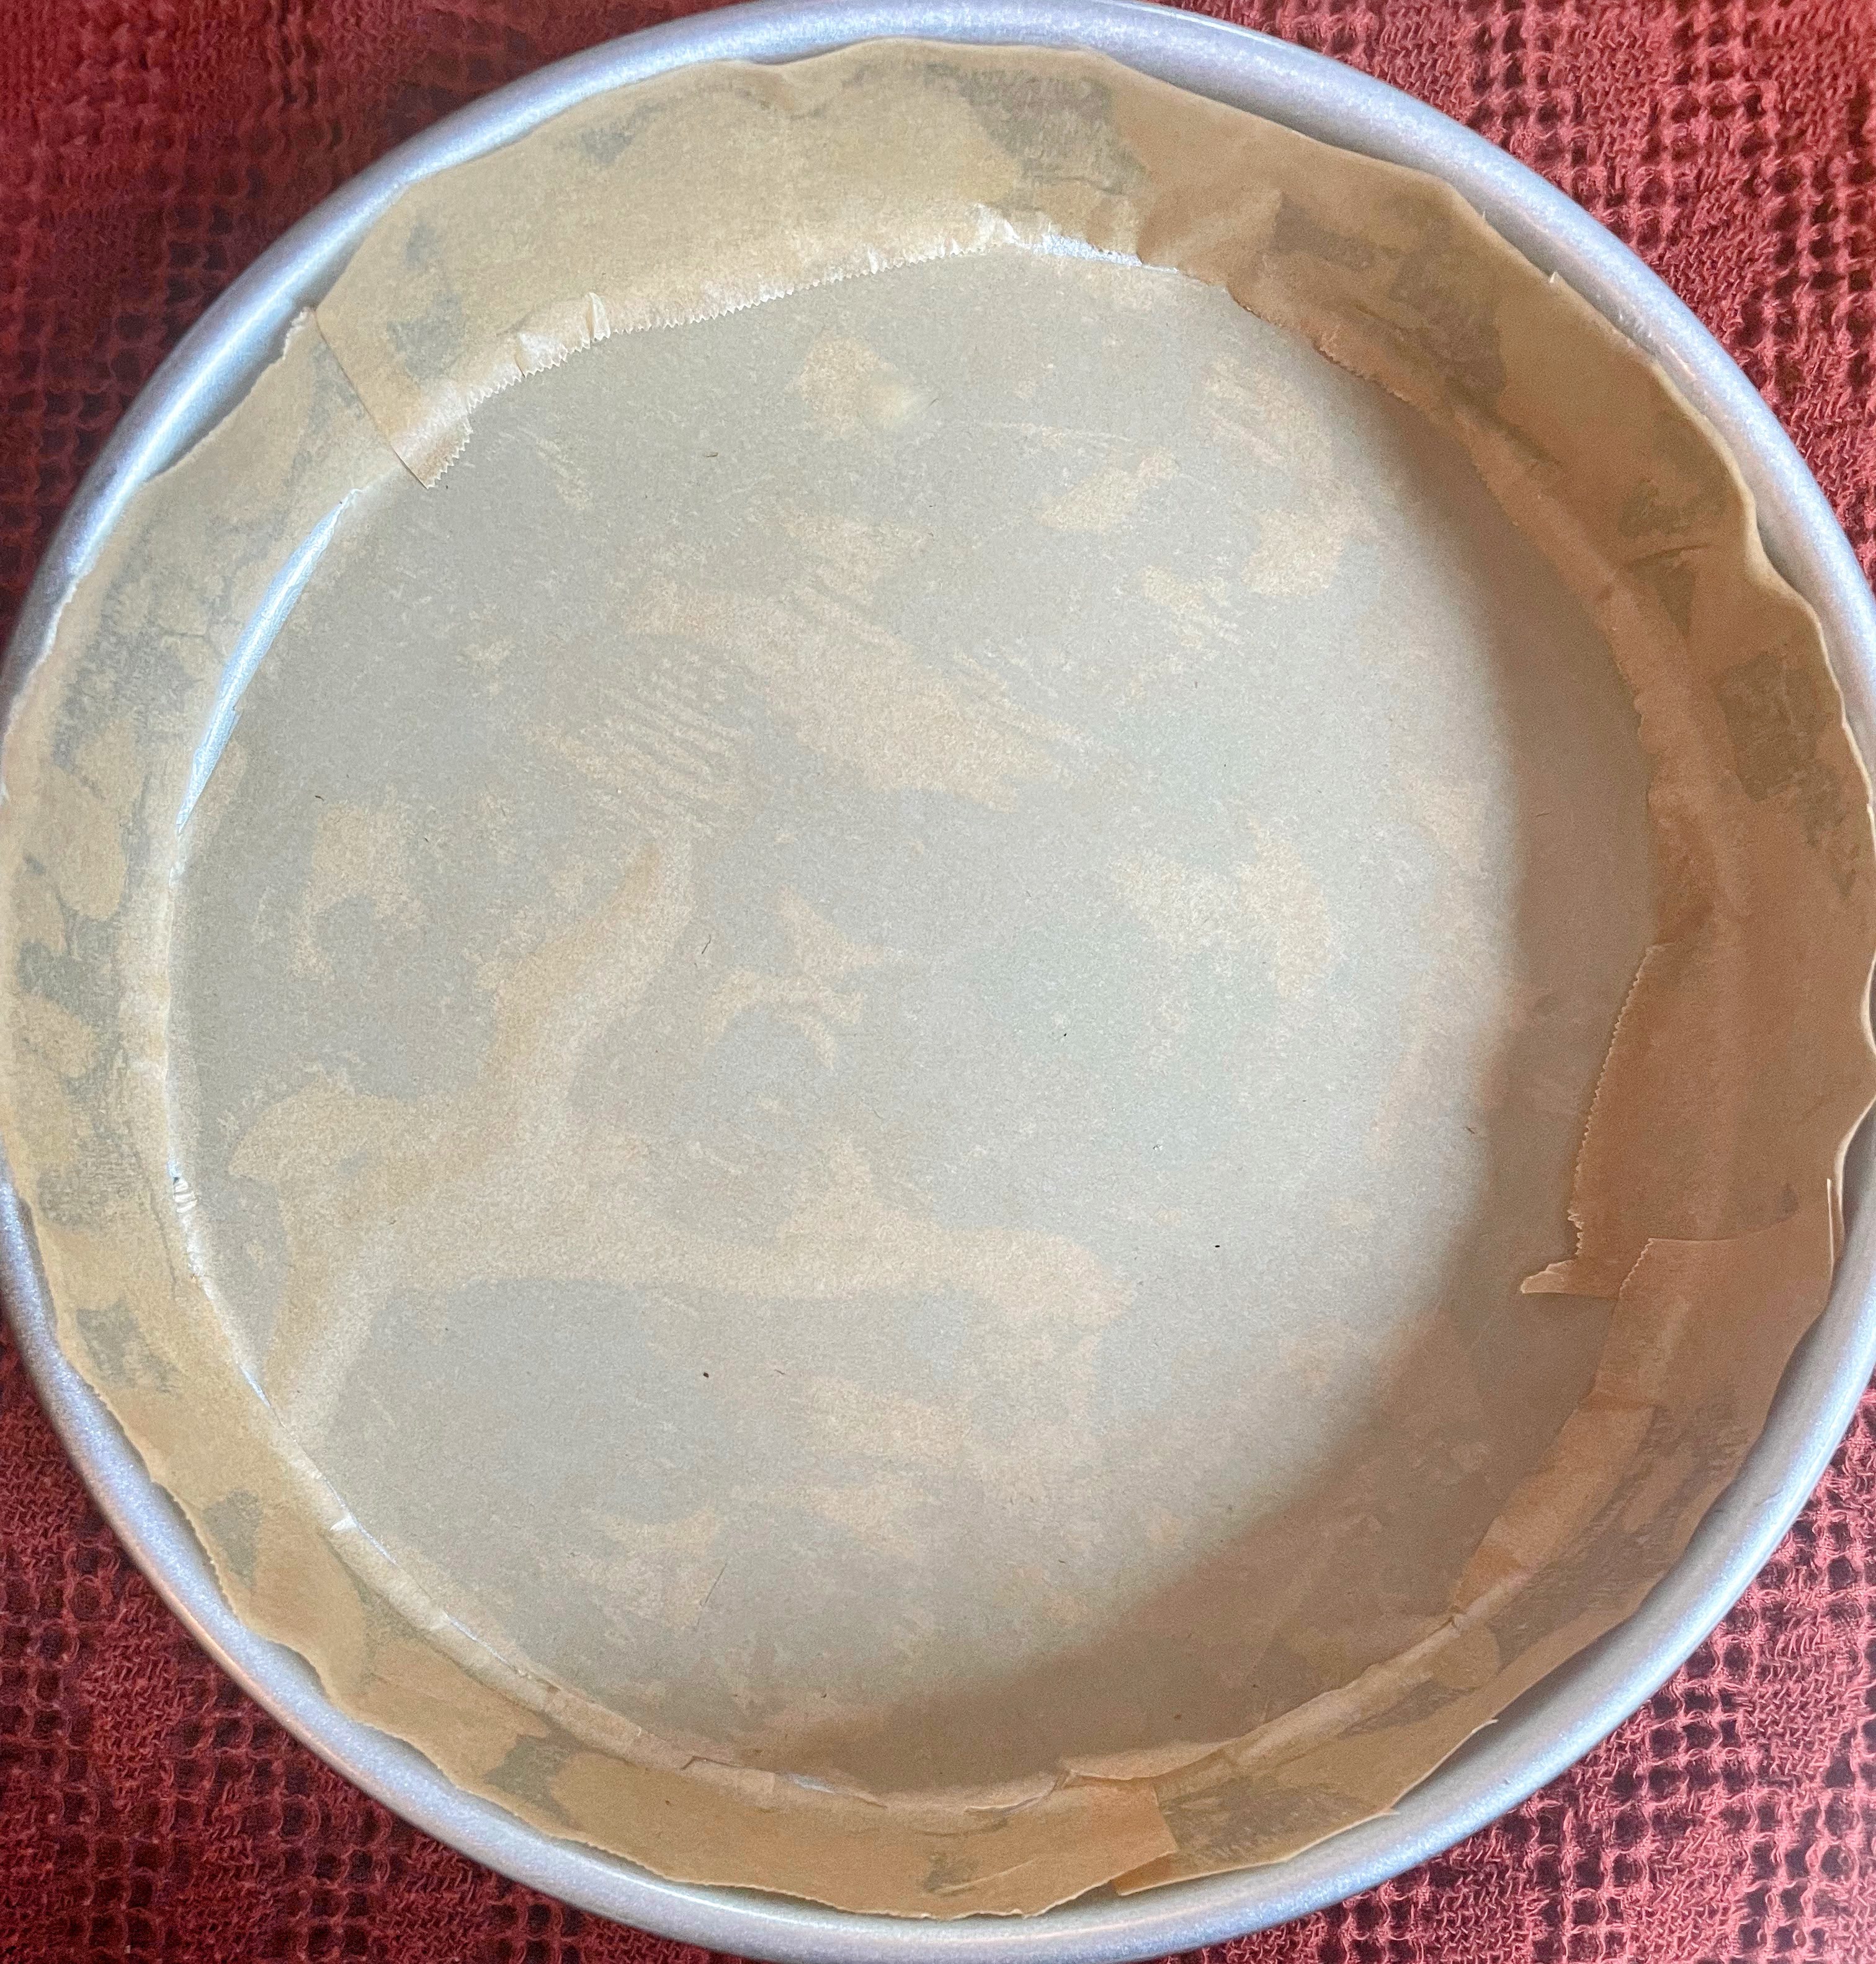
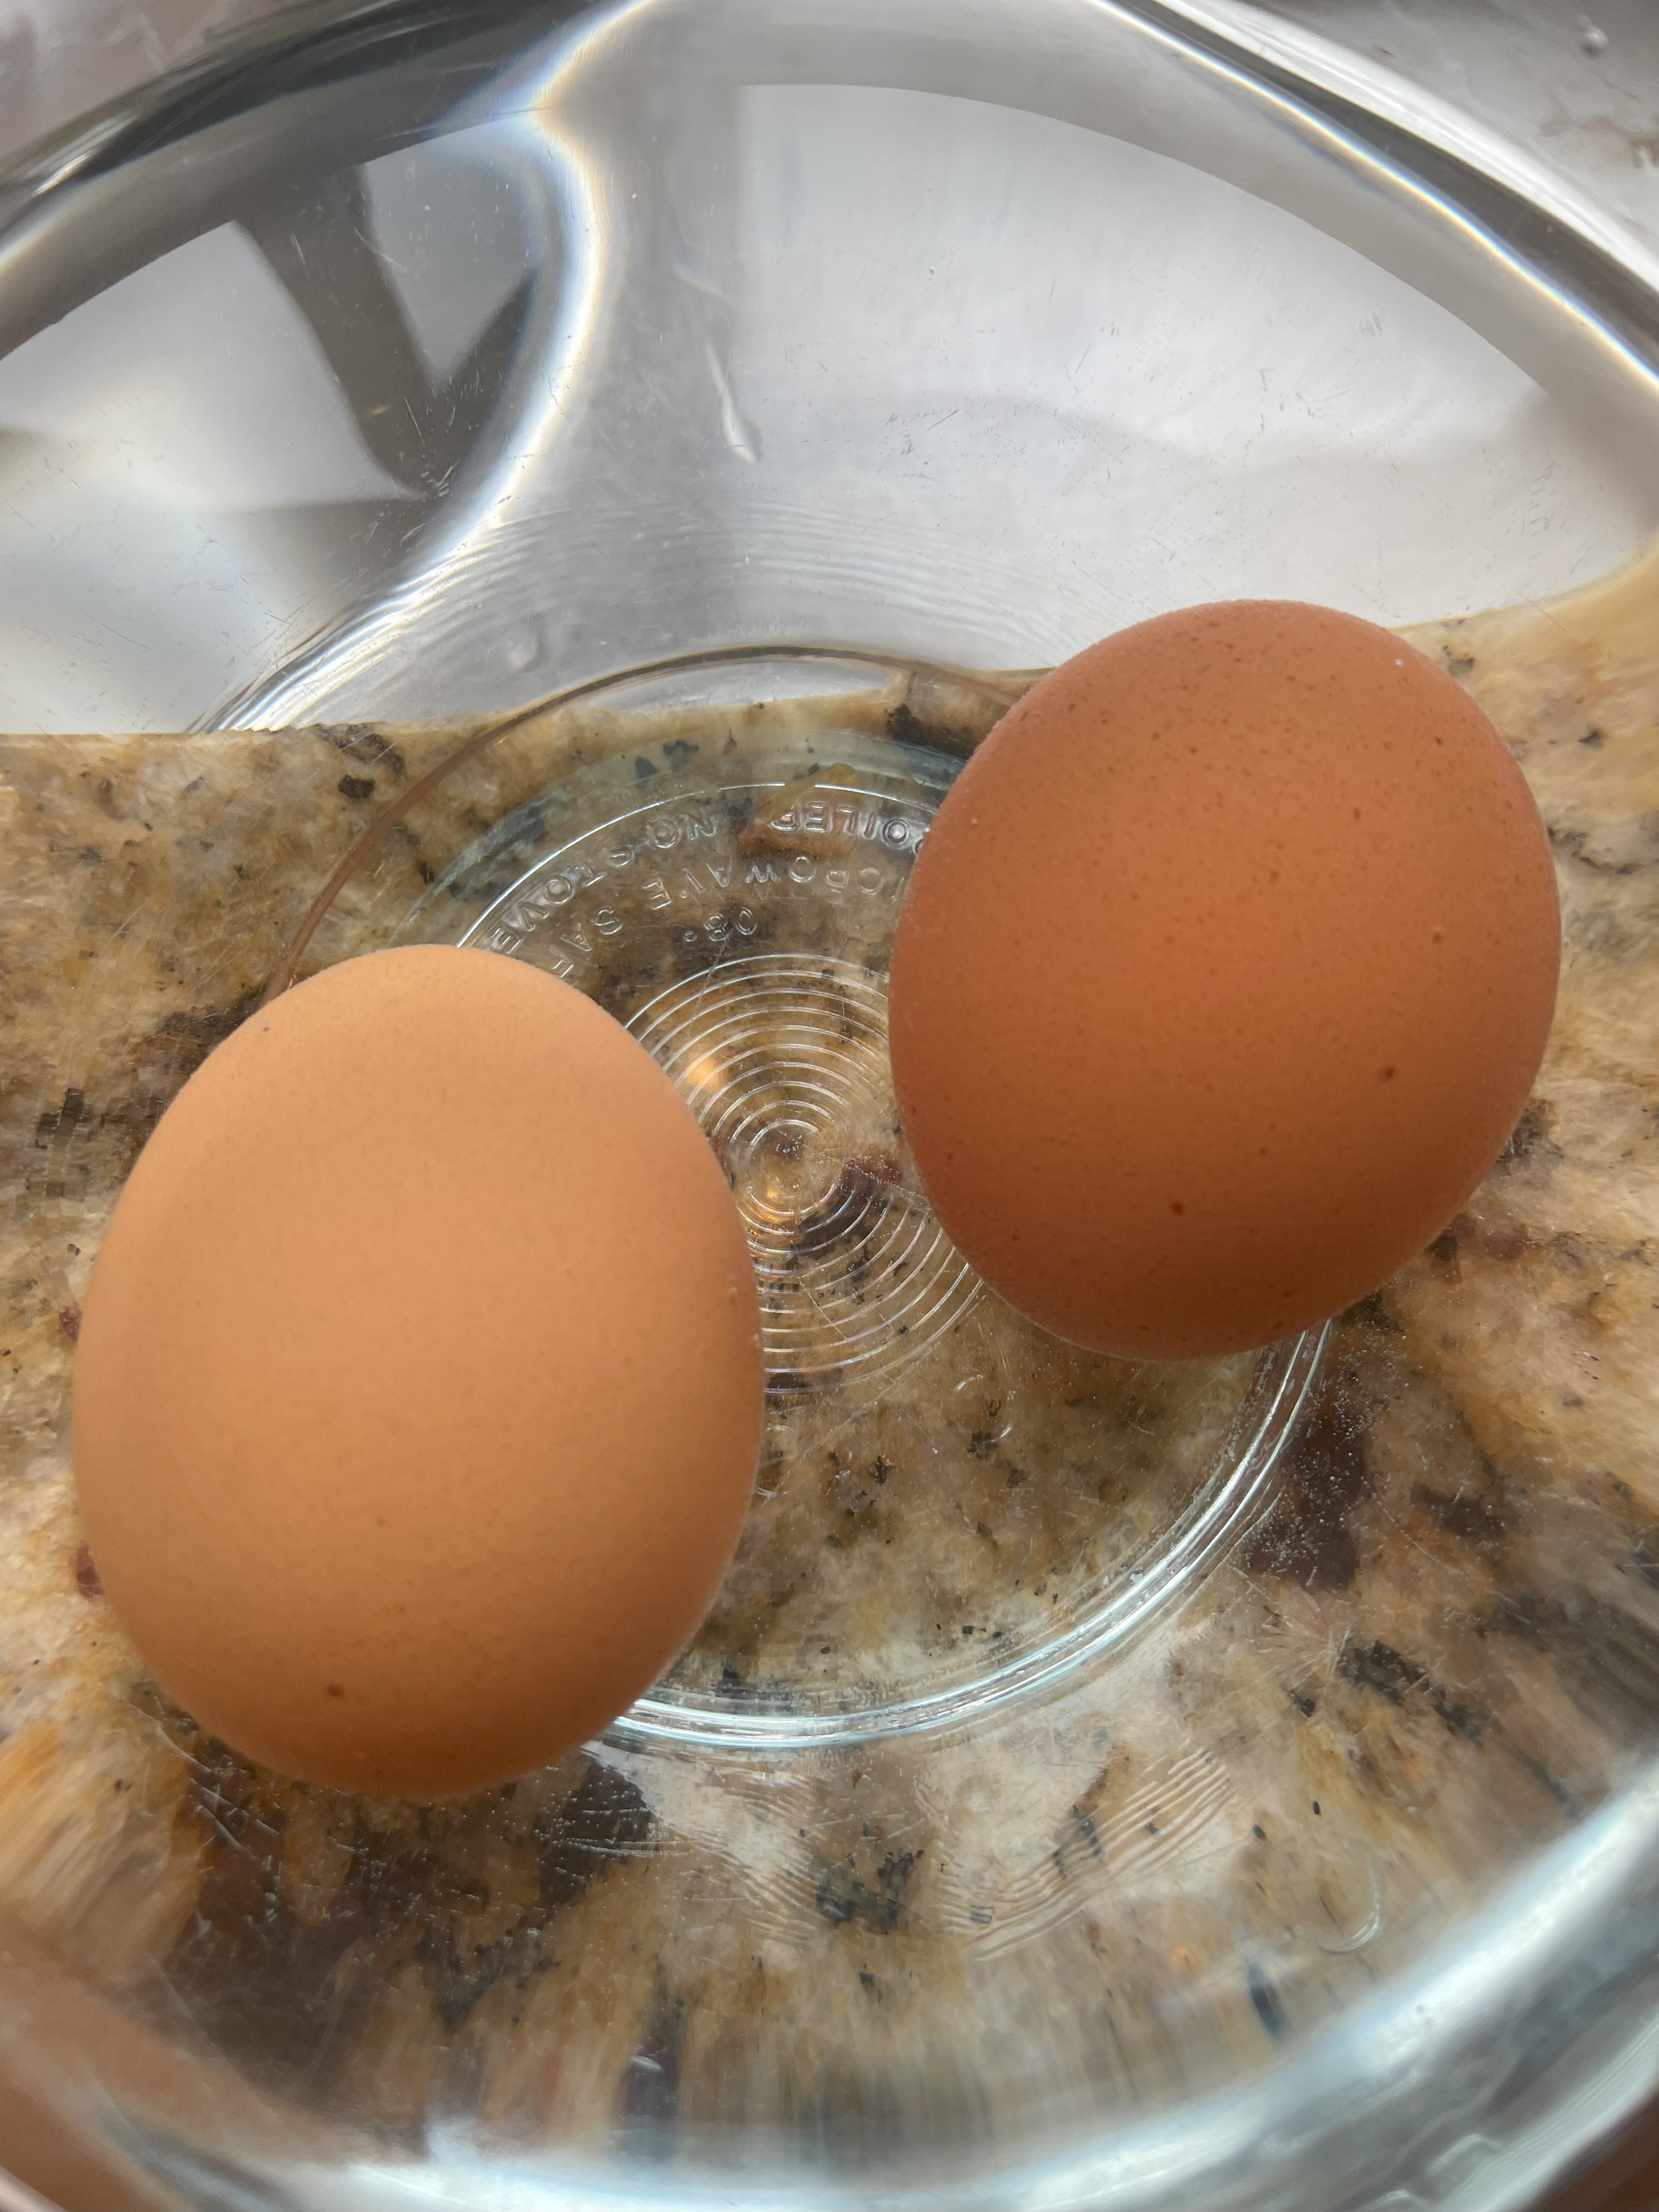
1. Preheat oven to 160C (320F). Brush a round 22 cm (8-9 inch) cake pan with melted butter. Line base and sides with parchment paper, then spray the paper with baking spray or gently brush more melted butter over. [Note: If you forgot to take your eggs out earlier, you can let them sit in some hot water while you get the cake tin and the rest of the batter ready.]
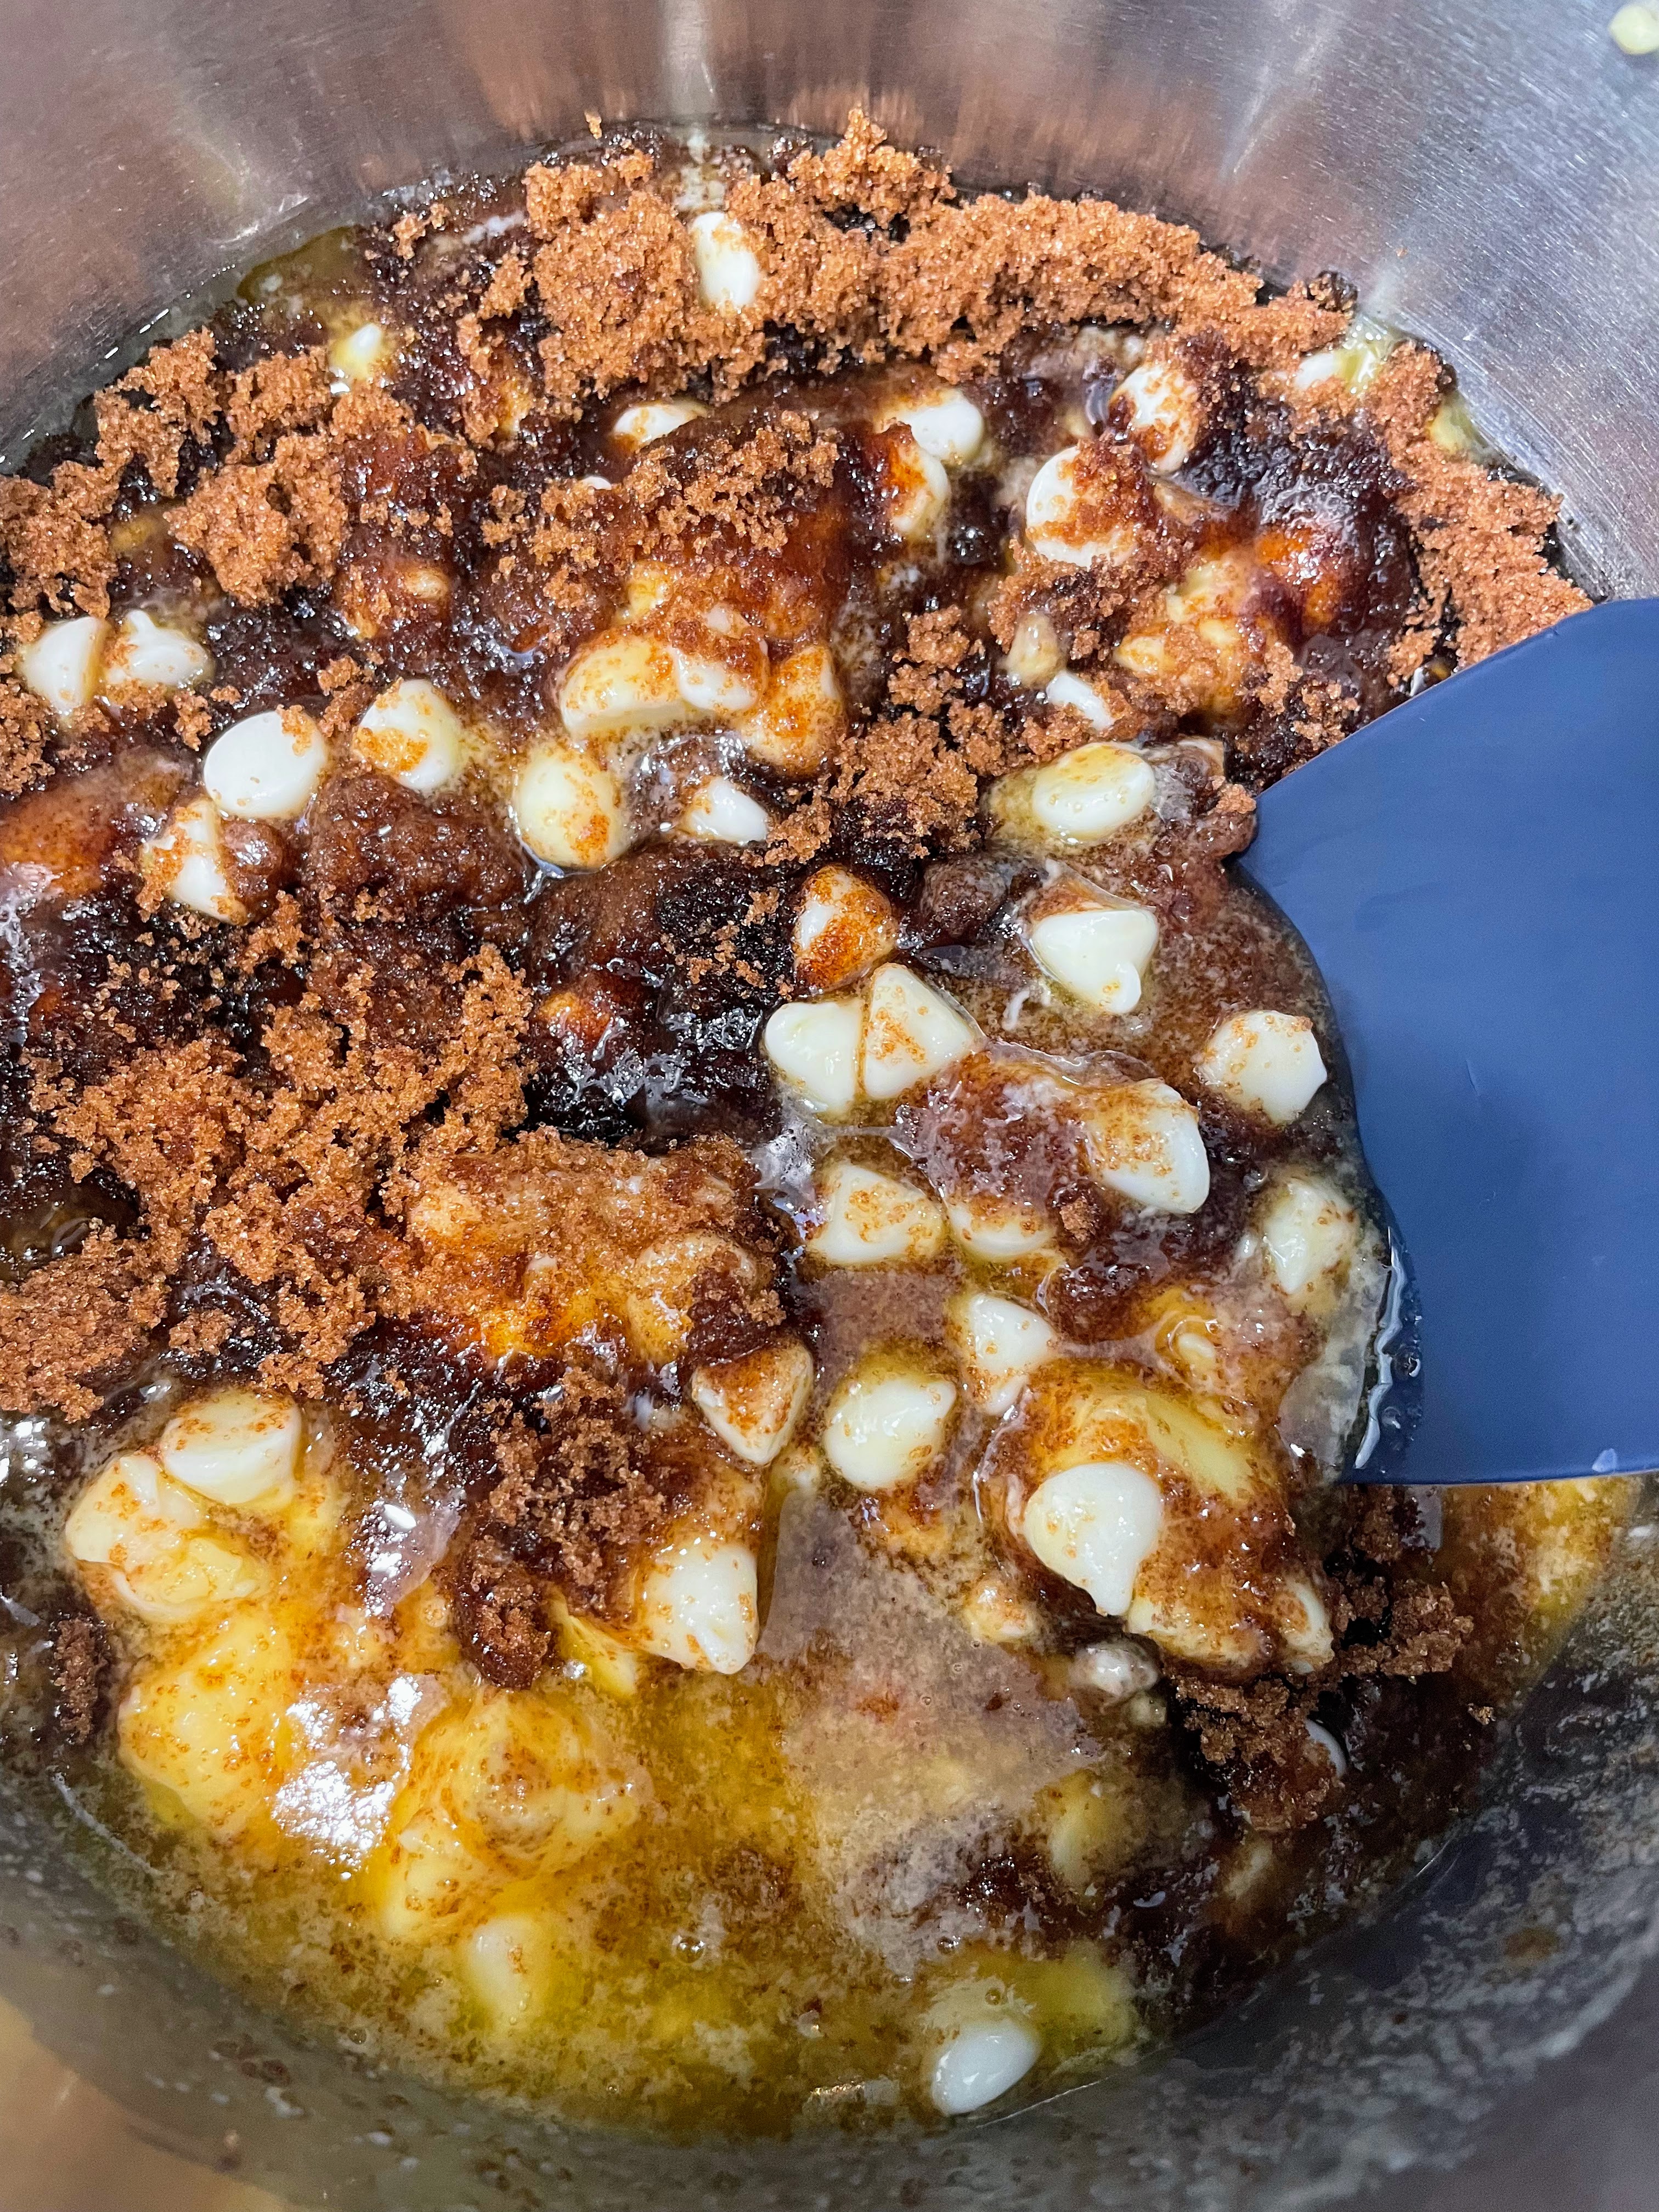
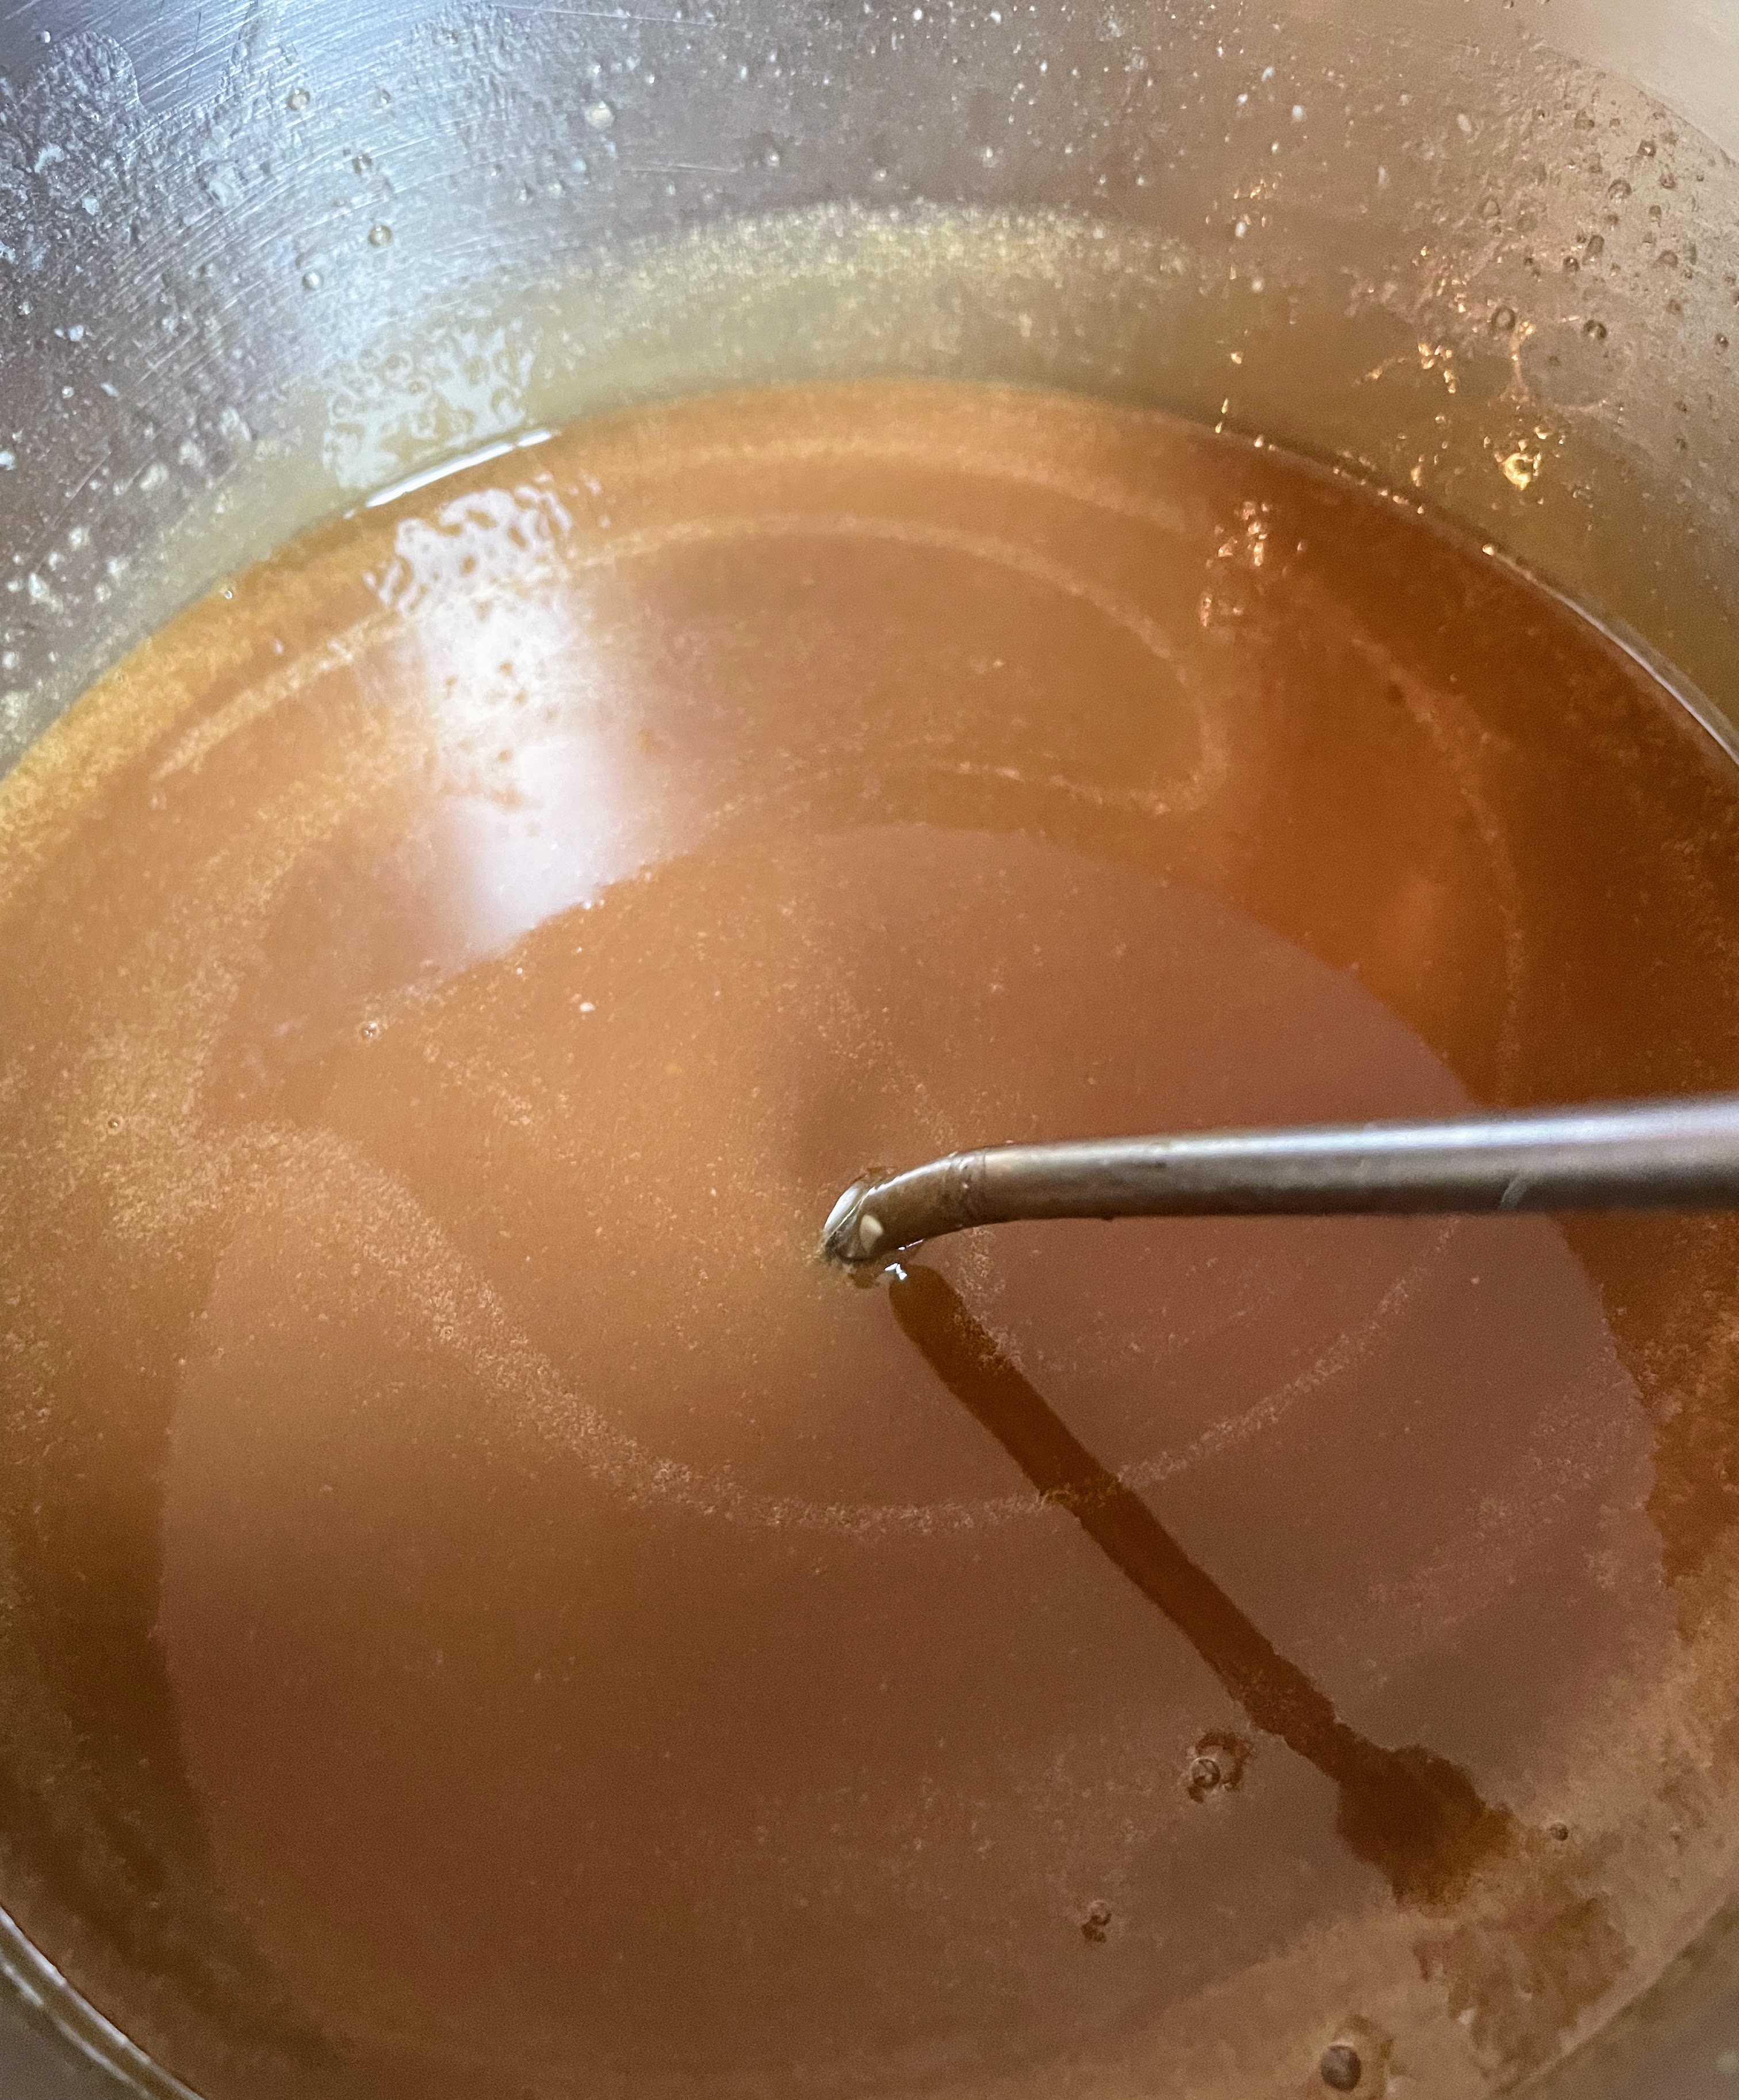
2. Place butter, white chocolate, sugar, water, syrup, and vanilla in a heavy-based saucepan. Stir over medium-low heat for 5 minutes or until white chocolate melts and mixture is smooth. Set mixture aside for 20 minutes to cool.
3. Add eggs to white chocolate mixture in saucepan, one at a time, beating well after each addition. Sift in the flours (plus the extra ingredients if you don’t have self-raising flour) and stir until well combined.


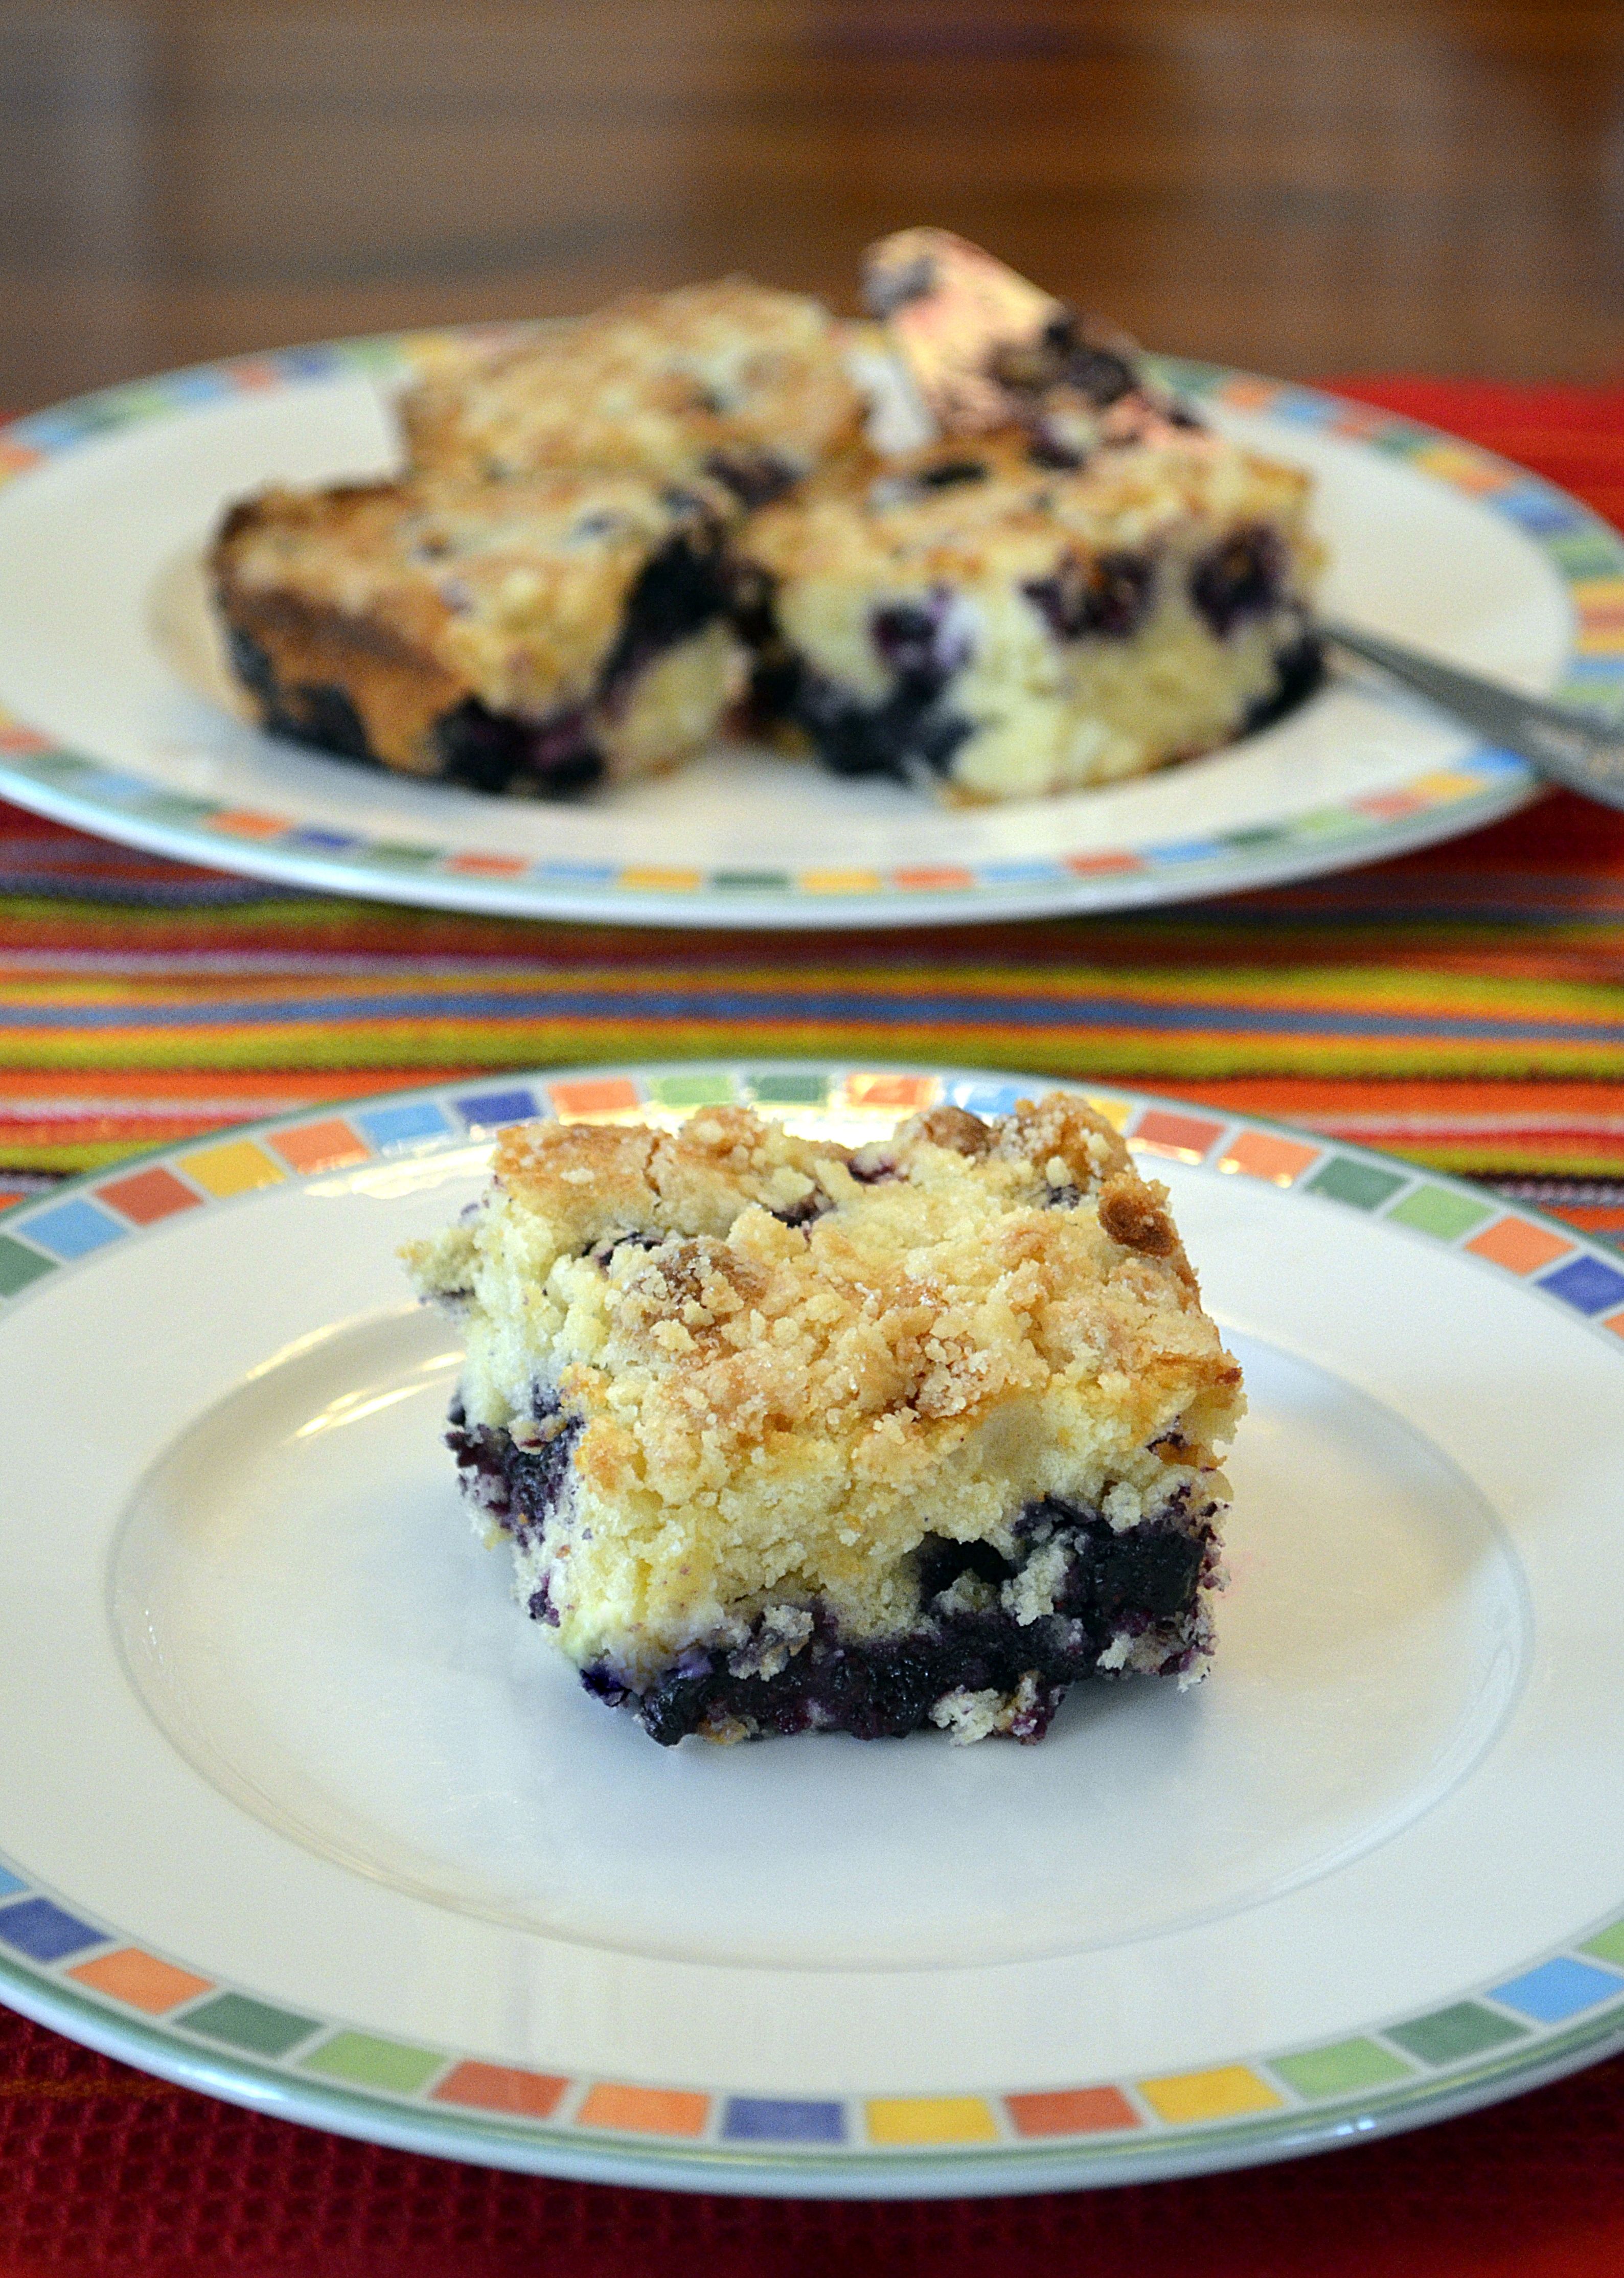
4. Pour mixture into pan and bake in preheated oven for 50 mins or until a skewer comes out almost clean. Let cake sit for 20 mins before turning onto a wire rack to cool. Frost with ganache and enjoy! (Or, refrigerate, covered, for up to three days; let come to room temperature before serving.)


")


 on the sides; front-facing wall of opus mixtum (bands of brick and tufa), with lateral 'toothing' and a structural arch; plus rough-hewn travertine column--Portico of Claudius, Portus (c. 50 AD)")
")
 with lateral 'toothing' and putlog holes at the top--Trajan's warehouse, Portus (c. 100 AD)")
")
, Trajan's warehouse, Portus (c. 100 AD)")

