
This refreshing, no-cook zucchini recipe (which I very slightly adapted from the New York Times) is just the thing when it’s hot outside, you have zucchini to use up, and you’d like to make an impression. It’s an unusual recipe in that the thinly-sliced zucchini is raw, though nicely marinated and softened in lemon juice (a bit like what happens with ceviche). Definitely worth a try.
Ingredients:
2 medium zucchini
salt
2 garlic cloves, thinly sliced
freshly squeezed juice of 1/2 lemon (or more, as needed)
2-3 tbsp. of the best olive oil you have
2 tbsp. toasted pine nuts
torn or chopped fresh mint, to taste
Optional: 1 tbsp. Parmesan (or Pecorino Romano) shavings, 1 tablespoon currants, 1 tsp. honey, and/or freshly ground black pepper
Directions:
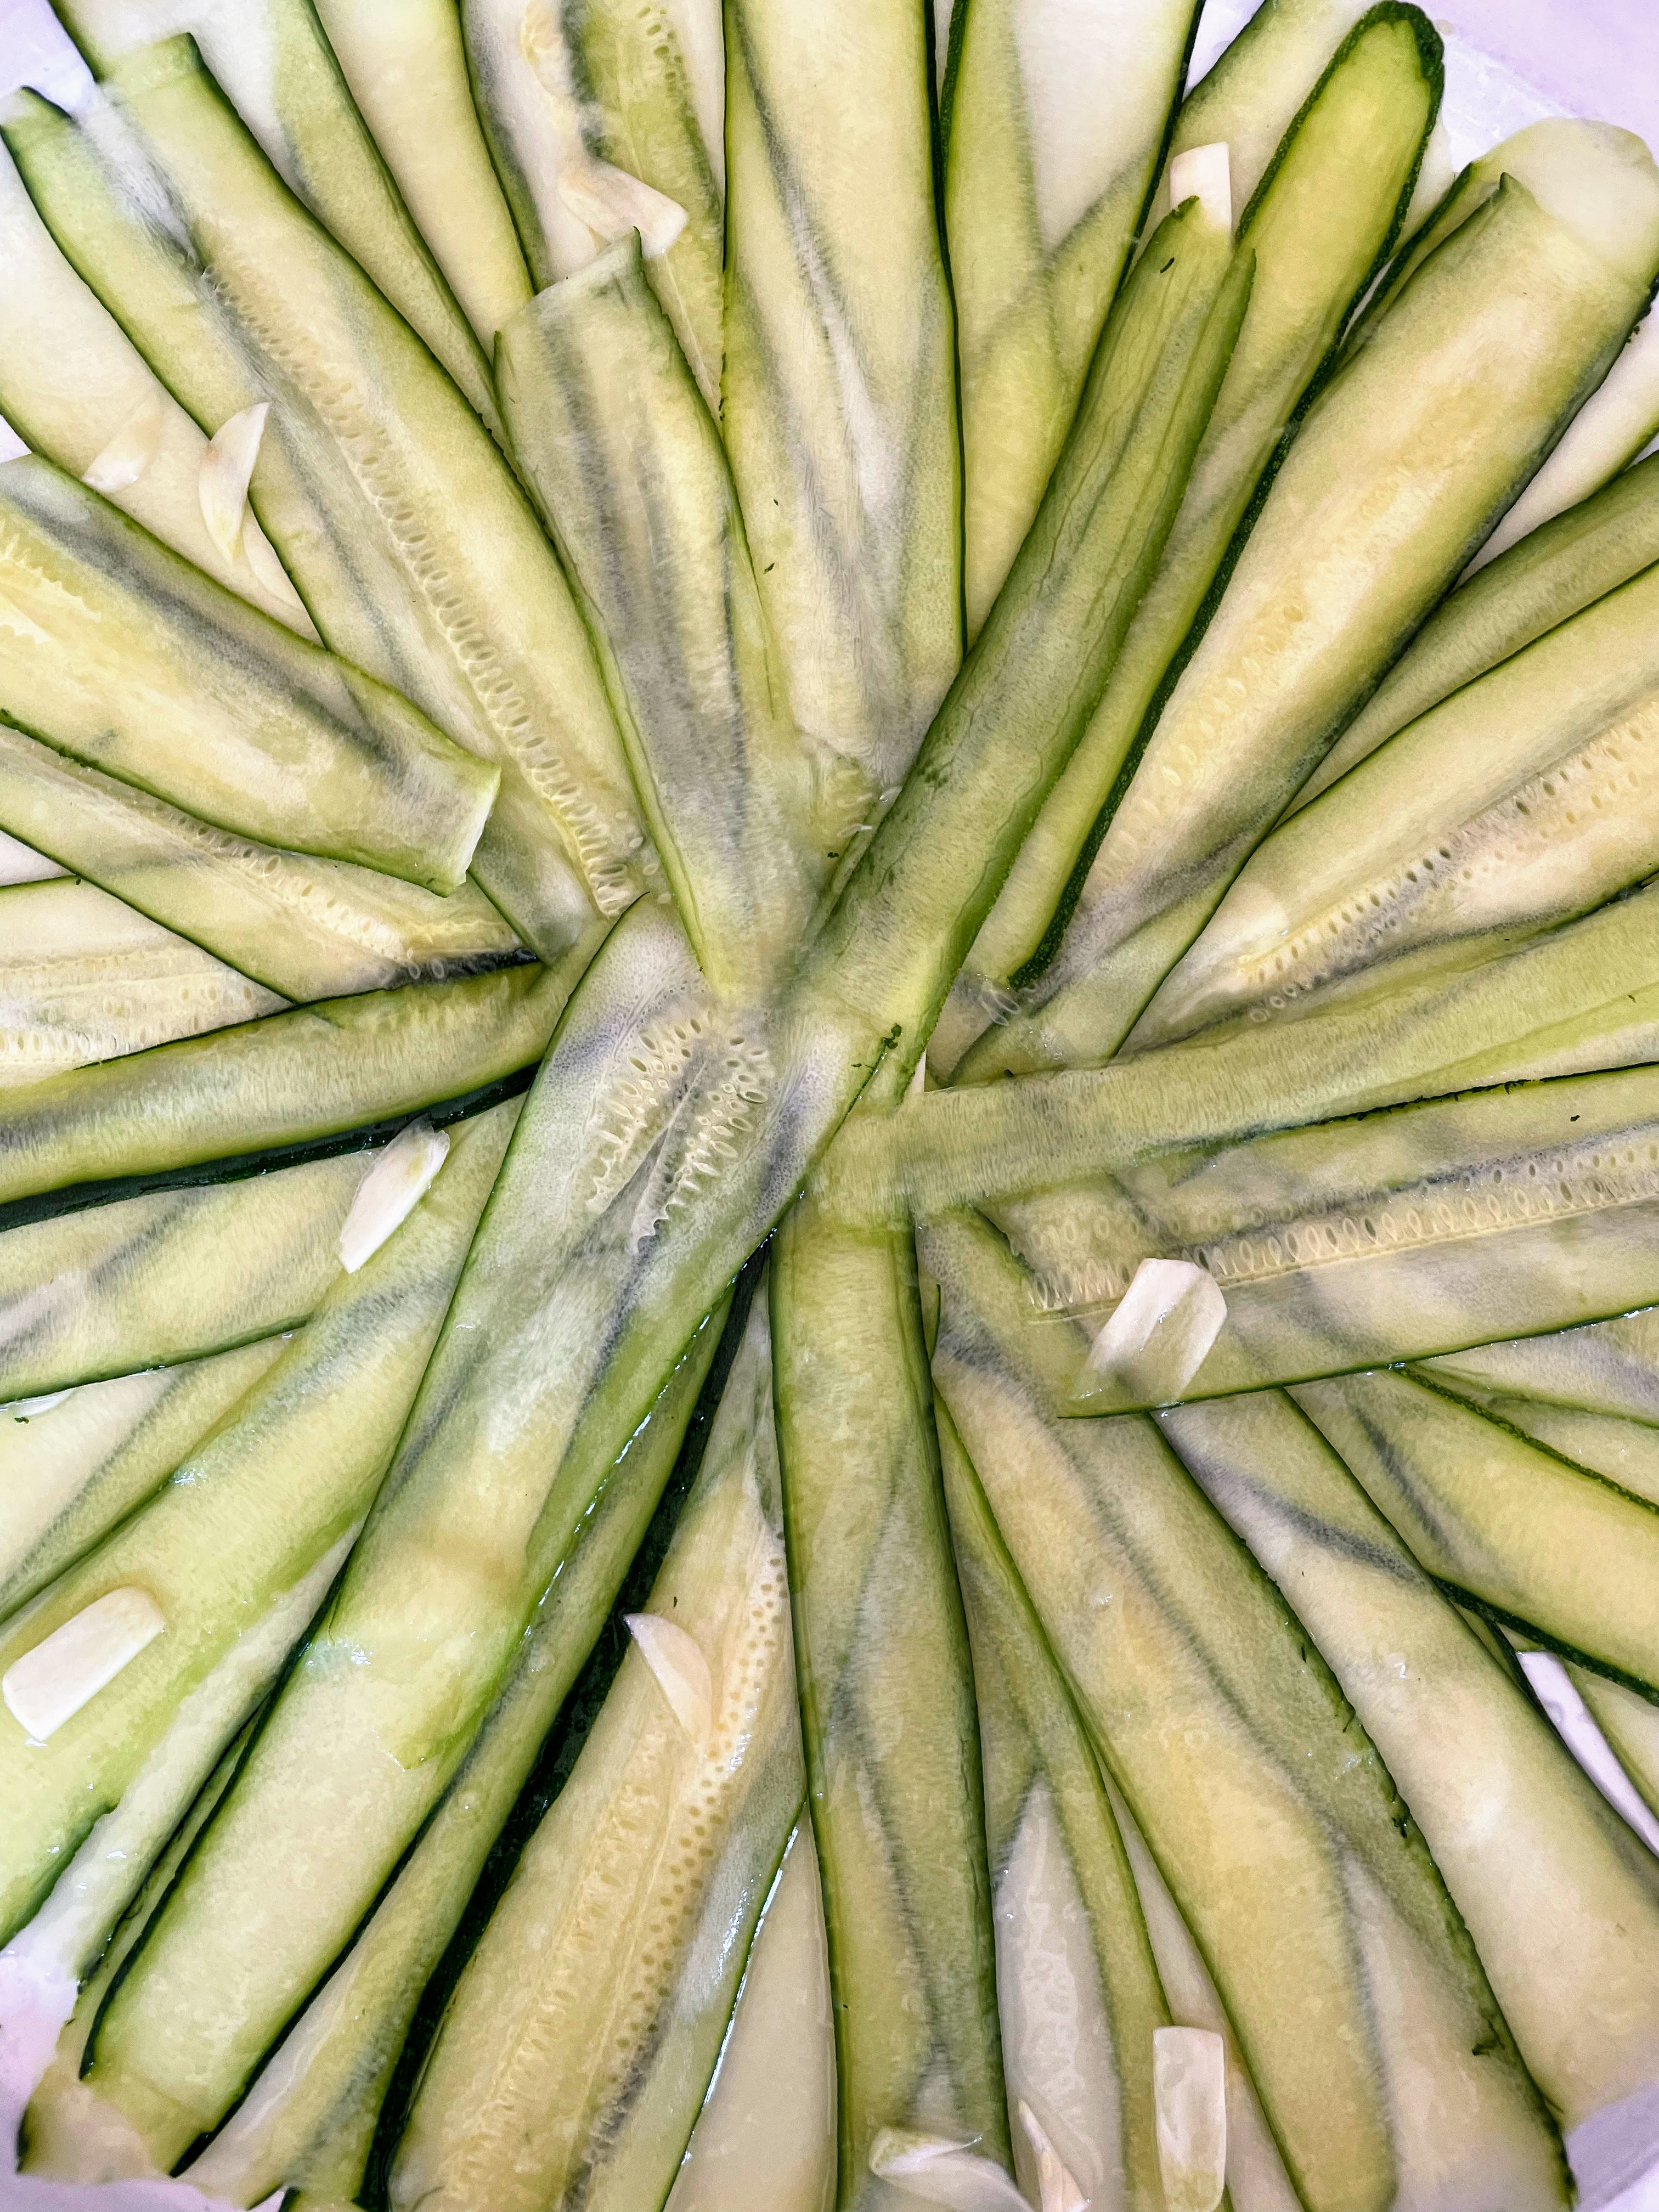
1. Slice zucchini lengthwise with a mandoline or chef’s knife as thinly as you can, and sprinkle lightly with salt. Place in a colander for 30 minutes to remove the excess moisture, tossing occasionally.
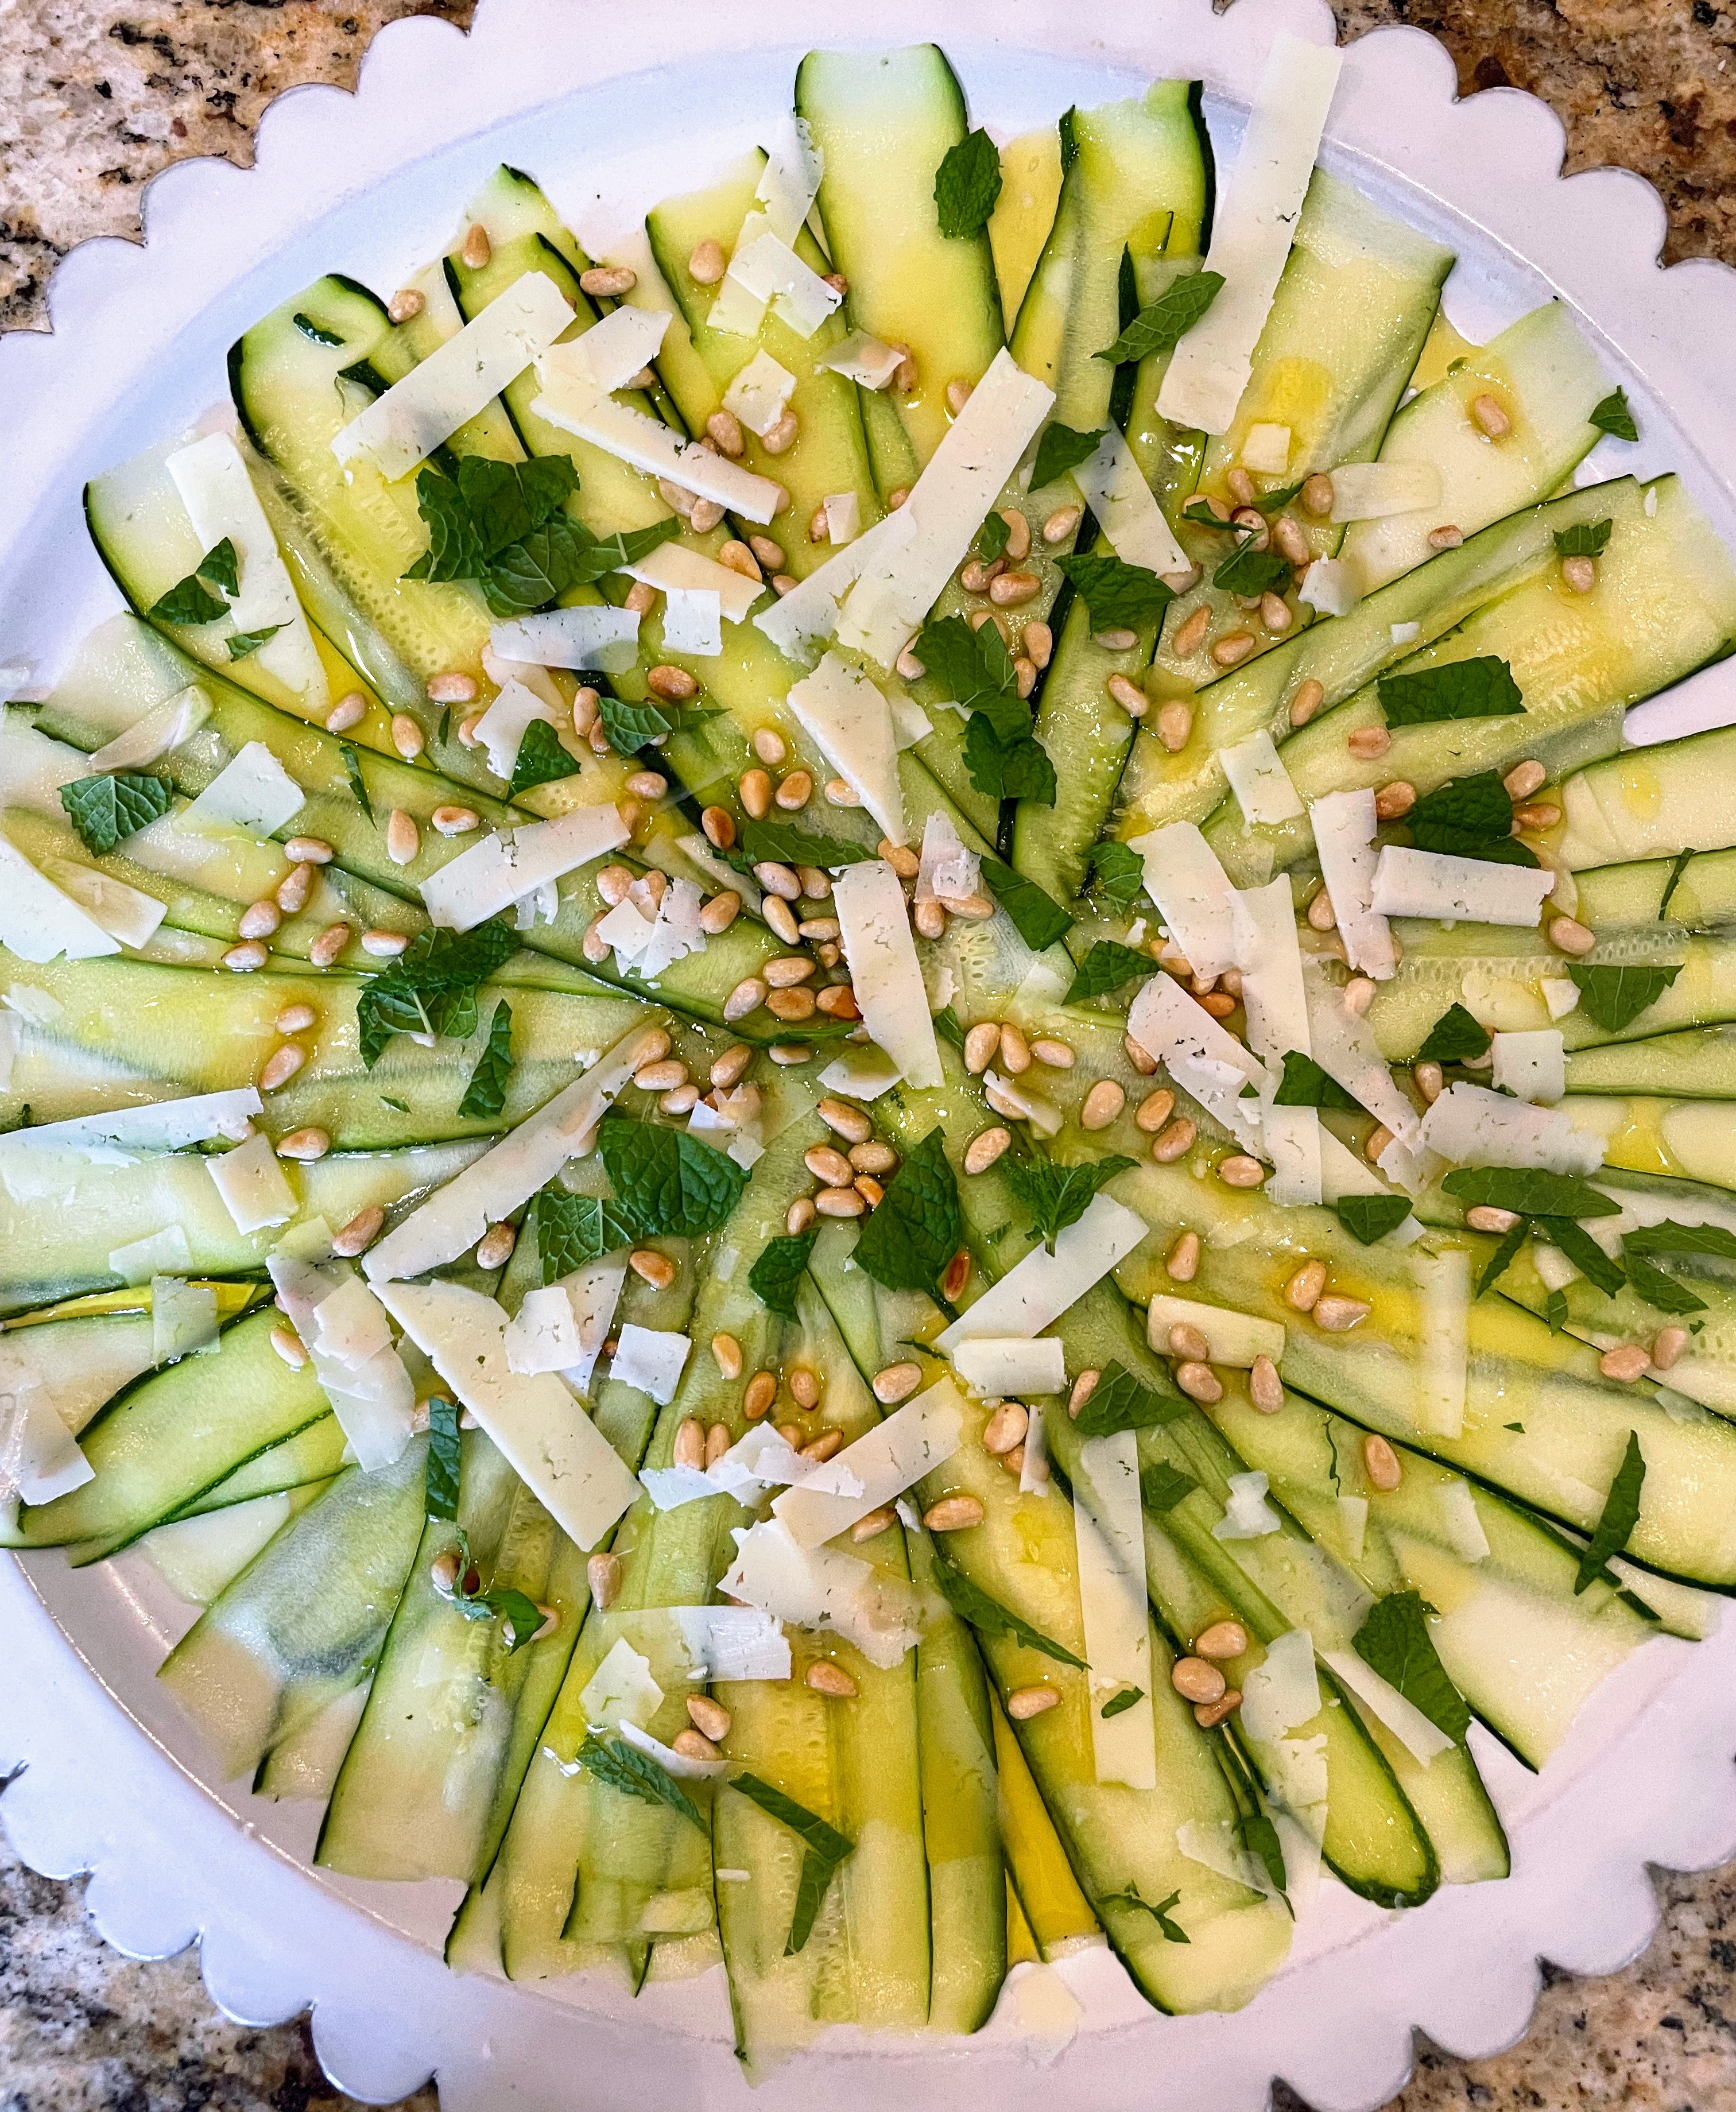
2. Dry the zucchini on paper towels and arrange the slices in layers on a shallow platter or serving dish, adding slices of garlic between the layers, and drizzling each layer with some of the lemon juice (if you run out, squeeze some juice from the other half of the lemon).
3. Marinate, refrigerated, for at least 15 minutes and up to 1 hour.
4. Drizzle olive oil over and top with pine nuts and mint (and any of the optional ingredients, if using).


 on the sides; front-facing wall of opus mixtum (bands of brick and tufa), with lateral 'toothing' and a structural arch; plus rough-hewn travertine column--Portico of Claudius, Portus (c. 50 AD)")
")
 with lateral 'toothing' and putlog holes at the top--Trajan's warehouse, Portus (c. 100 AD)")
")
, Trajan's warehouse, Portus (c. 100 AD)")

