Tag Archives: coffee

Recipe: Brown Butter Espresso Brownies

22 Oct

Sometimes, you need a pick-me-up in the form of caffeine + chocolate, a match made in heaven. These rich, moist brownies more than hit the spot. Pair them with a cup of coffee and you will be good to go for quite some time; perfect for a busy weekend afternoon!

Note: To make these, you will need a kitchen scale.

Brown Butter Espresso Brownies
(recipe adapted from Julie Marie Eats)

Ingredients:
130 g (4.6 oz) granulated sugar
130 g (4.6 oz) brown sugar
3 large eggs, at room temperature
120 g (4.2 oz) butter
75 g (2.7 oz) dark chocolate chips
70 g (2.5 oz) neutral oil
1 ½ teaspoon vanilla extract
75 g (2.7 oz) all-purpose flour
35 g (1.3 oz) cocoa powder
1 tablespoon cornstarch
2 tablespoon instant espresso powder
½ teaspoon salt
75 g (2.7 oz) dark chocolate chips, to fold into the batter

Preparation:
1. Preheat the oven to 160ºC/ 325ºF. Spray a 20×20 cm (8×8 in) square pan with baking spray, line with parchment paper, and spray again with baking spray.
2. In a medium saucepan, add the butter and cook over medium/high heat until it is golden brown; it will take about 8-10 minutes. Pour the browned butter into a medium bowl, scraping out all the brown bits from the saucepan. Add the cocoa powder and whisk in. Add the chocolate chips, let sit for a few minutes, then stir until melted.

3. Stir together the flour, cornstarch, espresso powder, and salt.

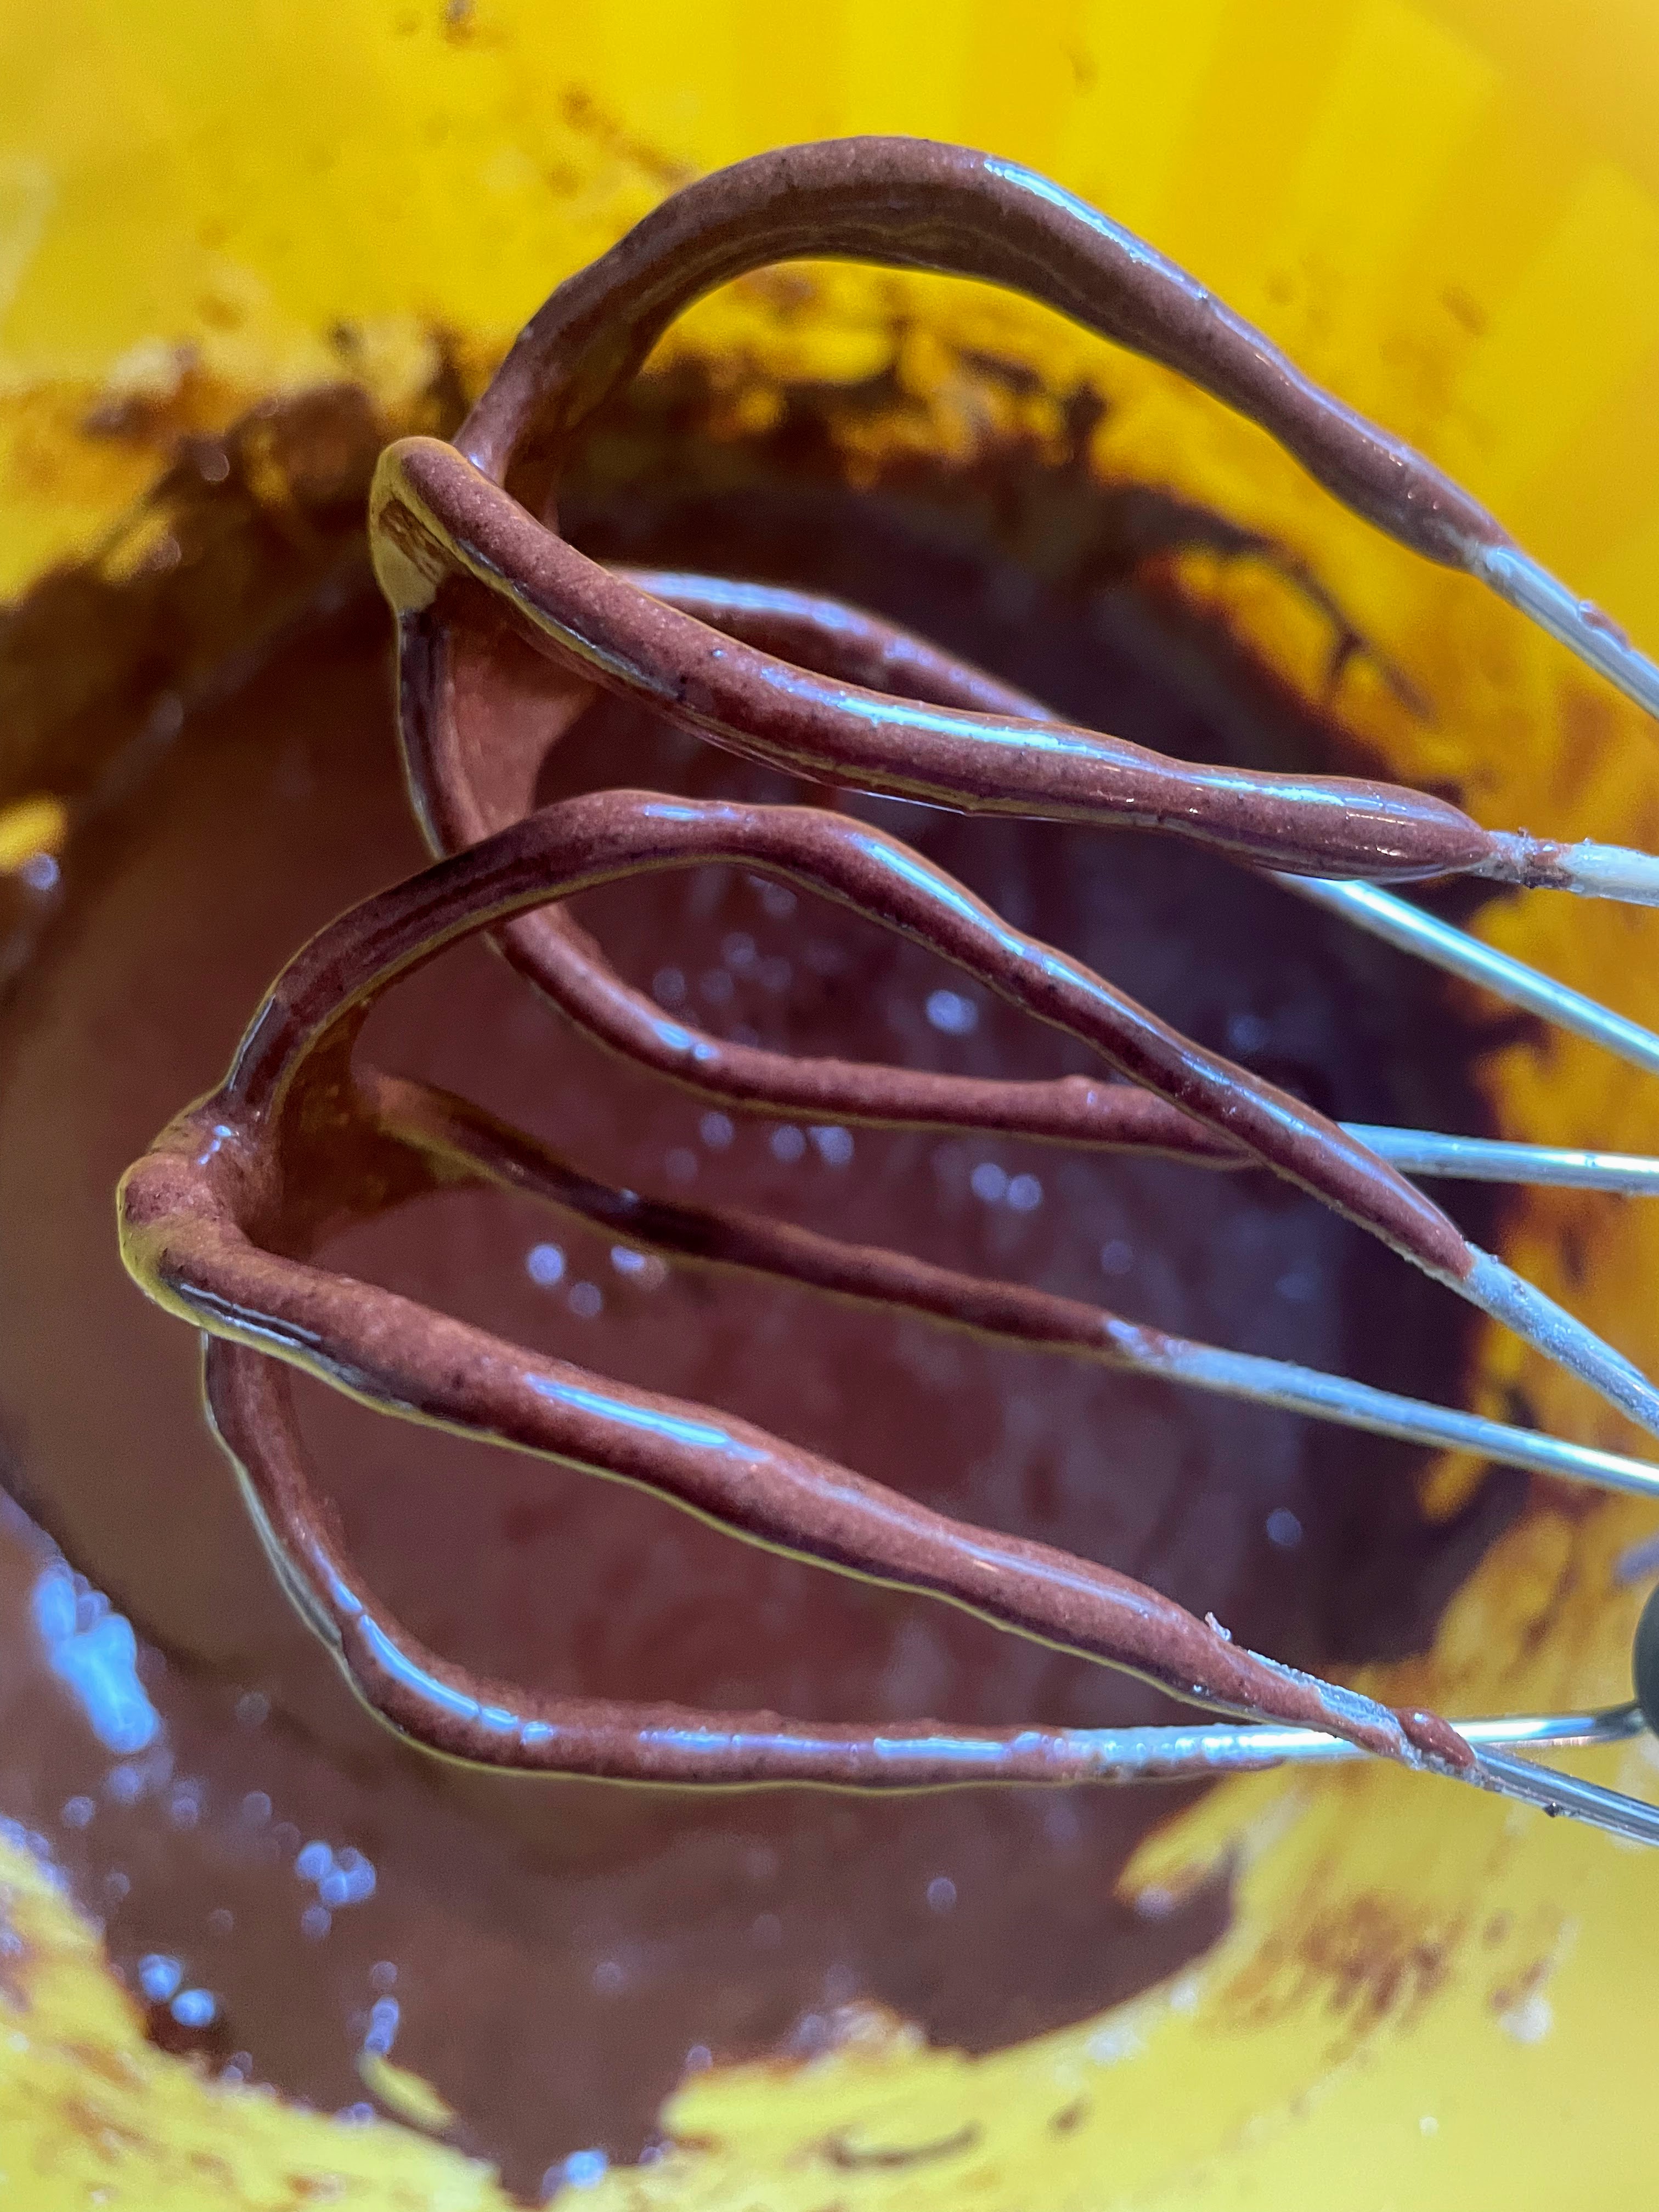
4. Place the eggs, brown sugar, and granulated sugar in a large bowl and mix with an electric hand mixer until light and fluffy; this will take about 4 minutes.

5. Add the melted butter/chocolate mixture, plus the oil and vanilla, and mix until combined. Turn the hand mixer off, add the flour mixture to the batter, and gently mix everything on the lowest setting until combined, scraping down the sides of the bowl with a spatula.

6. Add the extra chocolate chips and gently fold them in. Pour the batter into the prepared baking pan and smooth the top. Bake for about 35-40 minutes. Let cool, then serve.

The Bare Necessities of Life: Stovetop Espresso

13 Sep

Upon moving to Rome two weeks ago, we were immediately faced with several daunting tasks: figuring out the Roman bus system, getting an Italian phone, finding a place to live, starting Italian lessons, etc. So what did we do on our very first weekend here? We addressed the most pressing matter of all: getting a stovetop espresso maker and the coffee to go with it. We hopped on a bus, missed our stop, ended up on a freeway, dashed across various underpasses, found another bus going back and finally made it to the mall (where, yes, we also found a new cell phone and sampled some gelato–it was a multi-purpose shopping trip). But we accomplished our main objective: purchasing a 1-cup Bialetti Moka Express for me (yield: 2 oz; it’s actually 1 shot) and a 3-cup/shot version for my husband (yield: 6.5 oz.), and some Illy coffee.

  DSC_0016
We returned home, rinsed the Bialettis, let them dry, made a maiden batch of espresso in each (which we then threw out since the first brew is meant only to season the pot, not to drink–you are actually supposed to make 2-3 such brews, but we were too impatient). Finally, we were ready to make espresso we could actually drink, by: 1) filling the bottom of the Bialetti with water* to a point just under the valve, placing the funnel inside, gently filling the receptacle with coffee grounds (without tamping down), screwing the receptacle/top on, and bringing the water in the espresso maker to a boil on the stovetop.

  DSC_0013-001
The boiling water gets pulled up through the coffee grounds and into the receptacle, and is accompanied by a wondrous gurgling sound. When that ceases, the espresso is ready; you can open the lid to check if you are not sure. Below, some freshly made espresso in the Moka Express, and the resulting cup of espresso with a dash of cream (that one was my husband’s–I usually make a home-made latte with a single shot of espresso and a lot of milk). Mmm mmm good.

DSC_0017-001 
*If you have “hard” (ie mineral-rich) water, you may want to use filtered or bottled water instead, or the minerals will build up inside the espresso maker.

Recipe: Mexican Chocolate Cake with Chocolate Glaze

8 Jan

There are some recipes you turn to again and again because they are deeply satisfying. This is one of them — a dark, rich chocolate Bundt cake heightened with hints of coffee and cinnamon. It is a frequently requested birthday cake at our house, made most recently for my son’s 21st birthday this week — with the addition of some Espresso Chip ice cream to complement the flavor.

Mexican Chocolate Cake with Chocolate Glaze

Cake
3 c. all purpose flour
1 1/2 c. sugar
1 tsp. salt
2 tsp. baking soda
4 tsp.  cinnamon
1/2 c. cocoa powder
3 tsp. vanilla extract
2/3 c. canola oil
2 tbsp. white distilled vinegar
2 c. coffee at room temperature  (or warm water mixed with 1-2 tbsp. instant espresso powder)
1-2 c. chocolate chips (preferably dark chocolate, if available)

Glaze
3/4 c. chocolate chips
3 tbsp. non-hydrogenated buttery spread such as Earth Balance/Smart Balance
1 tbsp. light corn syrup
1/4 tsp. vanilla

Preparation

Cake
1. Preheat oven to 350°.  Generously grease (with vegetable shortening) and lightly flour a Bundt pan.
2. Mix dry ingredients in a bowl until thoroughly combined. Make a well in the center, and add wet ingredients. Stir until just combined, and fold in chocolate chips.
3. Pour into prepared pan and bake for 40-50 minutes, or until skewer inserted into cake comes out clean; be careful not to overbake.
4. Cool for about 20 minutes, then turn out onto plate or serving platter. Cool completely and top with Chocolate Glaze.

Glaze
1. Melt first three ingredients on low power in microwave, stir until smooth, add vanilla, and drizzle over cake.

Adapted from The Joy of Vegan Baking, by Colleen Patrick-Goudreau.