

I’m a fairly equal-opportunity eater; I’m happy with all kinds of food, even airplane food. Yes, I admit it: I actually look forward to seeing what’s on the menu when I’m flying. But I absolutely cannot eat airplane pasta. It is always too soft, and I have been conditioned (spoiled?) to need a bit of “bite” to my pasta.
Luckily, today I’m writing about a pasta dish I would gladly eat many times over: Ragù Bolognese. I’ve been making some form of this since college, and have even provided a quick(er) version of it on this blog, more suited to a weeknight meal. But now I want to point you to a more traditional/authentic recipe that is my go-to for fall and winter weekends when I have more time. It is from the Washington Post, whose author tested six well-known ragu bolognese recipes before settling on a new version combining the best elements of her favorite three recipes. I am so glad she did all that testing, because since I read the article in the Post two years ago, I stopped searching for the perfect ragù myself; for me, this one is it.
The first time I made it, I also decided to make the pasta to go with it. It was the dead of winter, we were fairly snowbound, and I had not used my pasta-making equipment in a while, so I decided to go for it, using a New York Times recipe for the pasta dough (see below, including the notes). But then I returned to my lazy ways the other times I’ve made this ragù and used store-bought pasta instead, which did not fill me with quite the same sense of satisfaction, but allowed me to focus on other tasks. If you do have the time and inclination to make your own pasta, then definitely try it. You will be proud of your accomplishment.
Notes: 1) The ragù recipe takes about five hours to make–though most of that time is slow simmering time. You don’t need to be actively engaged for those five hours, but you will need to tend to the ragù every so often. If you are making the pasta yourself, you can also do that during the ragù cooking time. 2) I found it is best to weigh the vegetables for the ragù, as that is most accurate; a medium onion or celery stalk can mean different things to different people. 3) The ragù is delicious the next day, too, so you can make it ahead. I also try to freeze some each time, to use for future lasagna fillings.
Classic Ragù Bolognese (Washington Post)
4 oz (113 gr) cubed pancetta
3 large garlic cloves
6 tbsp (85 gr) unsalted butter, divided
1 medium onion (8-9 oz/226-255 gr), very finely chopped
1 medium carrot (4-5 oz/113-141 gr), grated
2 medium celery stalks with tender leaves, if any (about 3 oz/85 gr), very finely chopped
1 lb (454 gr) ground beef, 80% lean, 20% fat
1 lb (454 gr) ground pork
3 cups (710 ml) chicken broth
1 cup (237 ml) dry white wine, such as pinot grigio
1 teaspoon (3 gr) kosher salt
1 pinch grated nutmeg
1 cup (237 ml) whole milk
2 tablespoons (32 gr) tomato paste
1 cup (237 ml) tomato puree/passata (such as Pomi or Mutti)
Freshly ground black pepper
Preparation:
1. In a mini food processor, combine the pancetta and garlic, pulse a few times to break up the pieces, then process until it becomes a smooth paste.

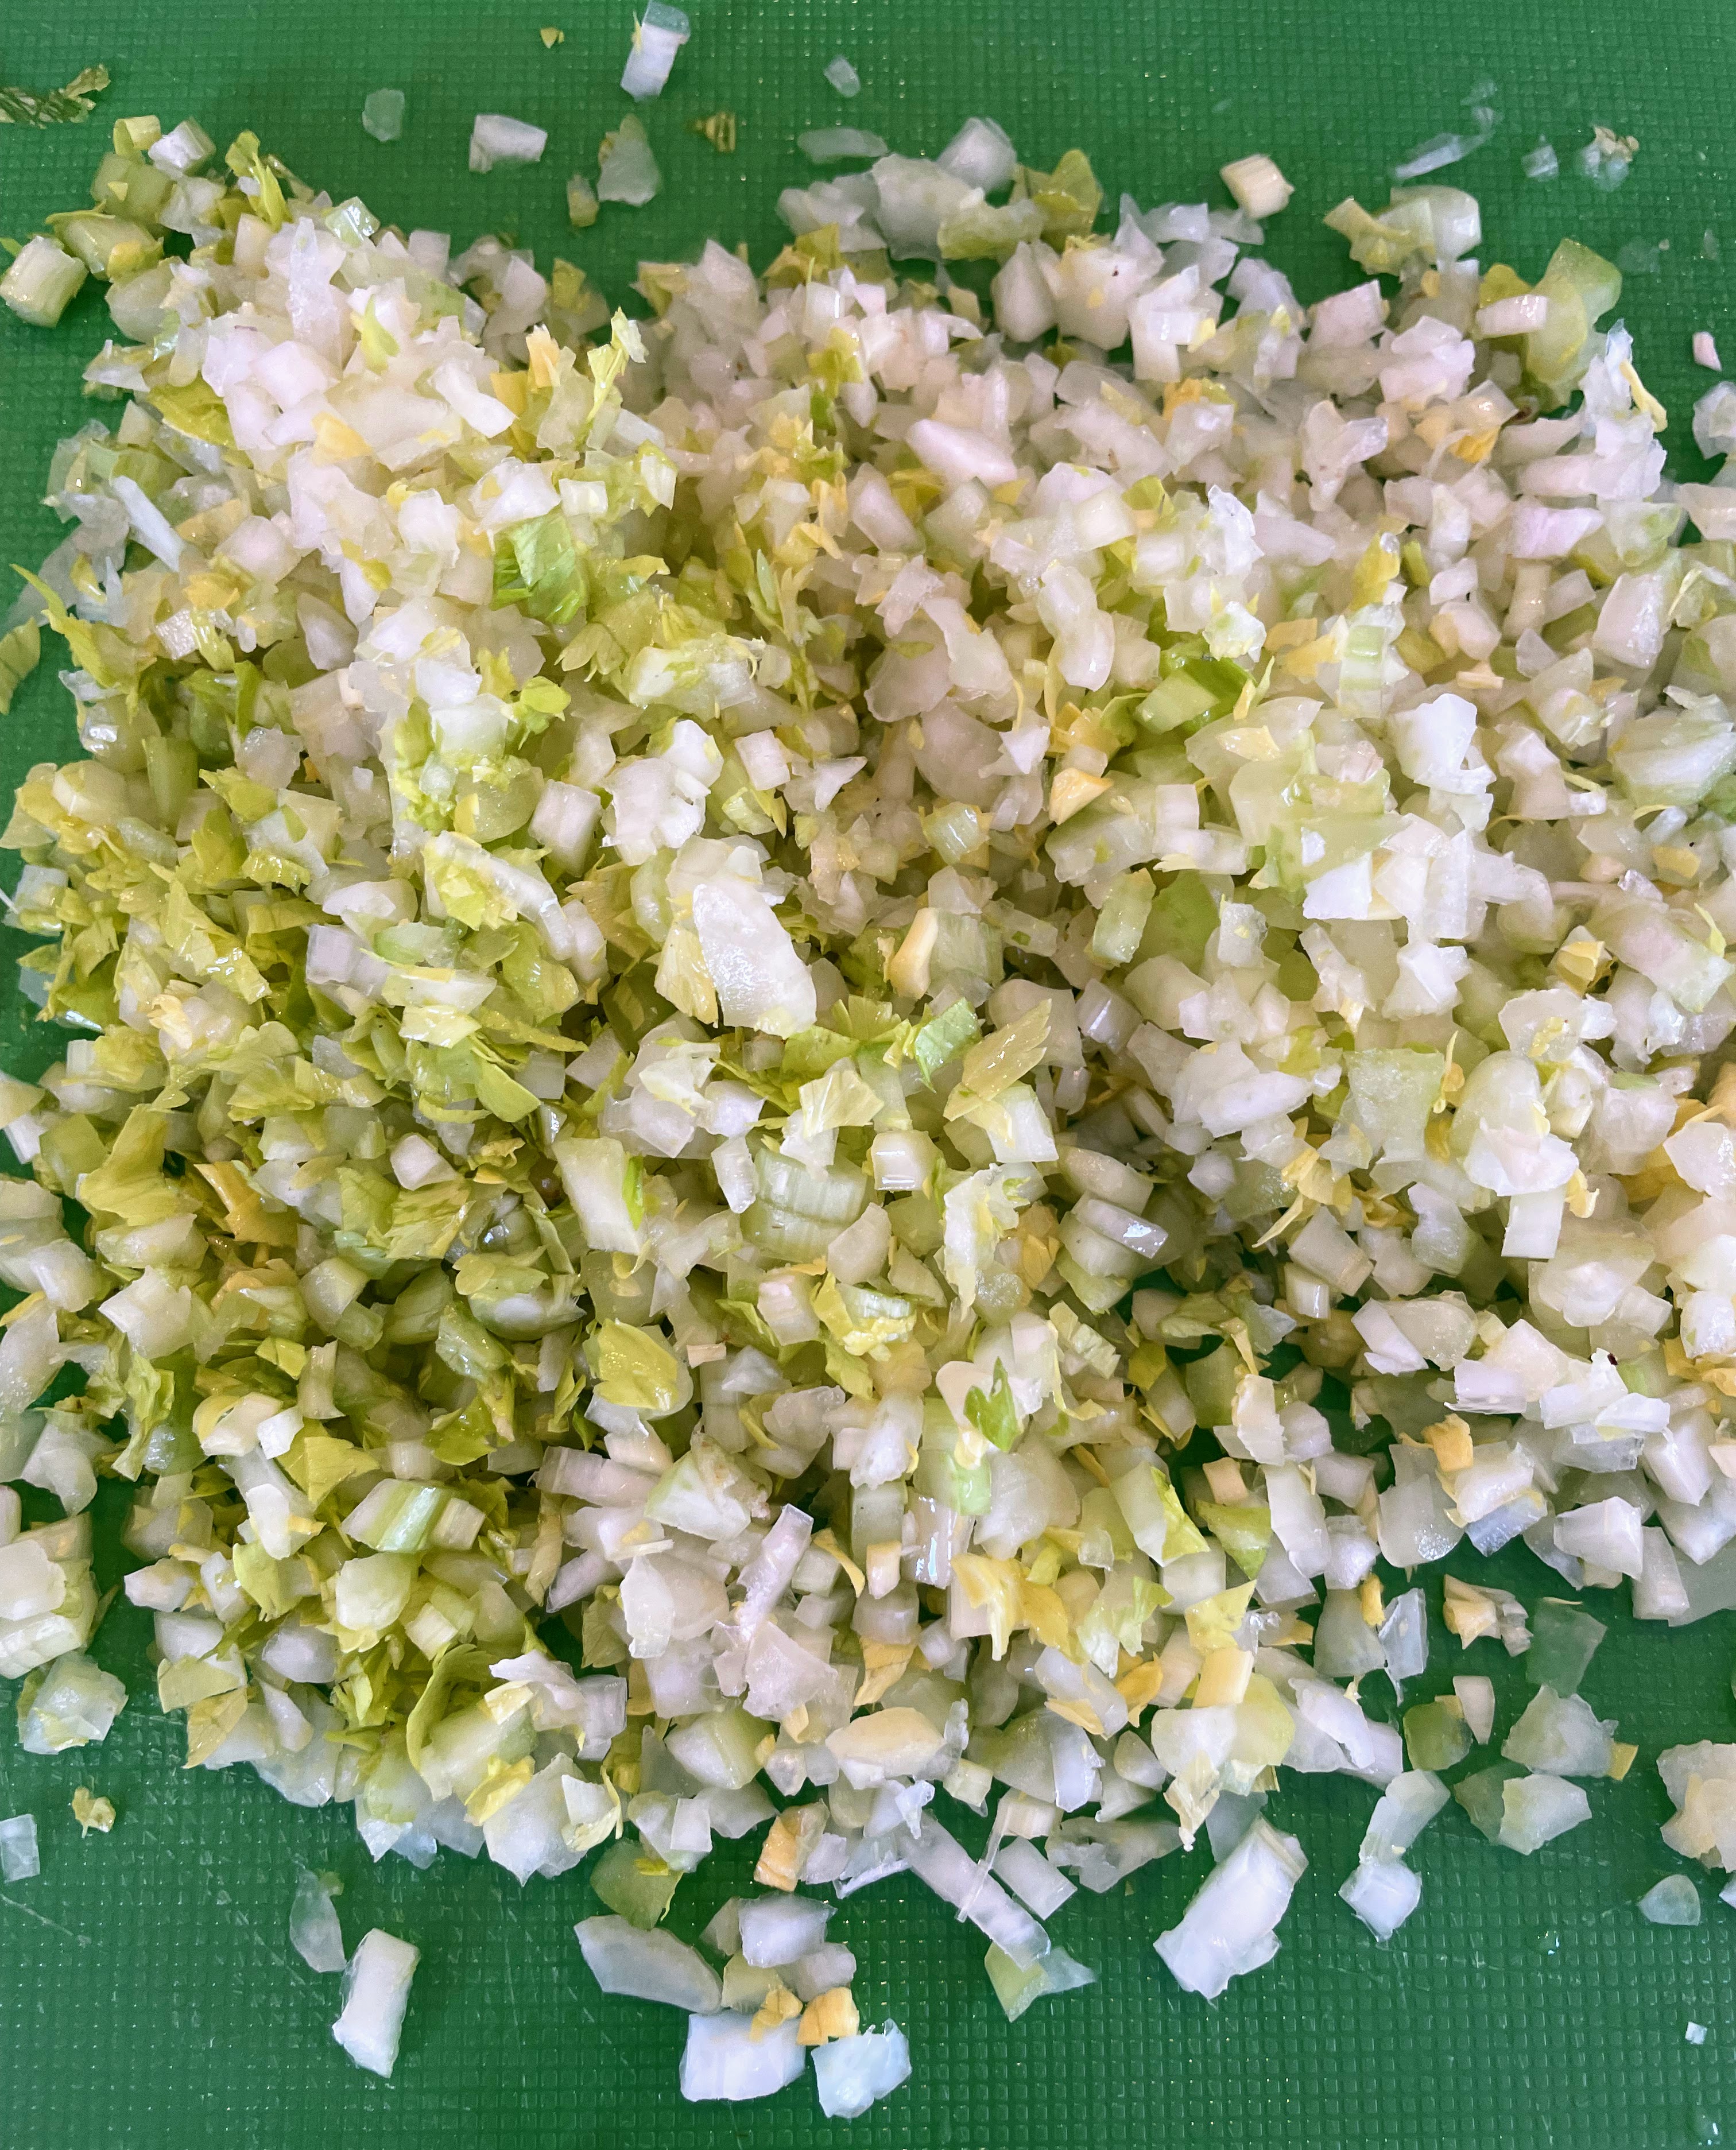
2. Scrape the paste into a large, wide Dutch oven or other heavy-bottomed pot, along with 2 tablespoons of the butter. Melt them together over medium heat, spreading the paste around with a wooden spoon so the pancetta fat begins to render. Cook until the fat is mostly rendered, about 4 minutes, stirring occasionally. Add the onion, carrot and celery — the soffritto — and cook slowly over medium-low heat, stirring frequently enough so the soffritto doesn’t brown — until the onion is soft, translucent and pale gold, about 15 minutes.
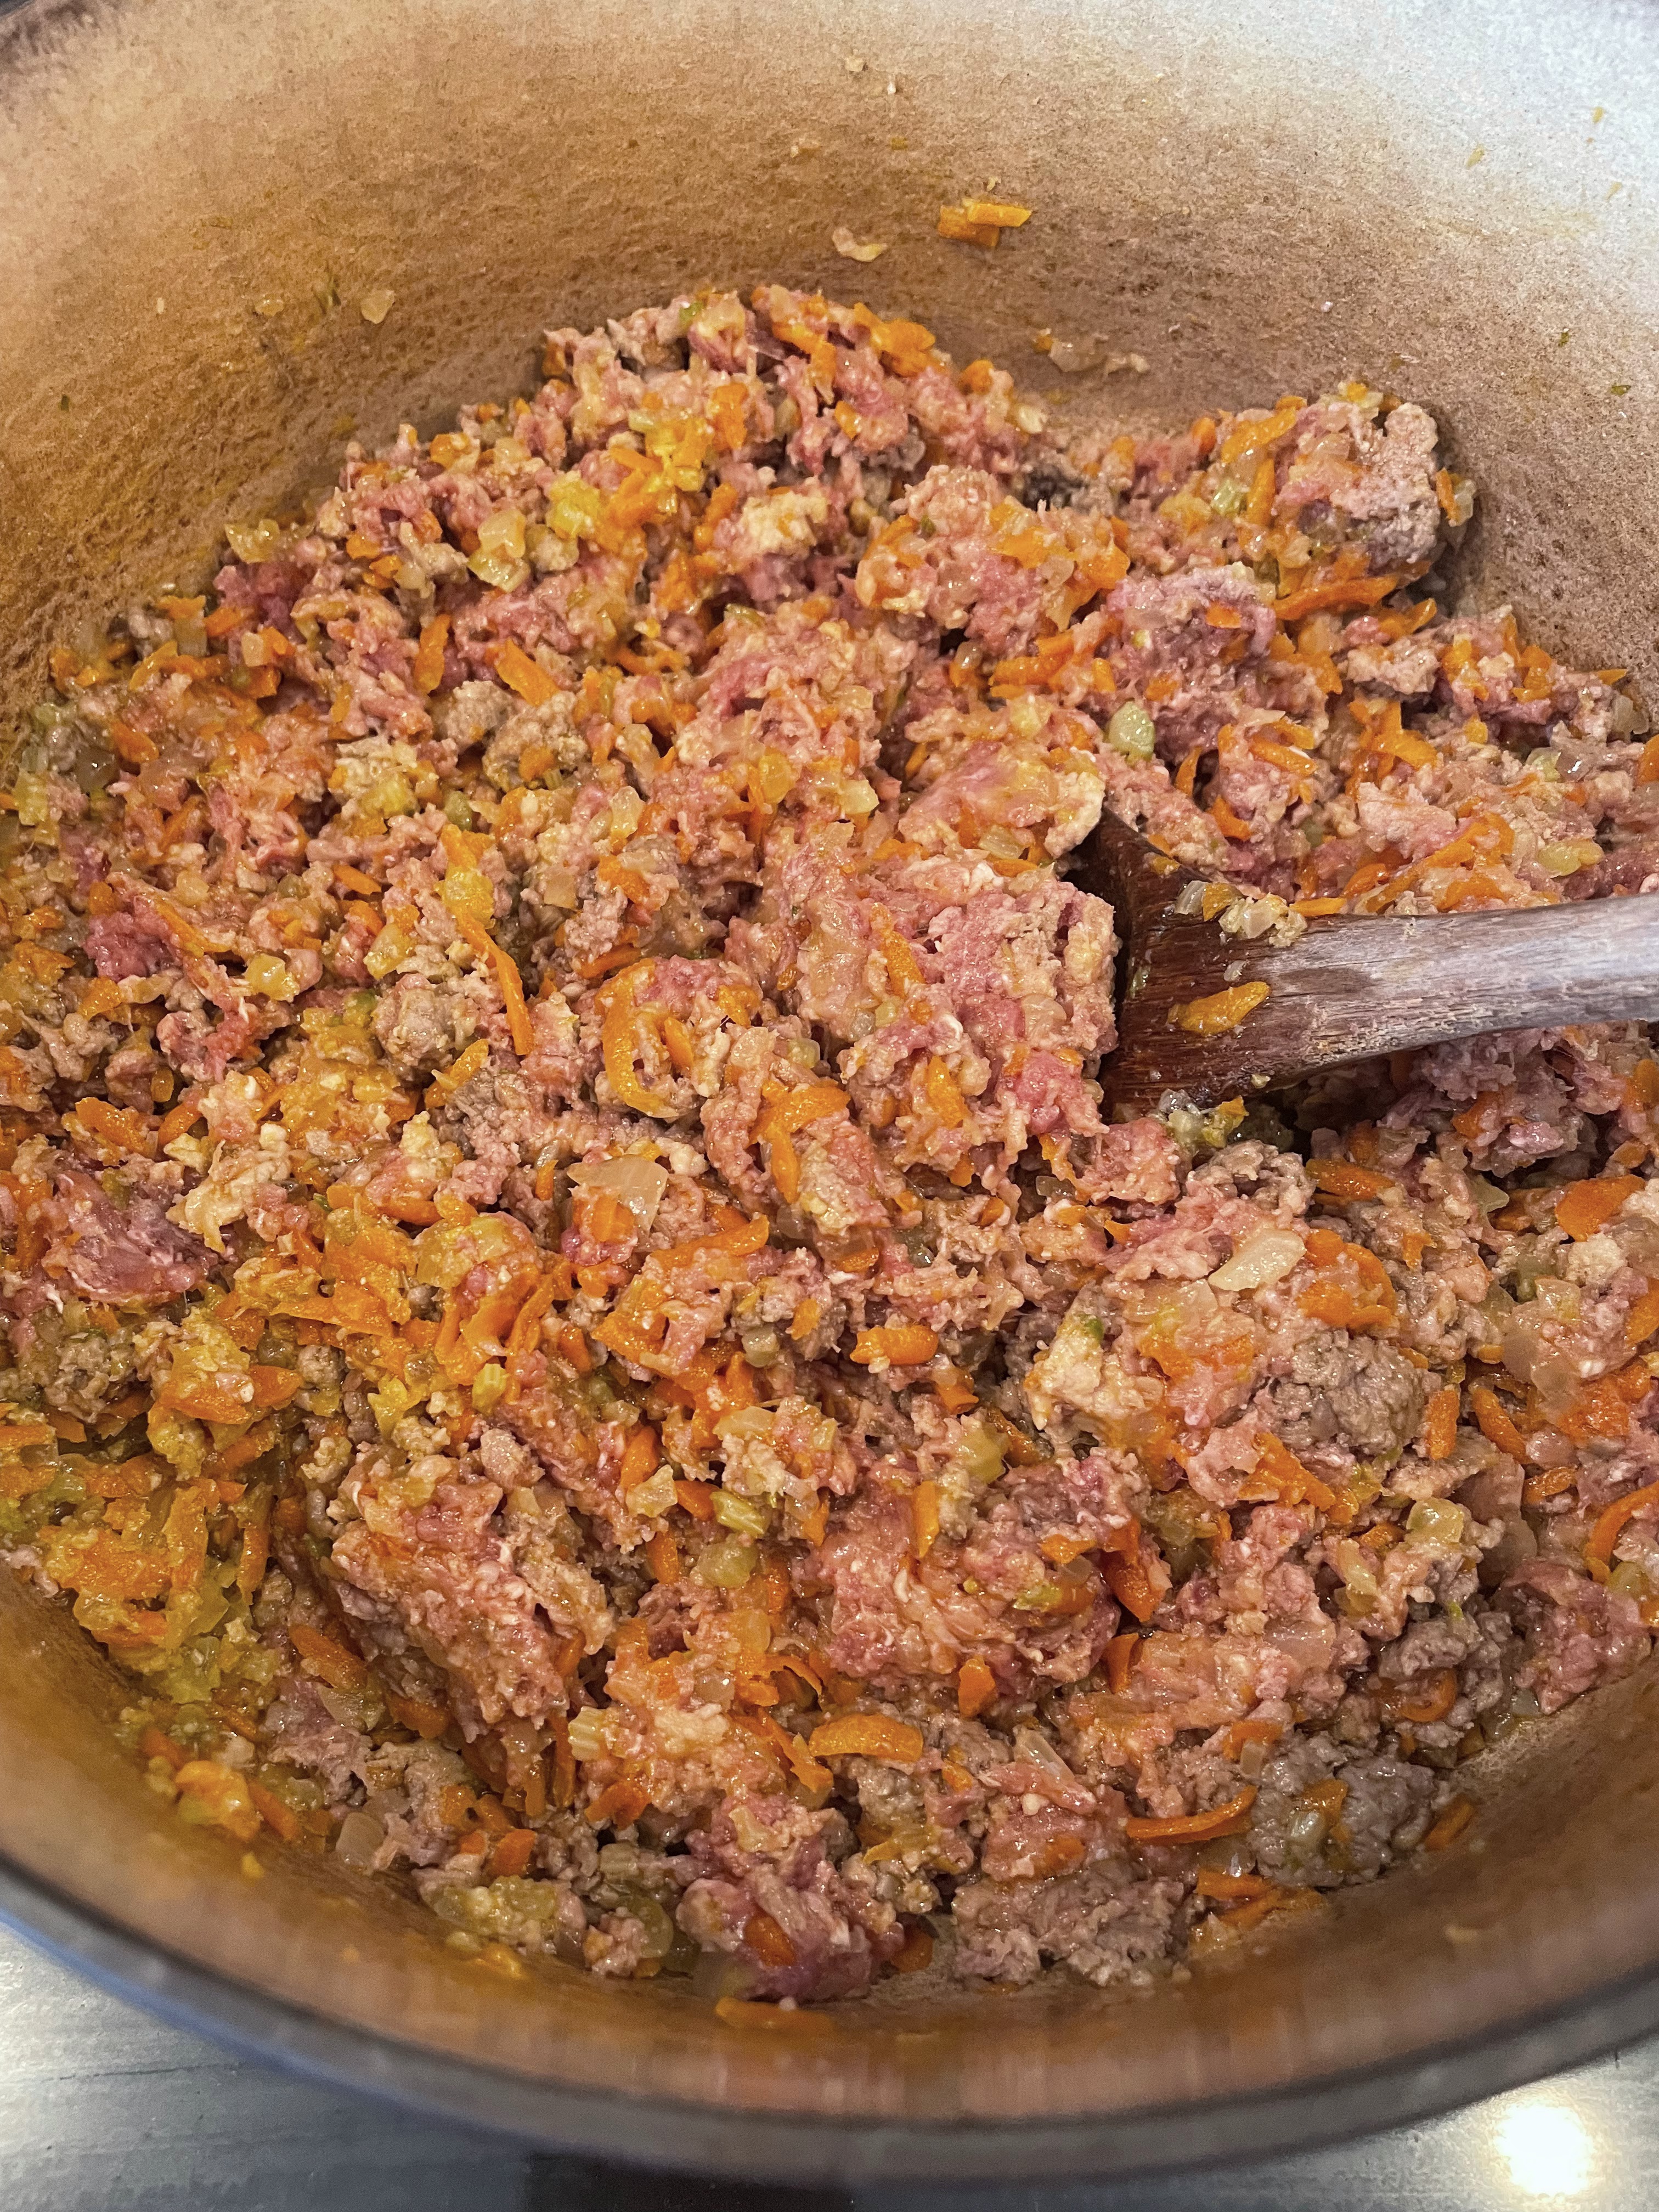
3. Add the ground beef and pork to the pot, increase the heat to medium, and break up the meat with a wooden spoon as much as possible. Once the meat starts to faintly sizzle, reduce the heat to medium-low. Let the meat brown slowly, stirring occasionally and continuing to break up any remaining clumps, for about 1 hour, until evenly browned and burnished.
4. When the meat is nearly done browning, in a medium saucepan over high heat (or in the microwave), heat the broth until simmering; cover and keep hot over low heat until ready to use.
Increase the heat under the browned meat to medium-high and stir in the wine, scraping up any browned bits or deposits on the bottom of the pan. Cook and stir until the wine is mostly soaked in and evaporated, about 3 minutes. Stir in the salt and nutmeg, reduce the heat to medium-low and add the milk, cooking and stirring until it is barely visible, about 3 minutes.
5. Measure 2 cups of the hot broth and dissolve the tomato paste in it. Stir the broth with paste into the meat sauce, then stir in the tomato puree. (Keep the unused broth handy in the pot in case you need to reheat it and add more to the sauce later.) Partially cover the pot and let the sauce simmer slowly and gently, stirring occasionally, until it is thick and all the components begin to melt together, about 2 hours.

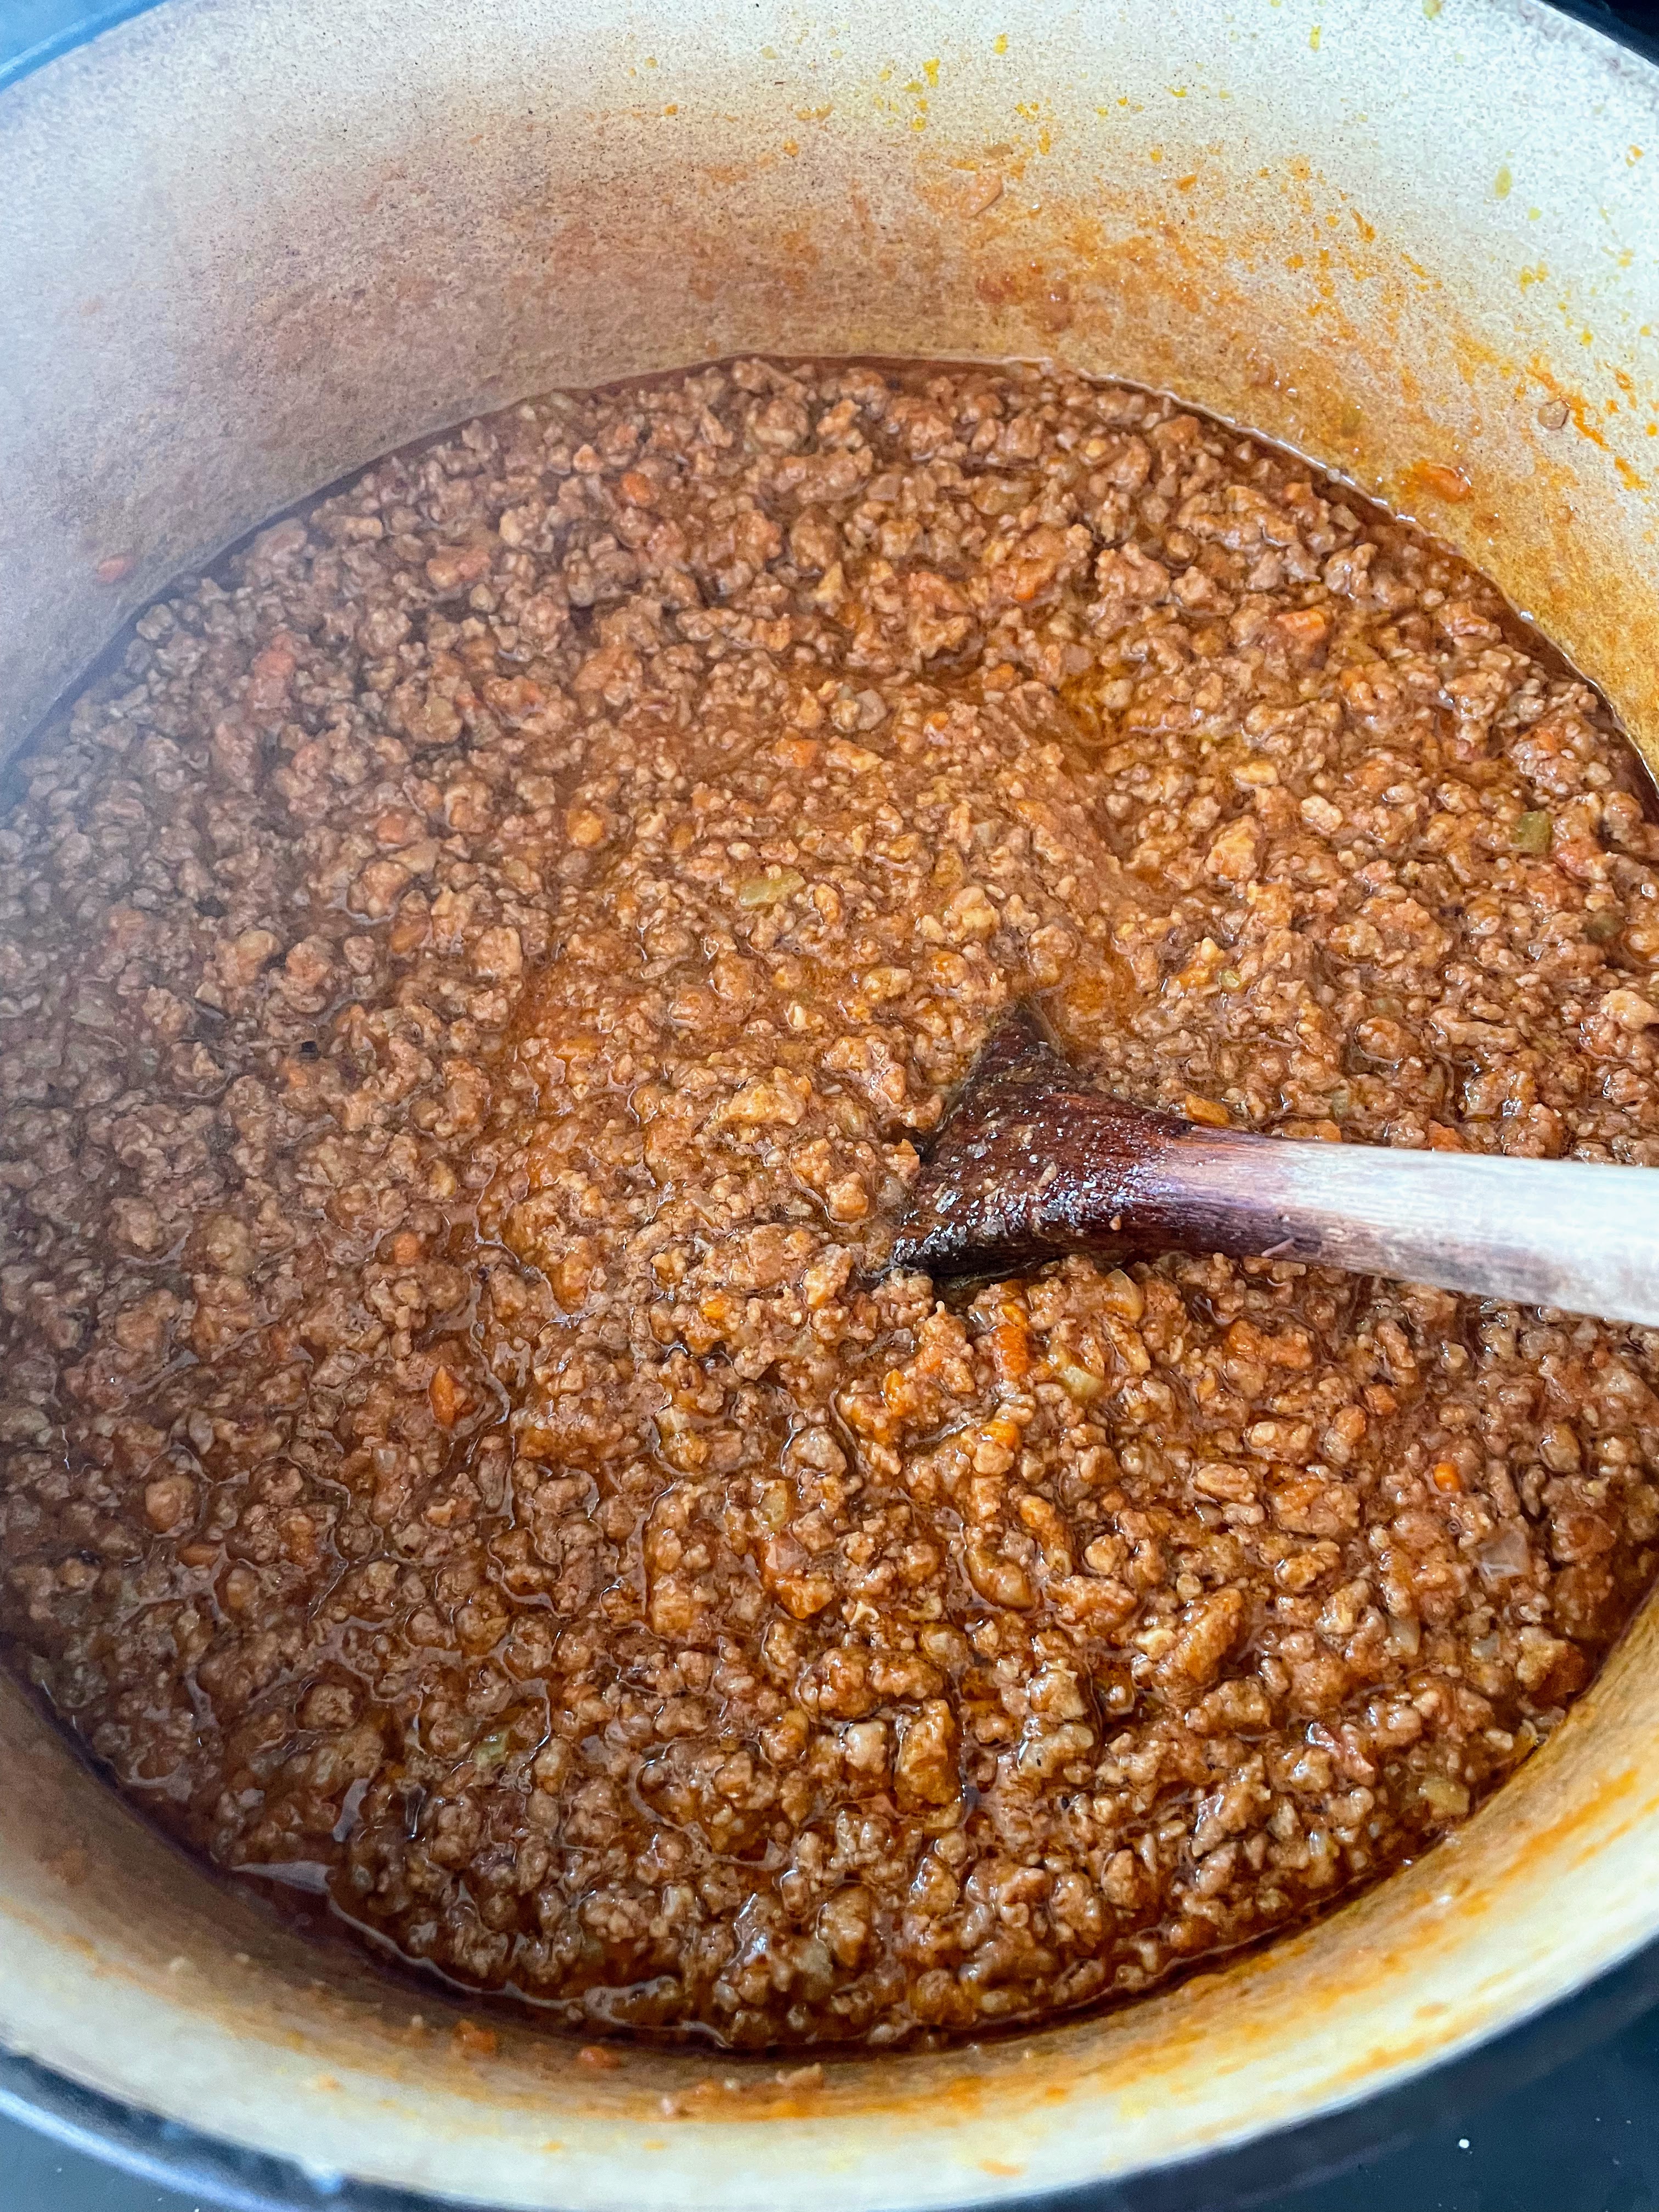
6. Stir the sauce — if it looks at all dry, reheat the remaining broth, ladle in a little more, about 1/2 cup, and stir. Continue to simmer gently, uncovered, stirring occasionally and adding a little more broth or water as needed to keep the sauce sumptuously saucy, until the vegetables have completely melted into the sauce, about 1 hour.
7. Cut the remaining 4 tablespoons of butter into a few pieces and stir them into the sauce; add about 20 grinds of black pepper and stir that in, too. Taste, and season with more salt and/or pepper, if desired.
Fresh Egg Pasta (New York Times)
Note from NYT: “Using the “00” flour gives the silkiest, softest pasta while bread flour will give you more of a satisfying chew, and all-purpose lands you squarely in the middle.” Note from me: I made this first with “00” flour, and it was delicious, but as you now know, I need more “bite” to my pasta. So I prefer to make it with bread flour if I have it, or all-purpose otherwise.
2 1/4 cups (290 gr) all-purpose flour, bread flour, or “00” flour, more as needed
1 tsp (3 gr) kosher salt
2 whole large eggs
3 egg yolks
1 tbsp (15 ml) extra-virgin olive oil, more as needed
Preparation:
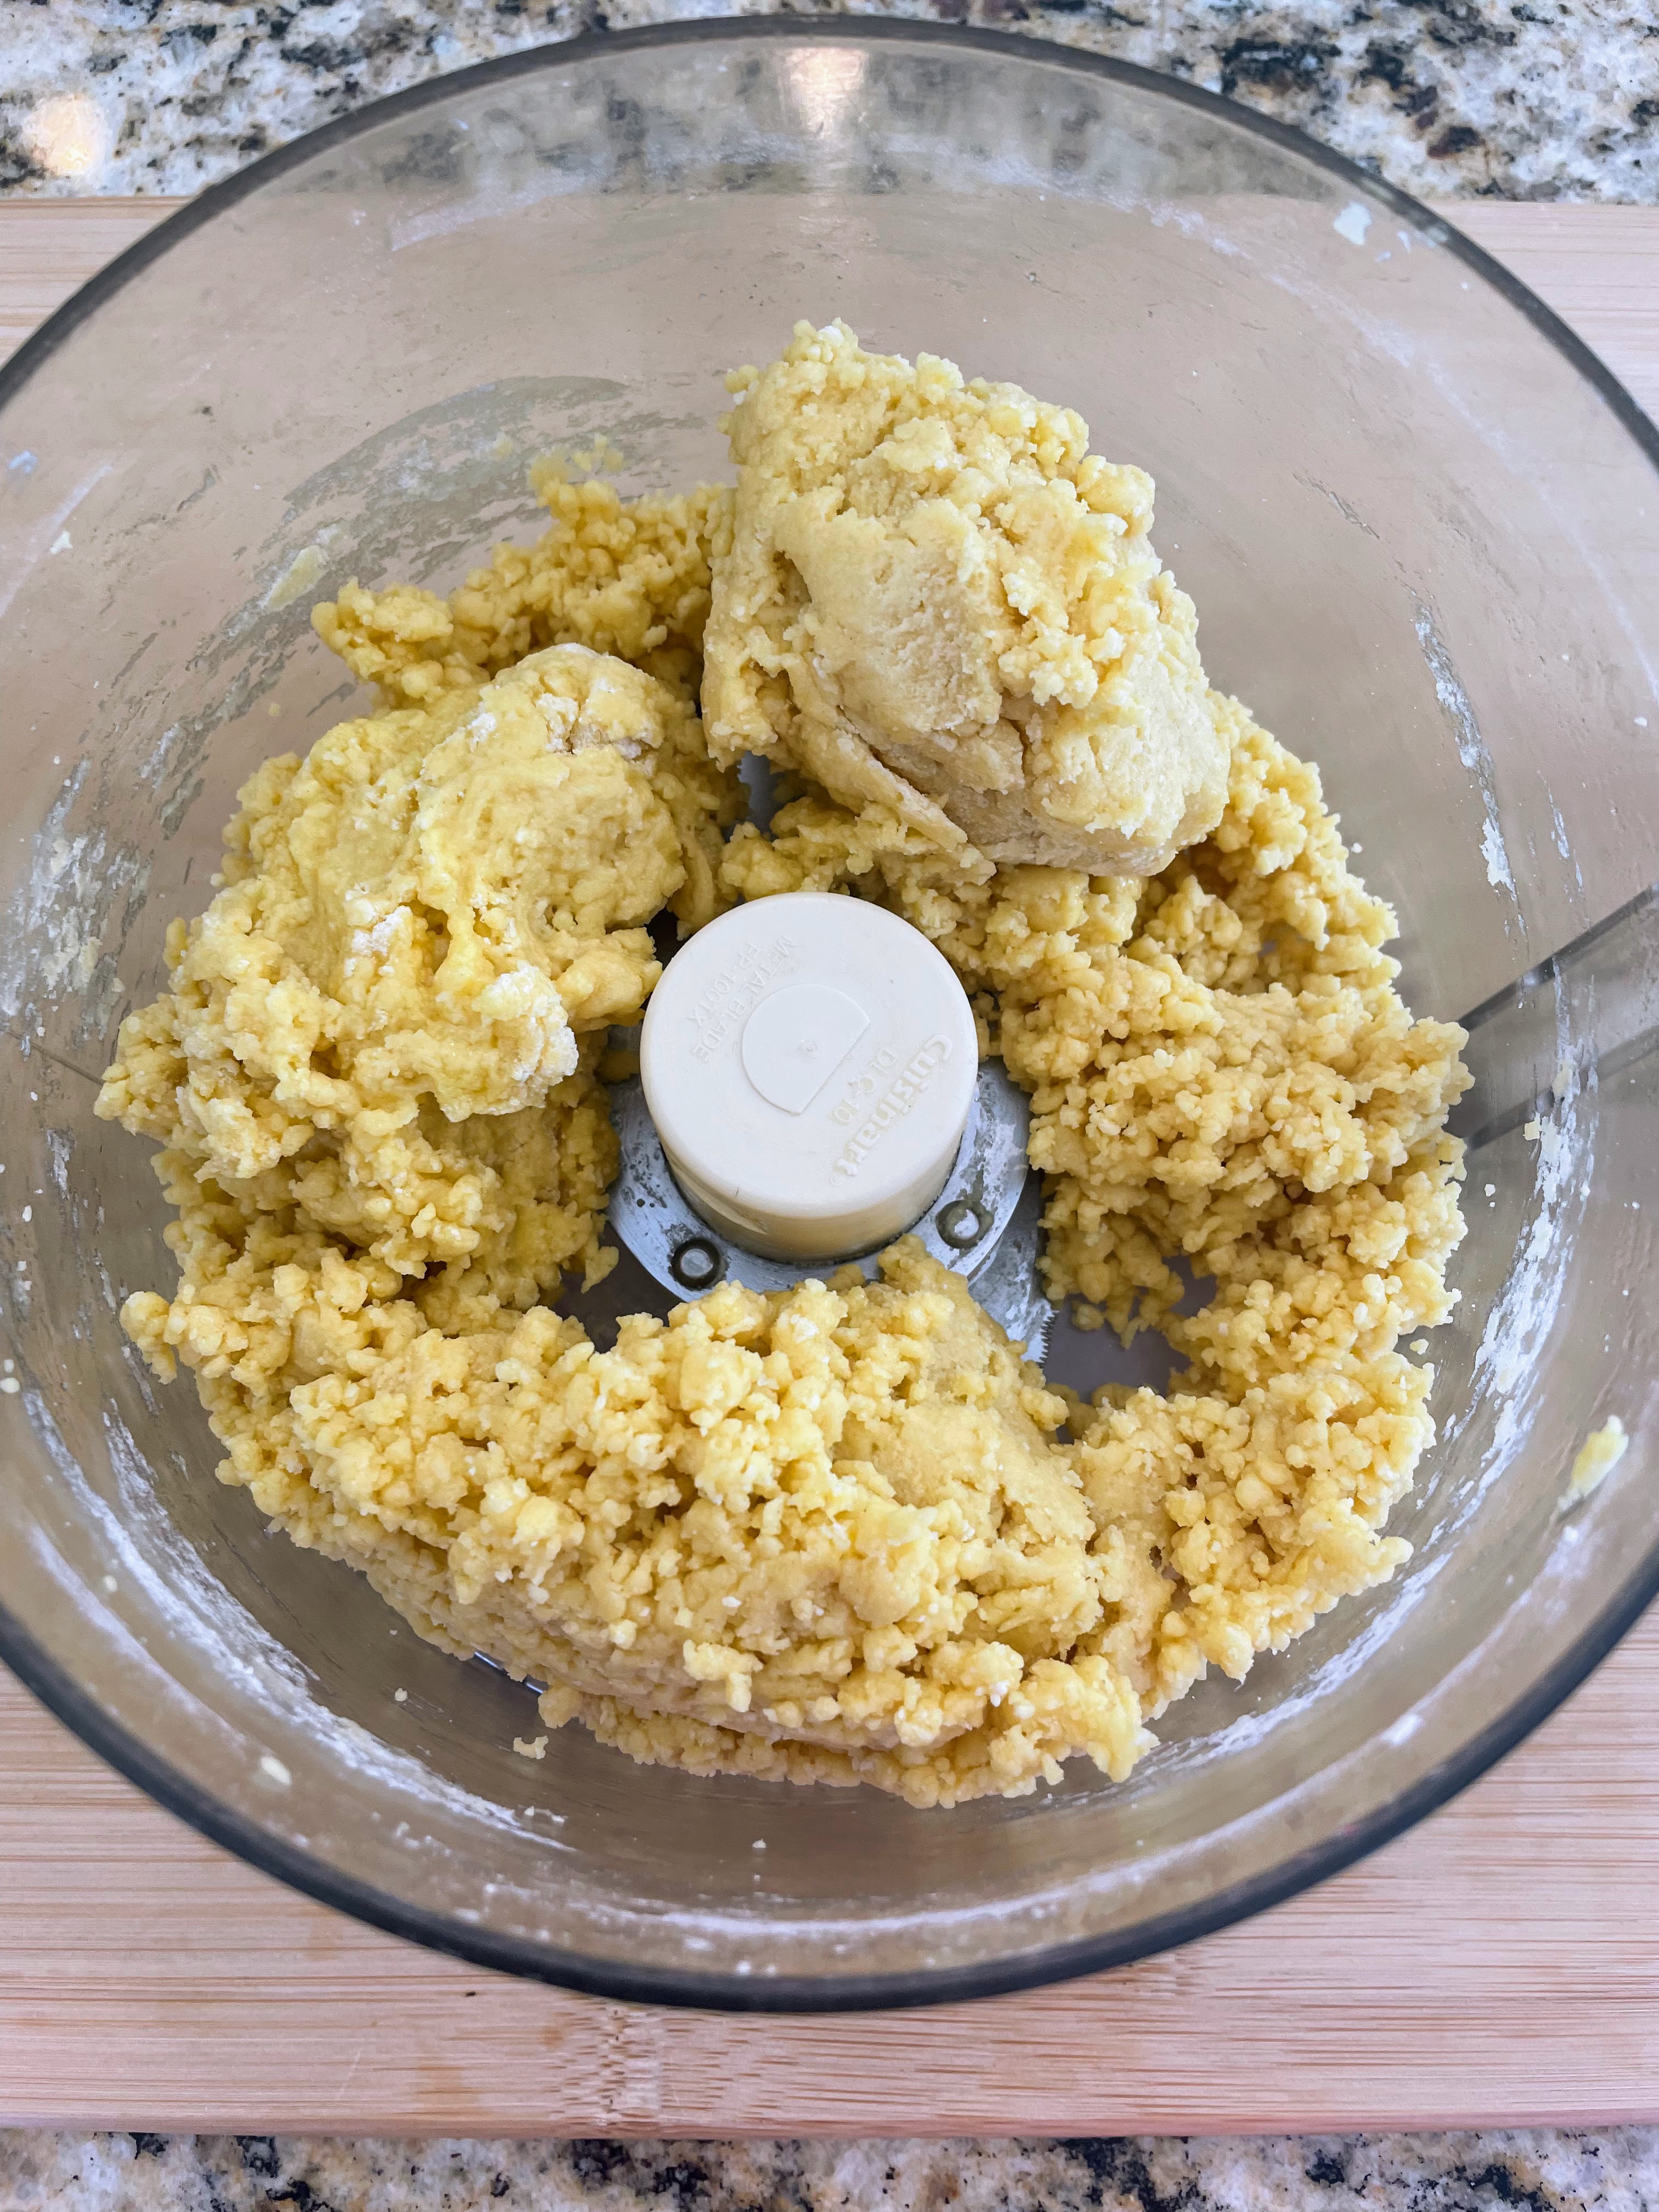
1. In a food processor, pulse together flour and salt. Add eggs, yolks, and oil and run the machine until the dough holds together. If dough looks dry, add another teaspoon olive oil. If dough looks wet, add a little flour until dough is tacky and elastic.

2. Dump dough onto a work surface and knead briefly until very smooth. Wrap in plastic and rest at room temperature for 2 hours or in the fridge overnight.


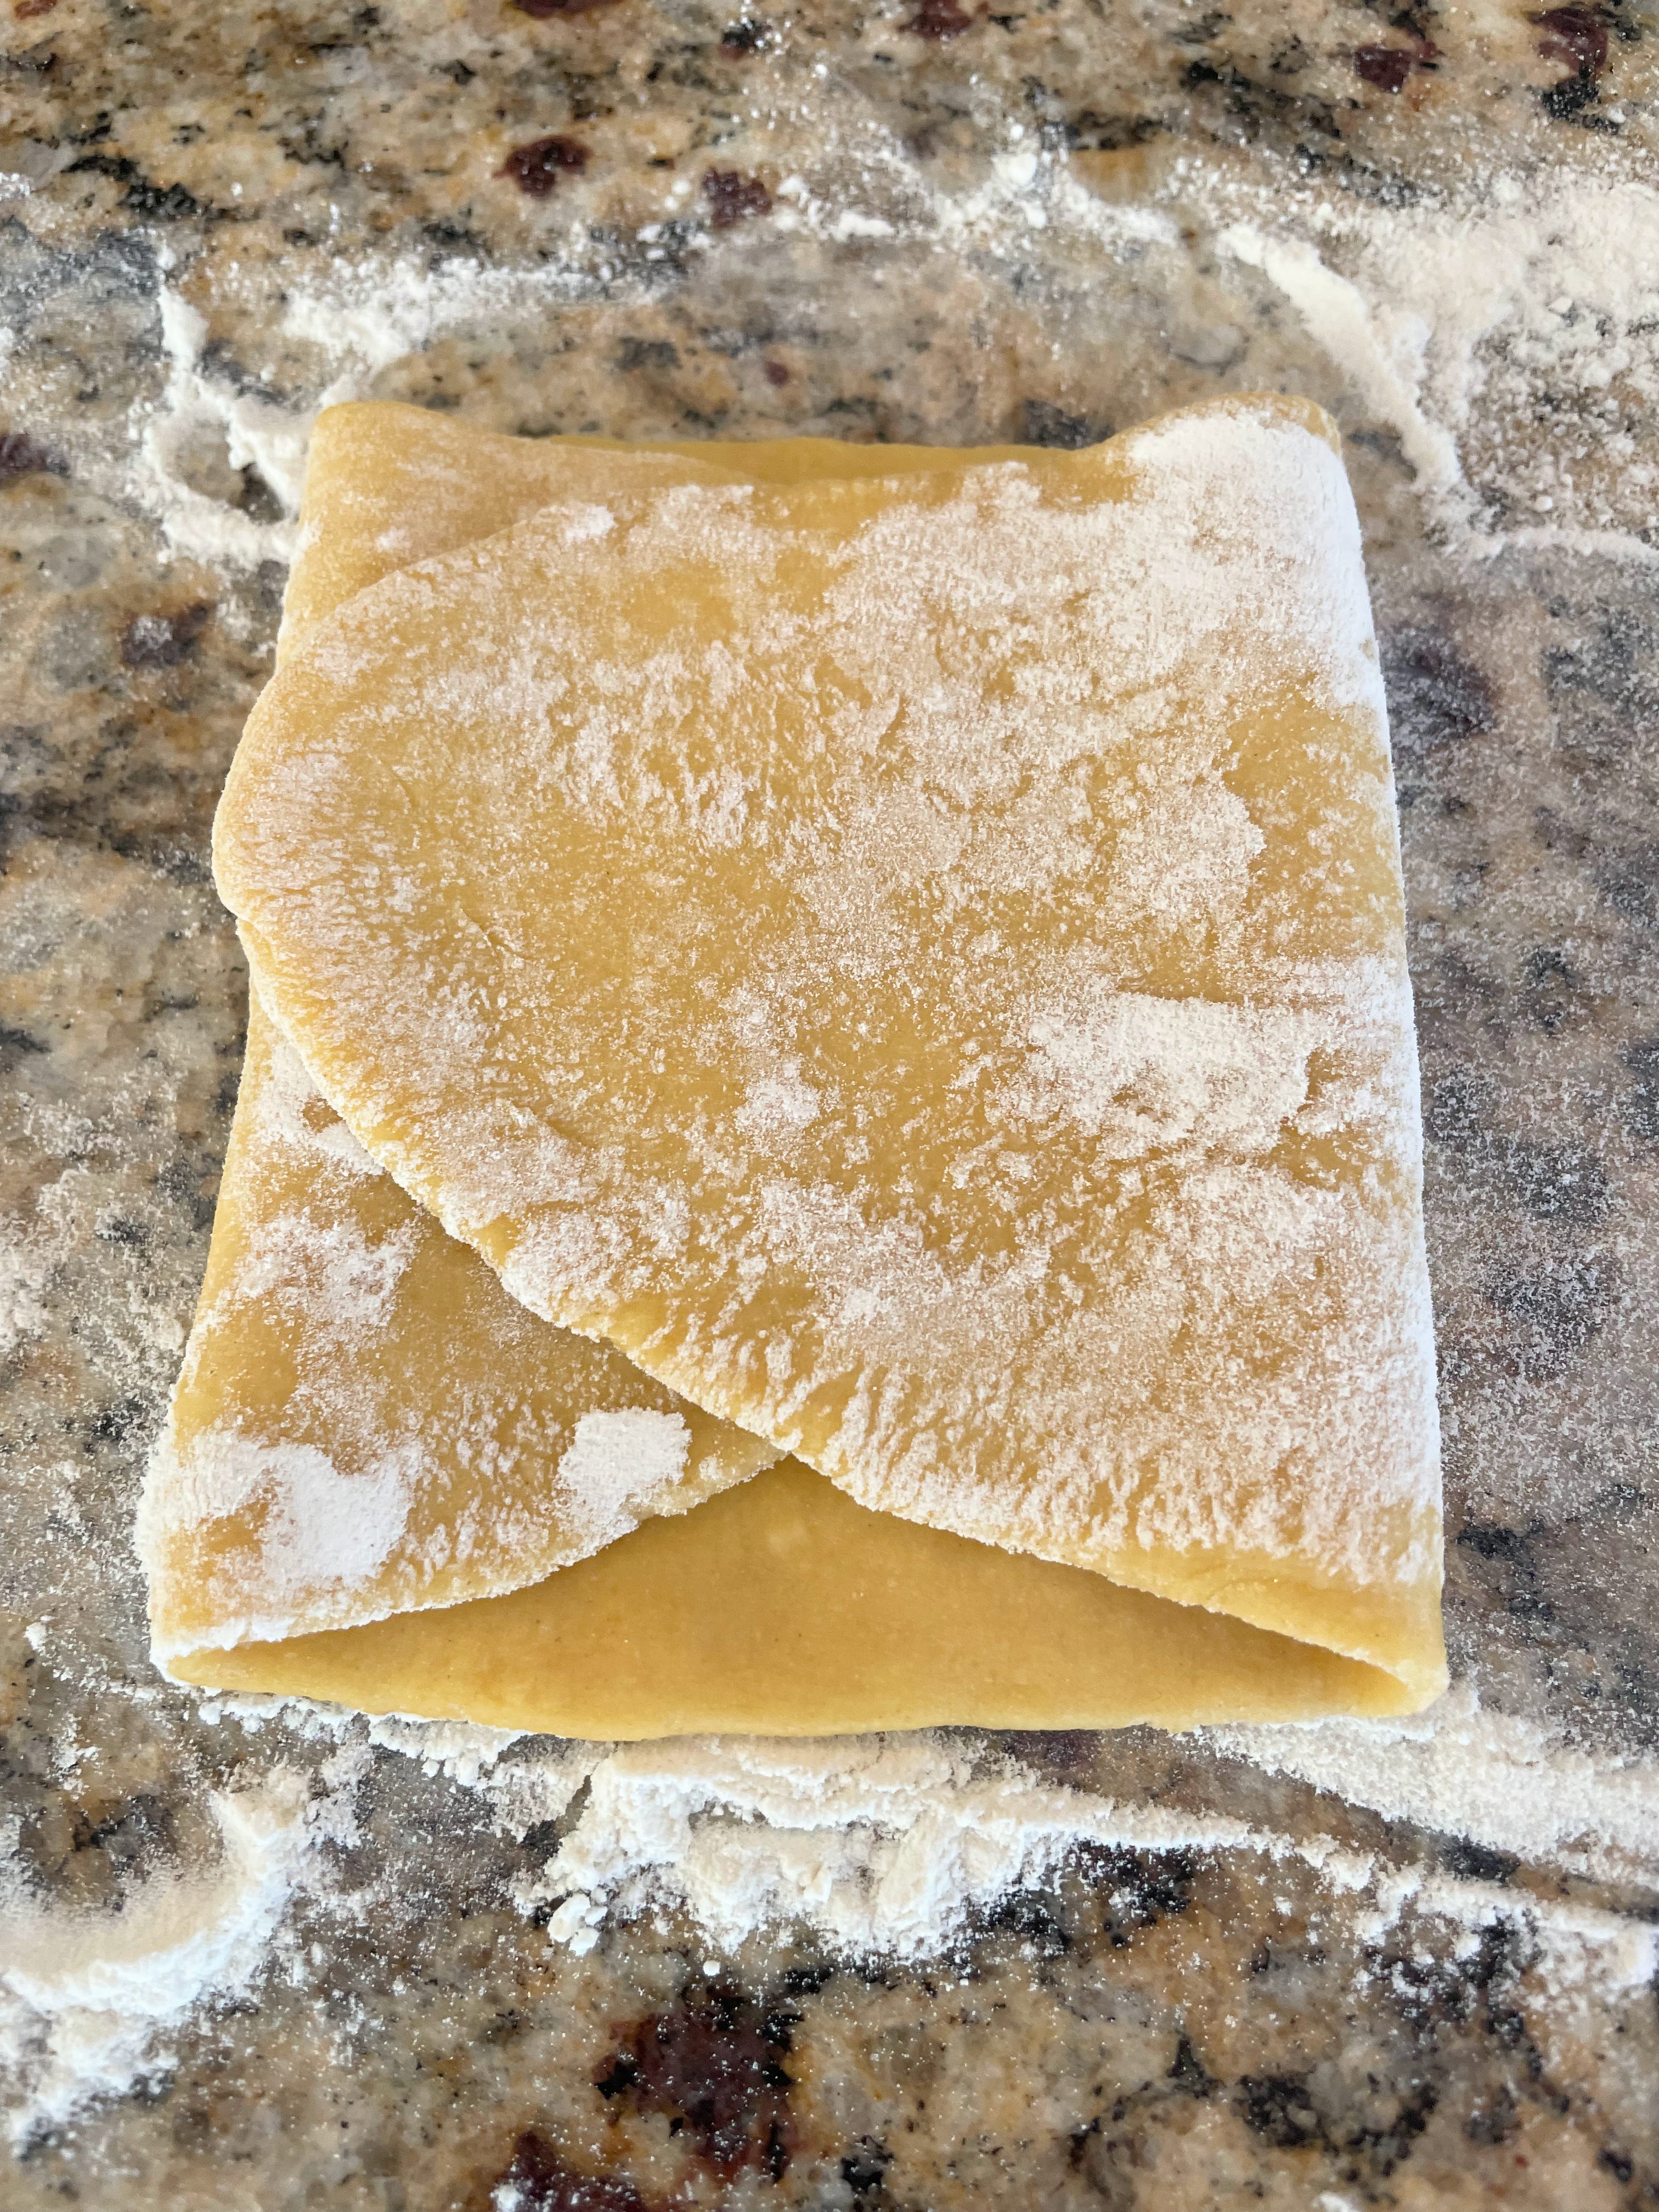
3. Cut the dough into 4 pieces, keeping them covered with plastic wrap or a dish towel when not in use. (If you’re rolling the dough out by hand, rather than using a pasta machine, cut it into 2 pieces instead.) Using a pasta roller set to the thickest (widest) setting, roll one piece of dough out into a sheet. Fold the sheet in thirds like a letter and pass it through the machine 2 more times on the same setting.
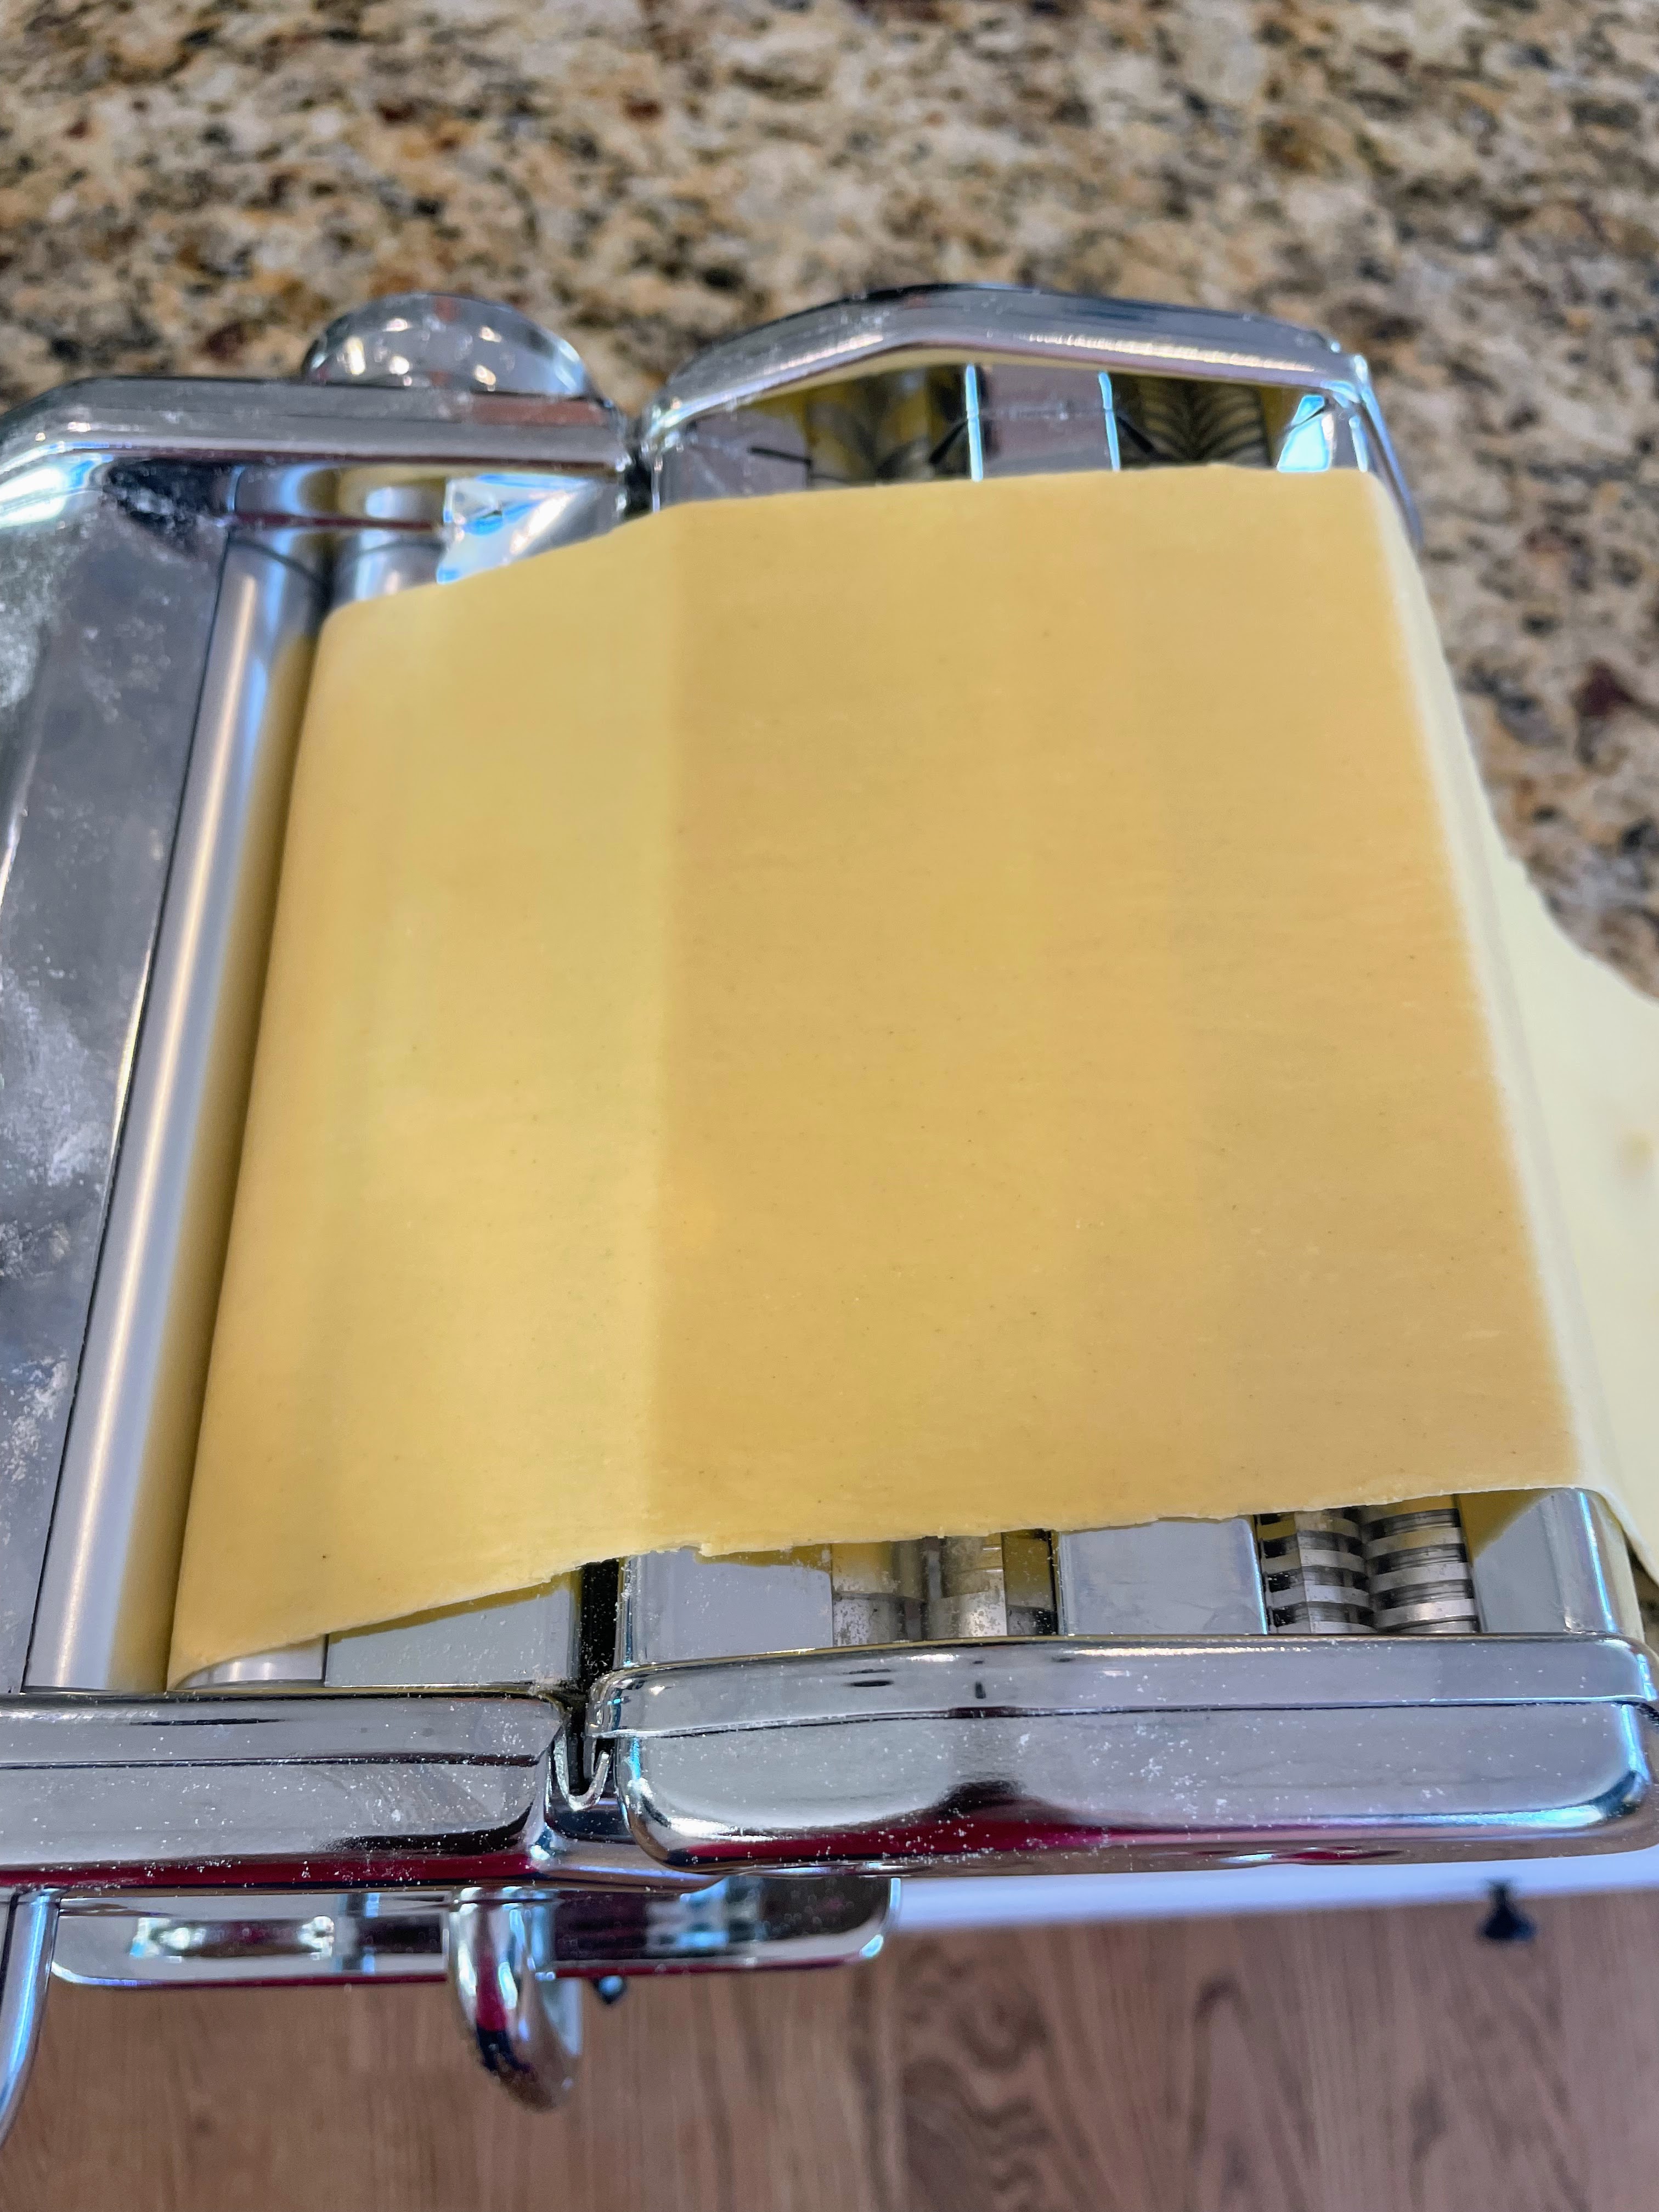
4. Reduce the setting, and repeat rolling, passing it through the machine 2 or 3 times before going to the next setting. For pappardelle and fettuccine, stop rolling after the dough has gone through setting #6.
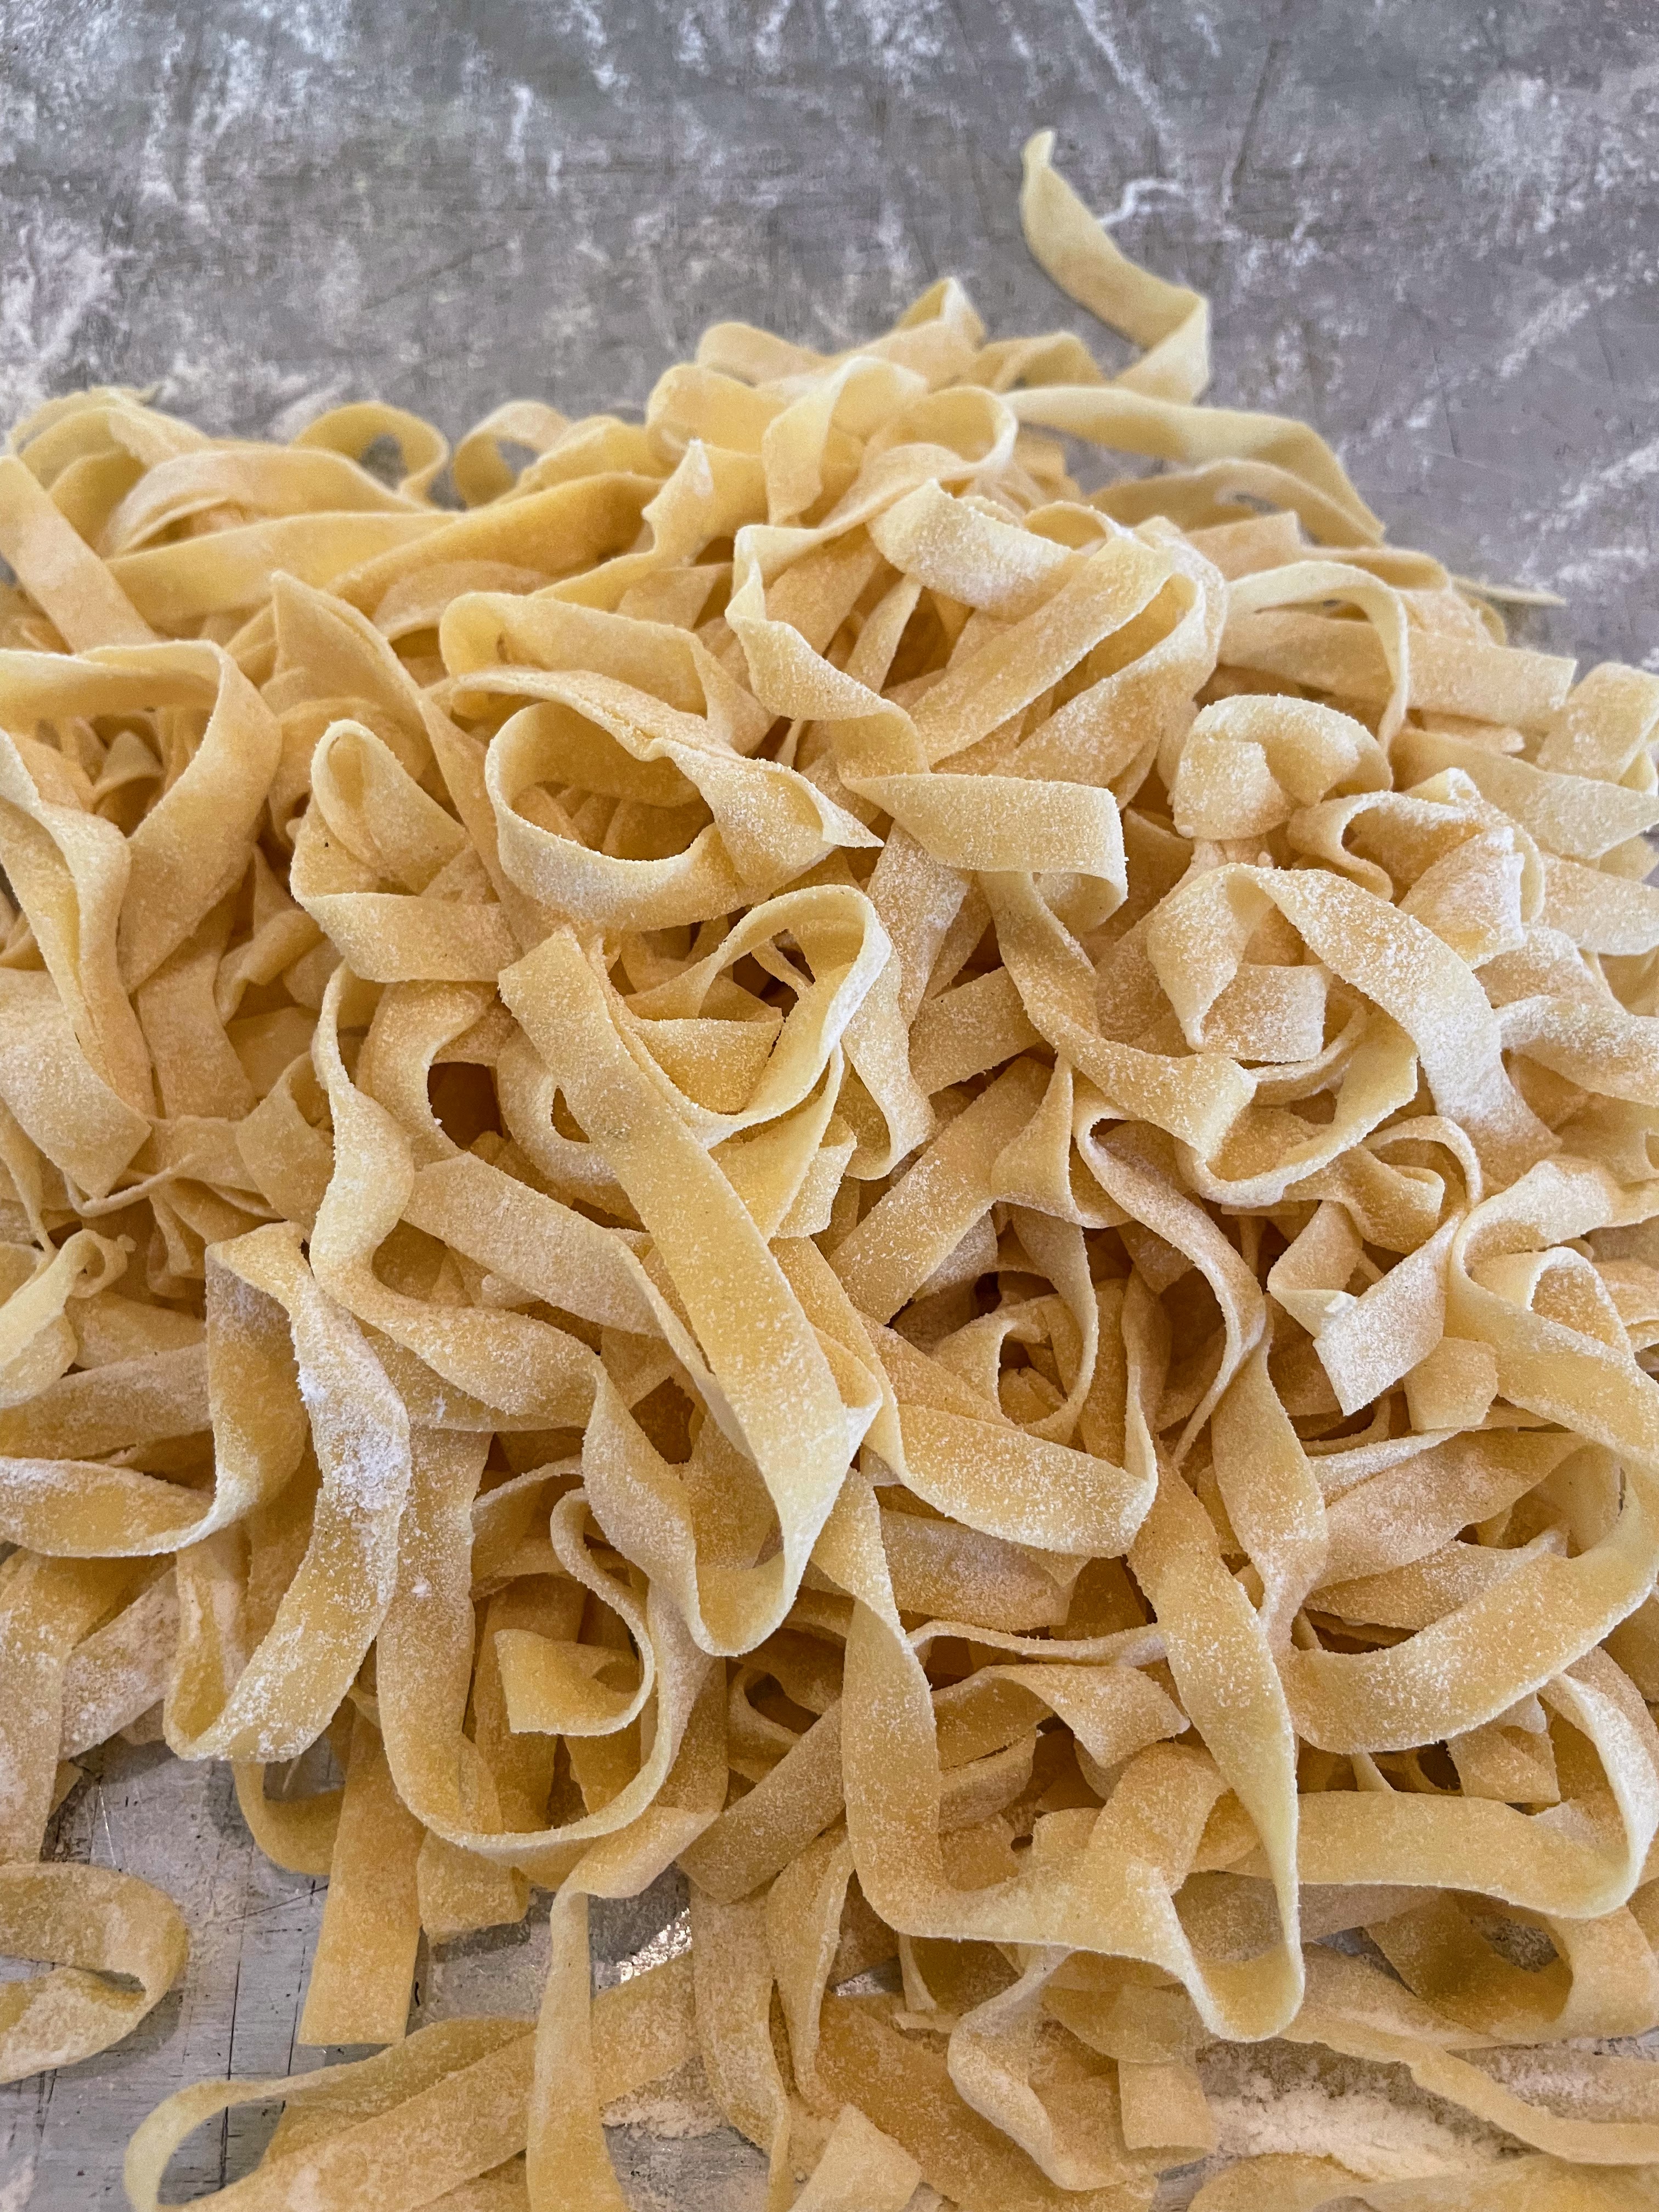
5. Shape the pasta. For pappardelle, cut rolled pasta into 1-inch-wide strips. For fettuccine, run the rolled sheets through the fettuccine setting on your roller. Place cut pasta on a flour-dusted sheet tray and cover with a dish towel while rolling and cutting the remaining dough. Make sure to sprinkle flour over the cut pasta before you place another layer on top. If not using immediately, cover the sheet pan with a dish towel to keep the dough supple.

6. Bring a large pot of well-salted water to a boil, add fresh pasta and boil for 60-90 seconds, depending on thickness of the pasta. Drain well.
Now, enjoy your meal! Buon appetito!
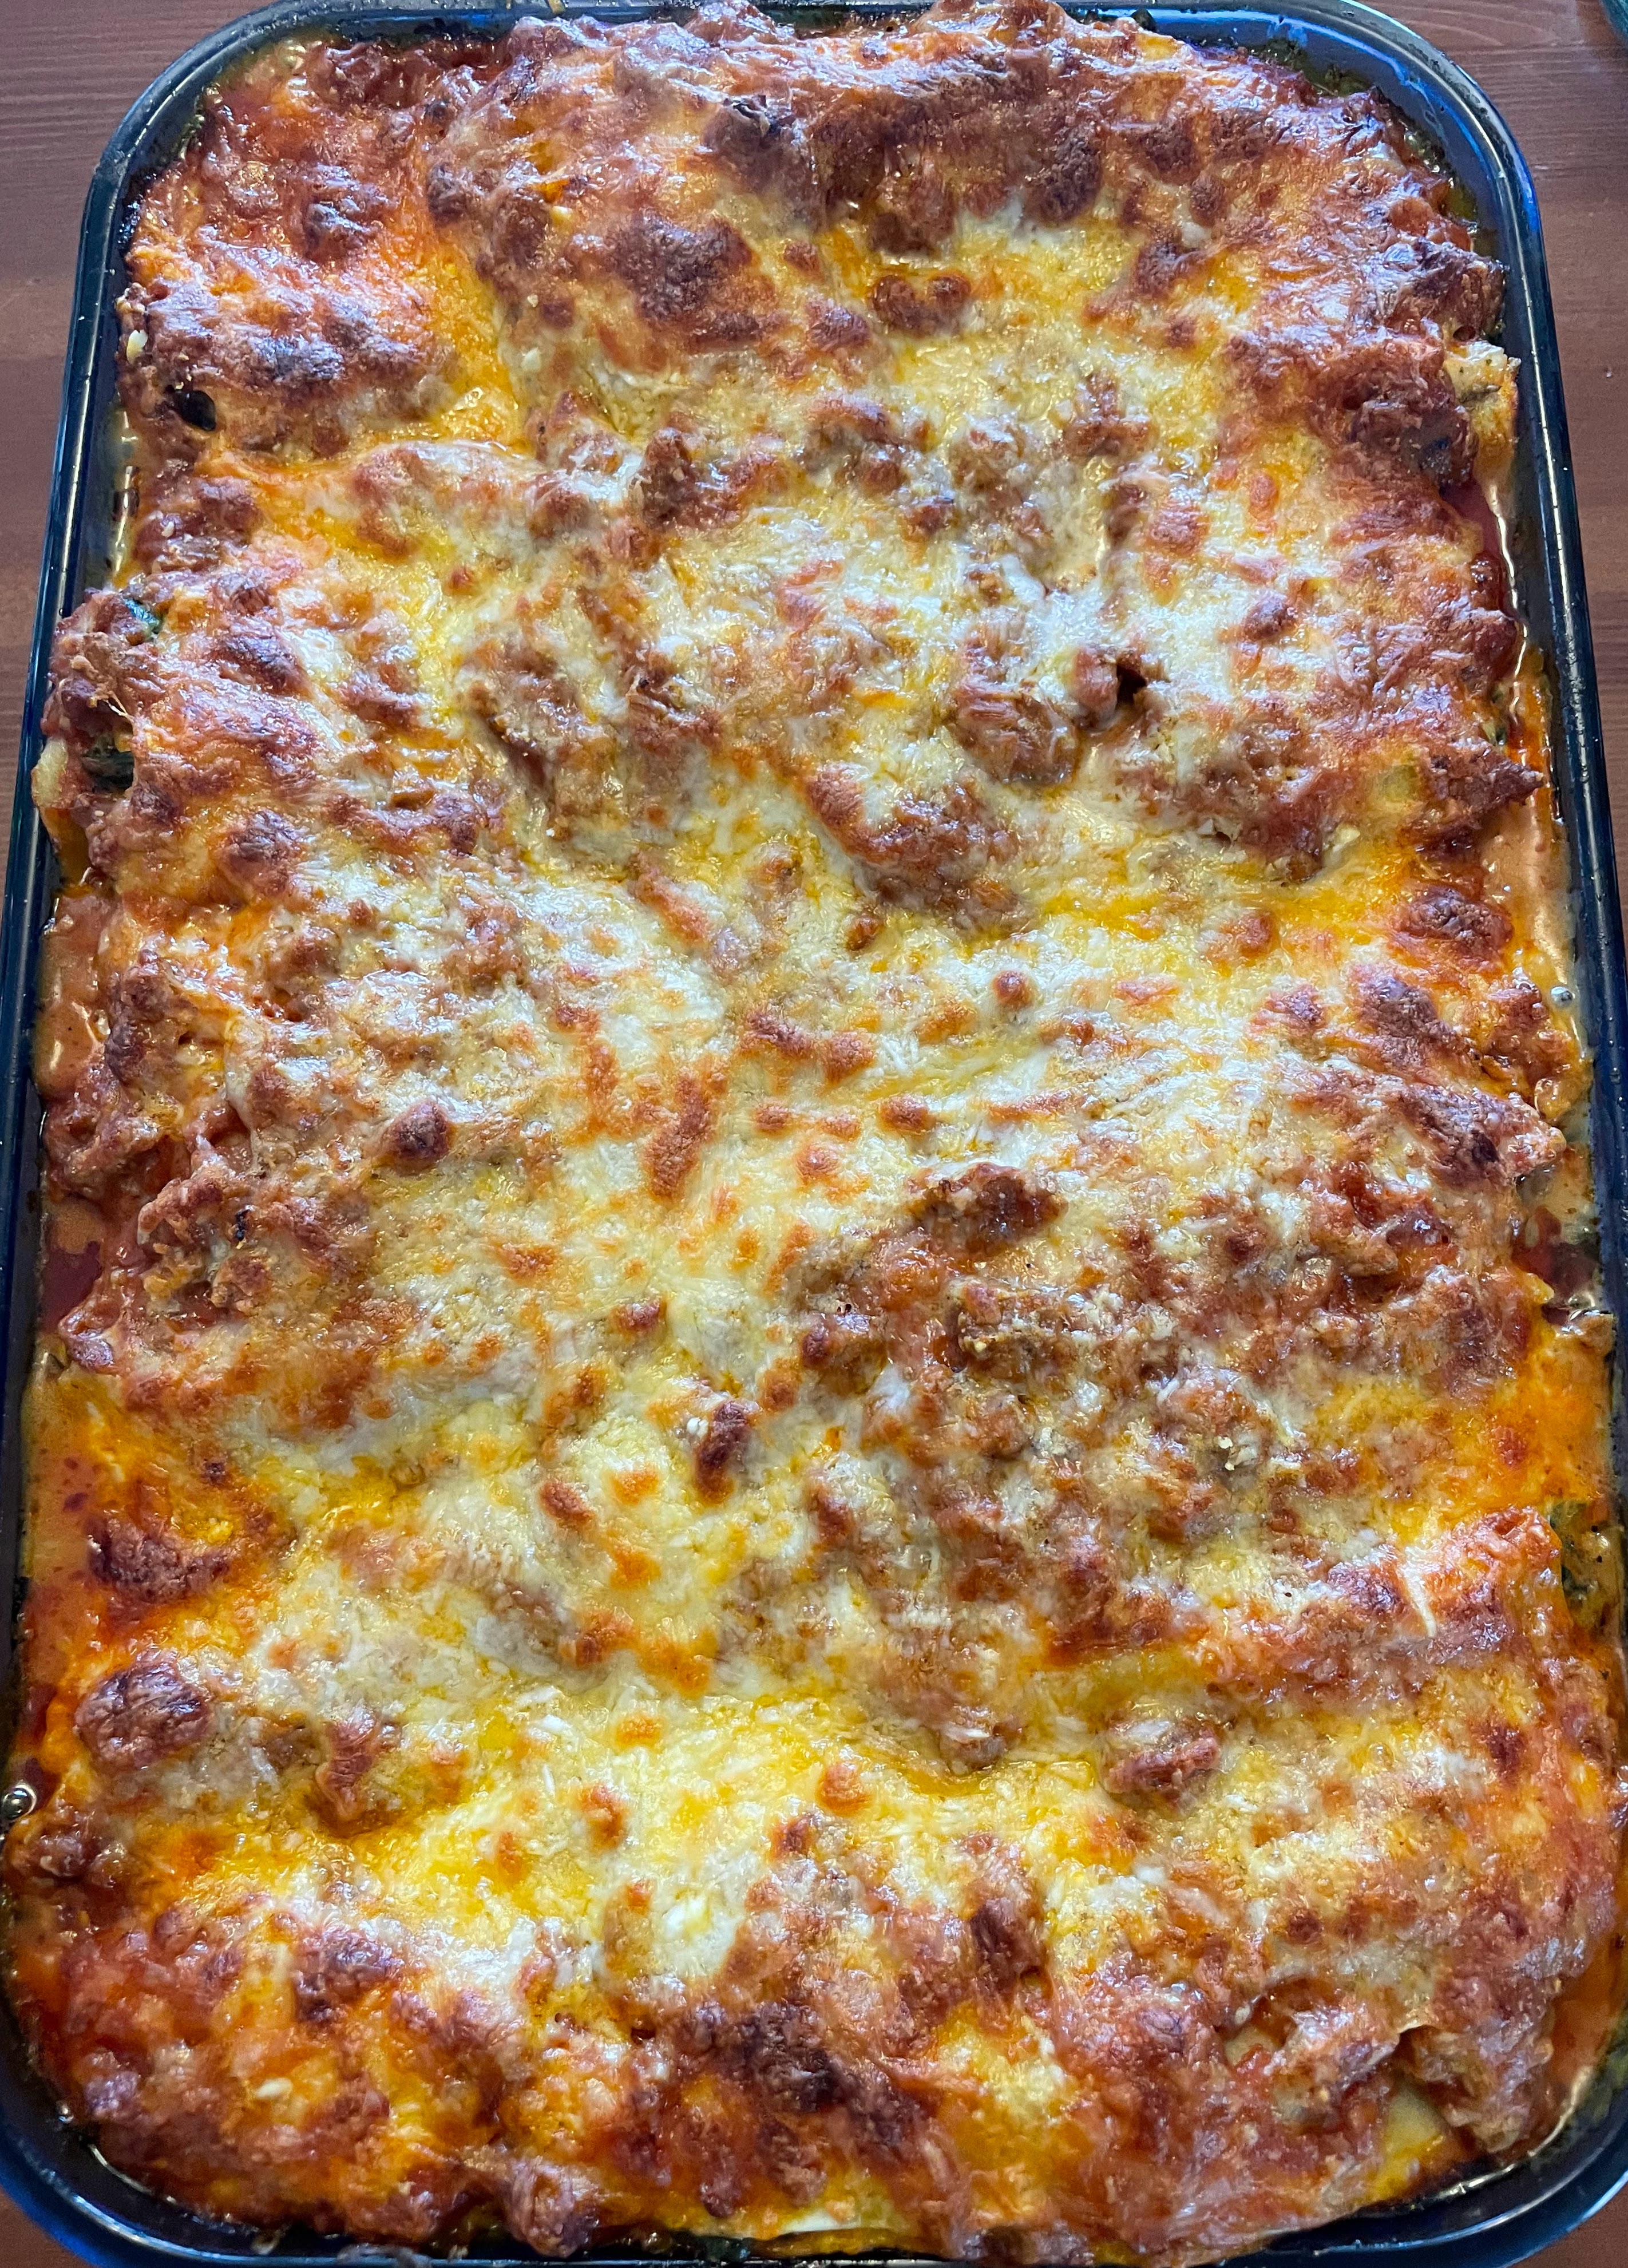
And… a lasagna made with the ragù:


 on the sides; front-facing wall of opus mixtum (bands of brick and tufa), with lateral 'toothing' and a structural arch; plus rough-hewn travertine column--Portico of Claudius, Portus (c. 50 AD)")
")
 with lateral 'toothing' and putlog holes at the top--Trajan's warehouse, Portus (c. 100 AD)")
")
, Trajan's warehouse, Portus (c. 100 AD)")

