Tag Archives: garden design

Starting Over: The Joys of a New Garden

3 Sep

When we moved back to the U.S. three years ago, we bought a house with a big grassy backyard, sloping down to a wooden fence along the property line. It was a great backyard, but other than a small flower bed off the (old) deck, there wasn’t much active “gardening” space. There was a walkway border garden out front and a few roses scattered around there, too, but that was it. After living in apartments in Rome for five years, we wanted to enjoy the outside — and I really wanted to garden again. Luckily, the spaces around our new house had great potential to become places of joy not just for us, but also for the local bees, butterflies, and birds. I won’t dwell on the chipmunks, squirrels–and for a short while, rabbits–who have also found great joy here, too. Who knew squirrels could climb up giant sunflowers and take the heads right off? I didn’t. Lesson learned, though; no giant sunflowers next year.

But I digress. The hope we had for our outdoor spaces–which we thought about for a year before getting started–included flower beds, an herb garden, a vegetable garden, and a couple patios to provide more gathering space. As they say, beware what you wish for, because what followed took three years and a LOT of work. But it kept us busy during COVID and beyond, when we were glad to have something productive to do during the weekends.

Original sale photo of the backyard, taken Summer 2019, six months before we bought the house.

Today we have 12 separate garden beds, including a pollinator garden that looks like a wild English border garden, an herb garden, a vegetable garden, a rose garden, and new areas for all the plants we moved around, plus many new ones. This required completely redoing the backyard, rethinking a lot of the front yard, and lots of digging, weeding, transplanting/planting, weeding, seed starting, weeding, and finger crossing that everything we shifted around (often more than once) would survive.

We started Phase 1 by taking out most of the grass in the back and terracing the sloping plot, with help–as we could not move tons of soil on our own, nor could we install all the hardscaping alone. We toyed with the idea of laying down the patios ourselves (as we’ve done in the past), but knew we did not have the skills to build retaining walls, nor the necessary time, seeing as we both have actual other jobs requiring our daily attention. And this was not a weekend task.

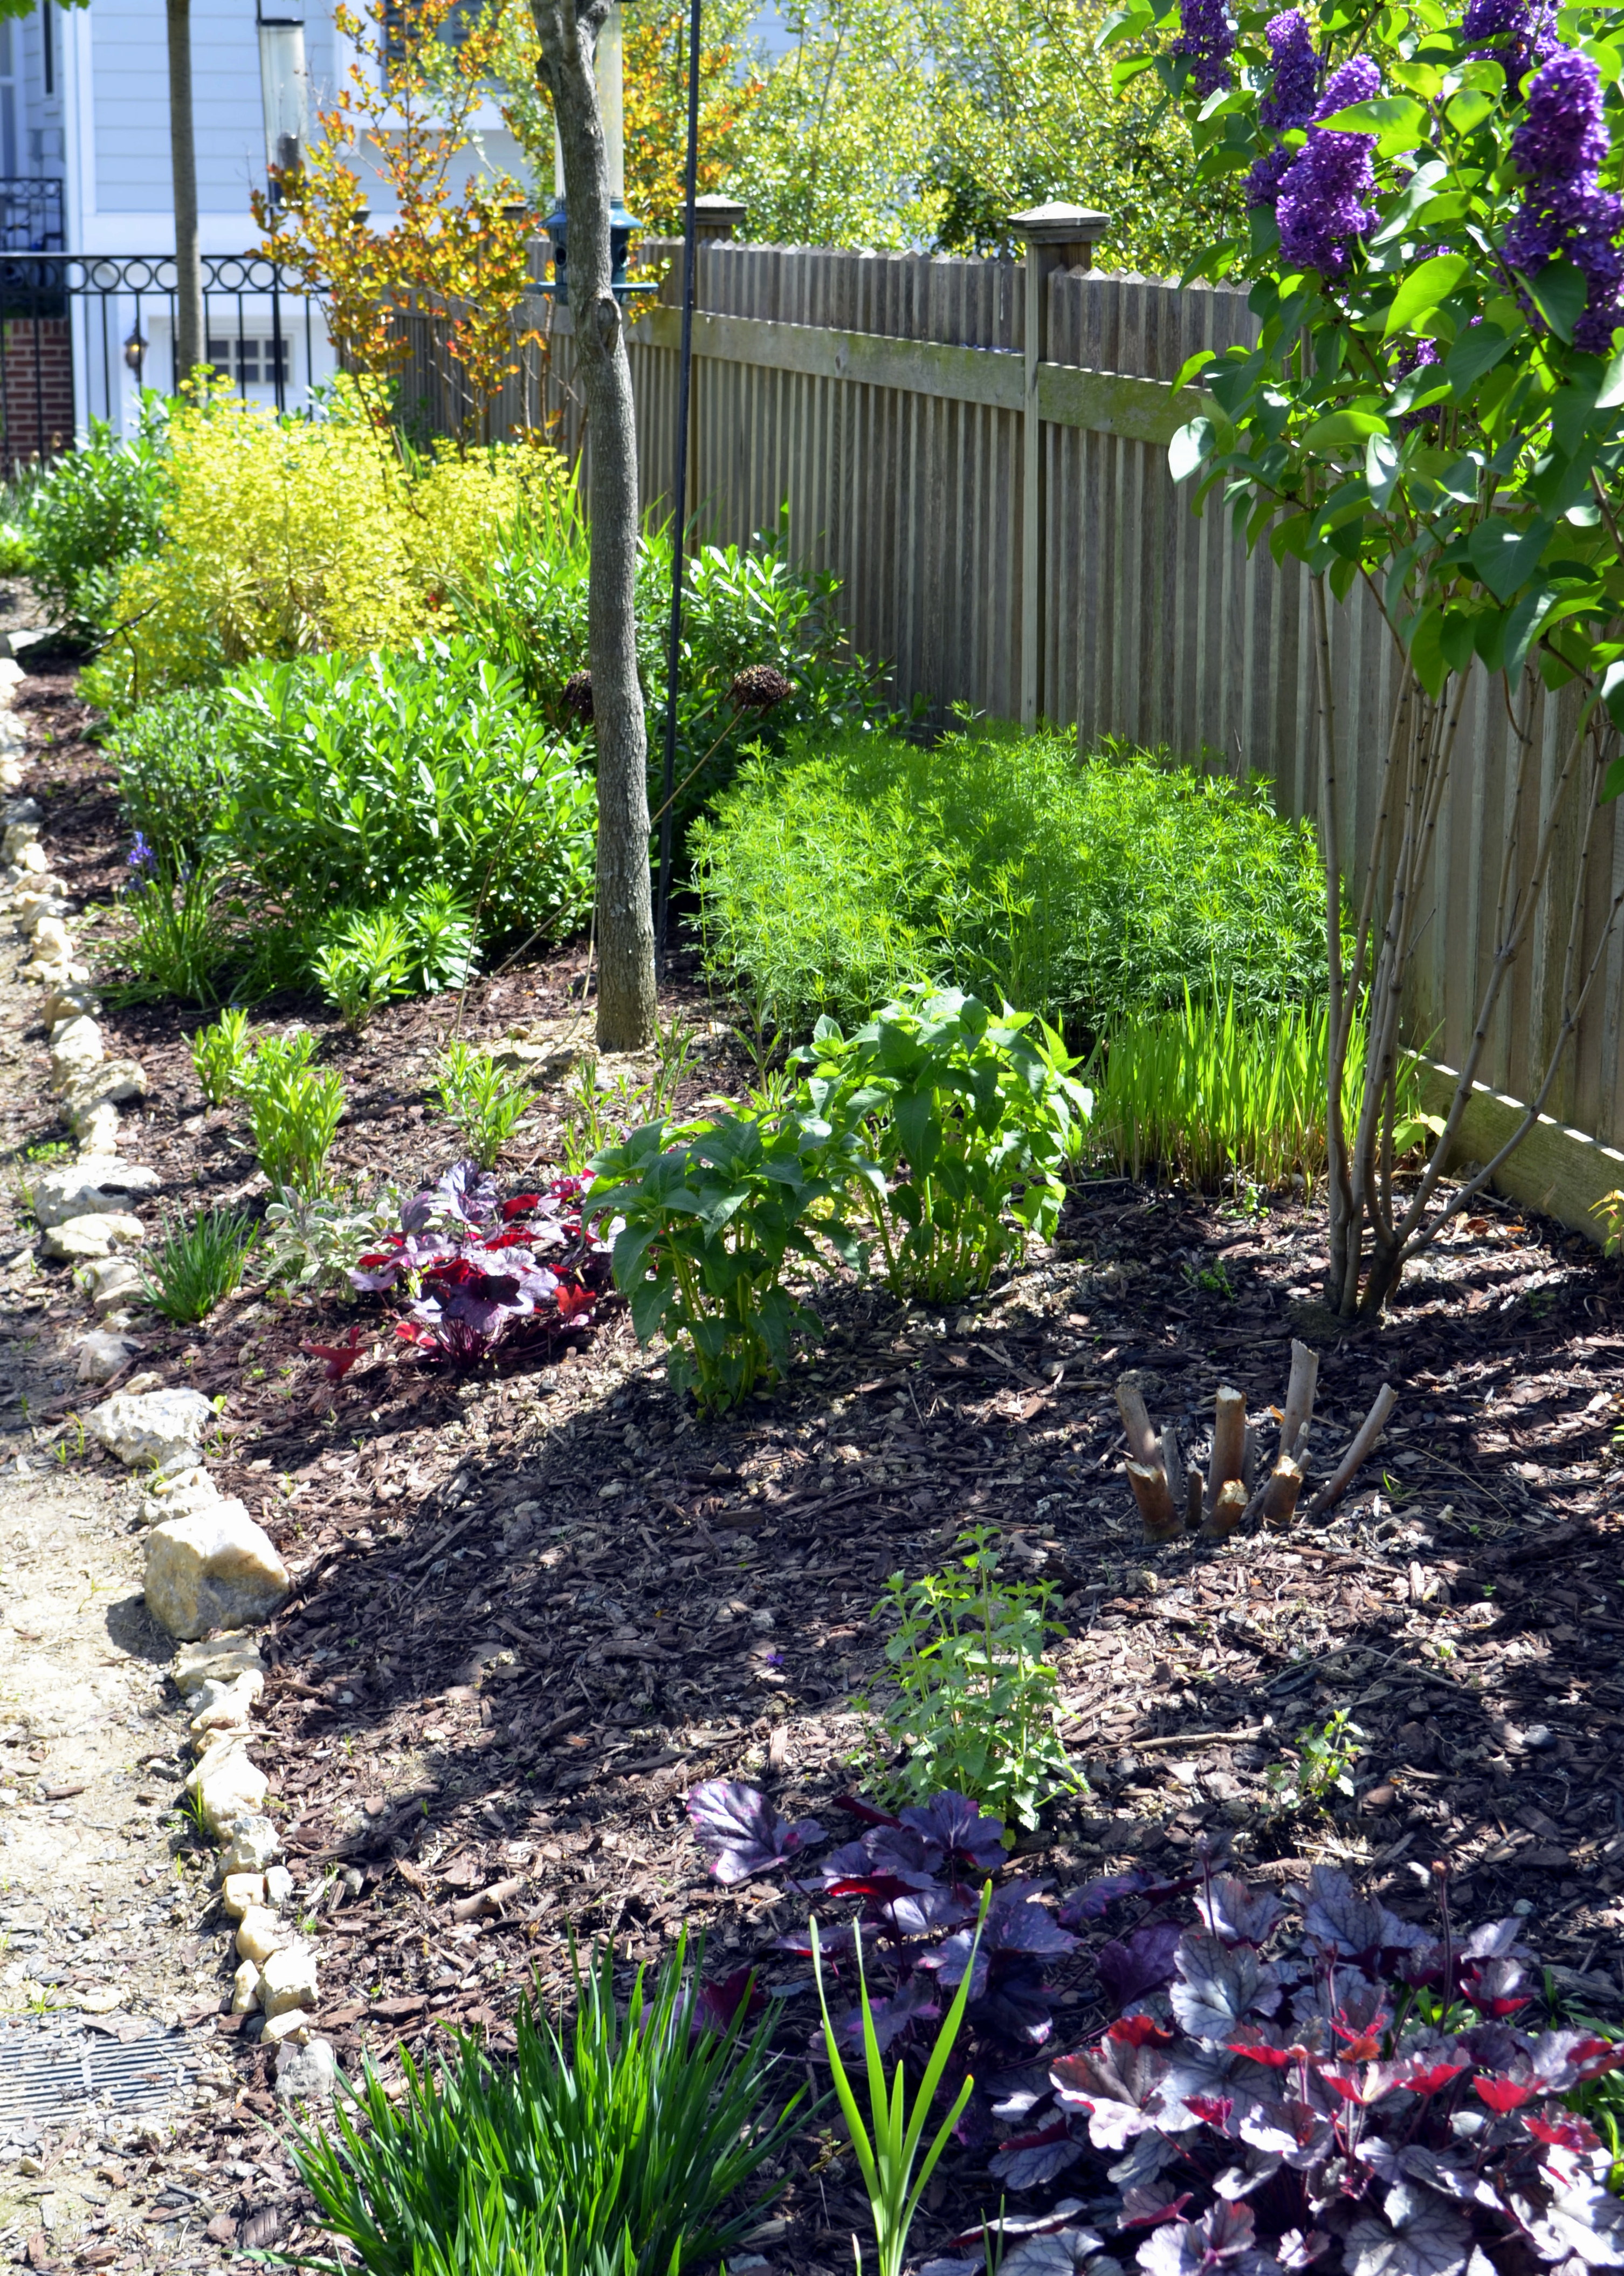
Once all soil was out and the hardscaping was in, our work began: filling it all in. But it was early September (autumn) by then, so mostly we transplanted things from around the front, back, and side yards, and made a list of the new plants that would go in next spring. The top bed in the first photo below would be the future Pollinator Garden (I had saved plants from the old flower bed before we redid the yard, so got a head start by putting those back into the new bed). The second level would become the Herb Garden (ready to be planted with some perennial herbs I had grown in fabric bags during the summer), and the bottom level (barely visible) would be the Vegetable Garden. These were the first three of the 12 garden beds we would put in (or redo) around the house!

Note the missing deck section in the first photo above; we replaced the old deck entirely in Phase 2–with help from our children, family, and friends; but mostly done solo by my husband all through Fall 2021.

Finished deck and hardscaping, early Spring 2022

Backyard terrace beds: Top = Pollinator Garden, Middle = Herb Garden, Bottom = Vegetable Garden

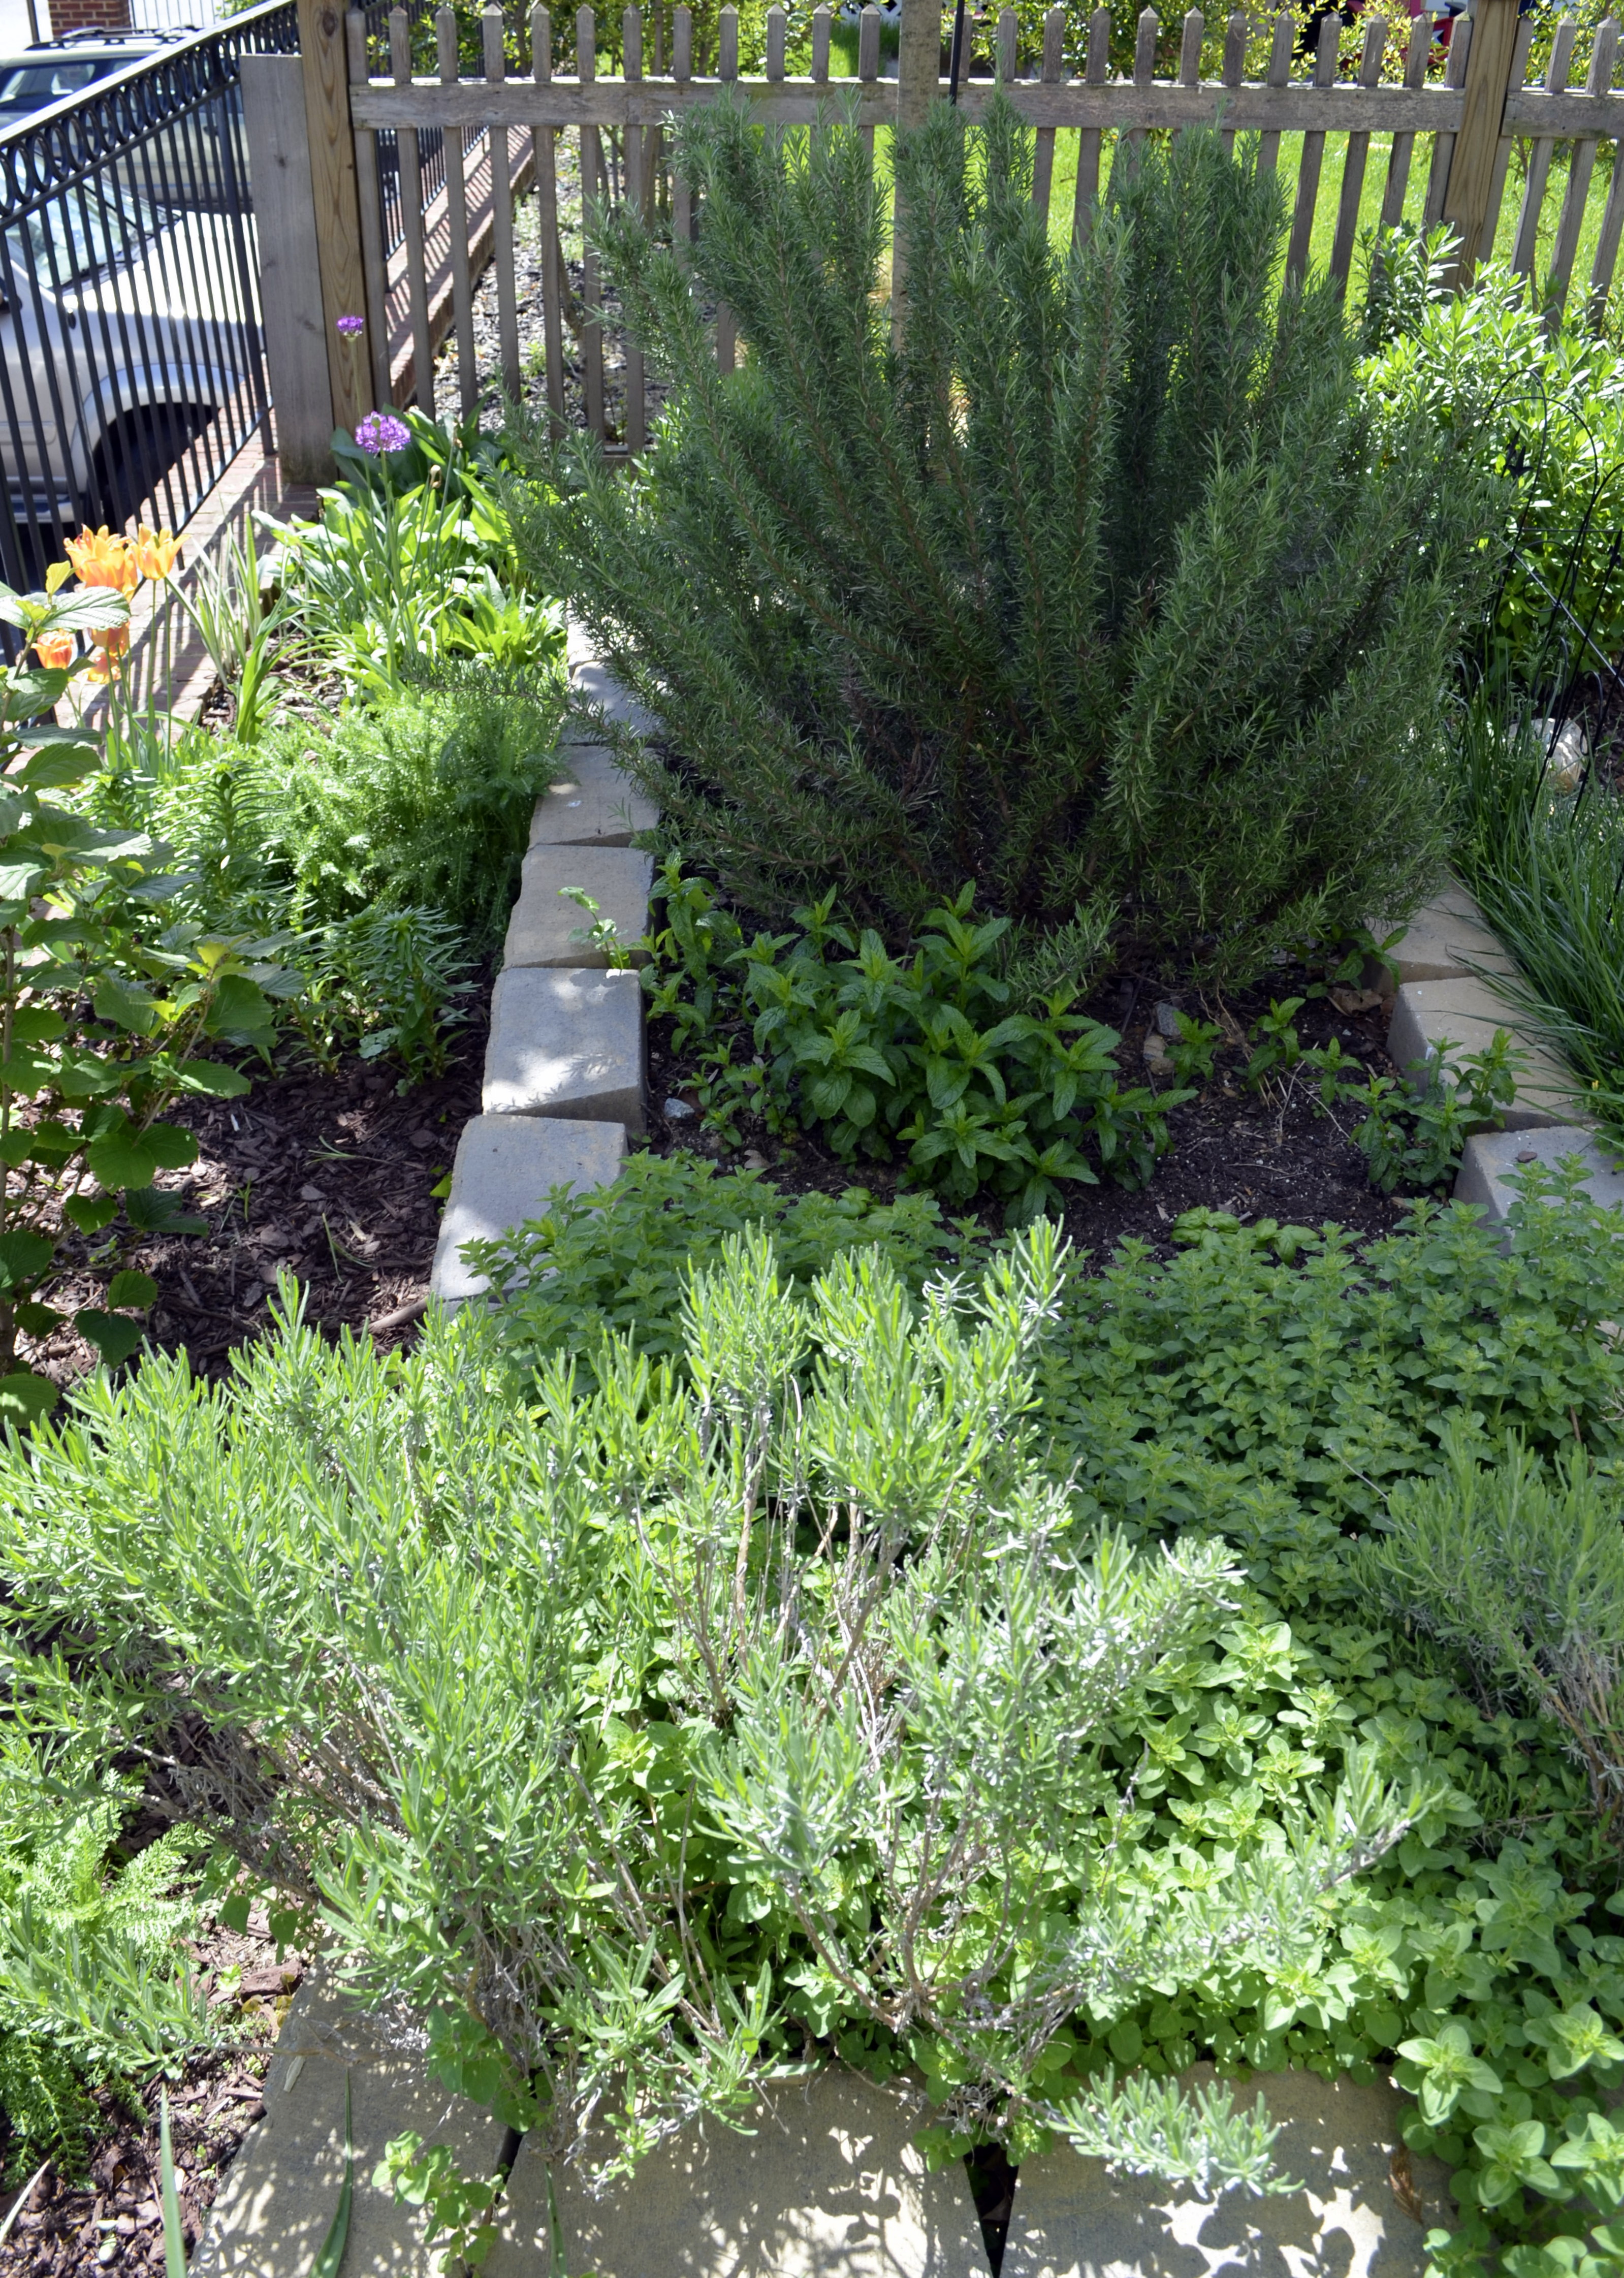
In the two top beds above were the “skeleton plants” we had in Spring 2021. I added other plants to fill out the Pollinator and Herb Gardens, and grew some veggies from seed for the vegetable garden, though I also bought some more mature plants to jump start the process a bit. Here’s how the terraced garden beds evolved:

And here are some photos of the front yard garden beds, which were part of Phase 3:

Below is what the front Walkway Garden looked like before (first photo taken while house was being painted). The bed was filled with yellow daylilies and magenta Campion Rose flowers, and I wanted to redo it from Day One. First, I am not fond of magenta and yellow as a color combination. As part of a riot of bold colors, yes, but not by themselves. Secondly, Campion Rose spreads everywhere. I needed to isolate it to a very small section of the yard. Thirdly, and most importantly, the Walkway Garden is in view of the Rose Garden, and I wanted to plant it with flowers that complemented the colors of the roses.

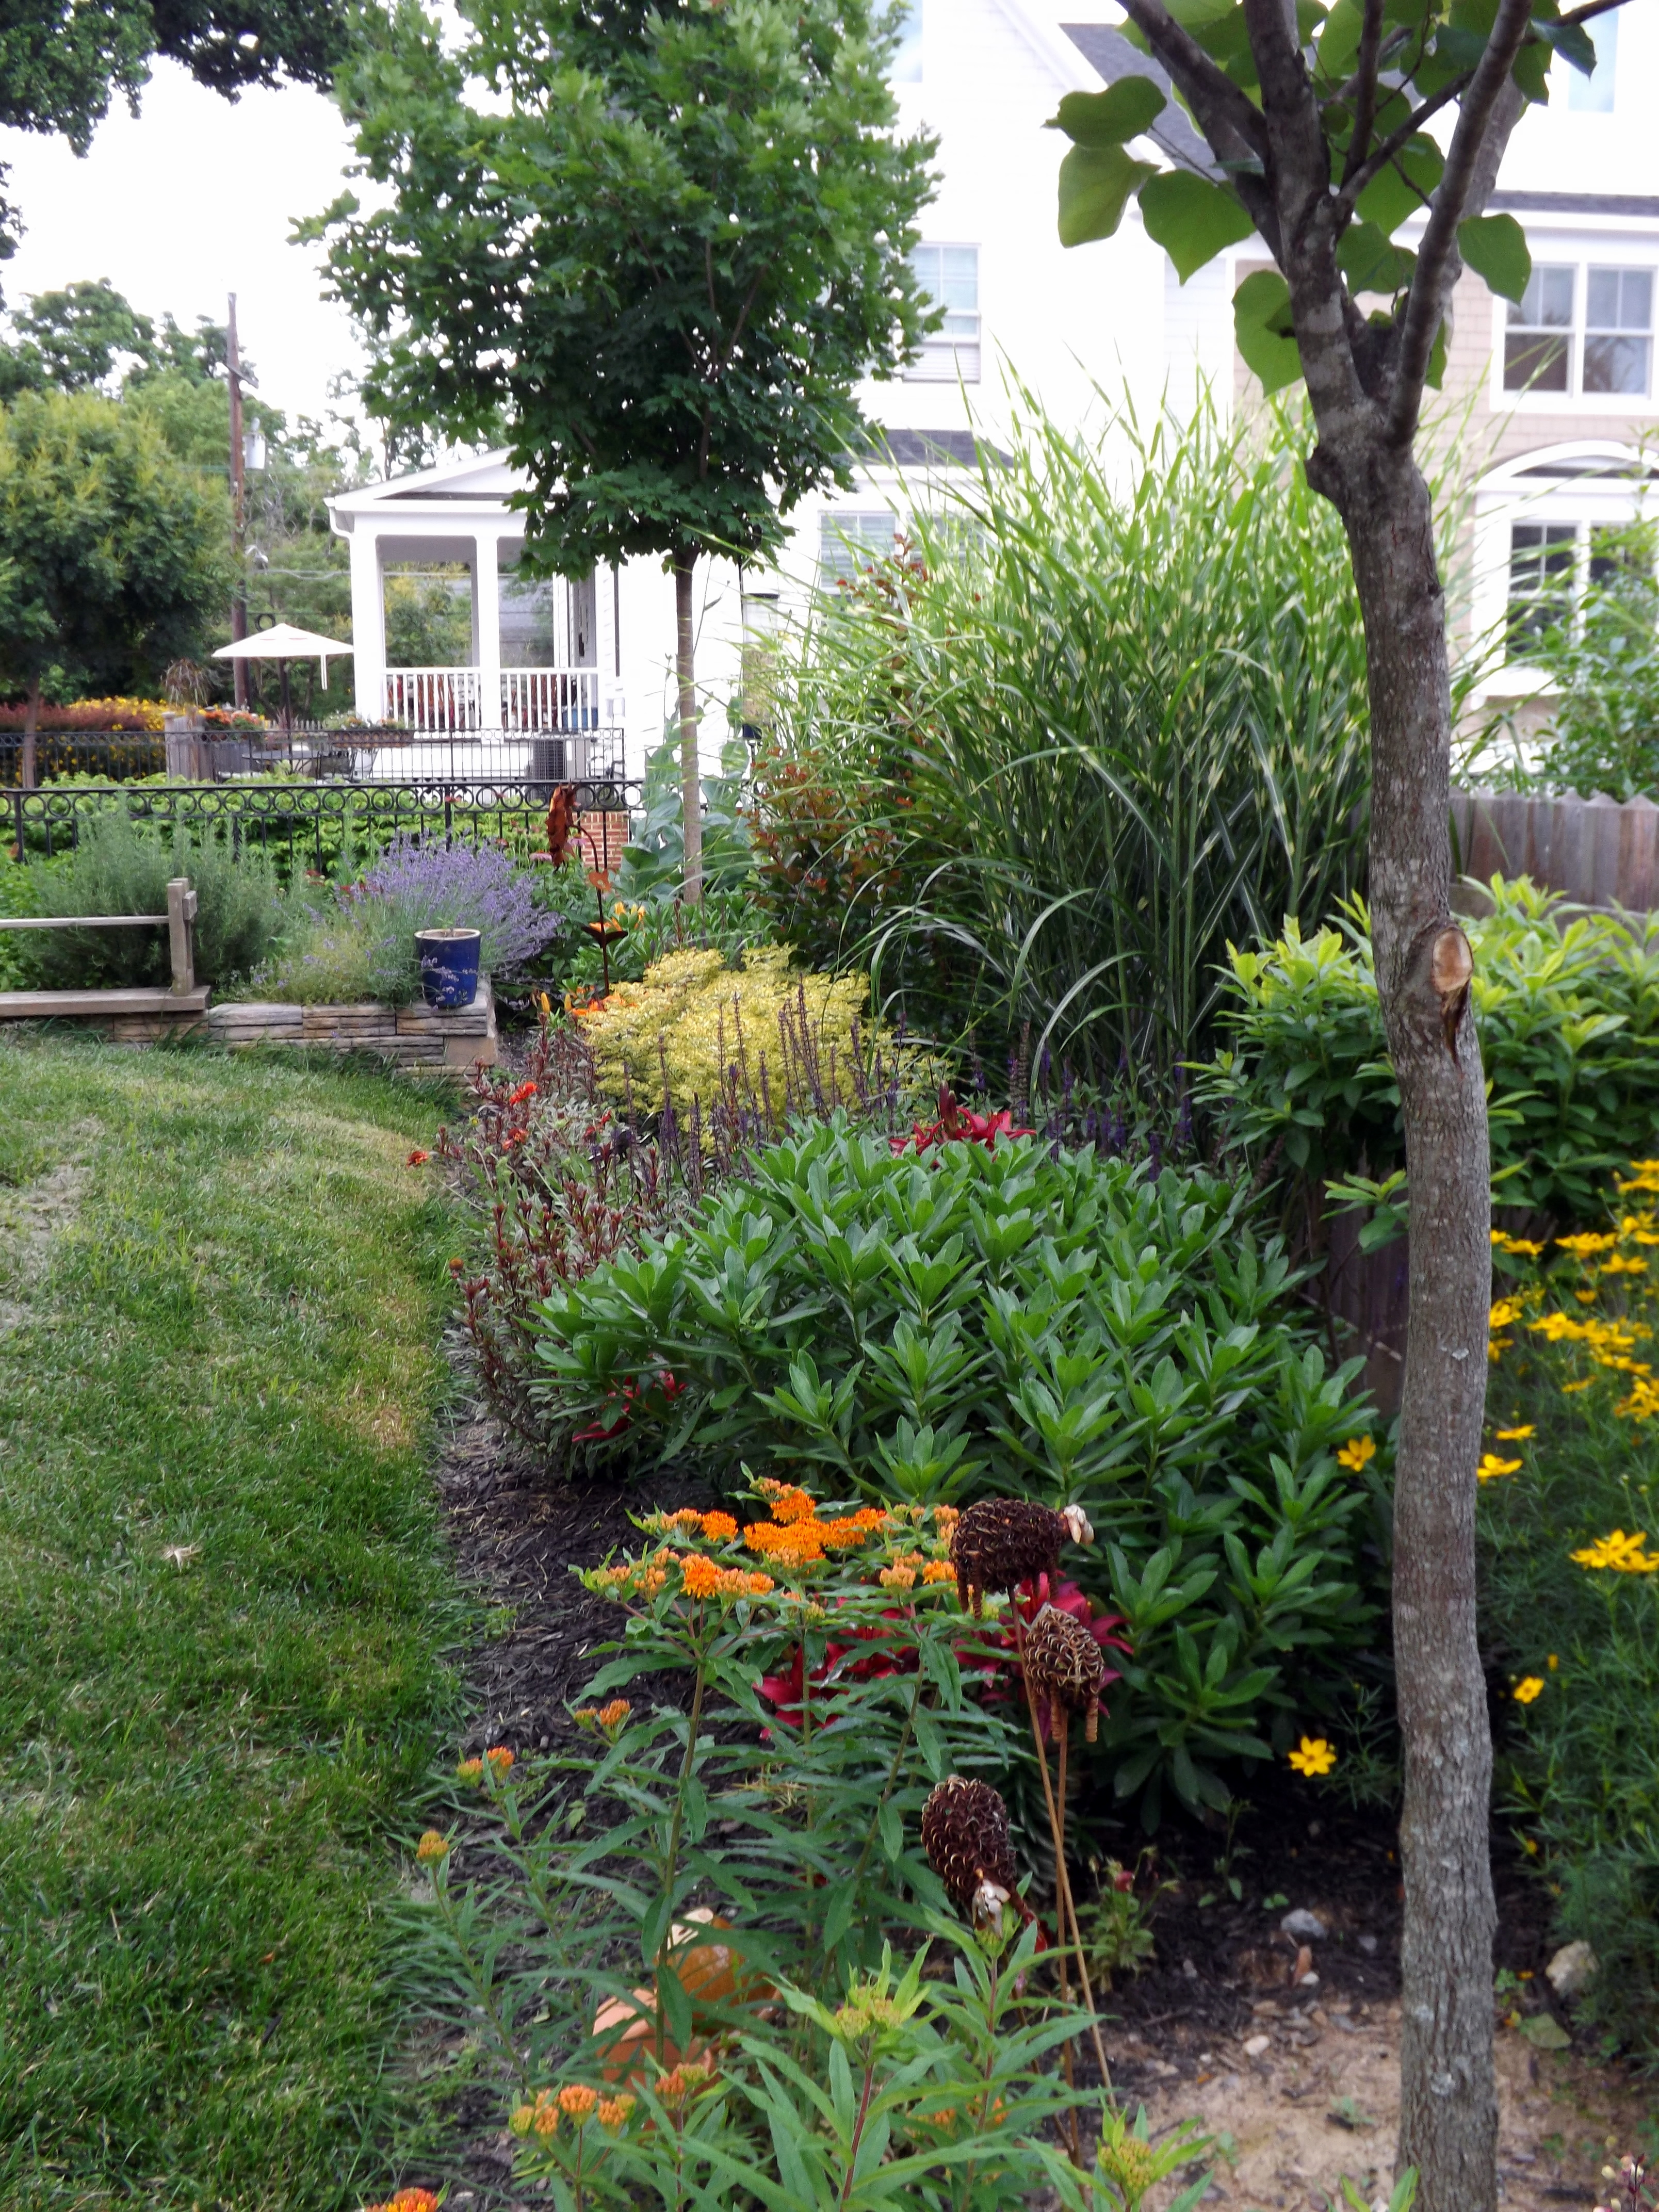
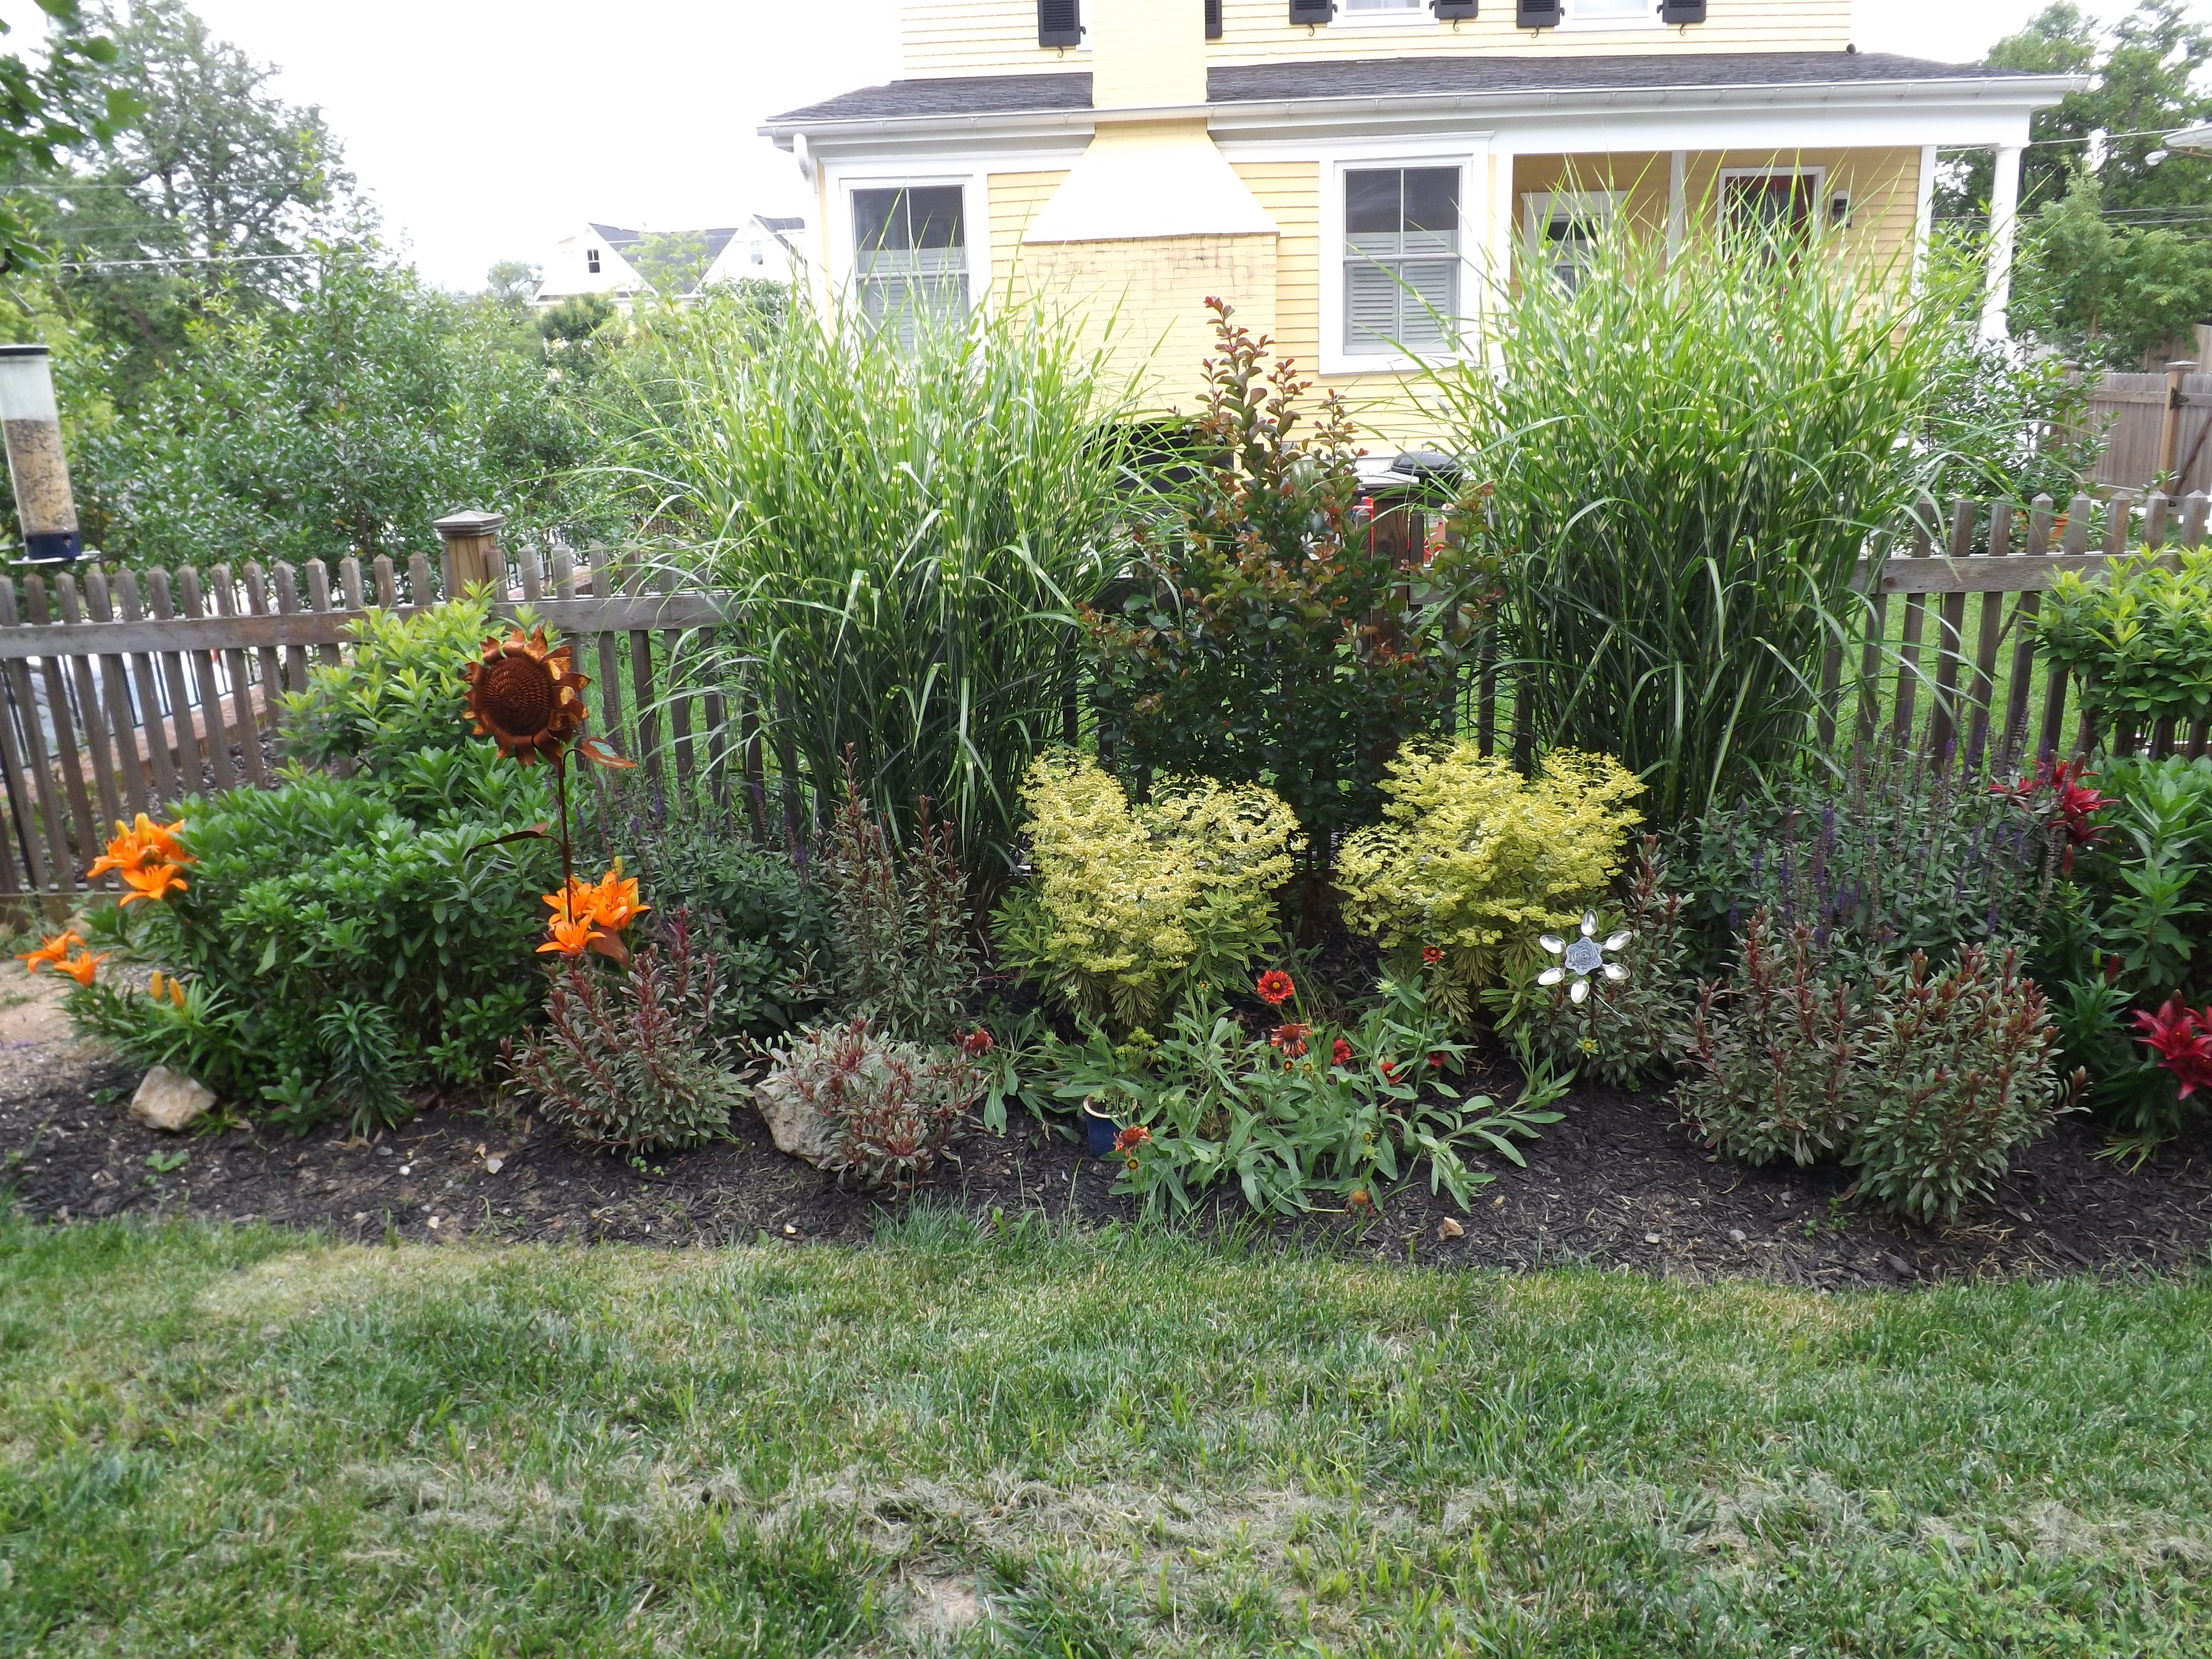
Here are some of the transplanted flowers that are happy in their new spots: 1) Spiky Giant Hyssop now along the southernmost part of the new deck, popping above the railings and attracting bees far and wide (though they are very friendly bees; I stick my head among the flowers to tie them up periodically, and the bees pay me no mind at all). 2) Panicle Hydrangea turning a dusty pink from its initial white, now in its third and final resting place, and 3) the yellow daylilies from the front yard, now in the back along with some Spiderwort ( a much more pleasing combination in my very biased opinion!).

Some of the many newcomers to the garden: Hollyhock, Allium Schubertii, Astilbe, Baptisia Australis, Black-Eyed Susans (Rudbeckia hirta), Aquilegia

And finally, a few things from the garden other than flowers:

2013: Garden Phase 4

4 May

Winter is a time of reflection, and spring is a time of action. During the past couple of months in the garden, it’s been all about putting everything in order (weeding, pruning, weeding, relocating, more weeding, planting, edging, weeding, expanding, mulching, and a bit more weeding).

As I mentioned when I started the blog last year, we live in a townhouse and are lucky to have a tiny bit of land surrounding it in which to plant things. A large portion of the available space for flower beds is long and straight, bordered by a wooden fence we share with a neighbor on one side, and a drainage ditch on the other (county mandated). Luckily, the space is broken up by three trees.  When we moved in, there was nothing but grass. The first spring in our townhouse (2010, Phase 1), we created a narrow flower bed  (G1) along a short side of our yard and put in two flower beds parallel to the long wooden fence (G2 and G3). In 2011 (Phase 2), the children built a small herb garden on Mother’s Day  next to G1, and I filled out G2 a bit more. In 2012, I built upon lessons learned in 2011, and continued to add to the three flower beds (especially G3) and the herb garden. That was Phase 3.

Garden_0001
Chicken-scratch version of main parts of Garden Layout, hopelessly out of scale….

Phase 4 (Spring 2013) has thus far entailed a lot of transplanting–moving plants to locations better suited to their temperaments and space requirements.  The feisty Porcupine Grass plants on either side of the Crape Myrtle (G2) were in danger of smothering it, so we dug them up and moved them  a couple feet farther away in each direction while they were still dormant. They are now happily growing away in their new spots.  The Montauk Daisies (G2) were also smothering everything in their paths, so we repositioned them so they were perpendicular to the fence rather than parallel to it; there was plenty of space in the back for them to do their thing, and that opened up space at the front of the flower bed. I fell in love with the Witch Hazels at Brookside Gardens and contrary to what I said, I decided not to admire them from afar. For better or worse, there is now a fine specimen growing in G1, though that meant moving a few plants to G3.

In Spring 2013, we also welcomed in the new. The entire family was here just before Easter (one son home from graduate school along with his girlfriend, another son back from college, and the two high-schoolers and a professor husband on spring break), and what did they do? They all spent part of their vacation helping to build a small Rose Garden along one side of the raised deck (the deck, porch, and entrance to the house are about 4 feet above garden level). I transplanted two existing roses into the new garden, and added four more. To top it off, last weekend I planted some vegetables in and around the roses. An odd combination, I know, but the Rose Garden is in a prime sunny spot, and it was looking a bit bare with just the roses, so I decided to be unconventional and go with vegetables: eggplant, tomatoes at the very back against the wall of the deck, and zucchini–everything I need for a nice ratatouille. (In my defense, tomatoes are supposed to help prevent black spot….). I’ll see what lessons I learn from this experiment. But a very huge thank you to my husband and the younger generation for making it all possible.

Adding to our expansion efforts, we removed a hammock that was along the far back portion of the fence adjacent to G3, dug up the earth and added manure, compost, and gypsum (since our house essentially sits on a mound of clay), and started a new flower bed there (G4), which wraps around a corner where the third tree is. It is still under construction, but I did get some bulbs in (Gladioli and Lilies), plus a Camellia, some Hostas, more Echinacea to accompany the lone surviving Double Scoop Bubble Gum, and some Astilbe, with two peonies still waiting to be planted (today, I hope).

As a finishing touch (though no garden is ever finished), I dug out the leaf- and old mulch-filled drainage ditch, lined the garden side with stones to prevent the mulch from falling into the ditch (the stones all emerged when we created the various flower beds–so our house actually sits on a clay and stone base), and then set up a small fence all around the flower gardens to keep the rampaging Schnauzers from killing the emerging and new plants. And that’s all for now…. Probably far more than you ever wanted to know. But the end result is and will be a pleasure to behold for those of us who are happy just watching things grow.

G2 and G3
G2 (with G3 and new G4 in background), ditch to right:
Montauks, Salvia, Gaillardia, Porcupine Grass, Crape Myrtle,
Euphorbia
G3 and G2
G3 (with G2 in background): Heuchera, Blue-eyed Grass, Variegated
Sage, Aster, Lilacs, Hyssop, Butterfly Weed, Tickseed, Verbena
Bonariensis, and old Hibiscus (Kopper King) stumps
Herb Garden
Herb Garden (with G1 to the left): Lavender, Oregano, invisible but
newly planted Basil, Mint, exploding Rosemary, and wayward Cilantro
growing in G1

2011: Garden Phase 2

19 Jun

In the Spring of 2011, with the arrival of the squirrel-proof daffodils, tulips, camasia, and allium, and as the plants from 2010 began growing into their own, the flower garden started taking shape. But there was a lot of bare flower bed remaining. Enter Phase 2.

That spring/summer, I planted a couple of real favorites in Garden 2 (G2): Gaura (Belleza Dark Pink) and Euphorbia (Ascot Rainbow). The Gaura bloomed and bloomed all summer — small fuchsia flowers atop waving spikes. The Euphorbia has yellow-green variegated foliage and bubbly “flowers.” It is a joy from very early spring until the autumn. Here is a picture of it in April of this year, with the Crape Myrtle foliage just beginning to emerge in the background.

I added Tickseed (Golden Gain), Salvia (Caradonna), and Gaillardia (Trumpet Red) for more color. Here is what G2 looked like in early June, 2011. (Note that the leaves on the Crape Myrtle have grown in by June). Tall Asters are at the sides by the fence with Montauk Daisy and Asiatic Lilies in front, Porcupine Grass is also along fence toward the center with Euphorbia and small Gaura and Salvia in front, and Crape Myrtle is by the fence post with Gaillardia and Tickseed in front.

By now, you will have discovered that which I fight against, but fail to overcome: I love symmetry. I can’t help it. In each of the flower beds there is a central zone with a central plant, and identical (symmetrical) plants on each side.  In G2, the central plant is the Crape Myrtle. I have managed to uproot this tendency very slightly in G1 (and when hanging art on the walls of my house), but I have been more successful inside than out. In the garden, I hope that this love of order, comforting as it may be to me, will be less obvious as everything grows in. Plus, I doubt anyone other than myself will be looking at the garden long enough to notice….

Next: Herb Garden.

2010: Garden Phase 1

19 Jun

Some of the very first plants I planted in our new flower beds in the summer of 2010 were NE Asters  (Purple Dome), a Crape Myrtle (Siren Red), two Porcupine Grasses, some Asiatic Lilies (Tiny Dino and Tiny Ghost), a couple Montauk Daisies,  Red Hot Pokers (Flamenco), Echinacea (Red Knee High, Rocky Top Hybrid, Big Sky Sundown) and some daylilies (Baby Darling). After getting them in the ground, I waited to see what would happen. What happened was that that I loved the Porcupine Grass as it grew tall and striped, the Crape Myrtle with its red new-growth foliage and its crimson blooms, and the fact that in late summer, the Asters exploded in masses of bright purple blooms surrounded by buzzing bees that our dog persisted in chasing despite retaliation on the part of the bees. And the Montauk Daisies are so cheerful that I forgave them for being white in a garden that is mean to be bright.

Here’s new-growth foliage on the Crape Myrtle, from this year, with Porcupine Grass in background:

But even with these plants, I was aware that the garden was still fairly bare. So in the fall of 2010, I planted bulbs under the watchful eye of the neighborhood squirrels. Having battled bulb-eating squirrels before, I built impenetrable defenses around my bulbs: I coated them in foul-smelling deer repellent spray before planting them, covered the planted area with chicken wire, added a bit more soil, and topped up with a light layer of mulch, which I sprayed again. It worked — no squirrels got my bulbs. Note: use this method only if you do not ever plan to move the bulbs elsewhere or plant anything else in close proximity to them.  The chicken wire served as a great defense against my own future landscaping plans. But I got the best of the squirrels, so it was a small price to pay to have to pull out the wire cutters a couple of years later.

Next: Phase 2.

2010: An Unplanned Garden and the Philosophy Behind It

19 Jun

I did a lot of thinking and thumbing through gardening books during the winter of 2010 in preparation for our future garden, but basically, I am someone with more optimism than concrete knowledge of garden design (or in fact, gardening in general beyond the bare basics).  I do not know how to propagate, have rarely had to divide my plants, and can’t be bothered with elaborate plant care beyond deadheading, watering, mulching, fertilizing every once in a blue moon, and keeping them somewhat tidy. I realize this is anathema to real gardeners, and one day, I hope to become a real gardener. In the meantime, I will keep planting things and hoping for the best. In hindsight, this operating procedure of diving right in and tweaking as I go is not new. It is the underlying principle by which I have painted the interior of our houses, but that is another story. I will only say that it helps to have an understanding husband who likes the end result and puts up with the tortuous path I take in getting there.

But back to the garden: we started digging out three flower beds in the summer of 2010, after hosting an Easter Egg Hunt in our bare, grass-only yard, at which point it became quite clear that hiding colorful plastic Easter Eggs in a sea of flat green requires a lot of creativity.

My very simple gardening philosophy was the same then as it is now:

  1. Flower type: Perennials all the way, with a very occasional annual or two to liven things up as needed.
  2. Color scheme:  Hot (purples, fuchsias/wine reds, oranges, and yellow).
  3. Foliage: Different leaf shapes and colors (variegated and non-variegated) are essential.
  4. Height: It  matters! Flower gardens need a different mix of plant heights. Also, taller plants can help form a natural privacy screen along fences shared with neighbors.
  5. Bloom period:  Plant flowers with differing bloom times, to ensure at least some activity in the garden from early April into October.

2012 example of hot-colored perennials with diverse foliage and differing heights: Garden 2

Armed with these few concrete thoughts and a very preliminary list of possible plants that could meet my requirements, I ventured out to the local nursery. What always happens is I cannot find many plants on my list, either because the specific variety is simply not available (or is not common to my area), or I am visiting the nursery at the wrong time. So then I end up with plants not on my list. On the plus side: there are some beautiful plants in my garden I might never have considered had they not caught my eye at the nursery. On the minus side: as with clothes shopping, it is easy to buy something beautiful in the store only to realize once you are home that it just doesn’t look quite right on you no matter how hard you try to make it work. A far corner of my garden now features these spur-of-the moment horticultural purchases, the ones that don’t quite work in the main flower beds.  But I am now no longer swayed by a pretty bloom unless I know it will fit and make the garden look better by its presence.  I’d like to say that is also true of pretty dresses….

Next: Phase 1.

Garden Intro

12 Jun

We live in a townhouse in Maryland, USA, but are lucky to have a yard with space for flower beds. When we moved in, in February 2010, there was nothing but grass (and snow). The flower beds were mine to make.  Alas, it was not a good time of year for gardening. But it gave me time to think. One thing we discovered as the house was being built was that there would be a shallow and narrow drainage ditch running through our lawn, parallel to the house (see construction photo below; future ditch to be located in front of black plastic sheeting). The ditch had not appeared on any of the plans we saw for the house, but we were told we had to keep it because of county regulations.

The layout out of the bit of grass around our house is roughly reverse L-shaped, running from the front of the house, which is where the ditch is, around to the back side. This layout, the presence of the ditch, and the fact we wanted to retain some actual grass, meant we had to create rectangular flower beds along the fence perimeters; we didn’t want to span the ditch and there wasn’t much space beyond that for creative bed shapes. When we moved in (after the photo above was taken), three trees had been planted along the wooden fence, (a Green Mountain Sugar Maple at the top corner, an Eastern Redbud in the middle, and an Autumn Flame Red Maple in the lower corner) and one was planted in the back corner behind the house (an Ornamental Plum-Thundercloud). Eventually, I planned for three separate (but adjoining) flower beds.

I dubbed the flower garden across the far back of the photo (hard to see, but it runs along a wrought-iron fence overlooking a parking area), “Garden 1.” The area between the Sugar Maple and Eastern Redbud, (ie, the first half section of the long wooden fence) is “Garden 2.” The next section, between the Eastern Redbud and the Autumn Flame, is “Garden 3.” I know, very creative naming.

During the past two years, and in phases, I have dug up (with the help of a very kind husband and children) a lot of grass, planted a lot of perennial plants, shifted many around, and replaced a couple that did not survive our relatively mild winters. In some cases, I planted plants knowing I wouldn’t see any flowers until the following year, but anticipating the thrill I’d get when they did bloom in just the way I imagined. I’ve drawn landscaping plans, plotted blooming times, and in general led my family to believe I was slightly nuts. But I have enjoyed every minute of it.

Here is what part of that same stretch of fence looks like two years later  (at closer range, with a focus on Garden 2; the Sugar Maple is in the background and the Eastern Redbud is in the foreground).